Introducción
This manual provides comprehensive instructions for the installation, operation, and maintenance of your Anderic DC8-96SG8 Ceiling Fan Receiver and DC1 Remote Control Kit. This kit is designed as a direct replacement for ceiling fans originally equipped with the DC8-96SG8 receiver, offering enhanced 6-speed functionality and reverse capabilities.
Nota importante de compatibilidad: This kit is specifically designed to replace an existing DC8-96SG8 receiver. It will not function as a replacement for other receiver models. Always confirm your existing receiver reads "DC8-96SG8" on its side before installation.

Image: The Anderic DC8-96SG8 receiver and DC1 remote control are shown alongside a modern ceiling fan, emphasizing their compatibility with Monte Carlo and similar models. A text overlay advises users to verify their existing receiver's model number for compatibility.
Qué incluye
Your Anderic DC8-96SG8/DC1 kit includes the following components:
- Anderic DC1 6-speed remote control
- Wall mount bracket for the DC1 remote control
- DC8-96SG8 ceiling fan receiver
- Manual de instrucciones (este documento)

Image: This image displays the complete contents of the Anderic replacement kit: the white DC1 remote control, the black DC8-96SG8 receiver unit, and the necessary wiring harness.
Configuración e instalación
1. Instalación del receptor
Before beginning, ensure the power to the ceiling fan is turned off at the circuit breaker. The DC8-96SG8 receiver is typically installed within the fan's canopy. Follow the wiring diagram provided with your fan or consult a qualified electrician if you are unsure about the wiring process. Connect the receiver's wires to the corresponding fan and household wires (e.g., Live, Neutral, Fan, Light).
2. Instalación de la batería del control remoto
The DC1 remote control requires two AAA batteries (not included). Open the battery compartment on the back of the remote and insert the batteries, ensuring correct polarity (+/-).

Image: A visual guide illustrating the process of inserting two AAA batteries into the remote control's battery compartment. It also shows a small switch labeled 'common code' within the compartment, indicating a setting for pairing.
3. Emparejamiento del control remoto y el receptor
After installing the receiver and batteries, locate the small switch inside the remote's battery compartment. Set this switch to the 'common code' position. Restore power to the ceiling fan. Within 30 seconds of restoring power, press and hold the 'Light' button on the remote control for approximately 5 seconds until the fan light blinks or the fan briefly turns on, indicating successful pairing.
4. Instalación de montaje en pared
The included wall mount bracket allows for convenient storage of your remote. Choose a suitable location, secure the bracket to the wall using the provided screws, and slide the remote into the bracket.
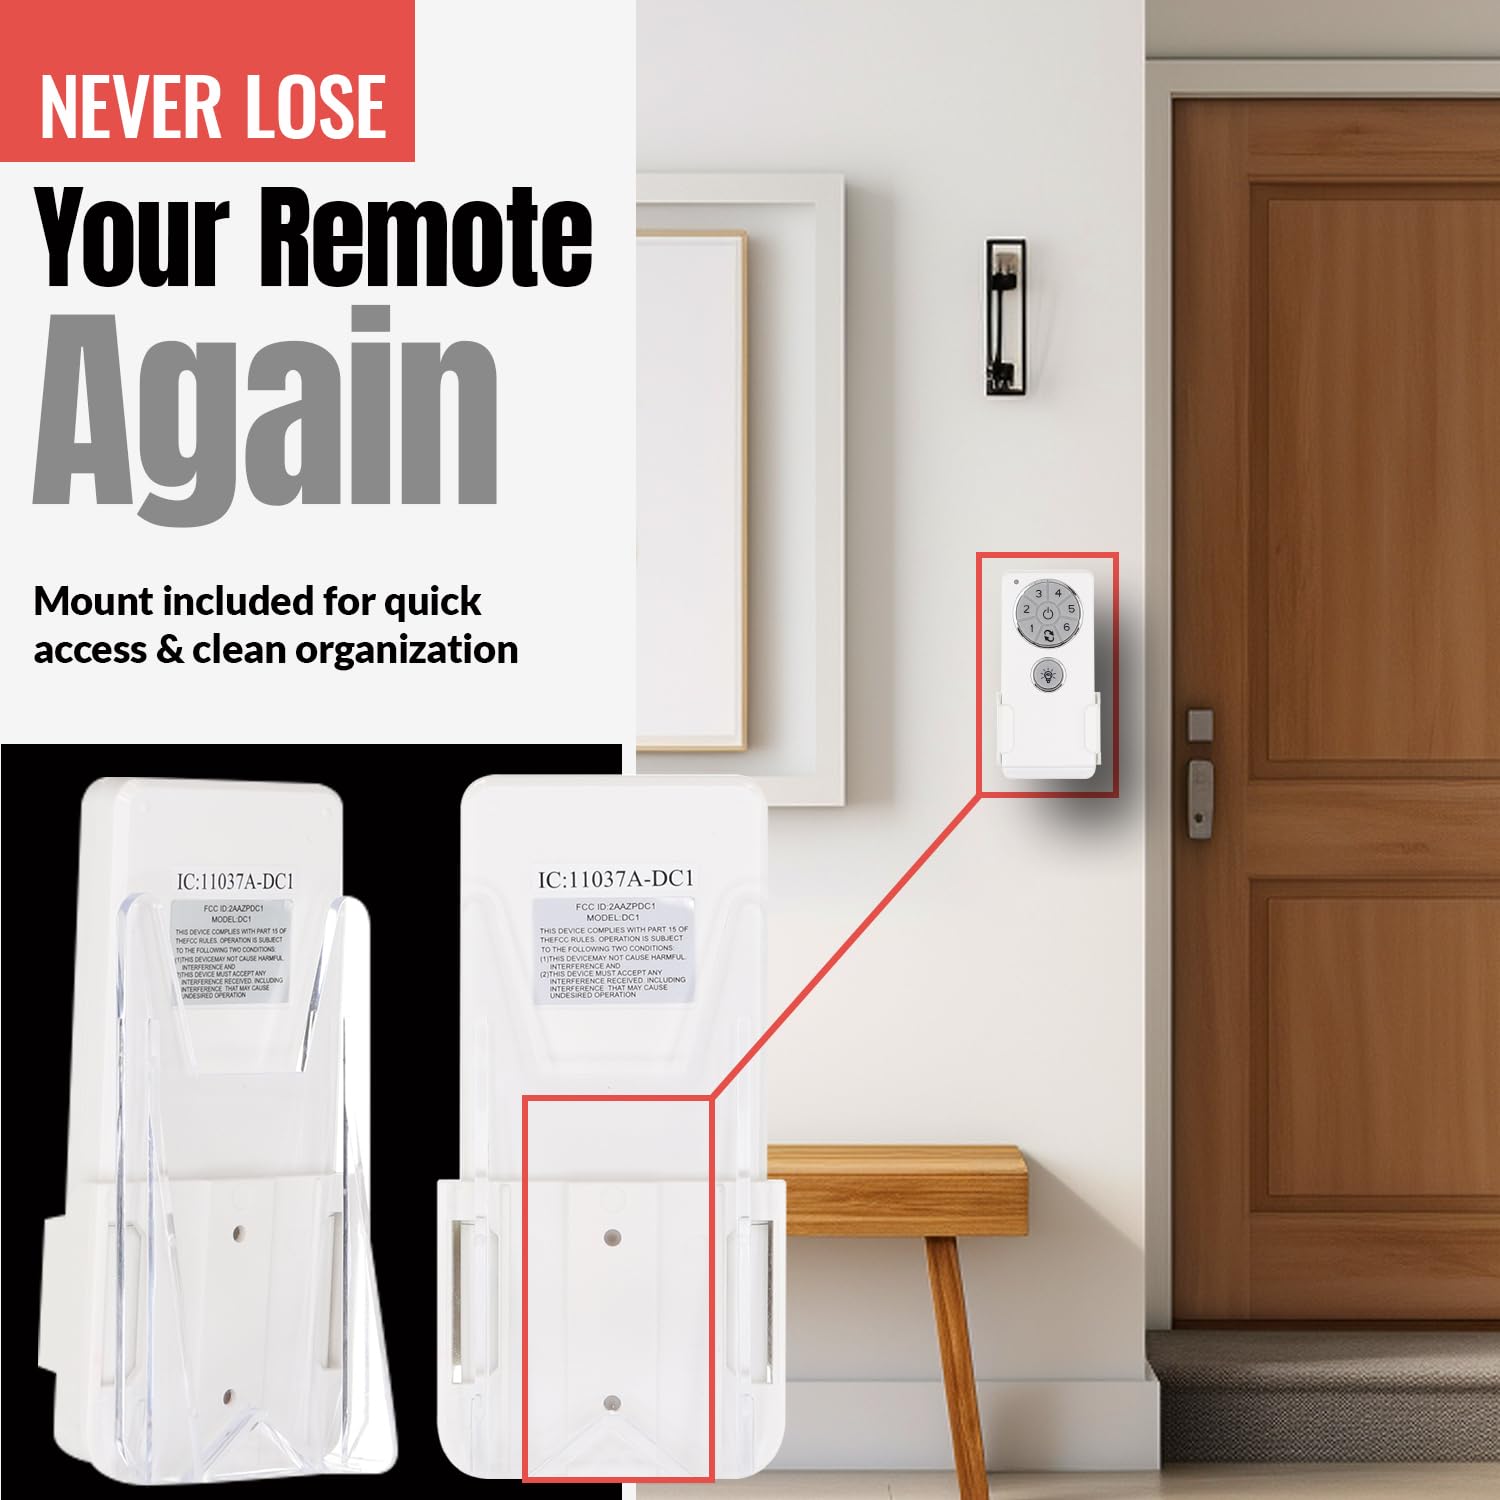
Image: The Anderic DC1 remote control is displayed securely placed in its white wall mount bracket, which is affixed to a wall, demonstrating how to keep the remote accessible and organized.
Instrucciones de funcionamiento
The Anderic DC1 remote control provides full functionality for your 6-speed ceiling fan and light.
- Ventilador encendido/apagado: Press the power button (circle with a line) to turn the fan on or off.
- Control de velocidad del ventilador: Use buttons 1 through 6 to select the desired fan speed. '1' is the lowest speed, and '6' is the highest.
- Función inversa: Press the reverse button (curved arrow) to change the direction of the fan blades, useful for seasonal air circulation.
- Light ON/OFF/Dimming: Press the light bulb button to turn the light on or off. Hold the light button to dim or brighten the light.

Image: This image highlights the Anderic DC1 remote control, detailing its various buttons for controlling fan speeds (1-6), power, reverse function, and light dimming. A ceiling fan is visible in the background, illustrating the remote's purpose.
Mantenimiento
Reemplazo de batería
When the remote control's range decreases or buttons become unresponsive, it's time to replace the batteries. Use two fresh AAA batteries, ensuring correct polarity. Dispose of old batteries responsibly.
Limpieza
Wipe the remote control and receiver with a soft, dry cloth. Do not use abrasive cleaners or allow moisture to enter the units.
Solución de problemas
- El ventilador o la luz no responden:
- Check if the circuit breaker for the fan is on.
- Ensure batteries in the remote are fresh and correctly inserted.
- Re-attempt the pairing process (see Setup section).
- Verifique que todas las conexiones del cableado al receptor estén seguras.
- Fan Turns On Randomly:
- This can sometimes occur due to interference. Ensure the remote is not near other devices that might cause signal interference.
- Re-pairing the remote and receiver might resolve this issue.
- Fan Not Reaching High Speed:
- Ensure the fan is a 6-speed DC fan compatible with this receiver.
- Verify the fan motor is functioning correctly independently of the receiver.
Presupuesto
| Marca | Andérico |
| Número de modelo | DC8-96SG8/DC1 |
| Tipo de conector de alimentación | 4 pines |
| Quétagmi (motor) | 40 vatios (máximo) |
| Quétage (luz) | 60 watts (LED, maximum) |
| Dispositivos compatibles | Ceiling Fan (6-speed, DC fans originally with DC8-96SG8 receiver) |
| Material | Metal, plástico, caucho |
| Dimensiones del producto | 5 x 5 x 2 pulgadas (receptor) |
| Peso del artículo | 7.4 onzas |
Garantía y soporte
For warranty information and technical support, please refer to the official Anderic website or contact their customer service directly. Please note that warranty terms may vary depending on the point of purchase. Some retailers may not offer a warranty for items not purchased directly from the manufacturer's official channels.
Para obtener más ayuda, puede visitar el Anderic Store on Amazon or search for official Anderic support resources online.