
PHALANX TG-PRT R4 Max-Black
PHALANX 4V Cordless Rotary Tool Instruction Manual
Model: TG-PRT R4 Max-Black
Marca: PHALANX
Introducción
Thank you for choosing the PHALANX 4V Cordless Rotary Tool. This versatile tool is designed for a wide range of applications including cutting, drilling, carving, polishing, and sanding. Its cordless design, powerful motor, and extensive accessory kit make it suitable for various DIY projects and crafting tasks. Please read this manual thoroughly before operation to ensure safe and efficient use of your tool.
Instrucciones de seguridad importantes
Siga siempre las precauciones de seguridad básicas para reducir el riesgo de incendio, descarga eléctrica y lesiones personales.
- Lee todas las instrucciones: Familiarícese con el funcionamiento de la herramienta y las pautas de seguridad antes de usarla.
- Use protección para los ojos: Utilice siempre gafas de seguridad o anteojos de seguridad con protectores laterales al utilizar la herramienta.
- Mantenga limpia el área de trabajo: Cluttered areas invite accidents. Ensure your workspace is well-lit and free from obstructions.
- Evite los entornos peligrosos: No utilice herramientas eléctricas en damp o lugares húmedos, o exponerlos a la lluvia.
- Pieza de trabajo segura: Siempre limpioamp o de otro modo asegurar la pieza de trabajo para evitar movimiento durante la operación.
- Utilice los accesorios correctos: Utilice únicamente accesorios diseñados para esta herramienta y asegúrese de que estén instalados correctamente.
- Desconectar la energía: Always turn off the tool and disconnect it from the power source (if applicable) before changing accessories, making adjustments, or performing maintenance.
- Seguridad de la batería: Use only the provided Type-C cable for charging. Do not expose the battery to extreme temperatures or disassemble it.
- Conservar de forma segura: When not in use, store the tool and accessories in a dry, secure place out of reach of children.
Contenido del paquete
Verifique que todos los artículos estén presentes en su paquete:
- PHALANX 4V Cordless Rotary Tool (x1)
- Cable de carga USB tipo C (x1)
- Manual de usuario (x1)
- Tool Box (x1)
- 80 PCS Accessories (various bits, sanding bands, polishing wheels, etc.)
- Wrench Tool (x1)

Image: The PHALANX Cordless Rotary Tool shown with its comprehensive set of 80 accessories, including various bits, sanding bands, and polishing wheels, alongside the storage box and charging cable.
Producto terminadoview
Familiarize yourself with the components of your PHALANX Cordless Rotary Tool:

Image: A detailed diagram illustrating the key components of the cordless rotary tool, including the locking collar/nut, heavy-duty collet, output shaft, spindle lock system, 4000mAh battery, power on/off & spindle lock slider, soft grip housing, battery status indicator, digital display, speed control button, and Type-C USB socket.
- Locking Collar/Nut: Asegura la pinza y el accesorio.
- Heavy Duty Collet: Holds the accessory securely.
- Eje de salida: The rotating part where accessories are attached.
- Power On/Off & Spindle Lock Slider: A single slider for turning the tool on/off and engaging the spindle lock for accessory changes.
- 4000mAh Super Capacity Li-ion Battery: Batería interna recargable.
- Close-Fitting Housing with Large Soft Grip: Diseño ergonómico para un manejo cómodo.
- Indicador de estado de la batería: LED lights to show remaining battery charge.
- Pantalla digital: Shows current speed setting.
- Botones de control de velocidad: Used to adjust the rotational speed.
- Conector USB tipo C: For charging the tool.
Carga de la herramienta
The PHALANX Rotary Tool is equipped with a 4000mAh lithium-ion battery, providing extended runtime. Before first use, fully charge the tool.
- Locate the Type-C USB socket on the tool.
- Connect the provided Type-C USB cable to the tool and plug the other end into a compatible USB power adapter (not included) or a device with a USB port.
- The LED battery indicator will show the charging status. A full charge typically takes 2-4 hours.
- Una vez que esté completamente cargado, desconecte el cable de carga.
The digital display also provides a clear battery status indication during use.
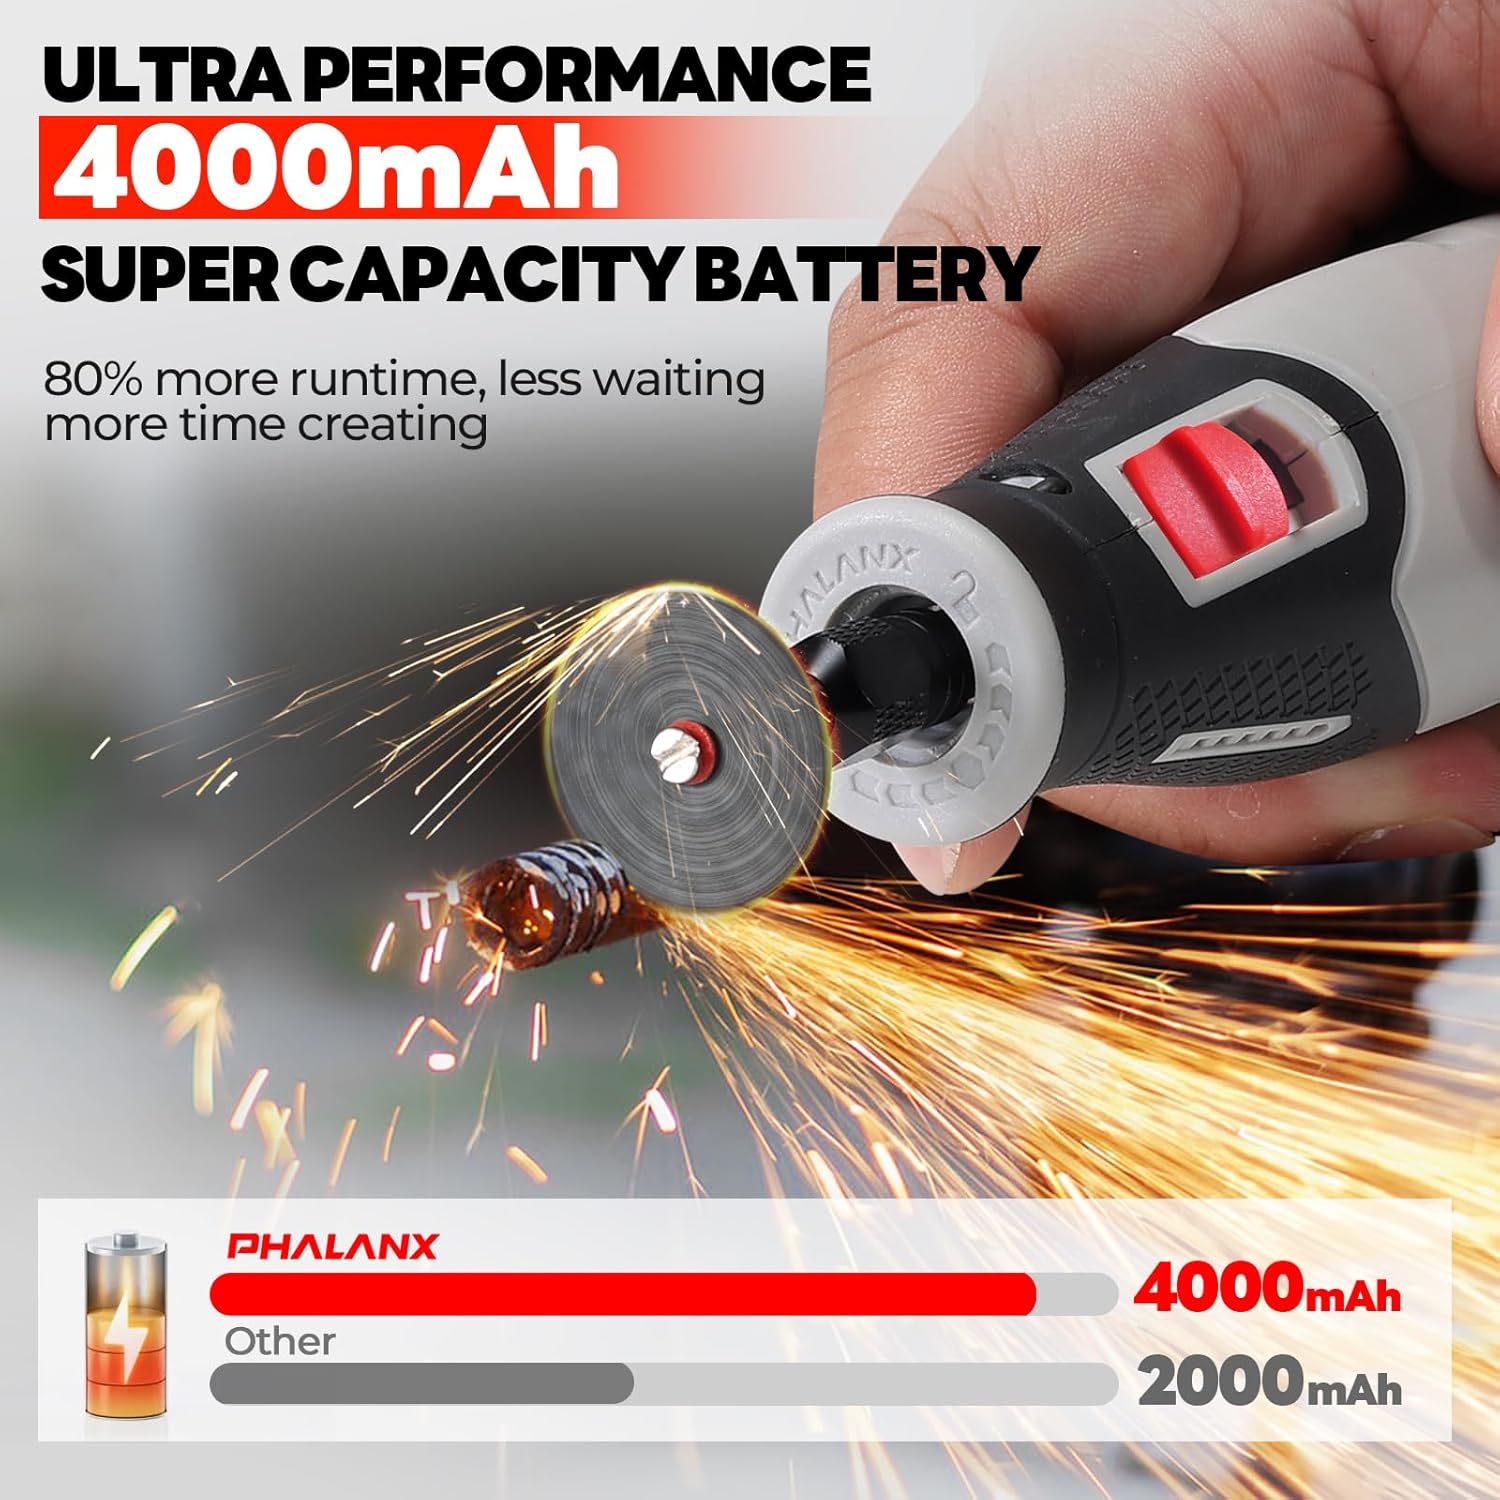
Image: An illustration highlighting the 4000mAh super capacity battery of the PHALANX rotary tool, demonstrating its extended runtime compared to a standard 2000mAh battery.
Setup and Accessory Installation
Proper accessory installation is crucial for safety and performance.
- Ensure Tool is Off: Before installing or changing any accessory, ensure the tool is turned off.
- Activar el bloqueo del husillo: Slide the power switch to the 'OFF' position and then further to engage the spindle lock. This prevents the shaft from rotating. The tool features a 'stop-before-lock' function for enhanced safety.
- Afloje la tuerca de la pinza: Use the provided wrench tool to loosen the collet nut at the end of the shaft.
- Accesorio de inserción: Inserte completamente el vástago del accesorio deseado en el portaherramientas.
- Apriete la tuerca de la pinza: While holding the spindle lock, tighten the collet nut firmly with the wrench tool. Do not overtighten.
- Disengage Spindle Lock: Release the spindle lock by sliding the power switch back to the 'ON' position.

Imagen: Un primer plano view of the rotary tool's integrated shaft lock and power switch, demonstrating how to engage the spindle lock for safe accessory replacement and how to turn the tool on and off.
Instrucciones de funcionamiento
This tool offers 9 speed settings for optimal performance across various tasks.
Encendido/apagado y ajuste de velocidad
- Encendido: Slide the power switch to the 'ON' position. The digital display will illuminate, showing the current speed setting.
- Ajustar velocidad: Use the speed control buttons (up/down arrows) to select the desired RPM. The tool offers 9 speeds, ranging from 6000 RPM to 28000 RPM.
- Función de memoria de engranajes: The tool retains the last set speed for up to 5 minutes after being turned off, simplifying operations for repetitive tasks.
- Apagado: Deslice el interruptor de encendido a la posición “APAGADO”.

Imagen: Un interno view of the rotary tool highlighting its 9-speed fine adjustment capability and intelligent gear memory function, with a digital display showing the selected speed up to 28000 RPM.
Consejos generales de uso
- Empieza despacio: Begin with a lower speed setting and gradually increase it as needed for the task and material.
- Presión ligera: Aplique una presión ligera y constante. Una fuerza excesiva puede dañar la herramienta, el accesorio o la pieza de trabajo.
- Mantener el agarre: The ergonomic design with a soft grip ensures comfortable handling. Hold the tool firmly for better control.
- Ventilación: Ensure proper ventilation in your workspace, especially when working with materials that produce dust or fumes.

Image: A collage demonstrating the PHALANX rotary tool being used for multiple applications, including sanding, cutting, drilling, carving, and polishing on various materials like wood, metal, and resin.

Image: Two hands demonstrating different grip styles (golf grip and pencil grip) on the PHALANX rotary tool, highlighting its close-fitting design and large soft grip for enhanced comfort and control during delicate tasks.
Mantenimiento y cuidado
El mantenimiento regular garantiza la longevidad y el rendimiento óptimo de su herramienta.
- Limpieza: After each use, wipe the tool with a clean, dry cloth. Use a soft brush to remove dust and debris from ventilation openings. Do not use harsh chemicals or abrasive cleaners.
- Almacenamiento de accesorios: Store all accessories in the provided tool box to keep them organized and protected.
- Cuidado de la batería: For long-term storage, charge the battery to approximately 50% and store the tool in a cool, dry place. Recharge every 3-6 months if not in use to maintain battery health.
- Inspección: Periodically inspect the tool and accessories for any signs of wear or damage. Replace worn accessories immediately.

Image: The PHALANX rotary tool's portable storage box, neatly organized with various accessories, demonstrating easy access and a tidy workbench solution.
Solución de problemas
If you encounter issues with your PHALANX Rotary Tool, refer to the following common problems and solutions:
| Problema | Posible causa | Solución |
|---|---|---|
| La herramienta no se enciende | La batería está agotada El interruptor de encendido no está completamente activado | Cargue la batería completamente Ensure the power switch is firmly in the 'ON' position |
| El accesorio se tambalea o se cae | La tuerca de la pinza está floja Incorrect accessory size for collet | Apriete firmemente la tuerca de la pinza Ensure the accessory shank matches the collet size |
| La herramienta pierde potencia rápidamente | La batería no está completamente cargada Duración de la batería degradada | Cargue la batería completamente Comuníquese con el servicio de atención al cliente si la vida útil de la batería disminuye significativamente |
| Vibración o ruido excesivo | Damaged or unbalanced accessory Accesorio no colocado correctamente | Reemplazar el accesorio Re-install the accessory, ensuring it is fully inserted and tightened |
Especificaciones técnicas
| Característica | Especificación |
|---|---|
| Número de modelo | TG-PRT R4 Max-Black |
| Volumentage | 4 voltios |
| Capacidad de la batería | Batería de iones de litio de 4000 mAh |
| Tipo de carga | Tipo-C USB |
| Tiempo de carga | 2-4 horas |
| Rango de velocidad | 6000 - 28000 RPM |
| Configuraciones de velocidad | 9 velocidades |
| Tipo de motor | Enhanced 380 Motor |
| Accesorios incluidos | 80 piezas |
| Dimensiones (aprox.) | 7.5 x 1.6 x 1.3 pulgadas |
| Peso (aprox.) | 0.6 libras |
Garantía y soporte
For warranty information and customer support, please refer to the warranty card included with your product or contact PHALANX customer service directly. Keep your purchase receipt as proof of purchase.
Ask a question about this manual
Ask about setup, troubleshooting, compatibility, parts, safety, or missing instructions. Manuals+ will review the question and use this page’s manual context to help answer it.