
Syncwire SW-EVP826
Manual de instrucciones del cargador trifásico para vehículos eléctricos Syncwire de 11 kW (modelo SW-EVP826)
Your guide to safe and efficient electric vehicle charging.
1. Introducción
Thank you for choosing the Syncwire 11 kW 3-Phase EV Charger. This portable charging cable is designed to provide efficient and reliable charging for your electric vehicle. This manual contains important information regarding the safe operation, installation, and maintenance of your charger. Please read it thoroughly before use and retain it for future reference.
2. Instrucciones de seguridad importantes
Siga siempre las precauciones básicas de seguridad al utilizar productos eléctricos para reducir el riesgo de incendio, descarga eléctrica y lesiones personales.
- Lee todas las instrucciones: Familiarize yourself with the charger's functions and safety warnings.
- Instalación correcta: Ensure the 3-phase CEE industrial plug is connected to a compatible 400V industrial socket with appropriate grounding and circuit protection. Installation should be performed by a qualified electrician if you are unsure.
- Evite la exposición al agua: While the charger box is IP66 rated and the EV plug is IP54 rated, avoid submerging the unit in water. Do not operate if the charger or cables are wet or damaged.
- Inspeccionar si hay daños: Before each use, inspect the charger, cables, and connectors for any signs of damage. Do not use if any part is damaged.
- Niños y mascotas: Mantenga el cargador y los cables fuera del alcance de los niños y las mascotas durante el funcionamiento y el almacenamiento.
- Ventilación: Asegúrese de que haya suficiente ventilación alrededor del cargador durante su funcionamiento. No cubra la unidad.
- Parada de emergencia: En caso de emergencia, desconecte inmediatamente el cargador de la fuente de alimentación y del vehículo.
3. Contenido del paquete
Verifique que todos los artículos estén presentes en el paquete:
- Syncwire 11 kW 3-Phase EV Charger with Type 2 connector and 3-Phase CEE Industrial Plug
- Soporte del cable
- Bolsa de almacenamiento
- Manual de usuario (este documento)

Imagen 3.1: The Syncwire 11 kW 3-Phase EV Charger, including the main control box, Type 2 charging cable, 3-phase CEE industrial plug, cable holder, and storage bag.
4. Producto terminadoview
The Syncwire 11 kW EV Charger features a robust control box with an LCD display, a Type 2 charging connector for your vehicle, and a 3-phase CEE industrial plug for the power source. The control box manages the charging process, displays real-time information, and allows for adjustable settings.

Imagen 4.1: Un detallado view of the 3-phase CEE industrial plug (5-pin, 62mm diameter) required for 11 kW charging. The image also illustrates the significantly faster charging speed (3X) compared to a standard 3 kW charger.
5. Configuración
5.1 Conexión de alimentación
- Ensure your electrical installation has a compatible 400V, 3-phase industrial socket (CEE 5-pin) with adequate circuit protection (e.g., 16A or higher).
- Plug the 3-phase CEE industrial plug of the charger securely into the industrial socket.
- The charger's LCD display should illuminate, indicating it is powered on.
5.2 Cable Holder Installation (Optional)
The included cable holder can be mounted on a wall near your charging location to keep the cable organized and prevent tripping hazards.
- Elija una ubicación adecuada en una pared resistente.
- Use appropriate screws and wall anchors (not included) to secure the cable holder.
- Hang the Type 2 connector and coil the cable neatly around the holder when not in use.

Imagen 5.1: Un example of an organized charging setup using the cable holder (left) compared to a disorganized setup without it (right).
6. Instrucciones de funcionamiento
6.1 Inicio de la carga
- Asegúrese de que el cargador esté conectado correctamente a la fuente de alimentación.
- Abra la tapa del puerto de carga de su vehículo eléctrico.
- Insert the Type 2 connector firmly into your vehicle's charging port. A click sound usually indicates a secure connection.
- The charger will perform a self-check, and charging should begin automatically. The LCD display will show charging status, current, and energy delivered.
6.2 Ajuste de la corriente de carga
You can adjust the charging current to suit your needs or the capacity of your electrical system. The available current settings are 6A, 8A, 10A, 13A, and 16A.
- Before connecting to the vehicle, or during charging if your vehicle supports it, press the 'Current Adjustment' button on the control box.
- Cycle through the available current options (6A, 8A, 10A, 13A, 16A) until your desired setting is displayed on the LCD.
- The charger will automatically adjust to the selected current.
6.3 Scheduled Charging (Timer Function)
The charger allows you to set a delayed start time for charging, from 0 to 5 hours.
- With the charger connected to the power source but not yet to the vehicle, or before charging starts, press the 'Timer' button on the control box.
- Each press will increase the delay by one hour, up to a maximum of 5 hours.
- Once the desired delay is set, connect the charger to your vehicle. Charging will commence after the set delay.

Imagen 6.1: The charger's LCD display illustrating the options for adjustable current (6A-16A) and scheduled charging (0-5 hours delay).
6.4 Comprensión de la pantalla LCD
La pantalla LCD proporciona información en tiempo real sobre el proceso de carga:
- Potencia de carga: Displays the current power in kW.
- Energy Delivered: Shows the total energy transferred in kWh.
- Tiempo de carga: Indicates the elapsed charging duration.
- Configuración actual: Shows the selected charging current (e.g., 16A).
- Indicadores de estado: Icons for power, connection, and error messages.
6.5 Ending Charging
- Stop the charging process via your vehicle's interface or by pressing the stop button on the charger (if available).
- Disconnect the Type 2 connector from your vehicle's charging port.
- Disconnect the 3-phase CEE industrial plug from the power source.
- Store the cable neatly using the cable holder and in the provided storage bag.
7. Mantenimiento
7.1 Limpieza
Regular cleaning helps maintain the charger's performance and longevity.
- Always disconnect the charger from both the power source and the vehicle before cleaning.
- Wipe the control box and cables with a soft, damp paño. No utilice productos químicos agresivos, disolventes ni limpiadores abrasivos.
- Ensure connectors are free of dust and debris. Use protective caps when not in use.
7.2 Almacenamiento
When not in use, store the charger in a dry, clean, and temperate environment.
- Coil the cable neatly and use the provided storage bag for protection.
- Evite almacenarlo bajo la luz solar directa o temperaturas extremas.

Imagen 7.1: The Syncwire EV charger neatly stored in its compact, waterproof PU fabric storage bag, suitable for transport in a car trunk.
8. Solución de problemas
If you encounter issues with your Syncwire EV Charger, refer to the following common problems and solutions:
| Problema | Posible causa | Solución |
|---|---|---|
| El cargador no se enciende | No power from the industrial socket; loose connection. | Check the industrial socket for power; ensure the CEE plug is fully inserted. |
| La carga no se inicia | Type 2 connector not fully inserted; vehicle not ready to charge; scheduled charging delay active. | Ensure Type 2 connector is secure; check vehicle's charging status; verify scheduled charging settings. |
| La carga se detiene inesperadamente | Overcurrent/overheating protection activated; vehicle fault; power interruption. | Disconnect and reconnect; check for error codes on LCD; ensure adequate ventilation; consult vehicle manual. |
| Mensaje de error en la pantalla LCD | Internal fault; connection issue; specific error condition. | Note the error code and refer to the Syncwire support for assistance. Try disconnecting and reconnecting. |
If the problem persists after attempting these solutions, please contact Syncwire customer support.
9. Especificaciones
| Característica | Detalle |
|---|---|
| Número de modelo | SW-EVP826 |
| Potencia de carga | Up to 11 kW (3-Phase) |
| Vol de entradatage | 400 voltios (CA) |
| Vol de salidatage | 400 voltios (CA) |
| Calificación actual | Adjustable: 6A, 8A, 10A, 13A, 16A |
| Longitud del cable | 5.5 metros |
| Tipo de conector EV | Tipo 2 |
| Tipo de enchufe de alimentación | 3-Phase CEE Industrial Plug |
| Clasificación IP (caja de control) | IP66 (resistente al agua y al polvo) |
| IP Rating (EV Plug) | IP54 |
| Peso del artículo | 3.91 kilogramos |
| Temperatura de funcionamiento | Refer to product packaging for specific range. |
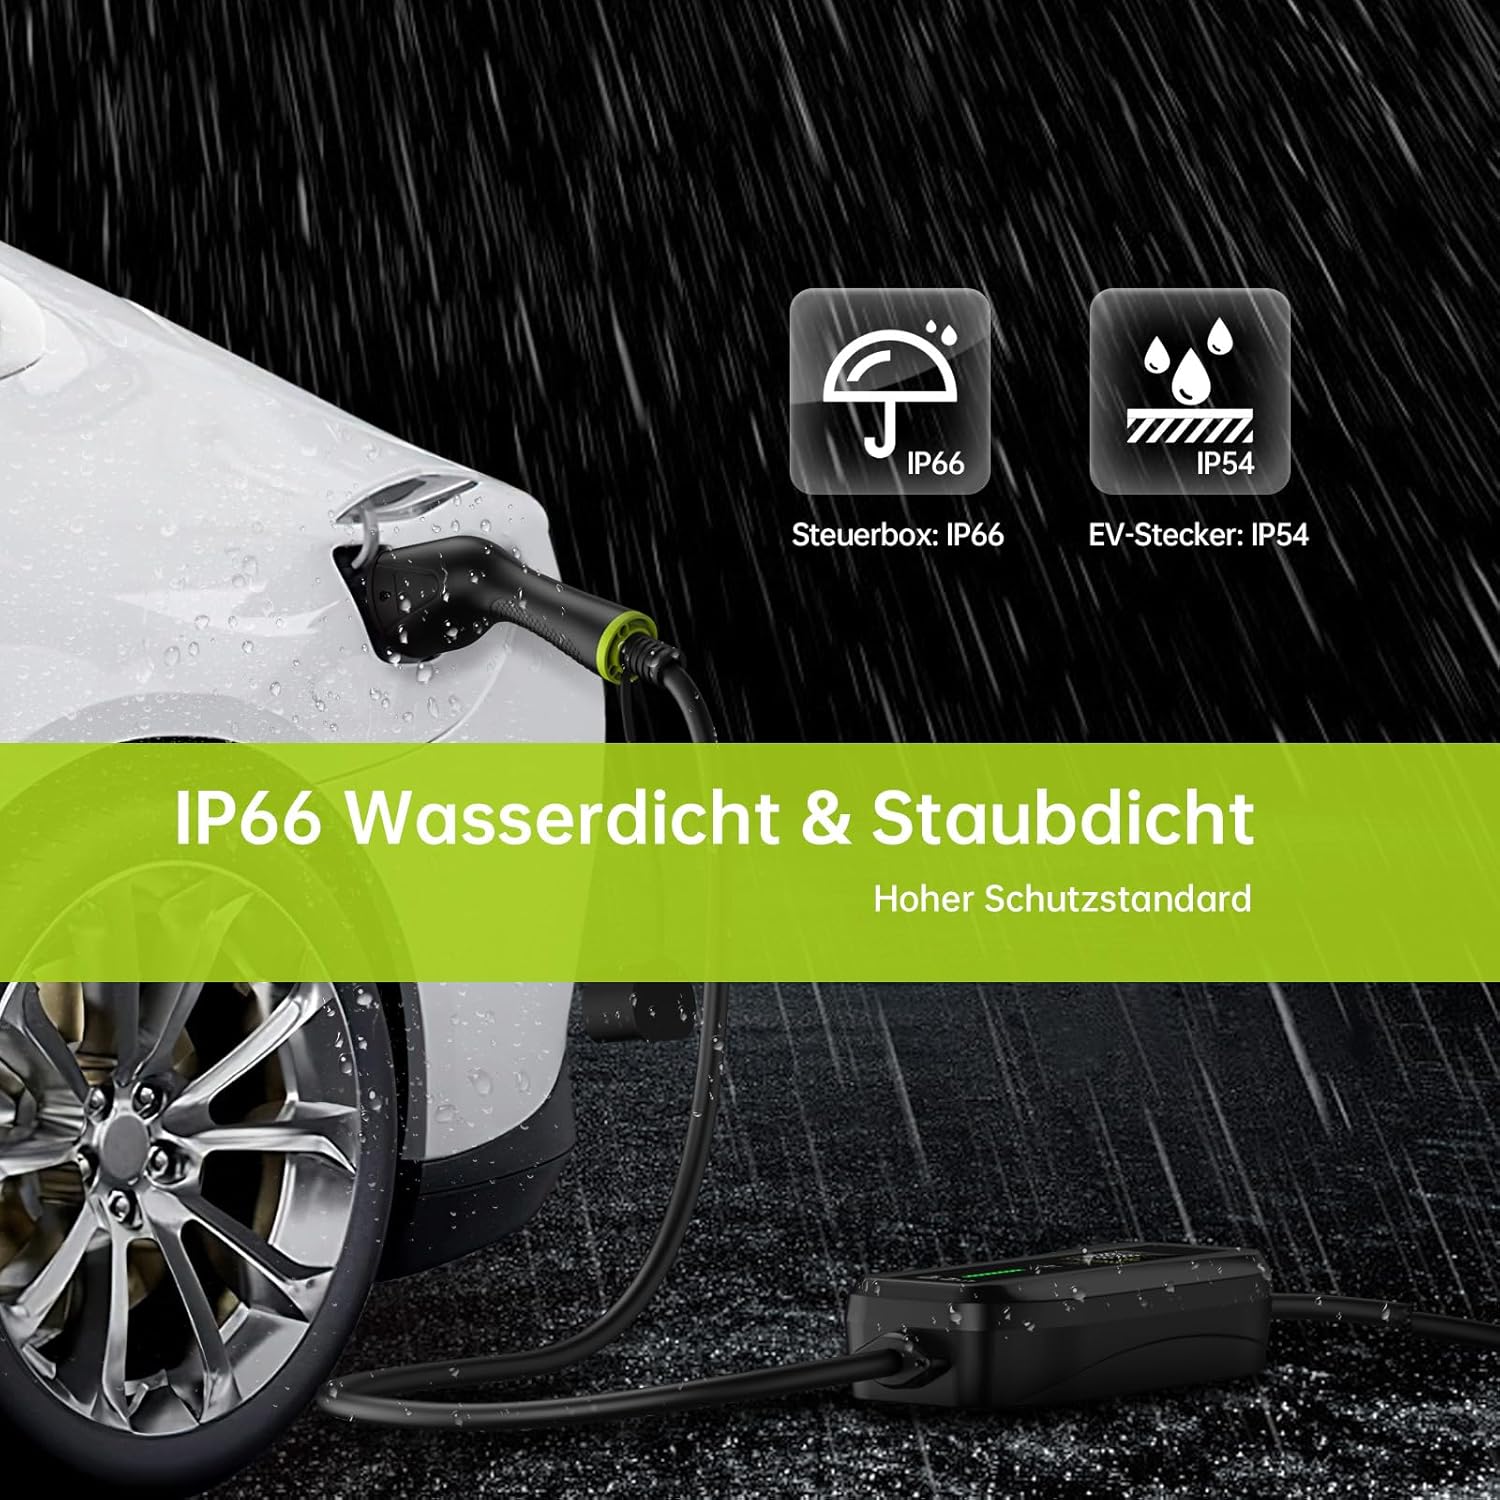
Imagen 9.1: The Syncwire EV charger demonstrating its IP66 waterproof and dustproof rating for the control box and IP54 rating for the EV plug, suitable for outdoor use.
10. Compatibilidad del vehículo
The Syncwire 11 kW 3-Phase EV Charger with a Type 2 connector is compatible with a wide range of electric vehicles. Below is a list of commonly compatible brands and models:

Imagen 10.1: A visual representation of various electric vehicle brands and models compatible with the Type 2 EV charger, including Tesla, Volkswagen, Renault, Hyundai, Peugeot, Kia, BMW, Smart, Audi, Fiat, Nissan, Opel, Skoda, Mercedes-Benz, Mini, Dacia, MG, Polestar, Ford, Jaguar, and Porsche.
- Tesla: Model 3/Model Y/Model S/Model X
- Volkswagen: ID.3/ID.4/ID.5/e-UP!/e-Golf
- Renault: ZOE/Twingo/Megane E-Tech
- Hyundai: Kona/IONIQ 5/IONIQ
- Peugeot: e-208/e-2008/e-Expert
- Kia: Niro/Soul EV (39/64 KWH)/EV6
- BMW: i3/iX3/i4/i7/i8/X1
- Elegante: EQ Fortwo/EQ Forfour
- Audi: e-Tron/Q4 e-Tron/e-Tron GT
- Fíat: 500e
- Nissan: Leaf/Ariya
- Opel: Corsa-E/Mokka-E
- Škoda: Enyaq/Citigo
- Mercedes-Benz: EQA/EQC/EQB/EQV/EQS
- Mini: MINI Cooper SE
- Dacia: Primavera
- M.: Zs/Marvel R/5
- Polestar: 2
- Vado: Mustang Mach-E
- Jaguar: I-Pace
- Porsche: Taycan
Note: This list is not exhaustive. Always confirm your vehicle's charging port type (Type 2) before use.
11. Garantía y soporte
11.1 Información de garantía
Syncwire products are manufactured to high-quality standards. For specific warranty details, including coverage period and terms, please refer to the warranty card included with your purchase or visit the official Syncwire webSitio. Conserve su comprobante de compra para reclamaciones de garantía.
11.2 Atención al cliente
If you have any questions, require technical assistance, or need to report an issue with your Syncwire 11 kW 3-Phase EV Charger, please contact Syncwire customer support through the following channels:
- Websitio: Visita el Syncwire oficial webSitio para preguntas frecuentes, recursos de soporte y formularios de contacto.
- Correo electrónico: Refer to your product packaging or the Syncwire webSitio para la dirección de correo electrónico de atención al cliente.
- Plataforma de compra: For issues related to your order, you may also contact the seller directly through the platform where you made your purchase.
Ask a question about this manual
Ask about setup, troubleshooting, compatibility, parts, safety, or missing instructions. Manuals+ will review the question and use this page’s manual context to help answer it.