
1. Introducción
Thank you for choosing the Hammersmith AirStorm. This versatile 5-in-1 cordless device combines the functionality of a powerful handheld vacuum cleaner, an efficient air compressor, and an integrated SOS light, making it an indispensable tool for your vehicle, home, and outdoor activities. This manual provides detailed instructions for safe operation, maintenance, and troubleshooting to ensure optimal performance and longevity of your device.

The Hammersmith AirStorm is designed for cordless use anywhere, offering quick inflation and an integrated SOS light.
2. Instrucciones de seguridad
Please read all safety warnings and instructions carefully before using the Hammersmith AirStorm. Failure to follow these instructions may result in electric shock, fire, and/or serious injury.
- Mantenga el dispositivo fuera del alcance de los niños y las mascotas.
- Do not expose the device to rain or wet conditions. Water entering a power tool will increase the risk of electric shock.
- Utilice únicamente el cable de carga USB proporcionado.
- No utilice el dispositivo si está dañado. Contacte con el servicio de atención al cliente para obtener ayuda.
- Do not block the vacuum inlet or air outlet during operation.
- Avoid prolonged use of the air compressor to prevent overheating. Allow the device to cool down between uses.
- When inflating tires, always check the recommended pressure and do not overinflate.
- The SOS light is for emergency signaling; do not stare directly into the light.
3. Contenido del paquete
Verifique que todos los artículos estén presentes en su paquete:

The complete 11-piece set of the Hammersmith AirStorm and its accessories.
- 1 x Hammersmith AirStorm Unit
- 1 x Dust Container
- Filtro 1 x HEPA
- 1 x boquilla de grieta
- 1 x Mini Brush
- 1 x Surface Brush
- 1 x cable de carga USB
- 1 x manguera de aire
- 1 x Needle Valve
- 1 x Valve Adapter (for various inflatables)
- Additional valves (total of 4 valves included)
4. Producto terminadoview
Familiarize yourself with the main components of your Hammersmith AirStorm:
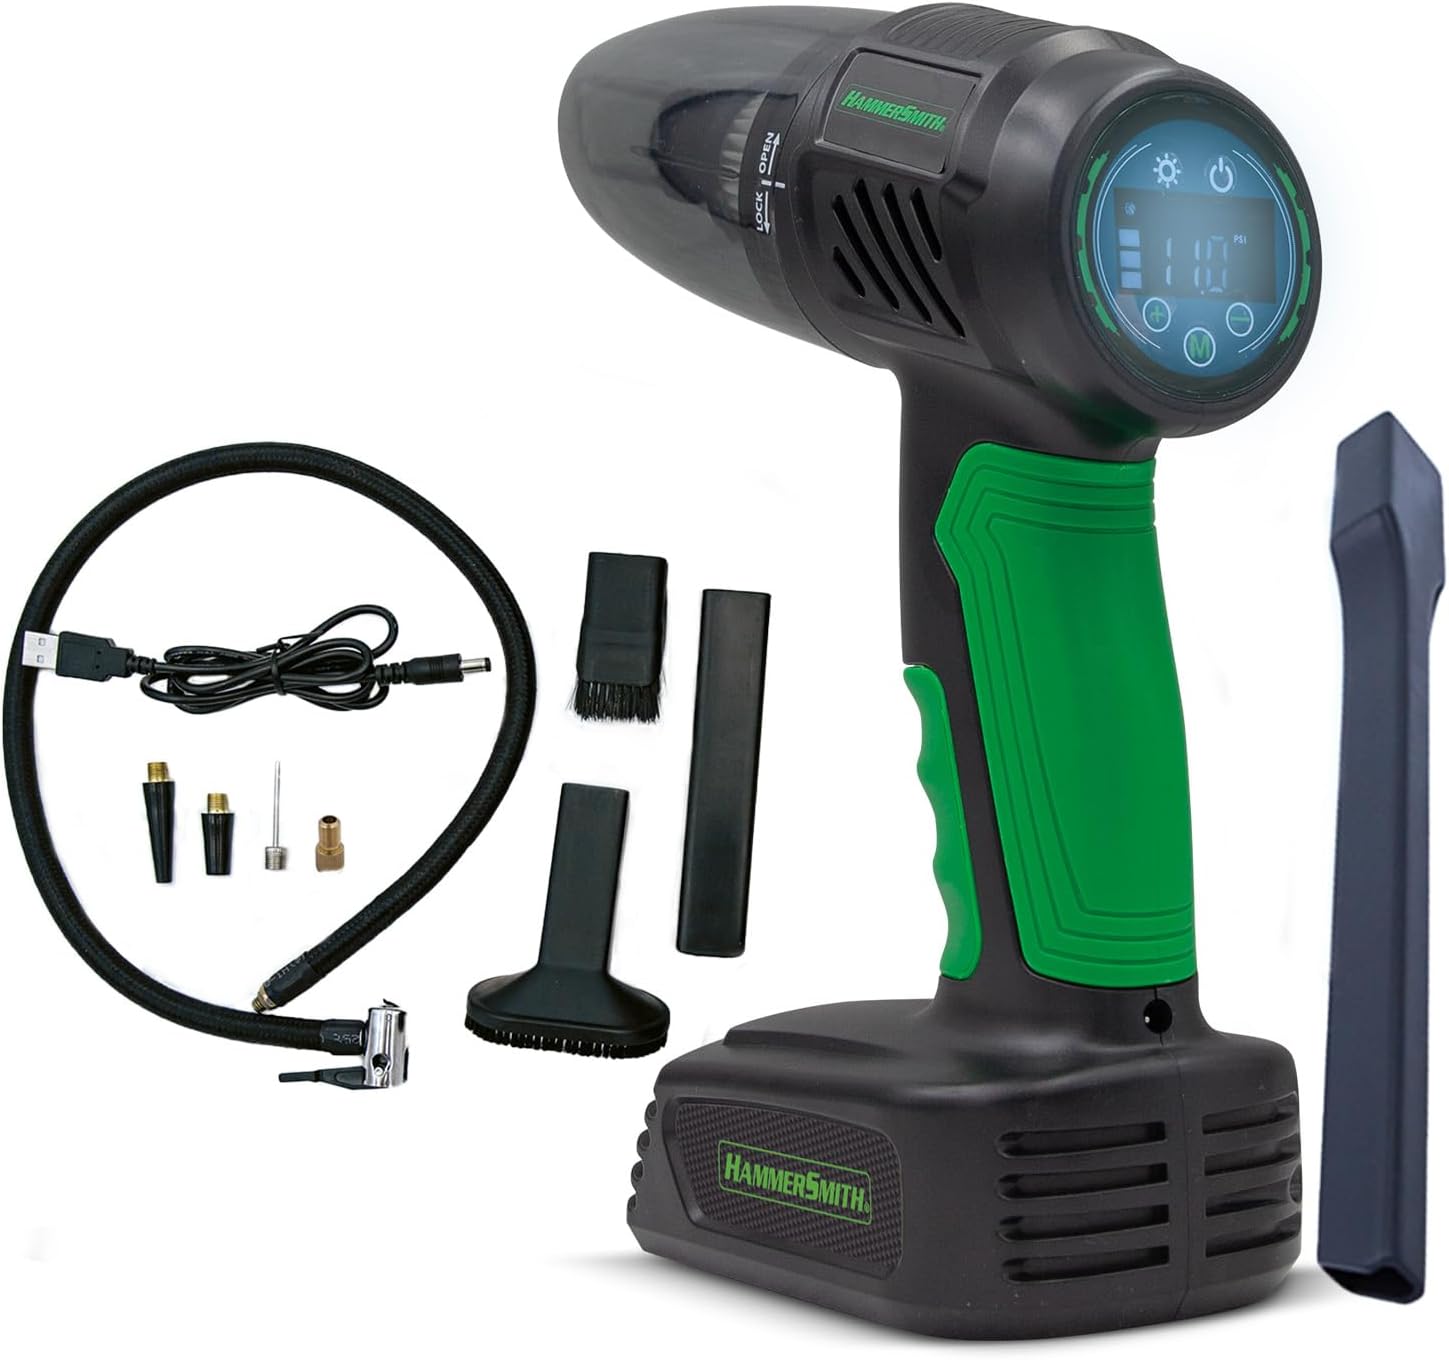
The Hammersmith AirStorm unit and its comprehensive accessory set.
- Unidad principal: Ergonomic handle, integrated display, power button, mode selection buttons.
- Entrada de vacío: Located at the front, where dust container and nozzles attach.
- Salida de aire: Located at the bottom, for connecting the air hose.
- Pantalla digital: Shows battery level, pressure readings, and selected mode.
- Luz SOS: Integrated LED light for illumination and emergency signaling.
- Puerto de carga: Puerto USB para cargar el dispositivo.

Detallado view of the digital display and control buttons on the Hammersmith AirStorm.
5. Configuración
5.1 Carga del dispositivo
Before first use, fully charge the Hammersmith AirStorm. Connect the provided USB charging cable to the device's charging port and plug the other end into a compatible USB power source (e.g., wall adapter, car charger, power bank). The charging indicator on the display will show the charging status. A full charge takes approximately 15 minutes.
5.2 Colocación de accesorios
- Para aspirar: Twist the dust container onto the main unit until it clicks into place. Insert the desired nozzle (crevice, mini brush, or surface brush) firmly into the dust container opening.
- For Air Compressor: Screw the air hose onto the air outlet at the bottom of the unit. Attach the appropriate valve adapter (needle valve, standard valve adapter, or other included valves) to the end of the air hose, depending on the item you wish to inflate.
6. Instrucciones de funcionamiento
6.1 Función de vacío
To activate the vacuum function, press the power button. The device will start in vacuum mode. Use the appropriate nozzle for the surface you are cleaning. After use, press the power button again to turn off the device.

Cleaning car interiors with the crevice nozzle.

Using the mini brush for kitchen surfaces.

Reaching tight spots like window sills.

Effective cleaning of upholstery.
6.2 Air Compressor Function
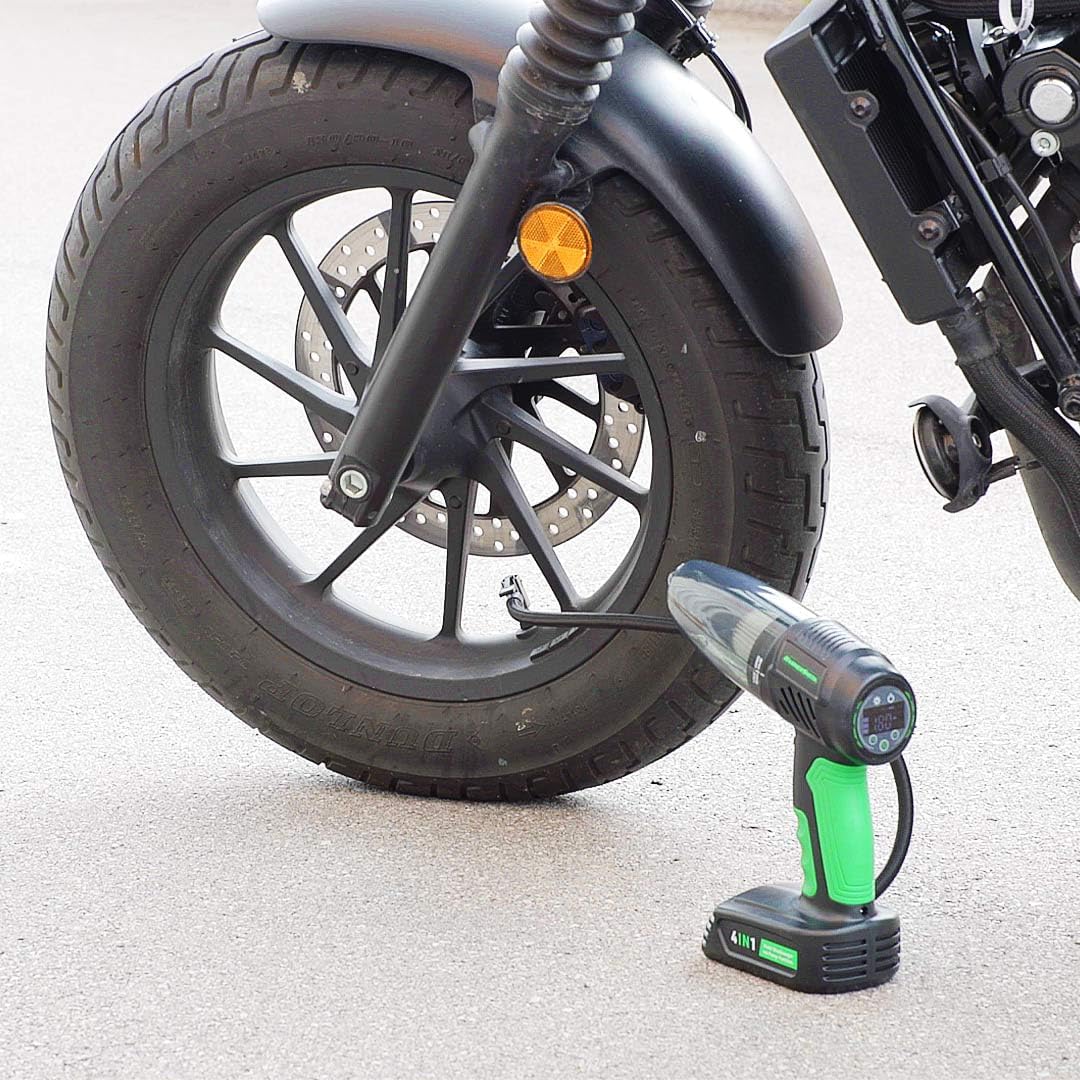
After attaching the air hose and appropriate valve, press the mode button to switch to air compressor mode. The display will show the current pressure. Use the '+' and '-' buttons to set your desired target pressure. Press the power button to start inflation. The compressor will automatically stop once the target pressure is reached. Press the power button again to manually stop inflation.
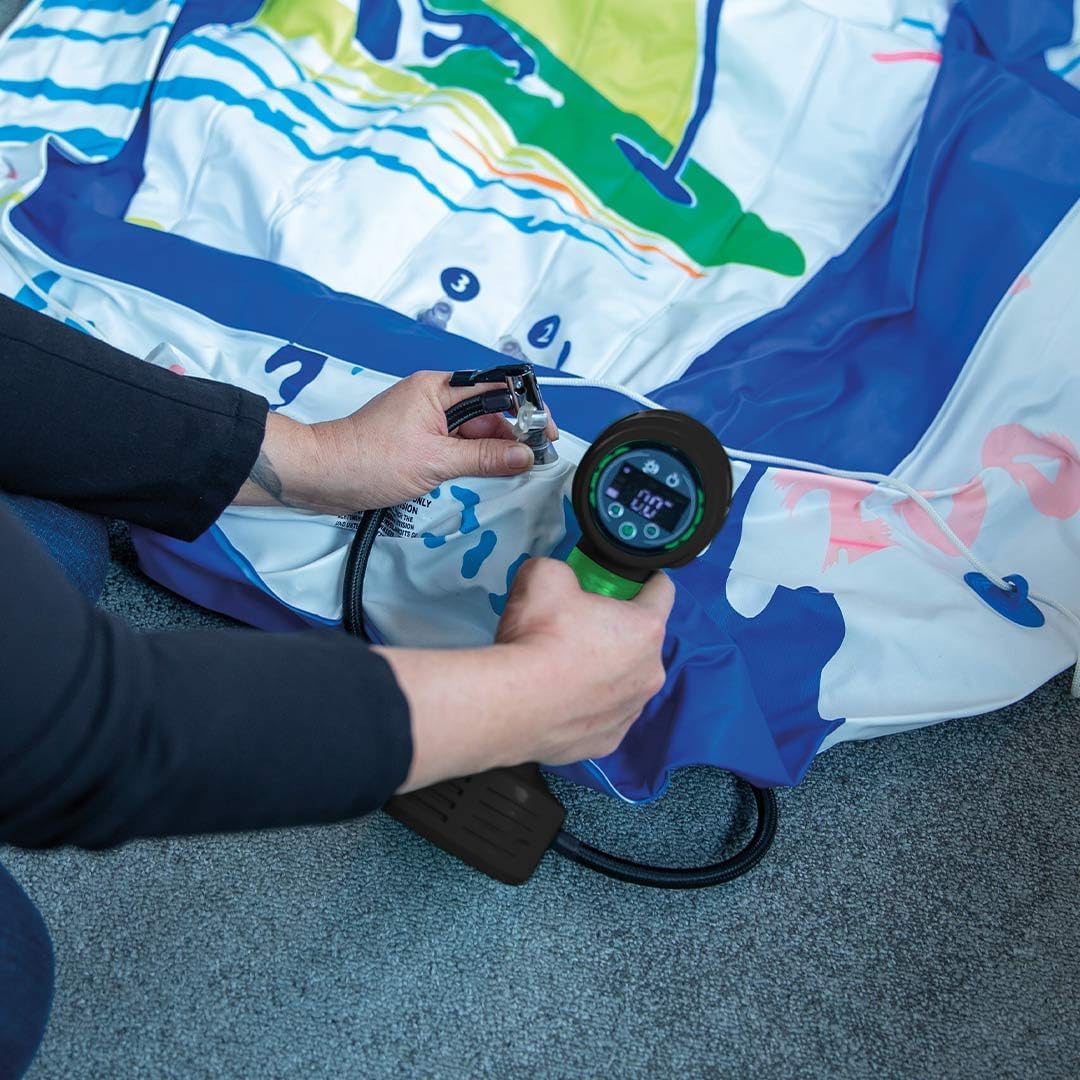
Inflating large inflatables with ease.
Inflating bicycle tires quickly.

Checking and adjusting motorcycle tire pressure.

Versatile use for various tires, including wheelbarrows.
6.3 Función de luz SOS
The integrated SOS light can be activated independently. Press the dedicated light button to cycle through different light modes: steady illumination, flashing, and SOS signal. This feature is useful for roadside emergencies, working in dark areas, or signaling for help.

Using the integrated light for illumination in dark spaces.

The SOS light provides an additional safety feature for emergencies.
7. Mantenimiento
7.1 Vaciado del depósito de polvo
For optimal suction performance, empty the dust container regularly. Twist the dust container counter-clockwise to detach it from the main unit. Dispose of the collected debris and reattach the container.
7.2 Limpieza del filtro HEPA
The HEPA filter should be cleaned periodically to maintain suction efficiency. Remove the filter from the dust container. Tap it gently to remove loose dust. If necessary, rinse the filter with cold water. Ensure the filter is completely dry before reinserting it into the dust container and reattaching it to the unit.
7.3 Limpieza general
Limpie el exterior del dispositivo con un paño suave yamp cloth. Do not use harsh chemicals or abrasive cleaners. Ensure the device is turned off and unplugged before cleaning.
8. Solución de problemas
| Problema | Posible causa | Solución |
|---|---|---|
| El dispositivo no se enciende. | Batería baja. | Cargue el dispositivo por completo. |
| Bajo poder de succión. | Dust container full or filter clogged. | Empty dust container and clean/replace HEPA filter. |
| El compresor de aire no infla. | Air hose or valve not properly connected. | Ensure all connections are secure. Check for leaks. |
| El dispositivo se sobrecalienta durante el uso. | Funcionamiento continuo prolongado. | Apague el dispositivo y déjelo enfriar durante al menos 15 minutos antes de reanudar su uso. |
9. Especificaciones
| Característica | Especificación |
|---|---|
| Marca | Hammersmith |
| Número de modelo | M36025 |
| Color | Verde |
| Dimensiones del producto (L x An x Al) | 21.3 x 9.1 x 27.6 cm |
| Peso | 890 gramos |
| Volumen de la bateríatage | 7.4 V (iones de litio) |
| Tiempo de ejecución | 15 minutos |
| Tiempo de carga | 15 minutos |
| Presión máxima de aire | 10.3 barras |
| Tipo de filtro | Filtro HEPA |
| Fuente de poder | Funciona con pilas |
| Inalámbrico | Sí |
10. Garantía y soporte
The Hammersmith AirStorm comes with a standard manufacturer's warranty. Please refer to the product packaging or your purchase receipt for specific warranty terms and conditions. For technical support, replacement parts, or any other inquiries, please contact the seller or manufacturer directly through the contact information provided at the point of purchase.