
1. Introducción
This manual provides essential information for the proper setup, operation, and maintenance of your NexiGo NG17QH 4K Portable Monitor. Please read this manual thoroughly before using the device to ensure optimal performance and to prevent damage. Keep this manual for future reference.

Image: The NexiGo NG17QH 4K Portable Monitor, showcasing its sleek design and smart cover.
2. Contenido del paquete
Verify that all items listed below are included in your package. If any items are missing or damaged, please contact NexiGo customer support.
- NexiGo NG17QH 4K Portable Monitor
- Smart Cover / Stand
- Cable USB-C a USB-C
- Cable Mini HDMI a HDMI
- Cable de alimentación USB-A a USB-C
- Adaptador de corriente
3. Producto terminadoview
Familiarize yourself with the ports and controls on your NexiGo NG17QH portable monitor.
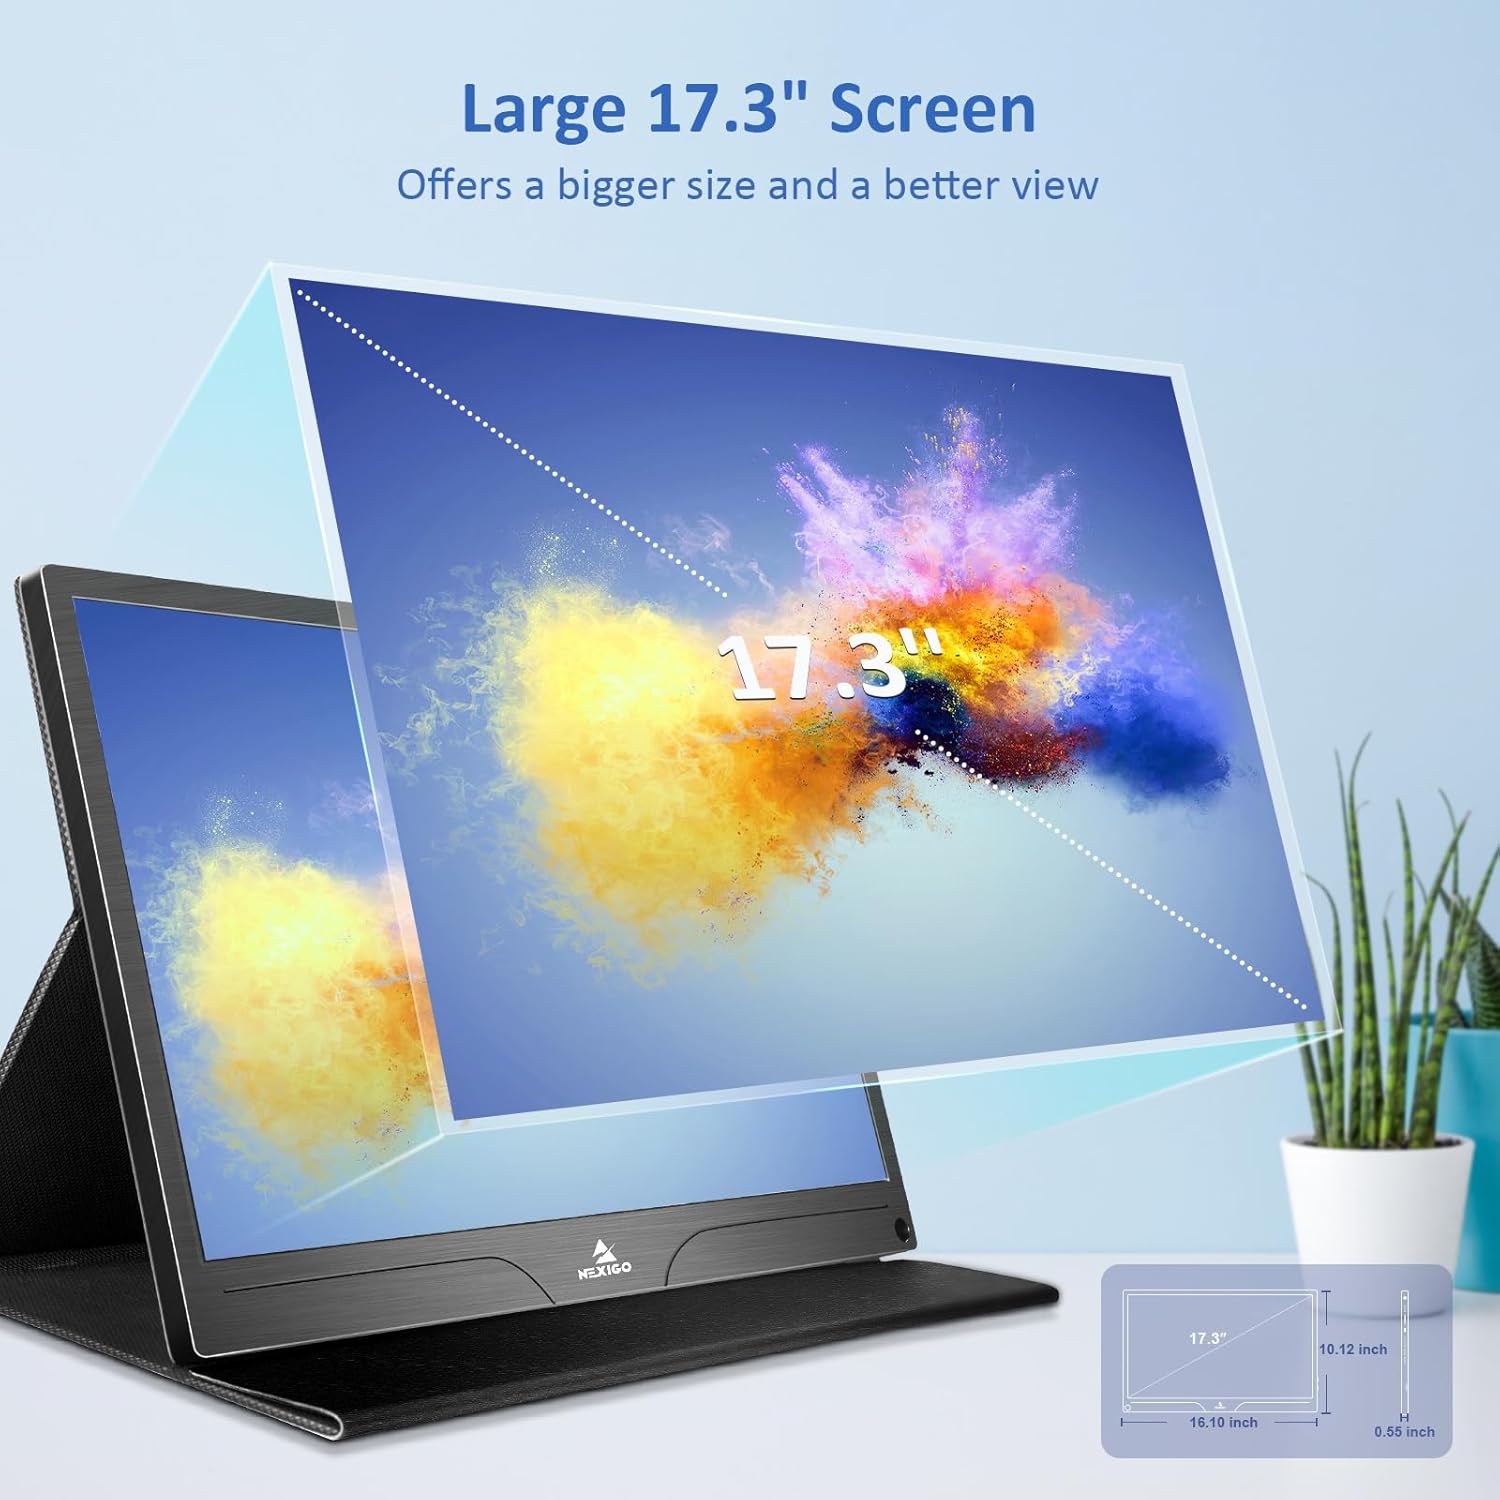
Imagen: Detallada view of the monitor's ports and controls.
Puertos y botones:
- Puerto USB-C con todas las funciones: Used for power, video, and audio transmission with compatible devices.
- Mini puerto HDMI: Used for video and audio transmission with HDMI-compatible devices.
- Botón de encendido: Press and hold to power the monitor on or off. Short press to access the OSD menu.
- Luz indicadora de poder: Indicates the monitor's power status.
- Multi-Function Key: Used to navigate the OSD menu and adjust settings.
- OTG Interface (USB-C): Allows connection of USB peripherals like keyboards or mice when the monitor is connected via the full-featured USB-C port.
- Toma de auriculares de 3.5 mm: Para conectar dispositivos de audio externos.
4. Configuración
Follow these steps to set up your NexiGo NG17QH portable monitor.
4.1 Encendido del monitor
- Using a single USB-C cable (Full-Featured): If your device (laptop, smartphone) supports full-featured USB-C output, connect the monitor to your device using the provided USB-C to USB-C cable. This single cable can provide both power and display signal.
- Using an external power adapter: If your device does not provide sufficient power or if you are using the Mini HDMI port, connect the provided USB-A to USB-C power cable to the monitor's full-featured USB-C port and plug the USB-A end into the power adapter, then into a wall outlet.
4.2 Conexión a dispositivos
- Laptop/PC (USB-C): Connect the monitor to your laptop/PC using the USB-C to USB-C cable. Ensure your laptop's USB-C port supports DisplayPort Alternate Mode.
- Laptop/PC (HDMI): Connect the monitor to your laptop/PC using the Mini HDMI to HDMI cable. Ensure the monitor is powered externally via the USB-C power cable.
- Gaming Consoles (PS5, Xbox, Switch): Connect the monitor to your console using the Mini HDMI to HDMI cable. Ensure the monitor is powered externally via the USB-C power cable.
- Teléfono inteligente: Connect the monitor to your smartphone using the USB-C to USB-C cable. Ensure your smartphone's USB-C port supports video output.
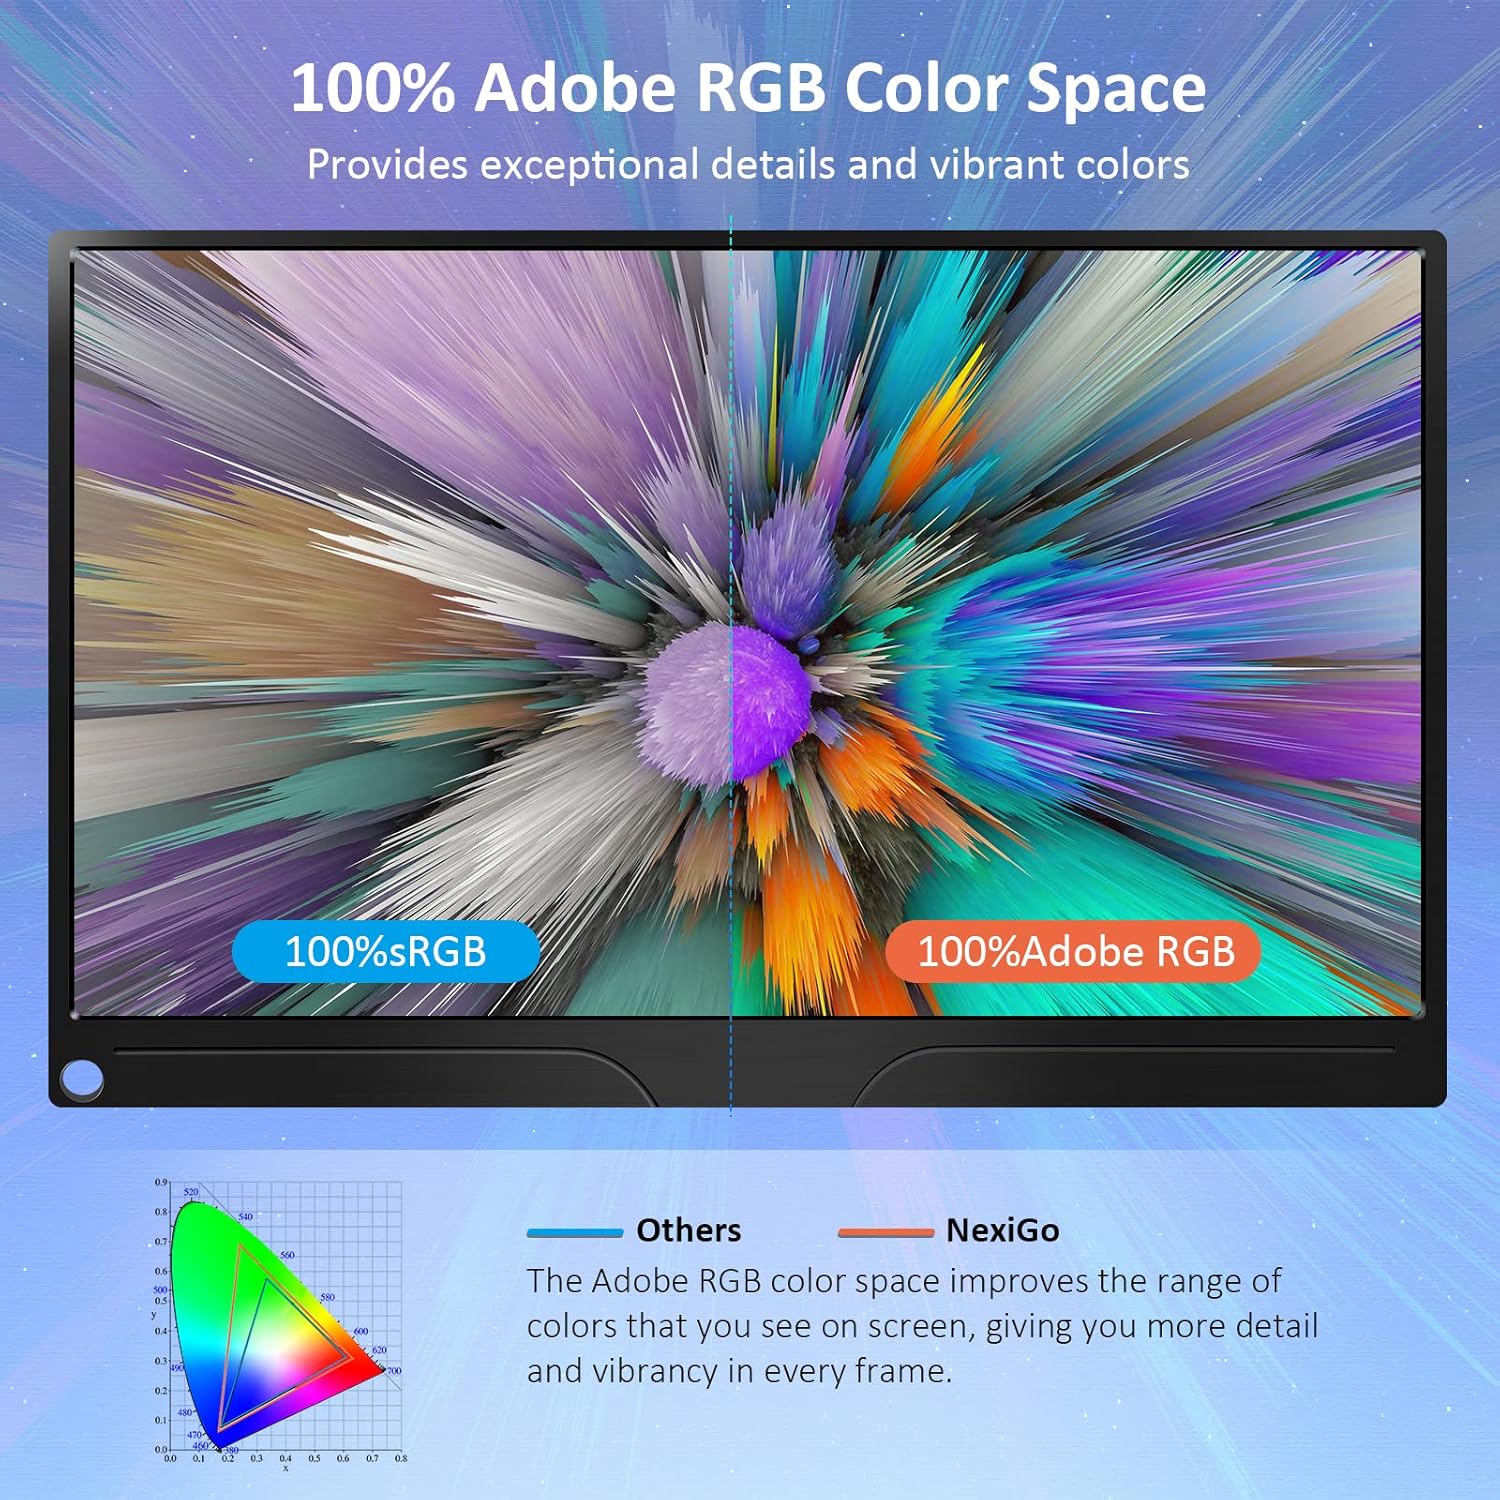
Image: The portable monitor connected to a laptop, demonstrating an extended display setup.
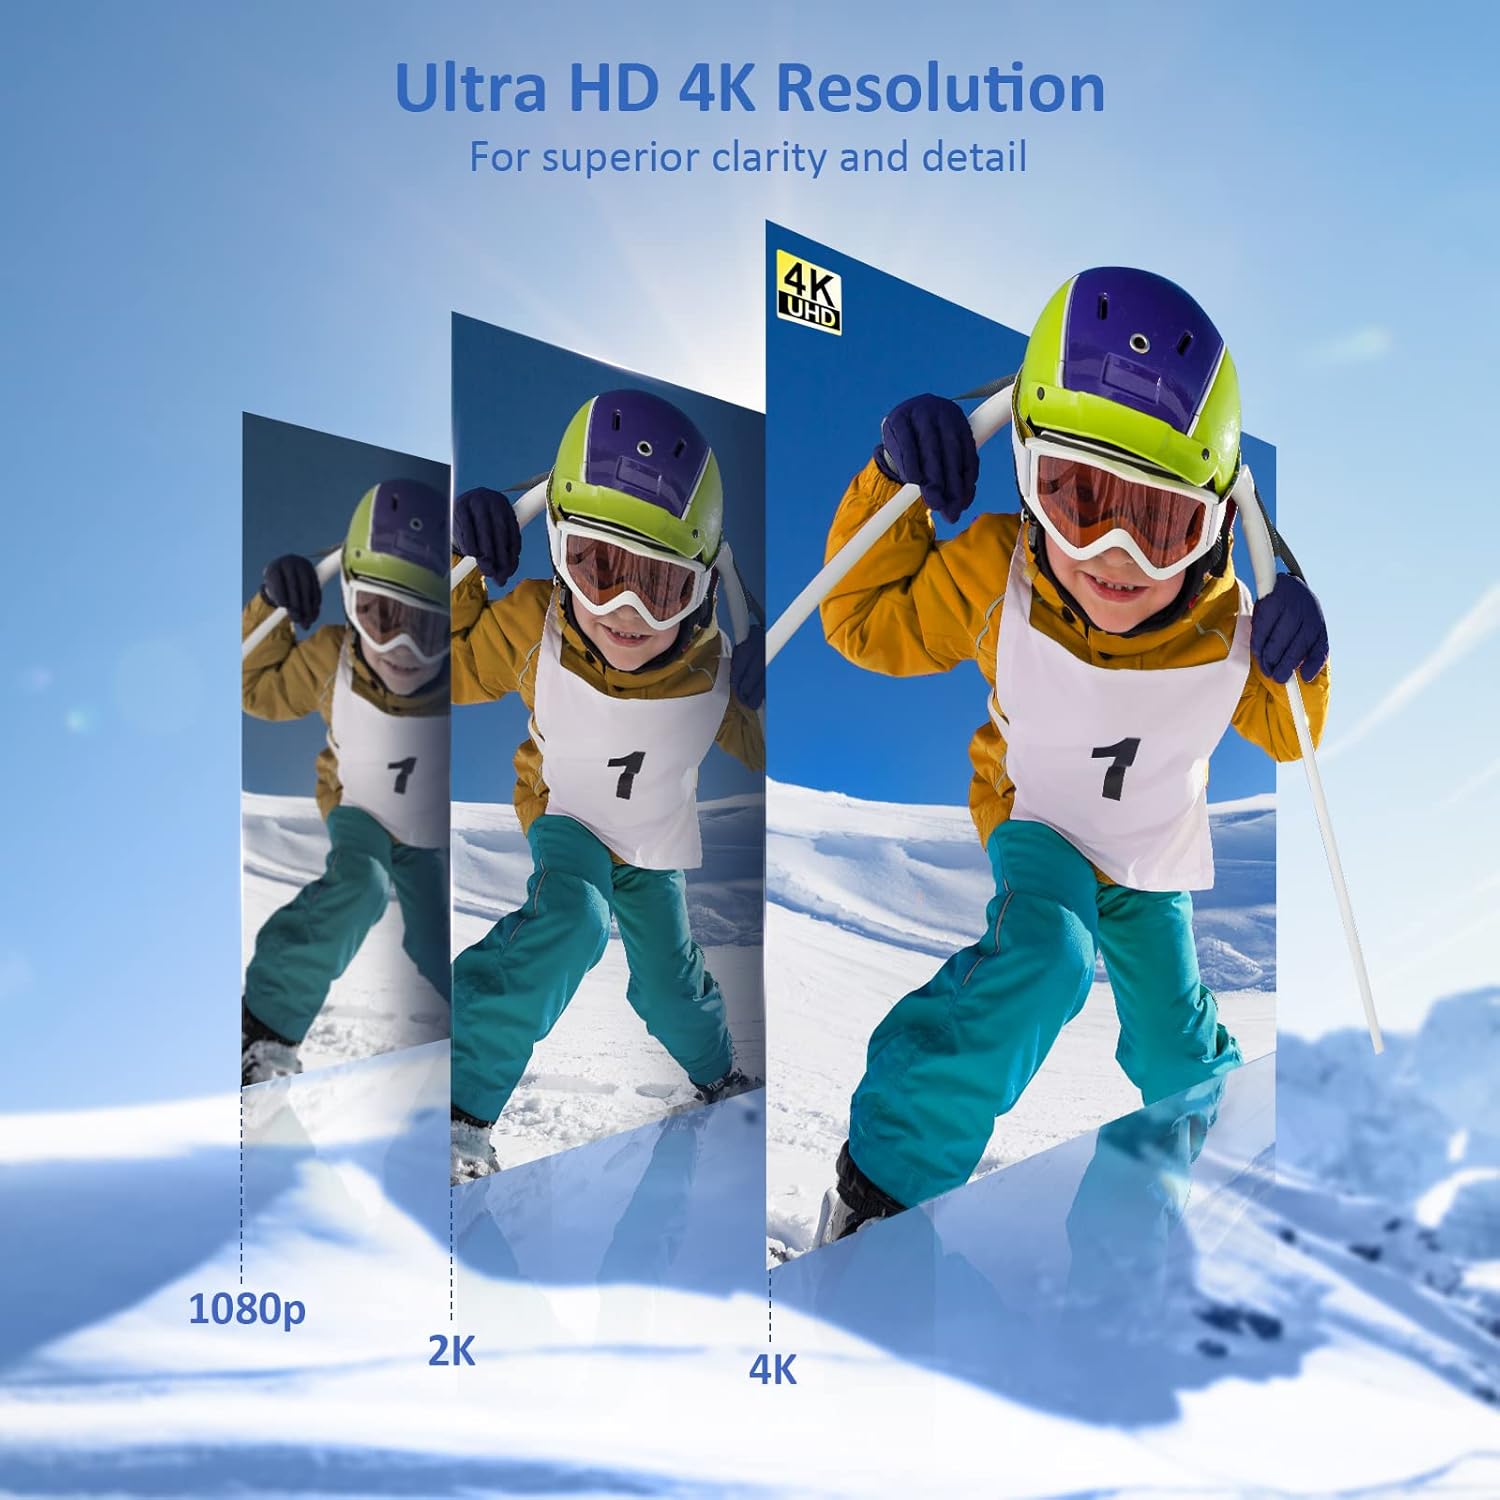
Image: The portable monitor connected to a smartphone, displaying content.
4.3 Montaje VESA
The monitor is compatible with VESA mounts (75x75mm). To mount the monitor, remove the smart cover and attach it to a compatible VESA arm or wall mount using appropriate screws (not included).
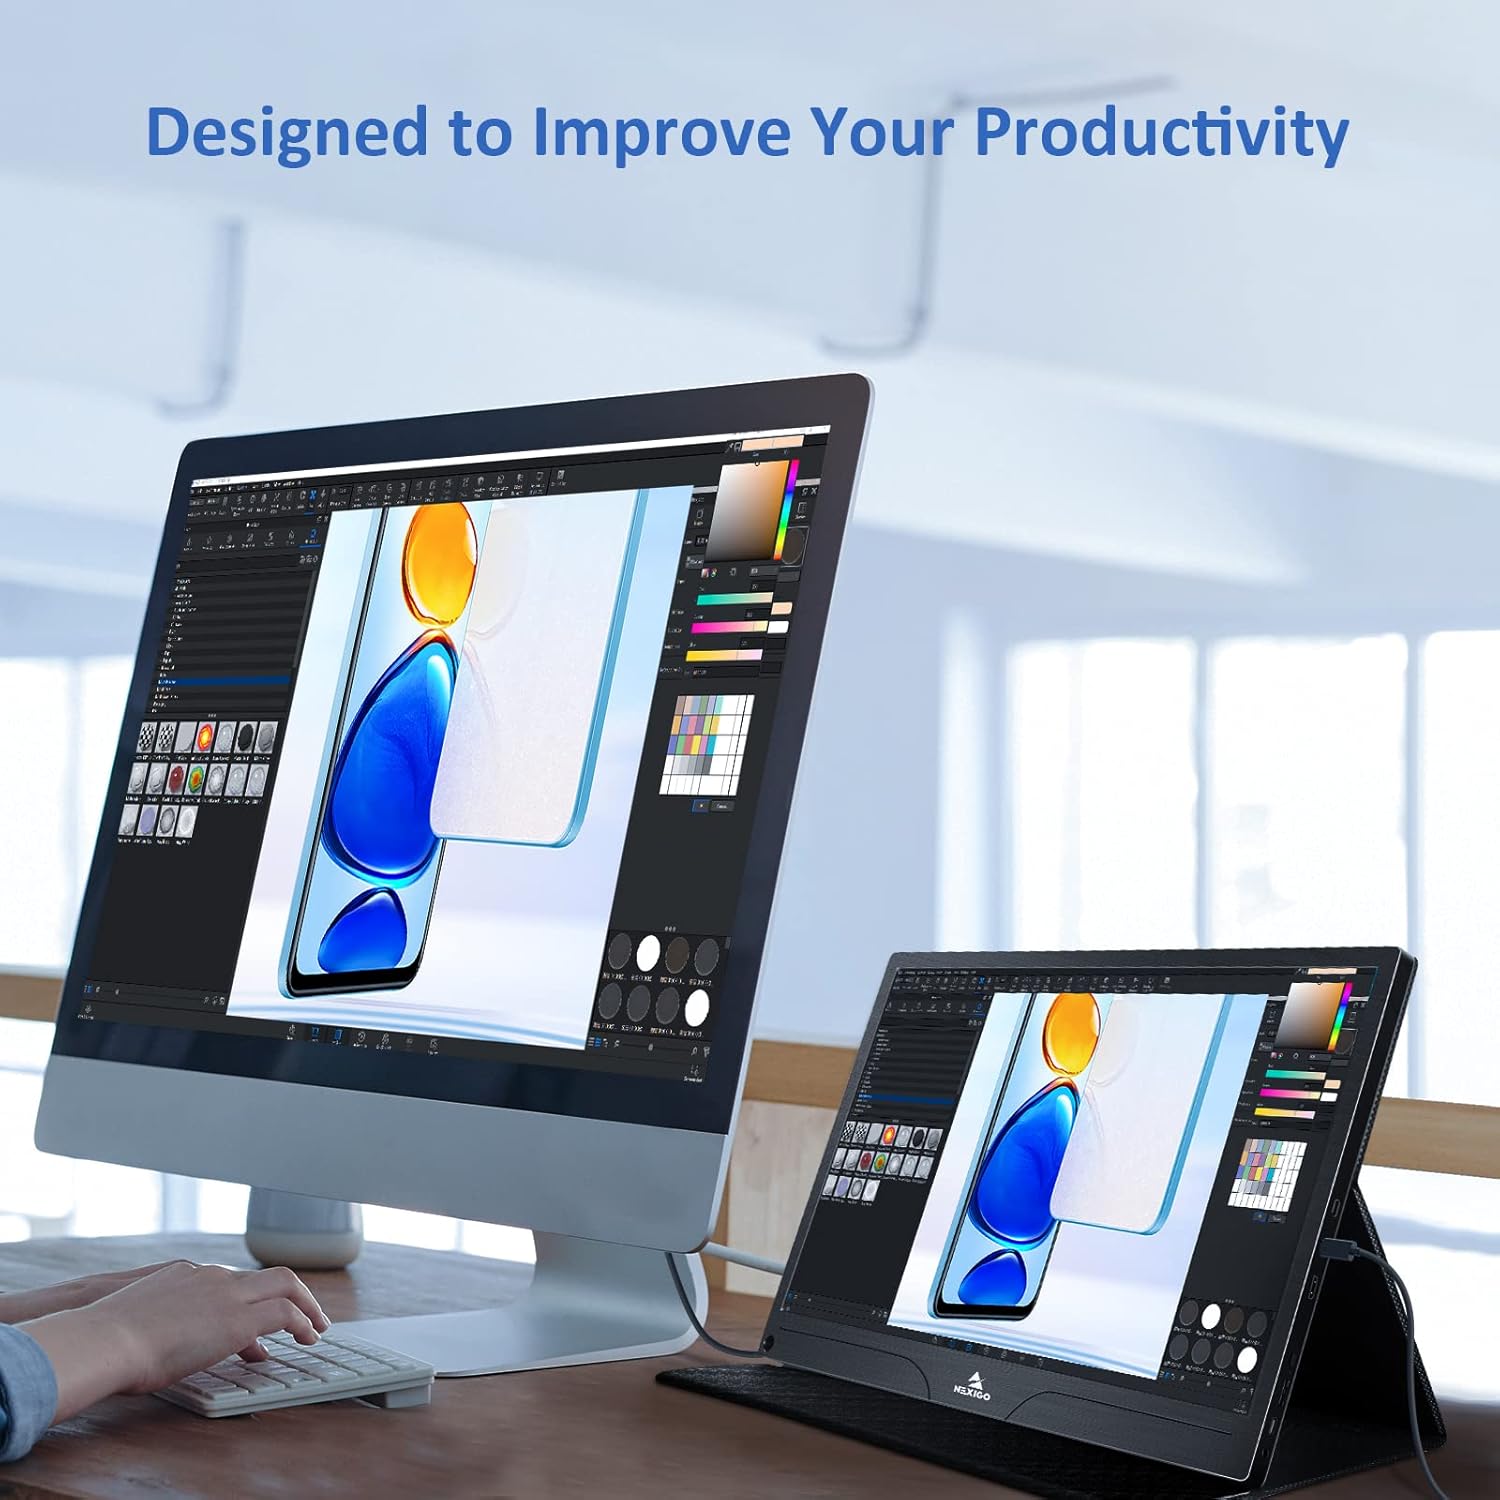
Image: The monitor mounted on a VESA-compatible desk arm.
5. Funcionamiento del monitor
5.1 Encendido y apagado
Mantenga pulsado el Botón de encendido for approximately 3 seconds to turn the monitor on or off.
5.2 Menú de visualización en pantalla (OSD)
The OSD menu allows you to adjust various display settings. Short press the Botón de encendido to open the OSD menu. Use the Tecla multifunción para navegar y seleccionar opciones.
- Arriba abajo: Move the Multi-Function Key up or down to navigate through menu options.
- Ingresar: Press the Multi-Function Key inward to select an option or confirm a setting.
- Salida: Press the Power Button to exit the current menu or the OSD.
5.3 Configuración de pantalla
- Brillo/Contraste: Ajuste la luminancia general y el contraste de la pantalla.
- Configuración de color: Modificar la temperatura del color, el tono y la saturación.
- Modo HDR: Habilite o deshabilite el alto rango dinámico para obtener una calidad visual mejorada con contenido compatible.
- Sincronización gratuita: Enable FreeSync for smoother gaming experiences by synchronizing the monitor's refresh rate with your GPU's frame rate.
- Relación de aspecto: Ajuste la relación de aspecto de la pantalla (por ejemplo, 16:9, 4:3).
5.4 Configuración de audio
Adjust the volume of the built-in dual speakers or connected headphones through the OSD menu.
6. Mantenimiento
- Limpieza de la pantalla: Utilice un paño suave y sin pelusa ligeramenteampLimpie con agua o un limpiador de pantallas no abrasivo. No rocíe el líquido directamente sobre la pantalla.
- Limpieza de la Casing: Limpie el monitor casinLimpie con un paño suave y seco. Evite el uso de productos químicos agresivos o disolventes.
- Almacenamiento: When not in use, store the monitor in a cool, dry place, preferably in its original packaging or smart cover to protect it from dust and scratches.
- Evite condiciones extremas: No exponga el monitor a temperaturas extremas, humedad o luz solar directa.
7. Solución de problemas
Si tiene problemas con su monitor, consulte la siguiente tabla para ver problemas y soluciones comunes.
| Problema | Posible causa | Solución |
|---|---|---|
| Sin pantalla / mensaje "Sin señal" | Conexión de cable incorrecta, potencia insuficiente, fuente de entrada incorrecta. | Ensure cables are securely connected. Verify external power is supplied if needed. Check the input source setting in the OSD menu. |
| El monitor no se enciende | Sin fuente de alimentación, cable defectuoso. | Ensure the power adapter is connected and working. Try a different USB-C cable or power source. |
| Pantalla parpadeante | Faulty cable, unstable power, incompatible resolution/refresh rate. | Replace the cable. Ensure stable power. Adjust the display resolution or refresh rate on your connected device. |
| Sin audio | Volume too low, incorrect audio output setting, faulty cable. | Increase volume via OSD or connected device. Ensure the monitor is selected as the audio output device on your source. Check cable connections. |
| OTG port not working | Monitor not powered via full-featured USB-C, device incompatibility. | Ensure the monitor is connected to a device via the full-featured USB-C port that supports OTG functionality. |
8. Especificaciones
Detailed technical specifications for the NexiGo NG17QH 4K Portable Monitor.
| Característica | Especificación |
|---|---|
| Número de modelo | NG17QH |
| Tamaño de pantalla | 17.3 pulgadas |
| Resolución | 3840 x 2160 (4K UHD) |
| Tipo de panel | IPS |
| Brillo | 400 cd/m² |
| Gama de colores | 100% Adobe RGB |
| Relación de aspecto | 16:9 |
| Viewángulo de ing | 178° |
| Características | FreeSync, HDR, Eye Care Screen |
| Oradores | Altavoces duales incorporados |
| Conectividad | Full-Featured USB-C (x1), Mini HDMI (x1), OTG USB-C (x1), 3.5mm Audio Jack (x1) |
| Compatibilidad VESA | 75 x 75 mm |
| Dimensiones del producto | 16.1 x 10.12 x 0.55 pulgadas |
| Peso del artículo | 6.39 libras |

Image: Visual comparison of 1080p, 2K, and 4K resolutions, demonstrating the clarity of the 4K display.
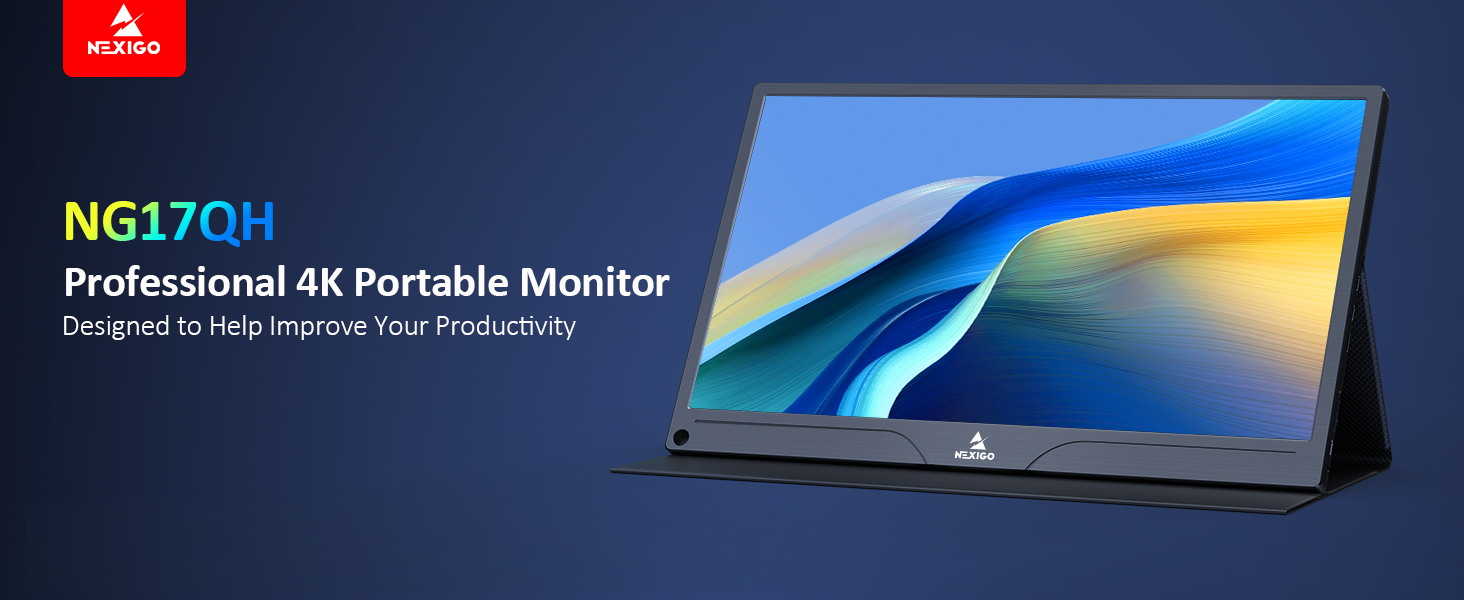
Image: A visual representation of 100% Adobe RGB color space coverage, indicating vibrant and detailed color reproduction.
9. Garantía y soporte
Your NexiGo NG17QH Portable Monitor comes with a manufacturer's warranty. For detailed warranty information, product registration, or technical support, please visit the official NexiGo webSitio web o contacte directamente con el servicio de atención al cliente. Conserve su recibo de compra como comprobante para reclamaciones de garantía.
NexiGo Official Websitio: www.nexigo.com