
1. Producto terminadoview
The ERKUL WIZARD V1 Roof Rack Cross Bars are designed to enhance the cargo carrying capacity of your Subaru Forester (models 2014-2024) equipped with raised roof rails. These aluminum crossbars provide a secure and aerodynamic platform for transporting various gear.

Image 1.1: ERKUL Roof Rack Cross Bars installed on a Subaru Forester.
Características principales:
- Compatibilidad: Specifically designed for Subaru Forester models from 2014 to 2024 with raised roof rails.
- Material: Constructed from durable, anodized aluminum for long-lasting performance.
- Capacidad de carga: Soporta hasta 165 libras (75 kg) de carga.
- Seguridad: Features an integrated anti-theft lock system.
- Diseño aerodinámico: Engineered to minimize wind noise during travel.
- Instalación: Designed for easy installation without the need for drilling or cutting.
2. ¿Qué hay en la caja?
Antes de comenzar la instalación, verifique que todos los componentes enumerados a continuación estén presentes en el paquete.

Image 2.1: Package contents of the ERKUL Roof Rack Cross Bars.
- Front Cross Bar (1)
- Rear Cross Bar (1)
- Keys for Anti-Theft Lock (2)
- Todo el hardware de montaje necesario
- Manual de instrucciones (este documento)
3. Configuración e instalación
This section provides general guidelines for installing your ERKUL Roof Rack Cross Bars. For detailed visual instructions, refer to the included installation guide or any available 3D installation videos provided by ERKUL.
Verificación previa a la instalación:
- Ensure your Subaru Forester is parked on a level surface and the engine is off.
- Confirm that your vehicle has factory-installed raised roof rails.
- Clean the surface of your vehicle's roof rails where the crossbars will be mounted.
Pasos de instalación:
- Identificar las barras delanteras y traseras: The crossbars may have slight differences in length or curvature. Identify which bar is designated for the front and which for the rear of your vehicle.
- Posición de las barras transversales: Carefully place the front crossbar onto the front section of your vehicle's raised roof rails. Repeat for the rear crossbar. Ensure the crossbars are oriented correctly (e.g., aerodynamic side facing forward).
- Ajustar el espaciado: Adjust the position of the crossbars along the roof rails to achieve optimal spacing for your cargo and vehicle. Refer to your vehicle's owner's manual for recommended spacing, if available.
- Soportes de montaje seguros: Using the provided hardware, attach the mounting brackets to the raised roof rails. The ERKUL design features metal brackets for secure attachment. Tighten the single bolt on each bracket until the crossbar is firmly secured. Do not overtighten.
- Engage Anti-Theft Locks: Once the crossbars are securely mounted, engage the anti-theft locks on each end of the crossbars using the provided keys. This prevents unauthorized removal.
- Comprobación final: Gently pull on each crossbar to ensure it is securely fastened and does not move. Confirm all locks are engaged.

Image 3.1: Detail of the metal mounting bracket.

Image 3.2: Anti-theft security lock detail.

Image 3.3: Installed crossbars highlighting key features.
4. Instrucciones de funcionamiento
The ERKUL Roof Rack Cross Bars are designed for versatile use, allowing you to transport a variety of gear safely.
Carga de mercancía:
- Capacidad de carga: Do not exceed the maximum load capacity of 165 lbs (75 kg) for the crossbars. Always refer to your vehicle's owner's manual for its specific roof load limits, and never exceed the lower of the two ratings.
- Distribución uniforme: Distribute the weight of your cargo as evenly as possible across the crossbars.
- Fijación segura: Always use appropriate tie-downs, straps, or cargo carriers to securely fasten your items to the crossbars. Ensure there is no movement of cargo during transit.
- Autorización: Ensure that loaded cargo does not obstruct your view, interfere with vehicle operation, or exceed legal height/width limits.
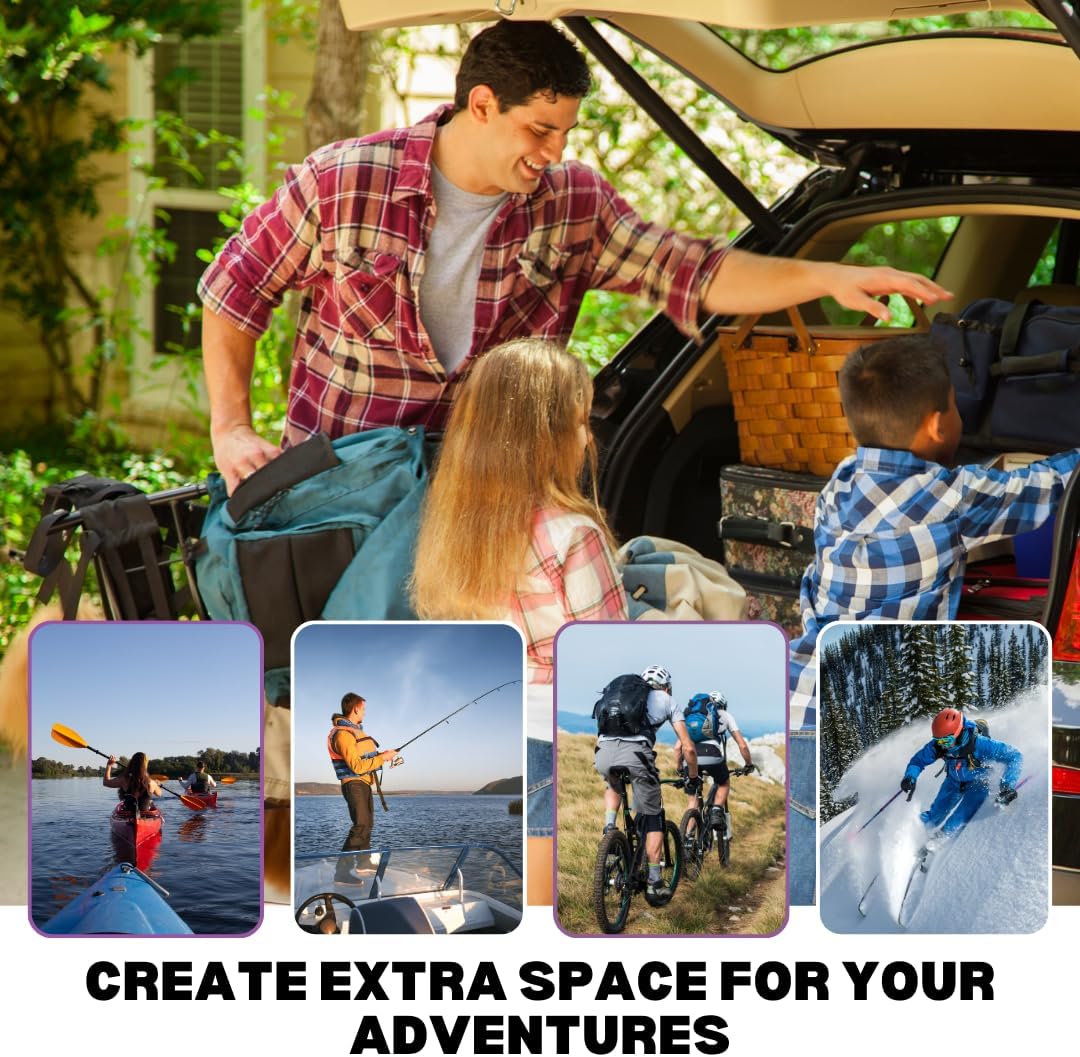
Imagen 4.1: Example of versatile cargo loading.
Driving with Cross Bars:
- Diseño aerodinámico: The crossbars are engineered for silent performance, minimizing wind noise. However, adding cargo may increase noise.
- Hábitos de conducción: Adjust your driving speed and habits, especially in windy conditions or when carrying large, bulky items. Increased wind resistance can affect fuel economy and vehicle handling.
- Espacio libre de altura: Tenga en cuenta la mayor altura del vehículo al ingresar a garajes, lavaderos de autos o áreas con poca altura libre.
5. Mantenimiento
Regular maintenance ensures the longevity and safe operation of your ERKUL Roof Rack Cross Bars.
- Limpieza regular: Clean the crossbars periodically with mild soap and water to remove dirt, road grime, and environmental contaminants. Avoid abrasive cleaners or solvents that could damage the anodized finish.
- Inspeccionar los sujetadores: Before each use, and periodically during extended trips, check all mounting bolts and fasteners to ensure they are tight and secure. Retighten if necessary.
- Check Locks: Ensure the anti-theft locks are functioning correctly and are engaged when the crossbars are installed.
- Remoción estacional: If the crossbars are not in use for extended periods, consider removing them to reduce wear and tear and potentially improve fuel efficiency. Store them in a dry, protected area.
6. Solución de problemas
Esta sección aborda problemas comunes que puede encontrar con las barras transversales de su portaequipaje.
Ruido excesivo del viento:
- Comprobar la instalación: Ensure the crossbars are installed correctly and all components are tightly secured. Loose parts can vibrate and cause noise.
- Ajustar posición: Slight adjustments to the crossbar spacing or position on the roof rails can sometimes reduce wind noise.
- Cargo: If noise occurs only when cargo is loaded, ensure the cargo is positioned aerodynamically and securely fastened.
Las barras transversales se sienten sueltas:
- Retighten Fasteners: Recheck and retighten all mounting bolts and fasteners. Over time, vibrations can cause them to loosen slightly.
- Inspect Brackets: Ensure the metal mounting brackets are correctly seated on the raised roof rails and are not damaged.
Anti-Theft Lock Malfunction:
- Lubricación: If the lock mechanism is stiff, apply a small amount of graphite lubricant to the keyhole.
- Key Condition: Asegúrese de que la llave no esté doblada o dañada.
- Contactar con soporte: If the lock continues to malfunction, contact ERKUL customer support for assistance.
7. Especificaciones
| Atributo | Detalle |
|---|---|
| Marca | ERKUL |
| Modelo | ASISTENTE V1 |
| Compatibilidad | Subaru Forester 2014-2024 (with raised rails) |
| Material | Aluminum (Anodized Coating) |
| Color | Negro |
| Peso del artículo | 10.2 libras (aprox. 4.6 kg) |
| Capacidad de carga | 165 libras (75 kg) |
| Dimensiones del paquete | 53 x 6 x 4 pulgadas (aprox. 134.6 x 15.2 x 10.2 cm) |
| Número de pieza del fabricante | WZV1M46B |
8. Soporte posventa
For any questions, concerns, or assistance with your ERKUL Roof Rack Cross Bars, please contact our customer support team. We are committed to providing comprehensive support for our products.
Please refer to the contact information provided on your purchase receipt or the ERKUL official webSitio para los canales de soporte más actualizados.