
Introducción
This manual provides detailed instructions for the installation, operation, and maintenance of your aigo AF12 3-in-1 ARGB Fan Kit. Please read this manual thoroughly before use to ensure proper functionality and longevity of the product.
Características del producto
The aigo AF12 3-in-1 ARGB Fan Kit offers efficient cooling and customizable lighting for your computer system. Key features include:
- Modelo: AF123IN1-BK
- Cantidad de ventiladores: 3 ventiladores de 120 mm
- Velocidad del ventilador: 800-2000 RPM (±10%)
- Fan Noise Level: ≤30 dBA
- Flujo de aire: 86.6 pies cúbicos por minuto
- Presión estática: 1.27mm-H²O
- Working Current (Motor): ≤0.2A (12V)
- Working Current (Light): ≤0.48A (5V)
- Dimensiones: 120 x 120 x 25 mm
- Iluminación ARGB: Addressable RGB lighting for customizable effects.
Contenido del paquete
Verifique que todos los artículos que se enumeran a continuación estén presentes en su paquete:
- 3 x aigo AF12 ARGB Fans
- Tornillos de montaje
- ARGB Controller (if included in kit)
- Cables (Power, ARGB Sync)
Guía de instalación
Follow these steps to properly install your aigo AF12 ARGB fans into your computer case.
- Prepare su sistema: Power off your computer and disconnect it from the power source. Open your computer case.
- Identificar las ubicaciones de montaje: Determine the desired locations for your fans (e.g., front, top, rear, bottom of the case). Ensure proper airflow direction.
- Monte los ventiladores: Position each fan in its chosen location. Use the provided mounting screws to secure the fans to the case. Ensure the fan blades are not obstructed.
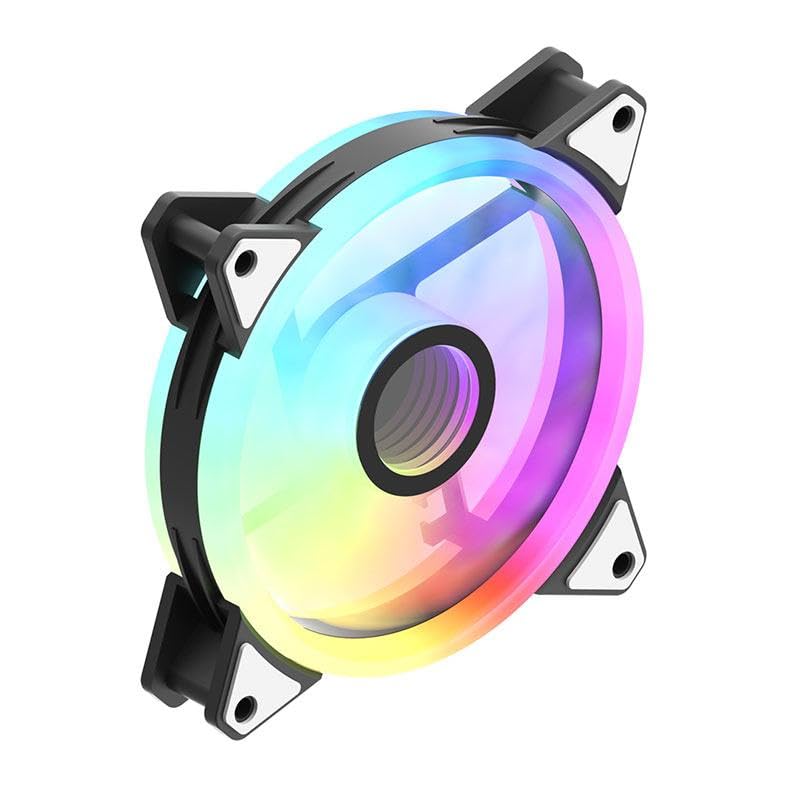
Image: An aigo AF12 fan viewed from an angle, highlighting the mounting points on its corners. This illustrates how the fan is secured.
- Conectar los cables de alimentación: Connect the 3-pin power connector from each fan to an available fan header on your motherboard or fan controller.
- Conectar cables ARGB: Connect the ARGB cable from each fan to the ARGB controller (if applicable) or directly to a compatible 5V 3-pin ARGB header on your motherboard. Ensure correct pin orientation to avoid damage.
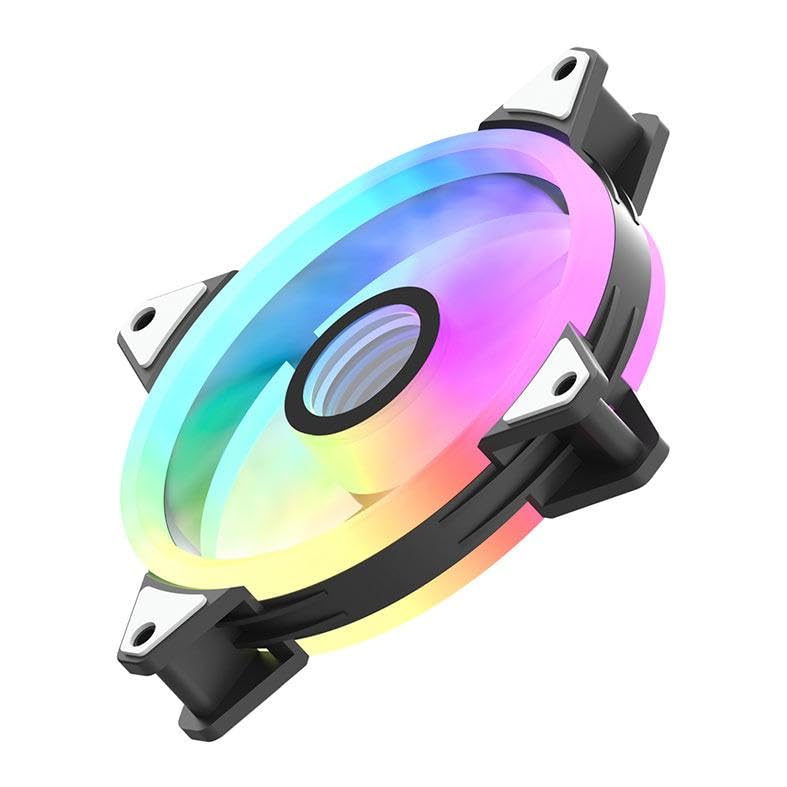
Imagen: Un lado profesionalfile of the aigo AF12 fan, illustrating the thickness and potential locations for cable connections on the frame.
- Sistema de organización de cables: Route cables neatly to prevent interference with other components and to improve airflow.
- Cerrar la caja y encender: Close your computer case, reconnect the power, and power on your system.
Instrucciones de funcionamiento
Once installed, your aigo AF12 ARGB fans will operate automatically based on your system's fan control settings. The ARGB lighting can be controlled via your motherboard's software or a dedicated ARGB controller.
Control de velocidad del ventilador
Fan speed can typically be adjusted through your motherboard's BIOS/UEFI settings or through fan control software provided by your motherboard manufacturer. Refer to your motherboard manual for specific instructions.
Control de iluminación ARGB
If connected to a 5V 3-pin ARGB header on your motherboard, use your motherboard's ARGB synchronization software (e.g., ASUS Aura Sync, MSI Mystic Light Sync, GIGABYTE RGB Fusion, ASRock Polychrome Sync) to customize lighting effects, colors, and patterns.
If using a dedicated ARGB controller (often included with fan kits), refer to the controller's specific instructions for lighting adjustments.
Mantenimiento
El mantenimiento regular garantiza un rendimiento óptimo y prolonga la vida útil de sus ventiladores.
- Limpieza de polvo: Limpie periódicamente el polvo de las aspas del ventilador y la carcasa con aire comprimido o un cepillo suave. Asegúrese de que el sistema esté apagado antes de limpiarlo.
- Verificación de cables: Verify that all cables are securely connected and free from damage.
- Monitoreo de ruido: Listen for unusual noises, which may indicate a fan bearing issue or obstruction.
Solución de problemas
If you encounter issues with your aigo AF12 ARGB fans, refer to the following common solutions:
Los ventiladores no giran
- Verifique la conexión de energía: Ensure the fan's 3-pin power connector is securely plugged into the motherboard or controller.
- Comprobar la configuración del BIOS: Verify that fan headers are enabled in your motherboard's BIOS/UEFI settings.
- Test Another Header: Try connecting the fan to a different fan header to rule out a faulty header.
Las luces ARGB no funcionan
- Comprobar la conexión ARGB: Ensure the 5V 3-pin ARGB connector is correctly and securely plugged into the motherboard or controller. Verify the pin orientation.
- Comprobar software: Confirm that your motherboard's ARGB software is installed and configured correctly.
- Compatibilidad: Ensure your motherboard has a compatible 5V 3-pin ARGB header. This product is not compatible with 12V 4-pin RGB headers.
Ruido excesivo
- Compruebe si hay obstrucciones: Asegúrese de que ningún cable u otros componentes toquen las aspas del ventilador.
- Tornillos de montaje: Verify that all mounting screws are tightened to prevent vibrations.
- Acumulación de polvo: Limpie el polvo de las aspas del ventilador.
Especificaciones técnicas
| Característica | Especificación |
|---|---|
| Marca | aigo |
| Modelo | AF123IN1-BK |
| Cantidad de fans | 3 x 120 mm |
| Velocidad del ventilador | 800 ± 2000 ± 10% RPM |
| Ruido del ventilador | ≤ 30 dBA |
| Flujo de aire | 86.6 pies cúbicos por minuto |
| Presión estática | 1.27mm-H²O |
| Working Current (Motor) | ≤ 0.2A (12V) |
| Working Current (Light) | ≤ 0.48A (5V) |
| Dimensiones | 120 x 120 x 25 mm |
| Tipo de conector de alimentación | 3 pines |
| Volumentage | 12 voltios |
| Método de enfriamiento | Aire |
| Dispositivos compatibles | De oficina |
| Peso del artículo | 10.6 onzas |
Garantía y soporte
This aigo product comes with a Garantía de 12 meses a partir de la fecha de compra, cubriendo defectos de fabricación.
For technical support, warranty claims, or further assistance, please visit the official aigo store or contact their customer service through the details provided on their websitio.
Official aigo Store: aigo Store on Amazon