1. Información importante de seguridad
Please read this manual thoroughly before operating your appliance and retain it for future reference. This manual contains important information regarding the safe installation, use, and maintenance of the dishwasher.
- Asegúrese de que el aparato esté correctamente conectado a tierra antes de usarlo.
- No opere el lavavajillas si el cable de alimentación o el enchufe están dañados.
- Keep children away from the appliance during operation and when the door is open.
- Utilice únicamente detergentes y abrillantadores específicamente diseñados para lavavajillas.
- Do not open the door during operation, especially during the washing cycle, as hot water may spray out.
- Desconecte siempre el aparato de la fuente de alimentación antes de la limpieza o el mantenimiento.
- Este aparato está destinado únicamente para uso residencial.
2. Producto terminadoview
The electriQ XL Mini Table Top Dishwasher is a compact yet spacious appliance designed for small kitchens, holiday homes, or small households. It offers a generous 8 place setting capacity and can be placed on a countertop or integrated.

Imagen: Frente view of the electriQ XL Mini Table Top Dishwasher, showcasing su diseño compacto y panel de control.
Características principales:
- Capacidad para 8 cubiertos: Accommodates up to 88 pieces, ideal for smaller loads.
- Diseño de encimera: Perfect for limited spaces, can be freestanding or integrated.
- Ciclo de lavado rápido: Cleans lightly soiled dishes in just 30 minutes.
- Auto Open Function: Door automatically opens at the end of the cycle for enhanced drying performance and energy saving.
- Temporizador de retardo: Allows setting a wash cycle to start up to 24 hours later.
- Versatile Water Connection: Can operate with or without a direct water line connection thanks to its built-in tank.
Componentes incluidos:
- Manual de usuario
- Manguera de drenaje
- Manguera de entrada
- Cesta para cubiertos

Imagen: Interior view of the dishwasher, showing the upper and lower racks, and the cutlery basket area.
3. Configuración e instalación
3.1 Colocación:
The dishwasher is designed for countertop placement. Ensure the surface is stable, level, and capable of supporting the weight of the appliance when full. Allow adequate space around the unit for ventilation and hose connections.
3.2 Conexiones de Agua:
This dishwasher offers flexible water supply options:
- Direct Water Line Connection: Connect the inlet hose to a cold water tap with a 3/4-inch thread. Ensure the connection is secure to prevent leaks.
- Tanque de agua incorporado: For areas without a direct water supply, the dishwasher can be filled manually. Refer to the control panel indicators for water level.
Connect the drain hose to a suitable drain point, ensuring it is not kinked or blocked. The drain hose should be positioned to allow proper drainage.

Imagen: Lateral view illustrating the connection points for the inlet and drain hoses.
3.3 Conexión eléctrica:
Plug the dishwasher into a grounded mains electricity supply (220 Volts). Ensure the socket is easily accessible and not overloaded.
4. Instrucciones de funcionamiento
4.1 Carga del lavavajillas:
Scrape off large food particles from dishes before loading. Place larger items in the lower rack and smaller, more delicate items like glasses and cups in the upper rack. Ensure items do not block the spray arms.

Image: The dishwasher interior demonstrating proper loading of various dishware, including larger items and delicate glasses.
4.2 Adición de detergente y abrillantador:
Abra el dispensador de detergente y agregue la cantidad recomendada de detergente para lavavajillas. Llene el dispensador de abrillantador según sea necesario; la luz indicadora avisará cuando esté bajo.
4.3 Selección del programa:
Select the desired wash program using the control panel. Available programs include:
- Rapid Cycle: For lightly soiled loads, completes in 30 minutes.
- 90-Minute Cycle: For a full wash, rinse, and dry cycle.
- Intensive Cycle: Designed for heavily soiled dishes with tough, baked-on food.
- Glass Cycle: Limpieza suave para cristalería delicada.
- ECO Cycle: Energy-efficient and environmentally friendly option.
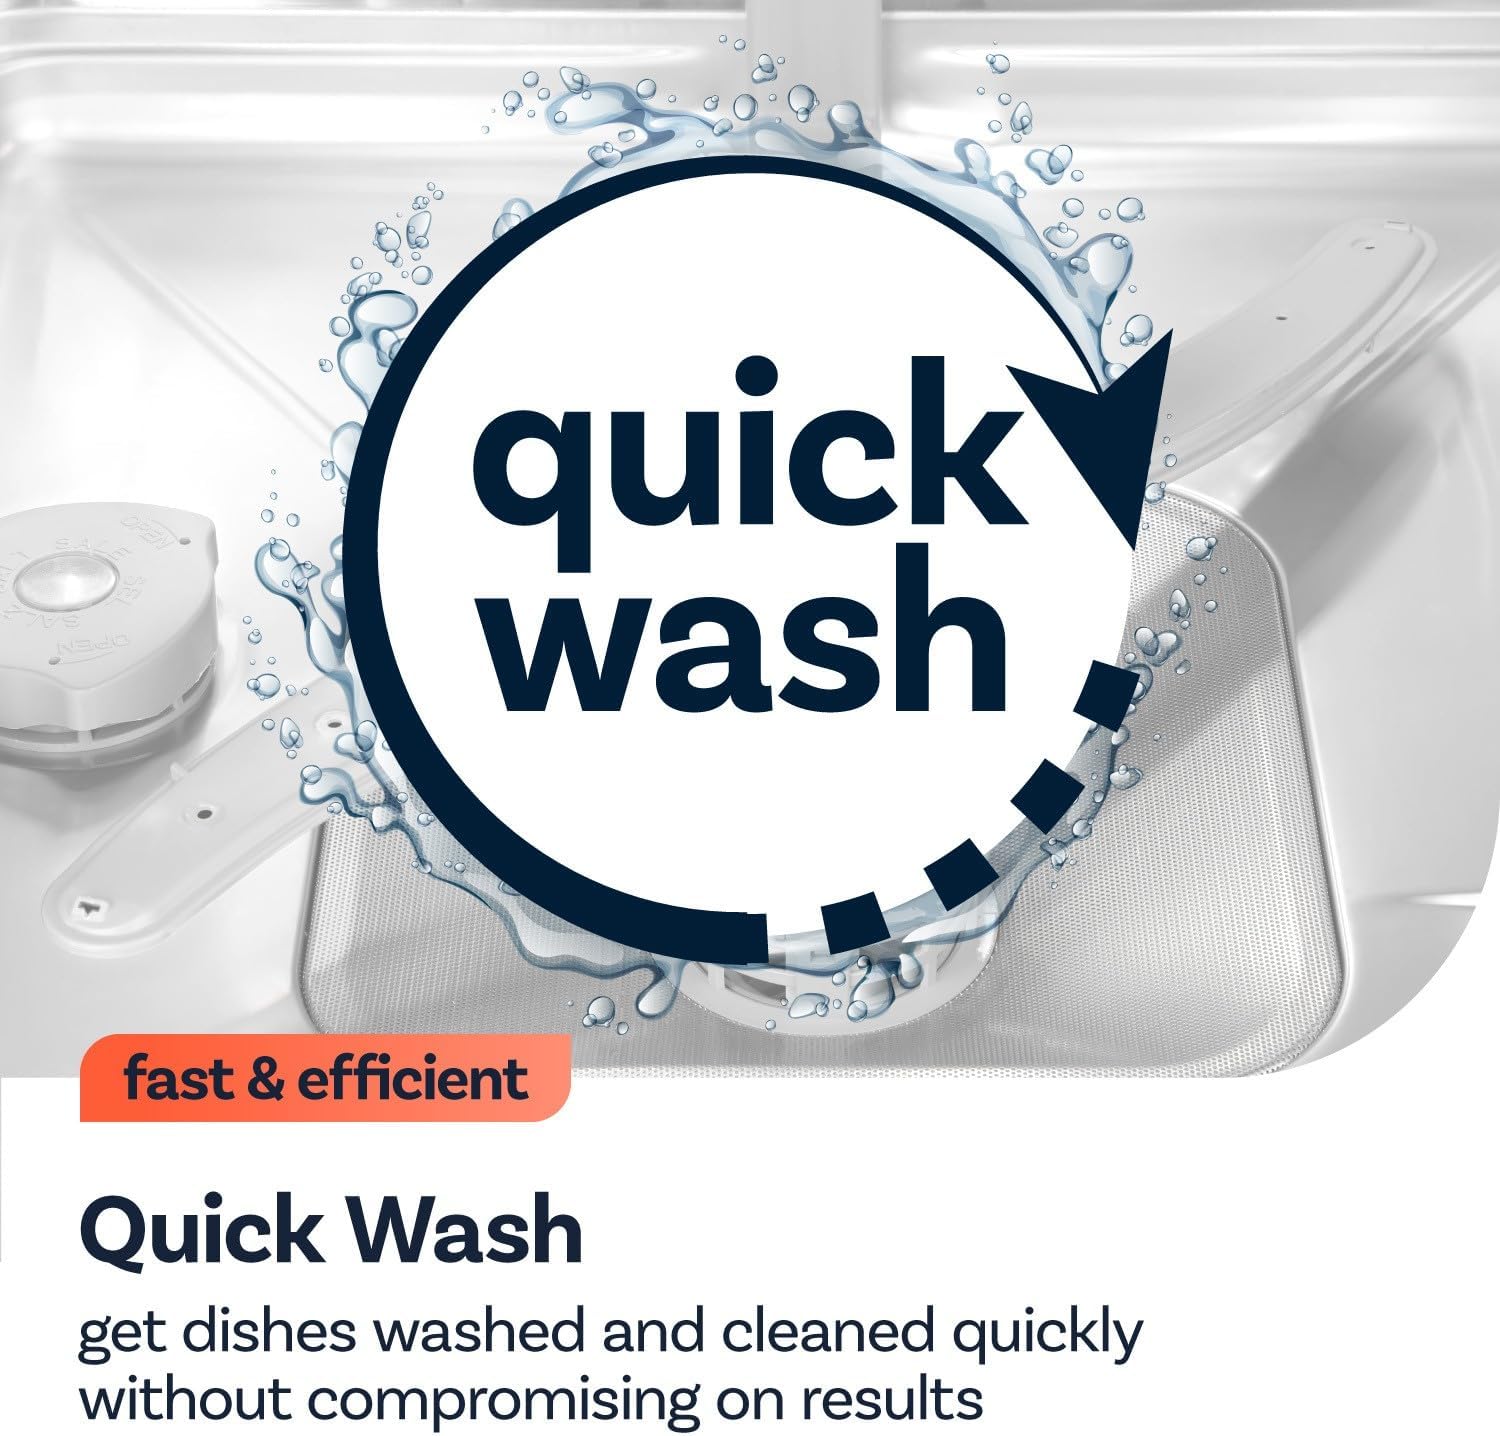
Image: Visual representation of the Quick Wash feature, highlighting its speed and efficiency.
4.4 Auto Open Function:
Activate the Auto Open function when selecting your program. The dishwasher door will automatically open at the end of the cycle to allow steam to escape, facilitating natural drying and improving drying performance.

Image: Diagram showing air circulation for improved drying with the Auto Open function.
4.5 Delay Timer:
Use the delay timer to postpone the start of a wash cycle for 1 to 24 hours. This feature is useful for running the dishwasher during off-peak energy hours.
5. Mantenimiento y cuidado
5.1 Limpieza de los filtros:
Regularly clean the filter system located at the bottom of the dishwasher tub to ensure optimal cleaning performance and prevent blockages. Remove the filter assembly, rinse it under running water, and brush away any food debris. Reassemble correctly.
5.2 Self-Cleaning Feature:
The dishwasher includes a self-cleaning feature. Refer to the control panel or specific program settings for activating this cycle, which helps maintain the internal cleanliness of the appliance.
5.3 Exterior and Interior Cleaning:
Limpie el exterior del lavavajillas con un paño suave y húmedo.amp cloth. For the interior, periodically wipe down the walls and door seal with a mild detergent solution to prevent odor buildup and maintain hygiene.
6. Solución de problemas
Antes de contactar con el servicio de atención al cliente, consulte los siguientes problemas comunes y sus posibles soluciones:
| Problema | Posible causa / solución |
|---|---|
| El lavavajillas no arranca | Compruebe que el cable de alimentación esté bien enchufado. Asegúrese de que la puerta esté completamente cerrada y trabada. Compruebe el disyuntor. |
| Los platos no están limpios | Ensure dishes are loaded correctly and not blocking spray arms. Check detergent dispenser. Clean filters. Select a more intensive wash program if needed. |
| El agua no drena | Check if the drain hose is kinked or blocked. Clean the filter system. |
| Ruido excesivo | Asegúrese de que los platos no golpeen entre sí ni contra los brazos aspersores. Compruebe si hay objetos extraños en la zona de la bomba. |
| Leaks from the door | Check the door seal for damage or debris. Ensure the dishwasher is level. |
7. Especificaciones
| Característica | Detalle |
|---|---|
| Marca | eléctrico |
| Número de modelo | EQDWTTXL (Part Number: WQP8-3802N) |
| Tipo de instalación | Encimera |
| Dimensiones del producto (alto x ancho x profundidad) | 59.5 x 55 x 50 cm |
| Capacidad | 8 Place Settings (6.5 litres water capacity) |
| Volumentage | 220 voltios |
| Consumo de energía | 0.58 Kilowatts (Annual: 1620 Watts) |
| Nivel de ruido | 49 dB |
| Tipo de controles | Botón pulsador |
| Color | Blanco |
| Características especiales | Portable, Electric, Compact, Auto Open Door Drying, Delay Timer |

Image: UK Energy Label for the dishwasher, indicating its energy efficiency class D, water consumption, and noise level.
For detailed product information, refer to the official product information sheet: electriQ Product Information Sheet
8. Garantía y soporte
For warranty information, please refer to the documentation provided at the time of purchase or contact your retailer. Electriq products typically come with a manufacturer's warranty covering defects in materials and workmanship.
For technical support, spare parts, or service inquiries, please contact Electriq customer service. Contact details can usually be found on the manufacturer's websitio o su recibo de compra.
It is recommended to register your product with Electriq to facilitate warranty claims and receive important product updates.