
Introducción
This manual provides essential information for the setup, operation, maintenance, and troubleshooting of your Pro-Ject Debut EVO 2 Audiophile Turntable. Please read these instructions carefully before using the turntable to ensure proper function and longevity of the product.
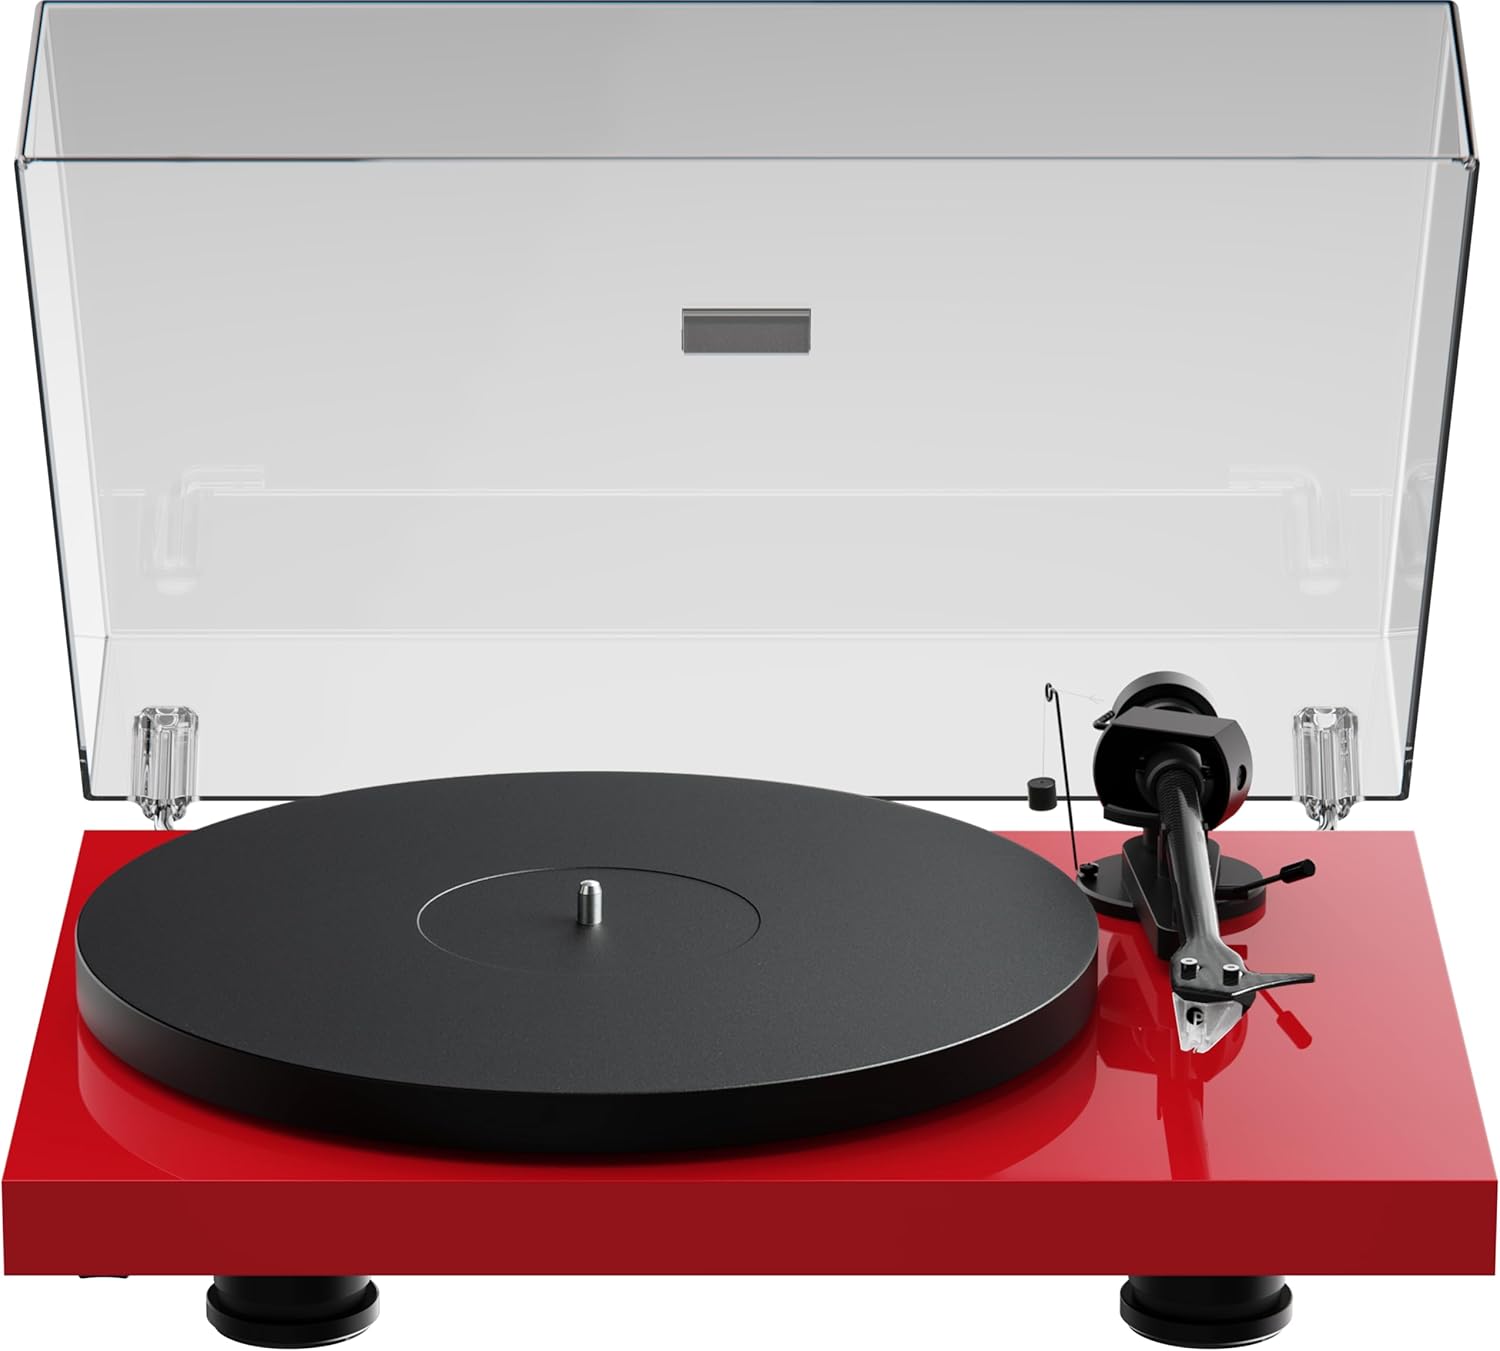
Image: The Pro-Ject Debut EVO 2 turntable in High Gloss Red, featuring a clear dust cover, platter, and tonearm.
Instrucciones de seguridad
- Always disconnect the turntable from the power supply before cleaning or maintenance.
- No toque el cable de alimentación con las manos mojadas.
- Avoid placing the turntable near water or excessive moisture.
- Ensure the turntable is placed on a stable, level surface to prevent vibrations and ensure proper operation.
- Mantenga los materiales de embalaje, especialmente las bolsas de plástico, fuera del alcance de los niños.
¿Qué hay en la caja?
Carefully unpack all items from the packaging. Please ensure all components listed below are present and undamaged.
- Tocadiscos Pro-Ject Debut EVO 2
- Transparent Dustcover
- Connection Cable (RCA)
- Adaptador de corriente
- Transportador de alineación
- Single Adapter (for 45 RPM records with large center holes)
- Plato
- Correa de transmisión
- Contrapeso
- Peso anti-patinaje
- Pick it MM EVO Cartridge (pre-mounted)
Configuración
1 Colocación
Place the turntable on a firm, level surface, away from direct sunlight, heat sources, and excessive vibration. Ensure adequate ventilation around the unit.
2. Instalación del plato y la correa
- Place the main platter onto the sub-platter spindle.
- Carefully loop the drive belt around the sub-platter and the motor pulley. Ensure the belt is not twisted.

Imagen: Un detalle view of the turntable's belt drive system, showing the belt wrapped around the sub-platter and motor pulley.
3. Tonearm Balance and Tracking Force
The Pick it MM EVO cartridge is pre-mounted. Follow these steps to set the tracking force:
- Retire el protector del lápiz.
- Place the counterweight onto the rear of the tonearm.
- Adjust the counterweight until the tonearm floats freely and is perfectly balanced horizontally.
- Rotate the tracking force dial (the numbered ring on the counterweight) to '0' without moving the counterweight itself.
- Rotate the entire counterweight counter-clockwise until the desired tracking force is set. Refer to the cartridge specifications for the recommended tracking force (typically 1.8g for the Pick it MM EVO).
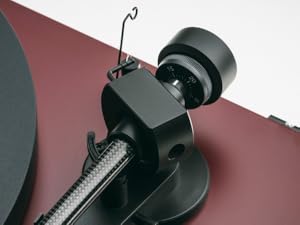
Image: A close-up of the carbon fiber tonearm, illustrating its construction and connection points.
4. Ajuste antipatinaje
The anti-skating mechanism counteracts the inward force on the tonearm. Attach the anti-skating weight's thread to the second groove of the anti-skating stub for the recommended tracking force.

Image: The anti-skating weight hanging from its thread, attached to the tonearm's anti-skating stub.
5. Conectarse a un Ampmás vivaz
Connect the turntable's RCA output cables to the 'Phono' input of your ampmás duradero. Si tu amplifier does not have a dedicated 'Phono' input, you will need an external phono preampmás duradero.
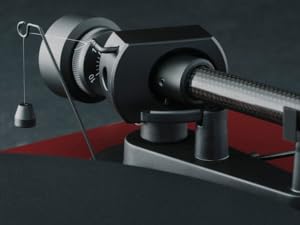
Image: The rear panel of the turntable, displaying the RCA output jacks for audio connection and the power input.
6. Instalación de la cubierta antipolvo
Insert the hinges of the transparent dust cover into the designated slots at the rear of the turntable plinth.
Operante
1. Encendido y apagado
Connect the power adapter to the turntable and a wall outlet. The turntable is powered on by pressing the power button, usually located on the underside or side of the plinth.
2. Selección de velocidad
The Debut EVO 2 features electronic speed selection. Use the speed selector switch (often a button on the plinth) to switch between 33 1/3 RPM and 45 RPM. For 78 RPM records, a special belt and stylus may be required (not included).
3. Reproducción de un disco
- Coloque un disco en el plato.
- Seleccione la velocidad de reproducción correcta.
- Levante el brazo fonocaptor utilizando la palanca de señalización.
- Coloque el brazo sobre el surco inicial deseado del disco.
- Gently lower the tonearm using the cueing lever. The stylus will begin playing the record.
4. Detener la reproducción
At the end of a record, or when you wish to stop playback:
- Levante el brazo fonocaptor utilizando la palanca de señalización.
- Devuelva el brazo a su lugar de reposo.
- Lower the cueing lever.
- Turn off the turntable if not playing another record.
Mantenimiento
1. Limpieza
- Turntable Plinth and Dust Cover: Use a soft, lint-free cloth to wipe surfaces. For stubborn marks, a slightly damp Se puede usar un paño y luego uno seco. Evite los limpiadores abrasivos.
- Plato: Clean the platter surface with a soft, dry cloth.
2. Cuidado del lápiz
- Regularly clean the stylus using a dedicated stylus cleaning brush, brushing gently from back to front.
- Evite tocar el lápiz con los dedos.
- Replace the stylus when signs of wear are apparent (e.g., distorted sound, increased surface noise). The Pick it MM EVO cartridge is designed for easy stylus replacement.

Imagen: Un detalle view of the Pick it MM EVO cartridge mounted on the tonearm, highlighting its design.
3. Reemplazo de la correa
The drive belt may stretch or degrade over time. If you notice inconsistent speed or reduced torque, the belt may need replacement. Contact Pro-Ject support or an authorized dealer for a replacement belt.
Solución de problemas
Si tiene problemas con su tocadiscos, consulte la siguiente tabla antes de ponerse en contacto con el soporte técnico.
| Problema | Posible causa | Solución |
|---|---|---|
| Sin poder | Cable de alimentación no conectado; toma de corriente defectuosa | Verifique las conexiones eléctricas; Pruebe con una toma de corriente diferente |
| Sin sonido o volumen bajo | Entrada incorrecta seleccionada en amplifier; Cables loose; Stylus protector still on; Amplifier not set to 'Phono' input | Select correct input; Check all cable connections; Remove stylus protector; Use a phono preamplificador si es necesario |
| Sonido distorsionado | Incorrect tracking force; Damaged stylus; Dirty stylus; Incorrect anti-skating setting | Adjust tracking force; Inspect/clean/replace stylus; Adjust anti-skating |
| Velocidad inconsistente | Drive belt worn or loose; Motor pulley dirty | Replace drive belt; Clean motor pulley |
| Ruido de zumbido | Ground wire not connected; Interference from other electronics | Ensure ground wire is connected; Move turntable away from other electronics |
Presupuesto
- Nombre del modelo: Debut EVO 2
- Marca: Proyecto
- Número de modelo del artículo: 9120129864930
- Dimensiones del producto: 16.4 x 12.6 x 4.5 pulgadas (41.6 x 32 x 11.4 cm)
- Peso del artículo: 13.2 libras (6 kilogramos)
- Material: Carbon Fiber (tonearm)
- Tipo de motor: Cinturón de conducir
- Formato de señal: Phono
- Componentes incluidos: Turntable, transparent dustcover, connection cable, power adapter, alignment protractor, single adapter
- Dispositivos compatibles: Ampamplificador, altavoz
- Fabricante: Sistemas de audio Pro-Ject
Garantía
Pro-Ject Audio Systems offers a warranty for this product. Please refer to the warranty card included with your purchase or visit the official Pro-Ject webConsulte el sitio web para conocer los términos y condiciones detallados de la garantía. Conserve su comprobante de compra para reclamar la garantía.
Key Warranty Feature: 25-year spare parts availability guarantee, ensuring long-term support for your turntable.
Apoyo
For further assistance, technical support, or spare parts, please contact your authorized Pro-Ject dealer or visit the official Pro-Ject Audio Systems websitio:
- Pro-Ject Store: Visita la tienda Pro-Ject en Amazon
- Fabricante: Sistemas de audio Pro-Ject