
1. Introducción
This manual provides detailed instructions for the installation, operation, and maintenance of your Luowice Solar Security Camera. This wireless outdoor camera features a 3W solar panel for continuous power, 360° pan and tilt functionality, 3MP color night vision, and is designed to be weatherproof for reliable outdoor use. Please read this manual thoroughly before use to ensure proper setup and functionality.

Image 1.1: Luowice Solar Security Camera with integrated solar panel.
2. Producto terminadoview
2.1 Características principales
- 100% Wire-Free Setup: Operates on WiFi and powered by a 3W solar panel, eliminating the need for frequent battery charging and complex wiring.
- Cobertura de gran angular: Offers 355° horizontal and 90° vertical rotation for comprehensive area monitoring via the O-KAM PRO app.
- 3MP Color Night Vision: Provides clear, high-resolution video day and night, including full-color night vision with floodlights.
- Motion-Triggered Floodlights & Auto Tracking: Automatically activates floodlights and tracks human-shaped objects upon detection, enhancing security.
- Audio bidireccional: Permite la comunicación en tiempo real con los visitantes o la disuasión de intrusos.
- Almacenamiento local y en la nube: Supports micro SD card (up to 128GB, not included) for 24/7 loop recording and optional cloud storage services.
- Diseño resistente a la intemperie: IP66 rated, ensuring reliable performance in various severe weather conditions.
- Multi-User Sharing & Data Encryption: Securely share camera access with family members with advanced encryption.
2.2 Componentes
El paquete normalmente incluye:
- Luowice Solar Security Camera
- 3W Solar Panel (integrated or separate with mounting bracket)
- Soporte de montaje y tornillos
- Cable de carga USB
- Manual de usuario
3. Instrucciones de configuración
3.1 Carga de la batería
Before initial use, fully charge the camera's internal battery using the provided USB cable. Connect the cable to the camera's charging port and a standard 5V USB power adapter (not included). The indicator light will show charging status.
3.2 Instalación de la aplicación y creación de una cuenta
- Descargar el O-KAM PRO aplicación desde la tienda de aplicaciones de tu teléfono inteligente (iOS o Android).
- Abra la aplicación y siga las instrucciones en pantalla para crear una nueva cuenta o iniciar sesión si ya tiene una.
3.3 Conexión de la cámara a Wi-Fi
- In the O-KAM PRO app, tap the "+" icon to add a new device.
- Select your camera model or scan the QR code on the camera if prompted.
- Follow the app's instructions to connect the camera to your 2.4 GHz Wi-Fi network. Ensure your phone is connected to the same 2.4 GHz network during setup.
- Una vez conectado, la luz indicadora de la cámara cambiará y recibirás una confirmación en la aplicación.

Image 3.1: The camera supports 2.4 GHz Wi-Fi for stable data transmission.
3.4 Montaje de la cámara
Elija una ubicación con exposición óptima a la luz solar para el panel solar y un espacio despejado. view del área que desea monitorear. Asegúrese de que la cámara esté dentro del alcance de su red Wi-Fi.
- Marque las posiciones de perforación utilizando el soporte de montaje como plantilla.
- Perfore agujeros e inserte anclajes de pared si es necesario.
- Fije el soporte de montaje a la pared con tornillos.
- Attach the camera to the mounting bracket. Adjust the angle of the solar panel to maximize sunlight exposure.

Image 3.2: Camera mounted outdoors, demonstrating continuous solar power.
4. Instrucciones de funcionamiento
4.1 en vivo View y control de panorámica/inclinación
Open the O-KAM PRO app and select your camera to access the live view. Use the on-screen controls to pan (355° horizontal) and tilt (90° vertical) the camera to adjust its viewángulo de ing.

Image 4.1: Remote pan and tilt control via the O-KAM PRO app.
4.2 Audio bidireccional
De la vida view, tap the microphone icon to speak through the camera's speaker. Tap the speaker icon to listen to audio from the camera's vicinity.

Image 4.2: Demonstrating two-way audio communication.
4.3 Detección de movimiento y alertas
The camera features advanced motion detection with human shape recognition. When motion is detected, the camera can automatically turn on floodlights, track the object, and send instant alerts to your phone.
- Setting Detection Sensitivity: In the app settings, adjust the detection sensitivity to minimize false alarms.
- Defining Detection Zones: Create specific detection zones to focus monitoring on critical areas and ignore irrelevant movements.
- Alertas: Receive instant app notifications and email alerts when motion is detected.

Image 4.3: Motion detection with intelligent recognition for humans, vehicles, and pets.

Image 4.4: Configuring custom motion detection zones.
4.4 Grabación y almacenamiento
La cámara admite dos métodos de almacenamiento principales:
- Tarjeta micro SD: Insert a micro SD card (up to 128GB, not included) into the designated slot for continuous 24/7 loop recording, even without network access.
- Almacenamiento en la nube: Optional cloud storage services are available through the O-KAM PRO app for secure, remote access to your footage.

Imagen 4.5: Ranura para tarjeta Micro SD para almacenamiento local.
5. Mantenimiento
5.1 Limpieza
- Limpie periódicamente la lente de la cámara y el panel solar con un paño suave.amp cloth to remove dust and debris. This ensures optimal image clarity and solar charging efficiency.
- No utilice productos químicos agresivos ni limpiadores abrasivos.
5.2 Protección contra la intemperie
The camera is IP66 weatherproof, designed to withstand rain, snow, and dust. However, extreme weather conditions may temporarily affect performance. Ensure all ports are securely sealed.
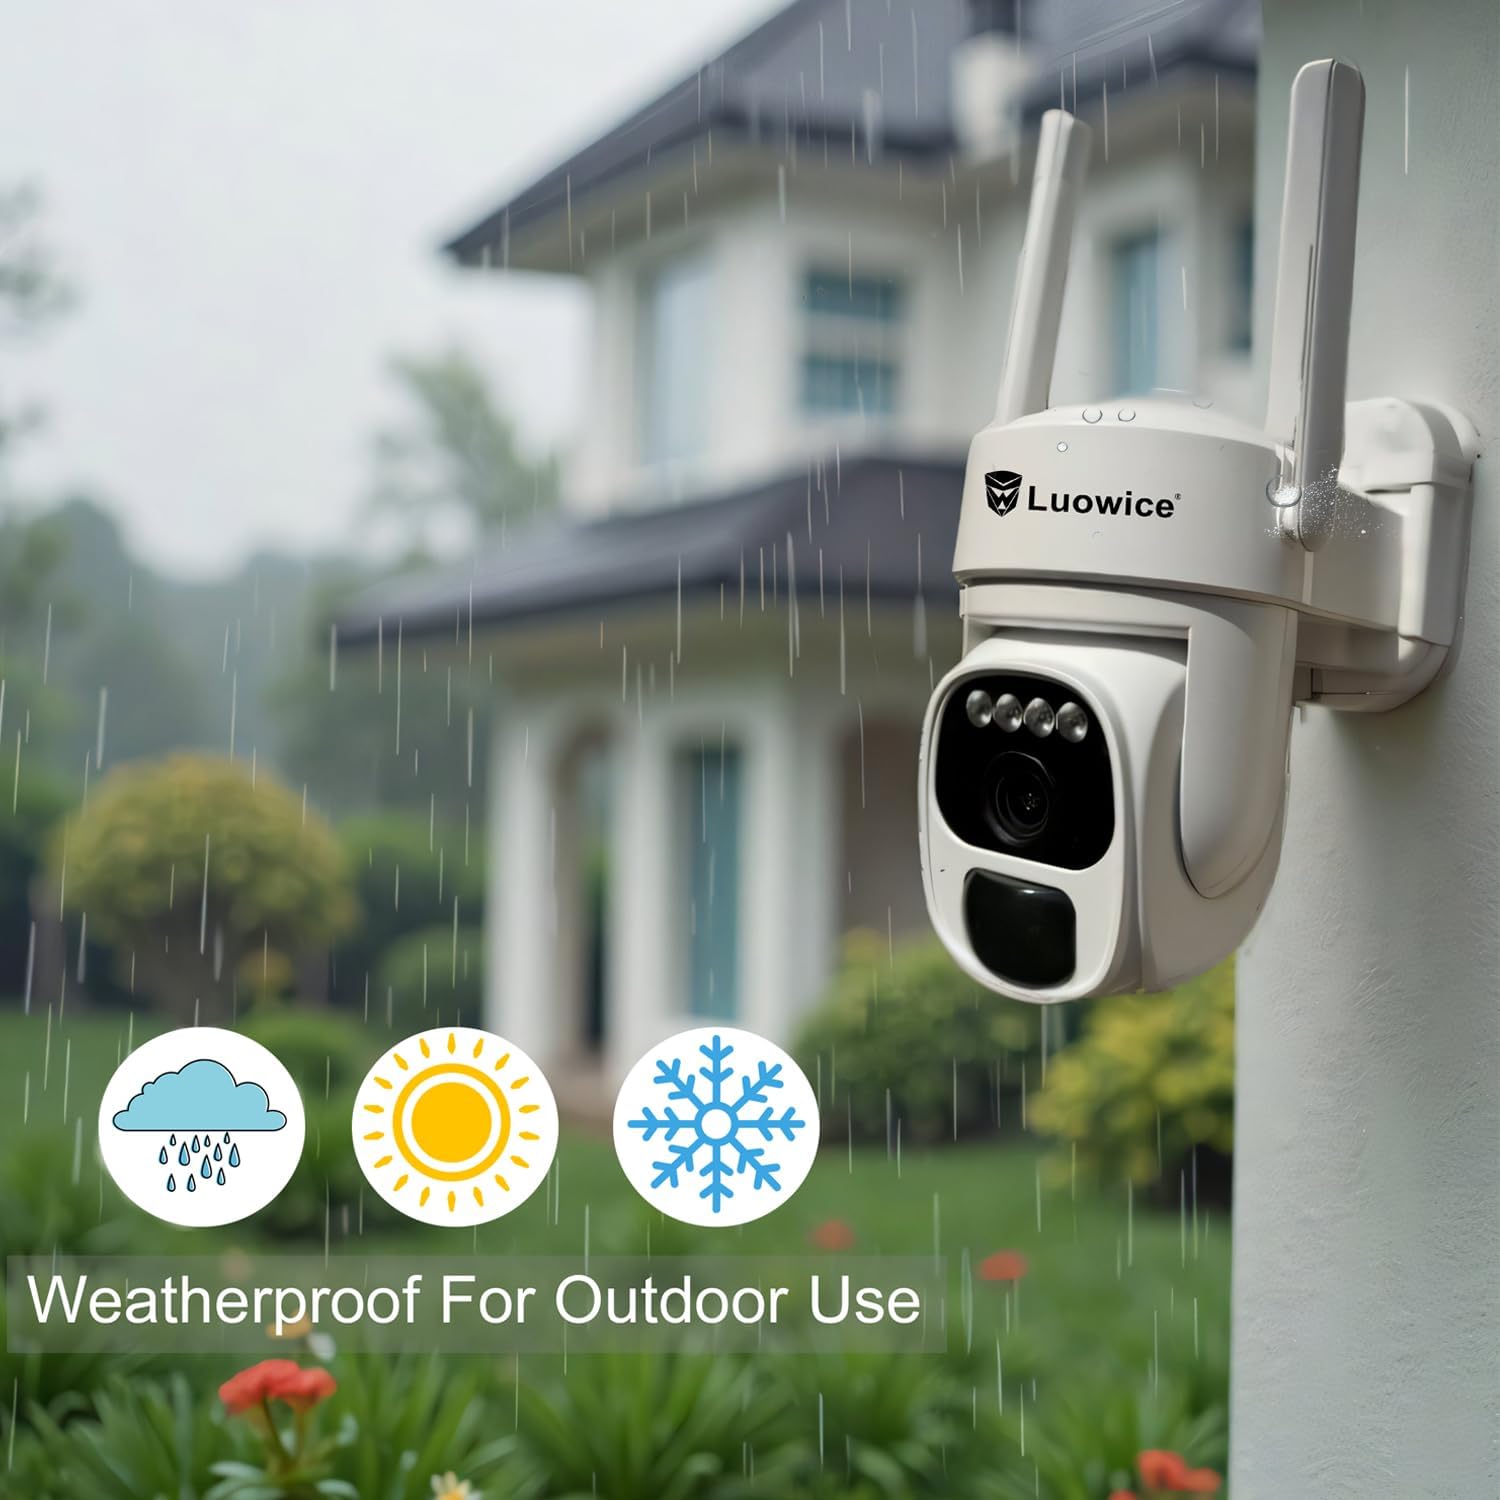
Image 5.1: The camera's weatherproof design for outdoor use.
6. Solución de problemas
- La cámara no se conecta al Wi-Fi: Ensure your Wi-Fi is 2.4 GHz. Check Wi-Fi signal strength at the camera's location. Restart your router and the camera.
- La batería no se carga: Verify the solar panel is clean and receiving direct sunlight. Check the USB charging cable connection. Ensure the ambient temperature is within the operating range for charging.
- Mala calidad de video: Limpia la lente de la cámara. Asegúrate de que haya suficiente iluminación. Comprueba la velocidad de tu conexión a internet.
- Alertas de movimiento falso: Ajuste la sensibilidad de detección de movimiento en la app. Defina zonas de detección específicas para excluir áreas irrelevantes.
- Pan/Tilt not responding: Check app connectivity. Ensure there are no physical obstructions. Restart the camera.
7. Especificaciones
| Característica | Especificación |
|---|---|
| Resolución de captura de video | 3 MP |
| Fuente de poder | Energía solar (panel solar de 3 W) |
| Protocolo de conectividad | Wi-Fi (2.4 GHz) |
| Rango de movimiento horizontal y vertical | 355 ° Horizontal, Vertical ° 90 |
| Visión nocturna | Color Night Vision with Floodlights |
| Opciones de almacenamiento | Tarjeta Micro SD (hasta 128 GB), almacenamiento en la nube |
| Clasificación a prueba de intemperie | IP66 |
| Pilas necesarias | 1 batería de iones de litio (incluida) |
| Peso del artículo | 1.85 libras |
| Dimensiones | 7.87 x 6.18 x 5.55 pulgadas (paquete) |
| Dispositivos compatibles | Teléfonos inteligentes, tabletas, computadoras |
8. Garantía y soporte
8.1 Información de garantía
Luowice products typically come with a manufacturer's warranty. Please refer to the product packaging or the official Luowice website for specific warranty terms and conditions. Optional extended protection plans may be available for purchase.
8.2 Atención al cliente
For technical assistance, troubleshooting, or warranty claims, please contact Luowice customer support through their official website or the contact information provided with your product. When contacting support, please have your product model (B0DF4TVZ7Z) and purchase details ready.