
1. Introducción
Thank you for choosing the LiebeWH ZT-300AB Wireless Digital Multimeter. This device is a high-precision, 6000-count True RMS multimeter designed for a wide range of electrical measurements. It features wireless connectivity, allowing real-time data recording, analysis, and processing via a mobile application. This manual provides essential information for the safe and effective use of your multimeter.
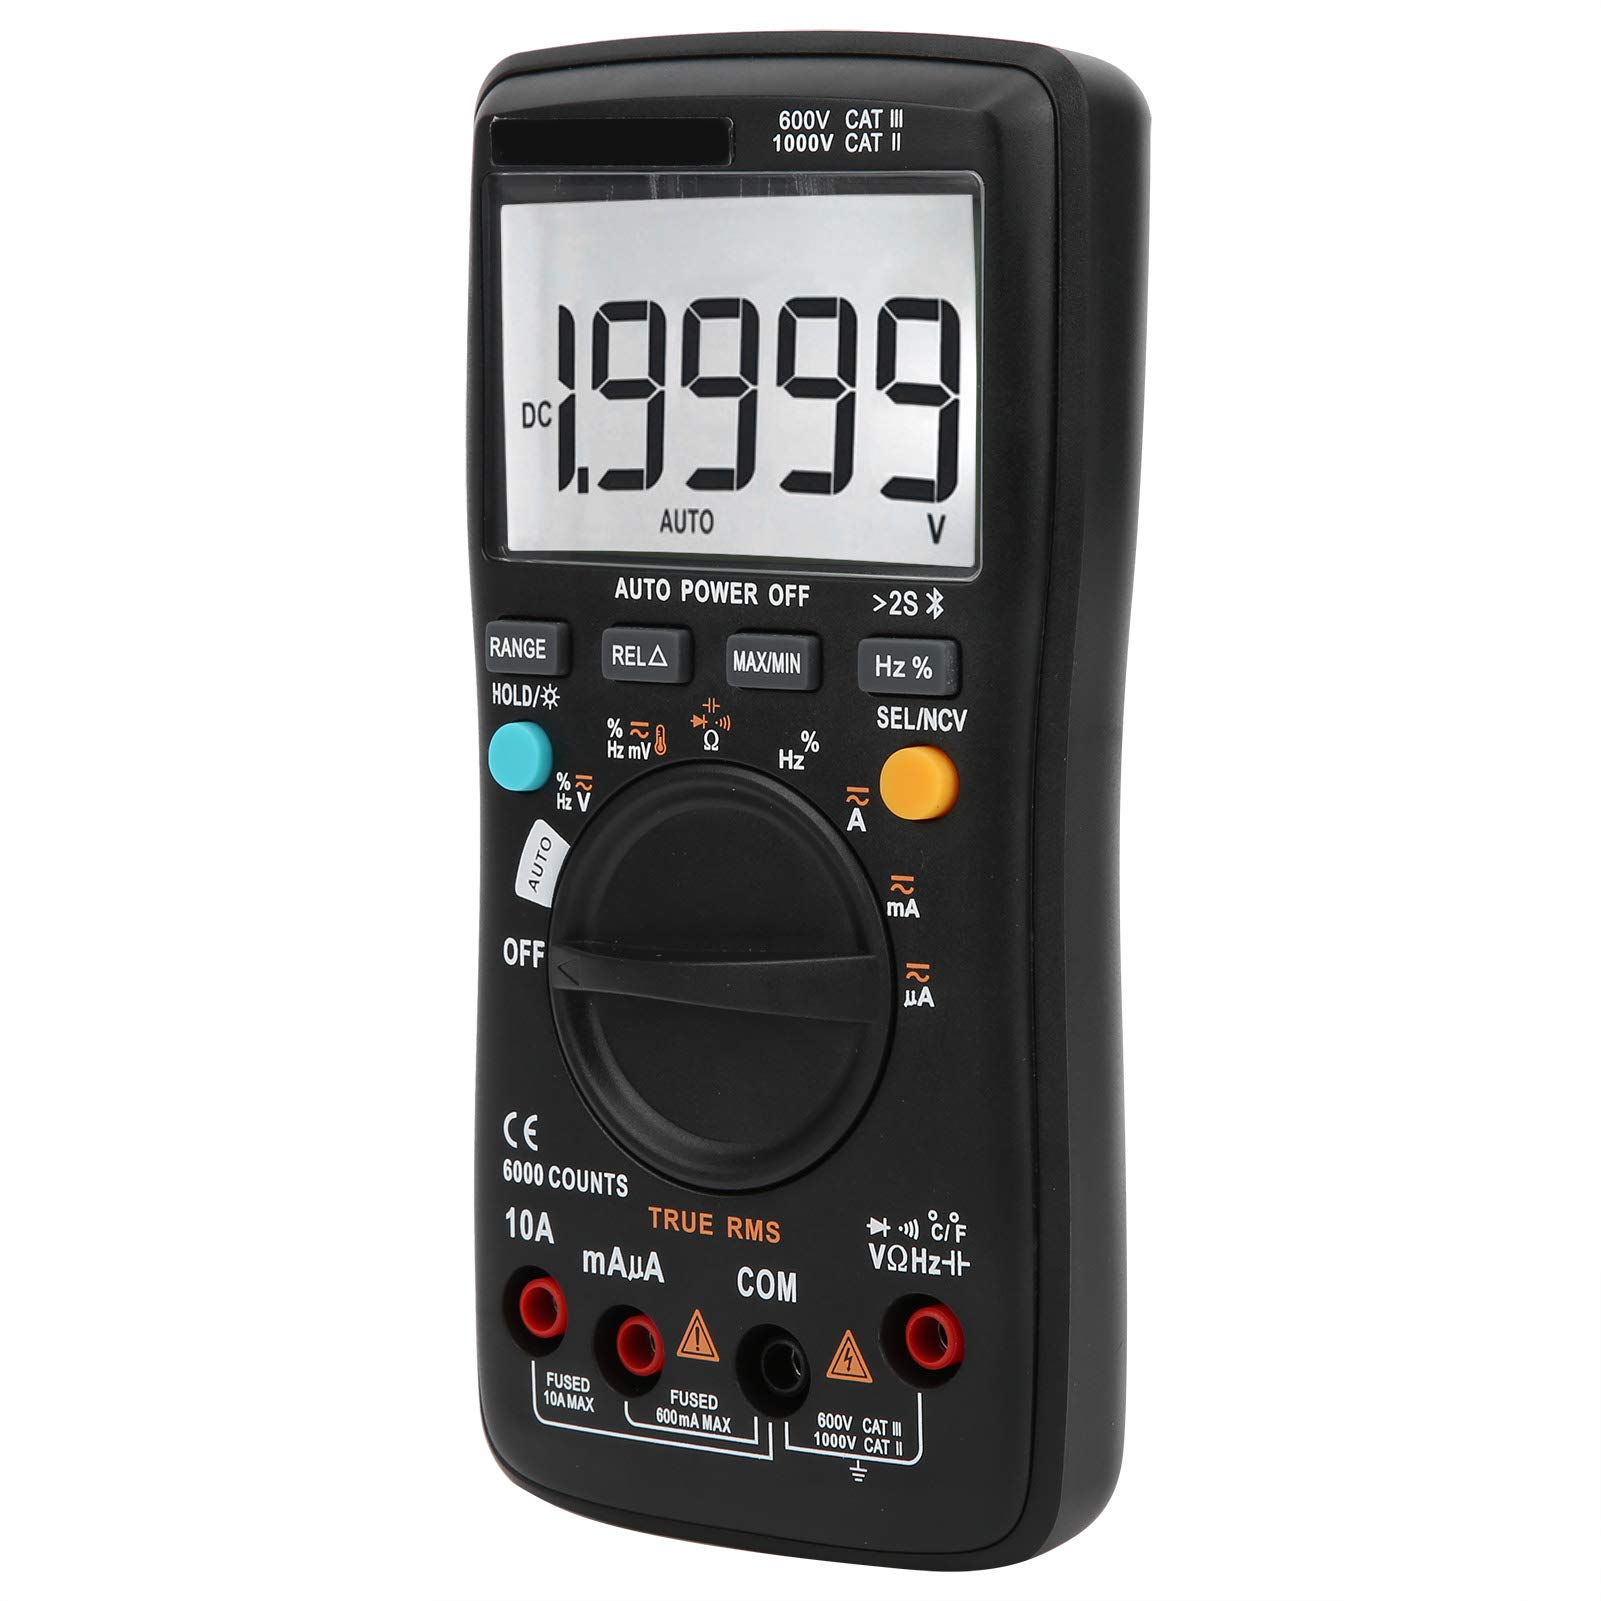
Imagen 1.1: Frente view of the LiebeWH ZT-300AB Wireless Digital Multimeter, showing the large LCD display and function dial.
2. Información de seguridad
Para garantizar un funcionamiento y servicio seguros del medidor, siga estas instrucciones. El incumplimiento de estas advertencias puede provocar lesiones graves o la muerte.
- Desconecte siempre los cables de prueba del circuito antes de cambiar de función.
- No aplique más del volumen nominal.tage, como está marcado en el medidor, entre terminales o entre cualquier terminal y tierra.
- Tenga cuidado al trabajar con vol.tages superior a 30 V CA RMS, 42 V pico o 60 V CC. Dicho volumentagPueden suponer un riesgo de descarga eléctrica.
- Utilice siempre los terminales, la función y el rango adecuados para sus mediciones.
- No utilice el medidor si parece dañado o si la caja está abierta.
- Reemplace la batería tan pronto como aparezca el indicador de batería baja para evitar lecturas incorrectas.
- No opere el medidor en entornos con gases, vapores o polvo explosivos.
- Ensure test leads are in good condition, with no damaged insulation.
3. Configuración
3.1 Contenido del paquete
Verifique que su paquete contenga los siguientes elementos:
- LiebeWH ZT-300AB Digital Multimeter
- Cables de prueba (rojo y negro)
- Sonda de temperatura
- Manual de usuario

Image 3.1: The multimeter shown with its included test leads and temperature probe.
3.2 Instalación de la batería
El multímetro requiere pilas para funcionar. Para instalar o reemplazar las pilas:
- Asegúrese de que el multímetro esté apagado y desconecte todos los cables de prueba.
- Localice la tapa del compartimiento de la batería en la parte posterior de la unidad.
- Use un destornillador para abrir el compartimiento de la batería.
- Insert the new batteries, observing the correct polarity (+ and -).
- Vuelva a colocar la tapa del compartimiento de la batería y asegúrela con el tornillo.
3.3 Conexión de cables de prueba
Conecte los cables de prueba a las entradas correspondientes del multímetro:
- Conectar el negro cable de prueba al COM (común) jack.
- Conectar el rojo cable de prueba al VΩHz conector para volumentage, mediciones de resistencia, frecuencia, capacitancia, diodos y continuidad.
- Para mediciones de corriente (mA/µA), conecte el rojo cable de prueba al mAμA Jacobo.
- Para mediciones de alta corriente (hasta 10 A), conecte el rojo cable de prueba al 10A Jacobo.
3.4 Wireless Function and Mobile App
The ZT-300AB can connect to your smartphone via its wireless function for real-time data monitoring and analysis.
- Download the dedicated mobile application from your device's app store. (App name not specified, refer to product packaging or manufacturer's websitio).
- Enable wireless on your smartphone and the multimeter.
- Open the app and follow the on-screen instructions to pair your multimeter.
- The app allows real-time data display, recording, and curve graphing. It can connect to and monitor up to four wireless multimeters simultaneously.

Image 3.2: The multimeter displaying a reading, with a smartphone screen showing the companion application for data monitoring.
4. Instrucciones de funcionamiento
4.1 Encendido y apagado
Turn the rotary dial from the OFF position to any measurement function to power on the multimeter. To power off, turn the dial back to the OFF position. The multimeter also features an automatic power-off function to conserve battery life.
4.2 Selección de función
Gire el dial central para seleccionar la función de medición deseada (por ejemplo, V~ para voltaje de CA)tage, V- para volumen de CCtage, Ω for Resistance, A~ for AC Current, A- for DC Current, Temp for Temperature, etc.).
4.3 Funciones de los botones
- GAMA: Switches between automatic and manual ranging. In manual range, press repeatedly to cycle through available ranges.
- HOLD/☀: Press once to hold the current reading on the display. Press again to release. Long press to activate/deactivate the backlight.
- REL△: Relative measurement mode. Displays the difference between the current reading and a stored reference value.
- MÁXIMO MINIMO: Records and displays the maximum and minimum values measured during a session.
- Hz%: For frequency and duty cycle measurements.
- SEL/NCV: Selects between different sub-functions within a dial position (e.g., AC/DC, Diode/Continuity). Long press to activate Non-Contact VoltagDetección de velocidad de conducción nerviosa (NCV).
4.4 Realización de mediciones
Always ensure the test leads are connected to the correct jacks and the function dial is set to the appropriate measurement type before connecting to a circuit.
- VolumentagMedición electrónica (CA/CC): Select V~ for AC or V- for DC. Connect test leads in parallel with the circuit or component.
- Medición de corriente (CA/CC): Select A~ for AC or A- for DC. Connect test leads in series with the circuit. Ensure the correct current jack (mAµA or 10A) is used.
- Medición de resistencia (Ω): Select Ω. Connect test leads across the component when it is de-energized.
- Medición de capacitancia: Select the capacitance function. Connect test leads across the capacitor when it is de-energized.
- Prueba de diodo: Select the diode function. Connect test leads across the diode.
- Prueba de continuidad: Select the continuity function. Connect test leads across the circuit. A beep indicates continuity.
- Frecuencia (Hz) / Ciclo de trabajo (%): Select the Hz% function. Connect test leads to the signal source.
- Medida de temperatura: Connect the temperature probe to the appropriate jacks (usually VΩHz and COM). Select the temperature function.
- Vol sin contactotage (VNC): Long press the SEL/NCV button. Bring the top of the multimeter near an AC voltagfuente e. El medidor indicará la presencia de vol.tagy sin contacto directo.
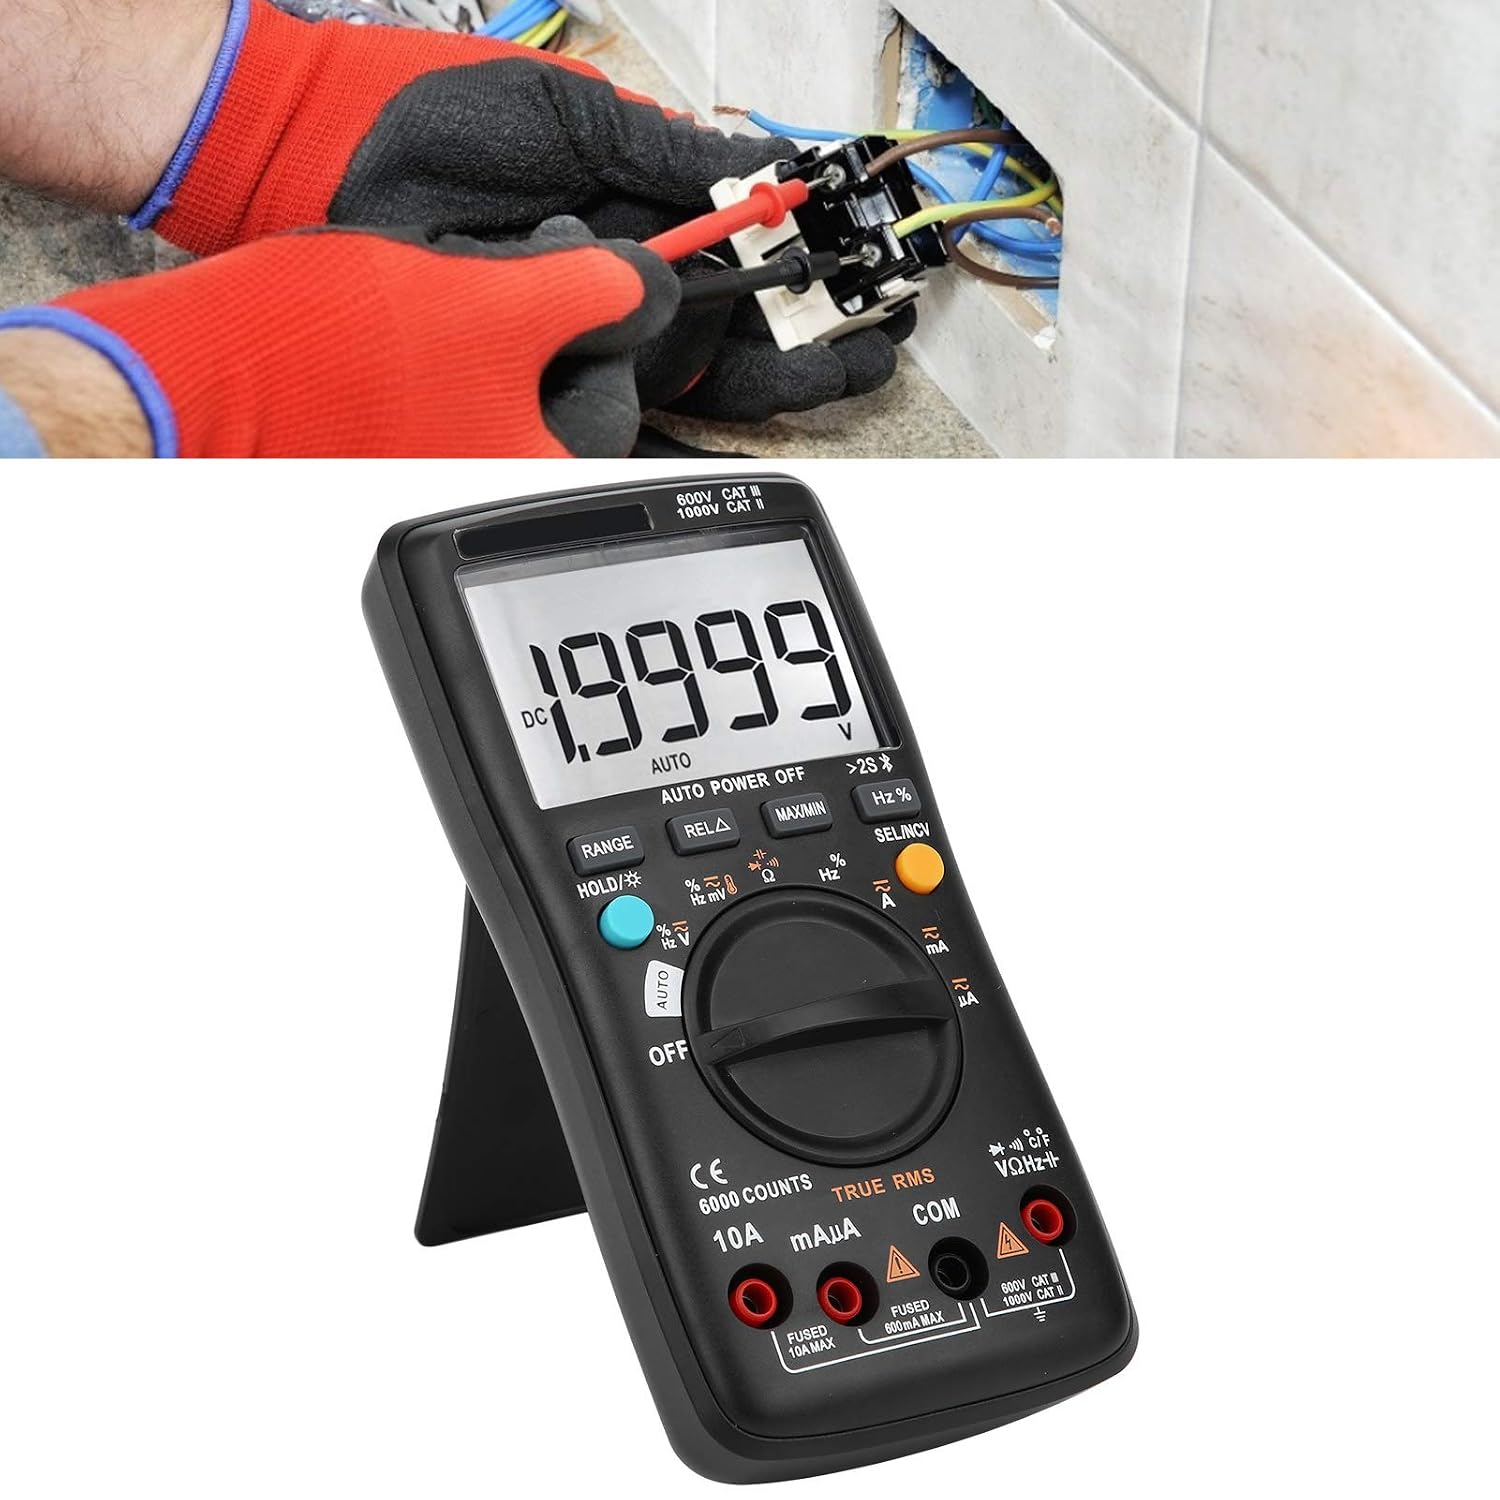
Image 4.1: The multimeter in use, positioned on its integrated kickstand for convenient viewing durante las mediciones.
5. Mantenimiento
5.1 Limpieza
Limpiar la carcasa con publicidadamp Paño y detergente suave. No utilice abrasivos ni disolventes. Mantenga los terminales limpios y sin suciedad ni humedad.
5.2 Reemplazo de batería
Consulte la Sección 3.2 para obtener instrucciones sobre el reemplazo de las baterías. Reemplace las baterías inmediatamente cuando aparezca el indicador de batería baja en la pantalla.
5.3 Reemplazo de fusibles
If the current measurement functions stop working, the fuse may need replacement. Fuses are located inside the multimeter. Fuse specifications are typically printed near the current input jacks (e.g., FUSED 10A MAX, FUSED 600mA MAX). To replace a fuse:
- Asegúrese de que el multímetro esté apagado y desconecte todos los cables de prueba.
- Open the back case of the multimeter (this may require removing screws).
- Carefully locate and remove the blown fuse.
- Replace it with a fuse of the exact same type and rating. Using an incorrect fuse can damage the meter or pose a safety hazard.
- Reassemble the multimeter, ensuring all screws are securely fastened.
6. Solución de problemas
- Sin pantalla o pantalla débil: Verifique la instalación y el nivel de carga de las baterías. Reemplace las baterías si es necesario.
- Lecturas incorrectas: Ensure test leads are properly connected to the correct jacks. Verify the function dial is set to the appropriate measurement type and range. Check for damaged test leads.
- La medición actual no funciona: Check the fuse (refer to Section 5.3). Ensure the red test lead is connected to the correct current input jack (mAµA or 10A).
- Problemas de conexión inalámbrica: Ensure wireless is enabled on both the multimeter and your smartphone. Restart both devices and try pairing again. Check the mobile app for troubleshooting tips.
- El medidor no responde: Turn the meter off and then on again. If the issue persists, remove batteries for a few minutes and then reinsert them.
7. Especificaciones
| Característica | Especificación |
|---|---|
| Mostrar | 6000 cuentas |
| Alcance | Automático/Manual |
| Samptasa de ling | 3 segundos/hora |
| Verdadero valor eficaz (RMS) | Apoyado |
| Retención de datos | Apoyado |
| Iluminar desde el fondo | Apoyado |
| Indicación de batería baja | Apoyado |
| Apagado automático | Apoyado |
| Vol DCtagmi (V) | 6V, 60V, 600V, 1000V |
| Vol DCtagmi (mV) | 60mV |
| Dimensiones | 20 x 12 x 5 cm (7.9 x 4.7 x 2 pulgadas) |
| Peso | 374 g (0.82 libras) |
| Fabricante | LiebeWH |
| Número de modelo del producto | LiebeWHso0iq29gfn |

Image 7.1: Dimensions of the LiebeWH ZT-300AB Multimeter, showing its compact size.
8. Garantía y soporte
For warranty information and technical support, please refer to the documentation included with your purchase or contact the manufacturer directly. Contact details can typically be found on the product packaging or the official LiebeWH websitio.