1. Producto terminadoview
The XFOX Tuya Zigbee Door and Window Sensor is a compact, wireless contact sensor designed to enhance your home's security and smart automation capabilities. It operates by detecting the opening and closing status of doors and windows, providing real-time alerts and enabling integration with your smart home ecosystem.
This sensor requires a Tuya Zigbee hub for operation and is compatible with popular voice assistants such as Amazon Alexa and Google Assistant, allowing for convenient control and status inquiries.

Figure 1.1: XFOX Tuya Zigbee Door and Window Sensor components.
2. Características principales
- Wireless Intelligent Connection: Utilizes Tuya Zigbee 3.0 technology for easy integration with a Tuya smart home system via a compatible Zigbee gateway. No complex wiring is required.
- Real-time Alarm Push: Monitors the opening and closing status of doors and windows, sending instant push notifications to your mobile application upon detecting abnormal movement.
- Compatibilidad con control por voz: Supports voice commands through Amazon Alexa and Google Assistant for status inquiries and linking with other smart devices to create automated security scenes.
- Bajo mantenimiento: Designed for low power consumption, offering extended battery life with 2x AAA batteries (not included), reducing the frequency of battery replacement.
- Invisible and Slim Design: Features a mini, compact design with dual mounting options (3M adhesive sticker or screws) for discreet installation on doors and windows, preserving home aesthetics.
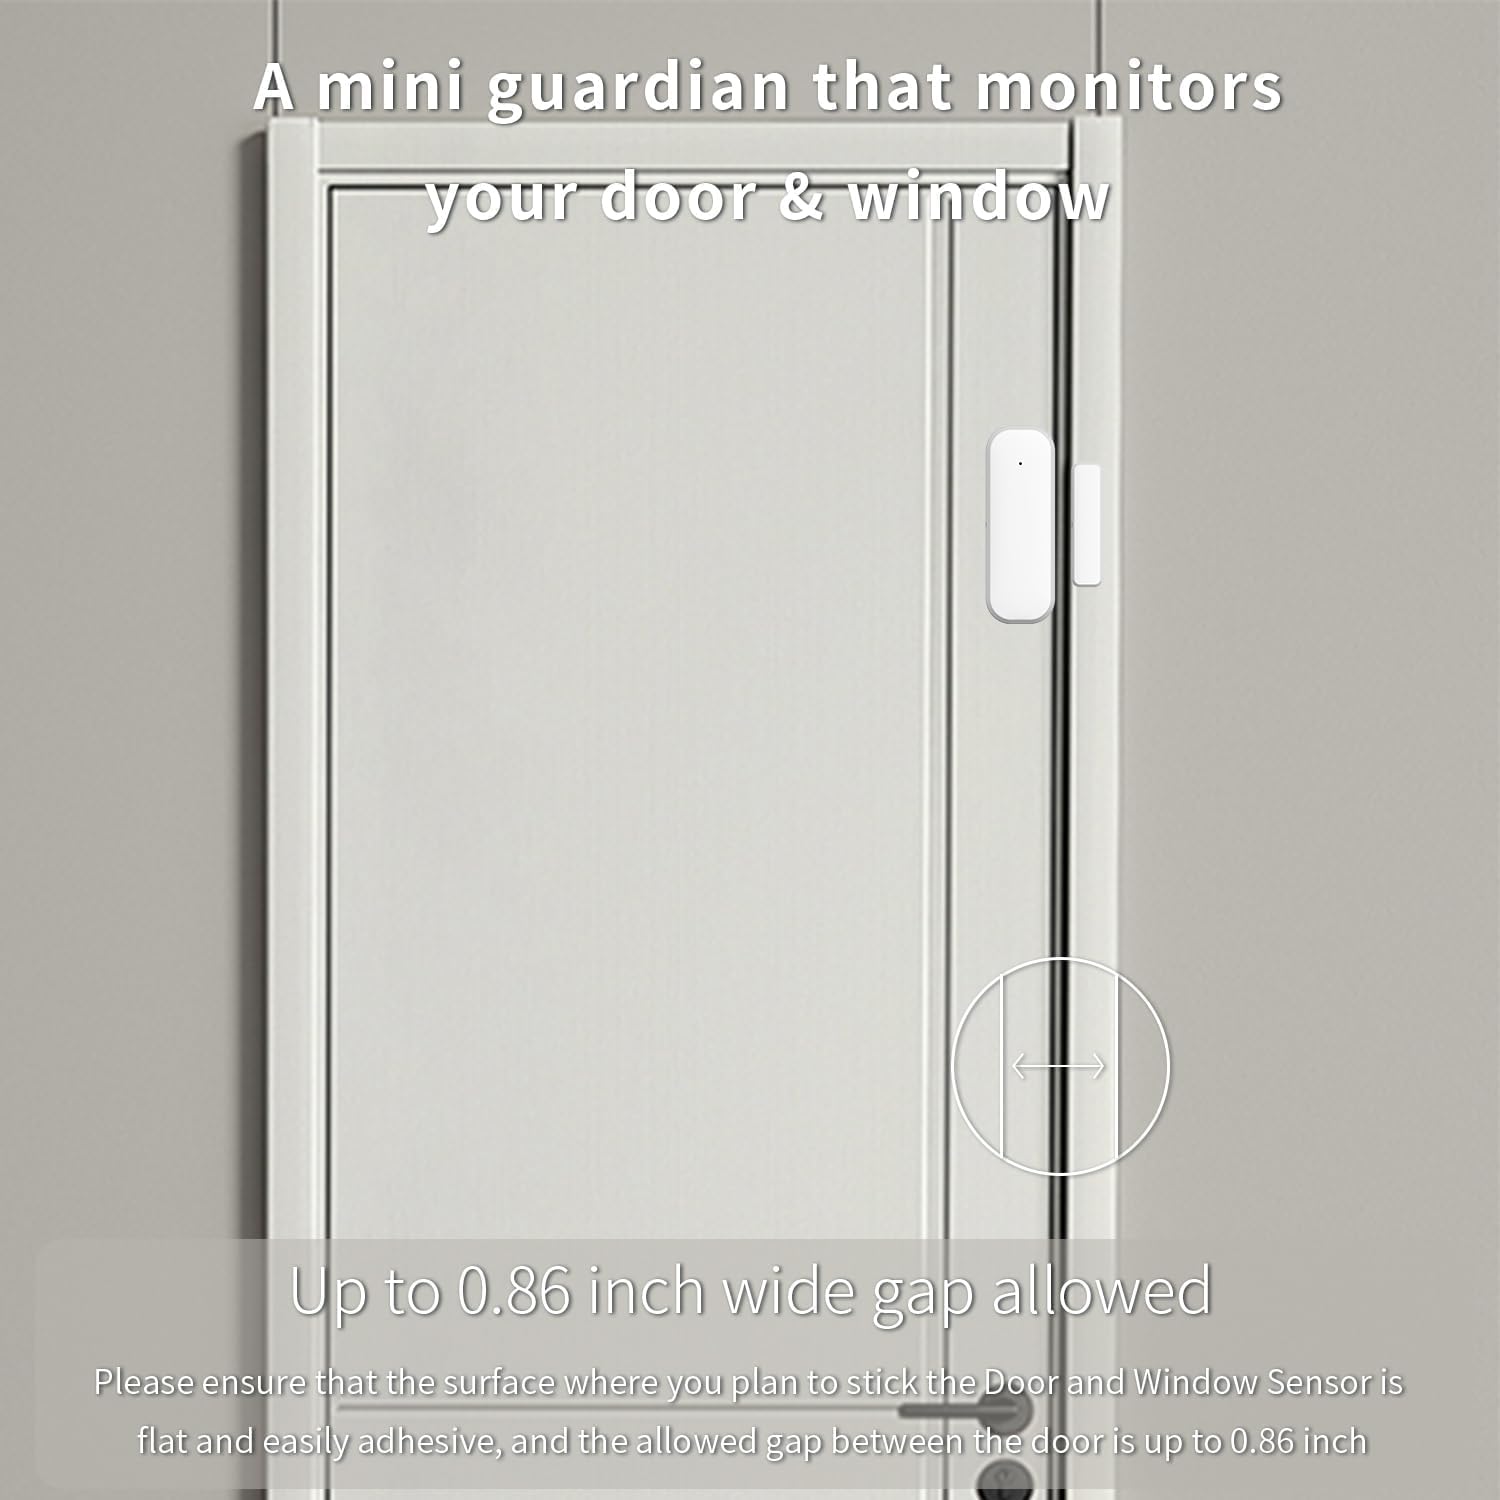
Figure 2.1: The sensor acts as a mini guardian for doors and windows.

Figura 2.2: Examples of sensor placement on drawers, doors, and windows.
3. Contenido del paquete
- 1 x XFOX Tuya Zigbee Door/Window Sensor (Main Unit and Magnet)
- 1 x Manual de usuario (este documento)
- Mounting Accessories (3M adhesive sticker/screws)
Note: 2x AAA batteries are required for operation and are not included in the package. A Tuya Zigbee Hub is also required and sold separately.
4. Configuración e instalación
4.1. Instalación de la batería
- Deslice suavemente para abrir la cubierta posterior de la unidad del sensor principal.
- Inserte dos (2) pilas AAA, asegurándose de la polaridad correcta (+/-).
- Cierre la cubierta trasera de forma segura.
4.2. Emparejamiento con Tuya Zigbee Hub
Before installation, ensure you have a Tuya Zigbee Hub connected to your network and the Tuya Smart Life application installed on your smartphone.

Figure 4.1: A Tuya Hub is required for sensor operation.
- Abra la aplicación Tuya Smart Life en su teléfono inteligente.
- Navigate to the "Add Device" section.
- Select "Sensor" and then "Contact Sensor" or similar option.
- Follow the on-screen instructions in the app to put the sensor into pairing mode (usually involves pressing a reset button on the sensor for a few seconds).
- Una vez detectado, confirme la adición del dispositivo en la aplicación.
If pairing fails, ensure the sensor is within range of the Zigbee hub and that the hub is properly configured. Refer to your Tuya Zigbee Hub's manual for specific pairing instructions if needed.
4.3. Instalación Física
The sensor consists of two parts: the main sensor unit and a smaller magnet. These two parts must be installed on the door/window frame and the door/window itself, respectively, with a maximum gap of 0.86 inches (2.2 cm) when closed.
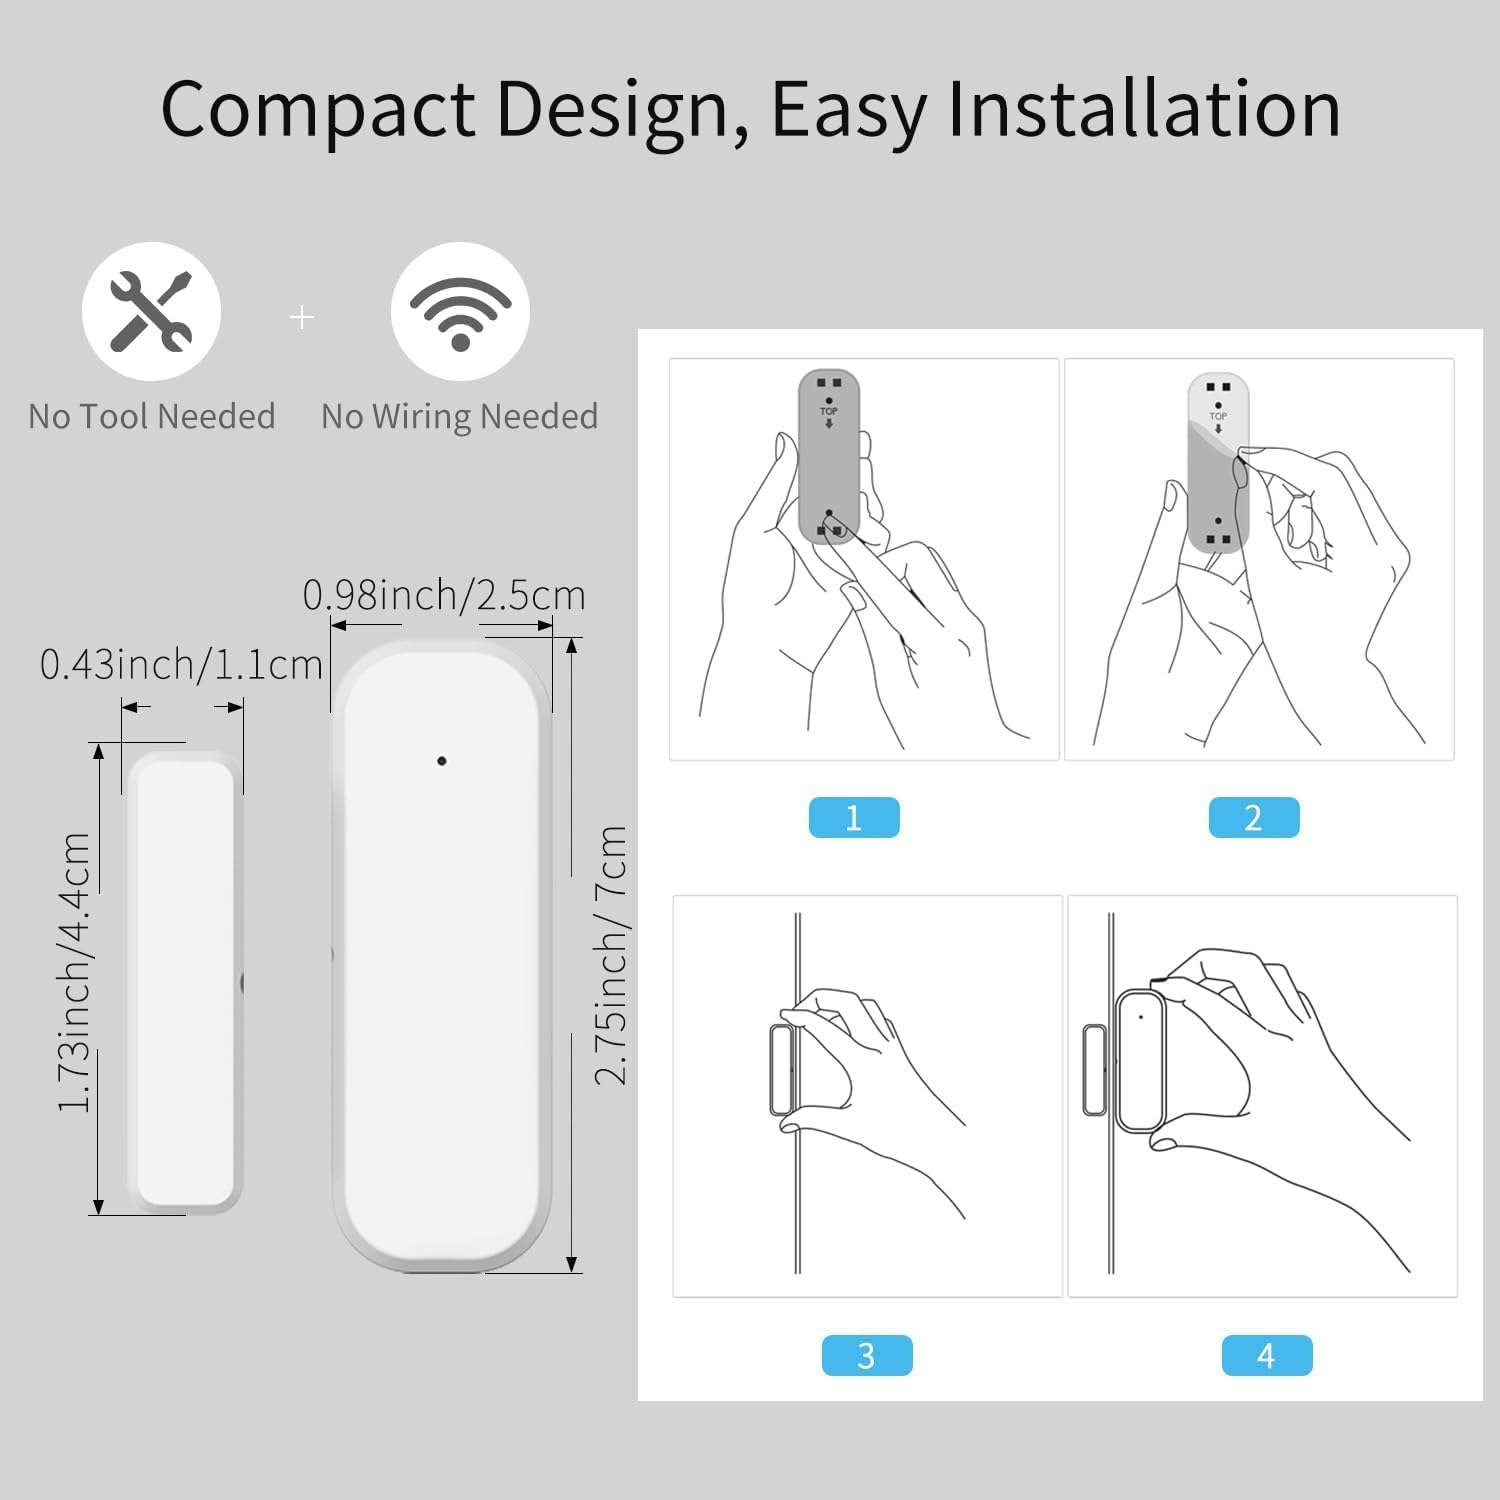
Figure 4.2: Dimensions and installation steps for the sensor.
- Elegir la ubicación: Identify a clean, flat surface on your door/window frame and the corresponding moving part where the sensor and magnet can be aligned.
- Superficie limpia: Asegúrese de que la superficie de instalación esté limpia, seca y libre de polvo o grasa.
- Conecte la unidad principal: Peel the backing from the 3M adhesive sticker on the main sensor unit and firmly press it onto the chosen spot on the door/window frame. Alternatively, use screws for a more permanent installation.
- Adjuntar imán: Peel the backing from the 3M adhesive sticker on the smaller magnet and firmly press it onto the door/window itself, aligning it with the main sensor unit. Ensure the alignment marks on both parts face each other and the gap is within 0.86 inches when the door/window is closed.
- Prueba: Open and close the door/window to verify that the sensor registers the change in status in the Tuya Smart Life app.
Figure 4.3: Proper alignment of the sensor and magnet on a door.
5. Instrucciones de funcionamiento
5.1. Monitoring Status via App
Once installed and paired, the sensor will continuously monitor the open/closed status of your door or window. You can view the current status and historical records directly within the Tuya Smart Life application.
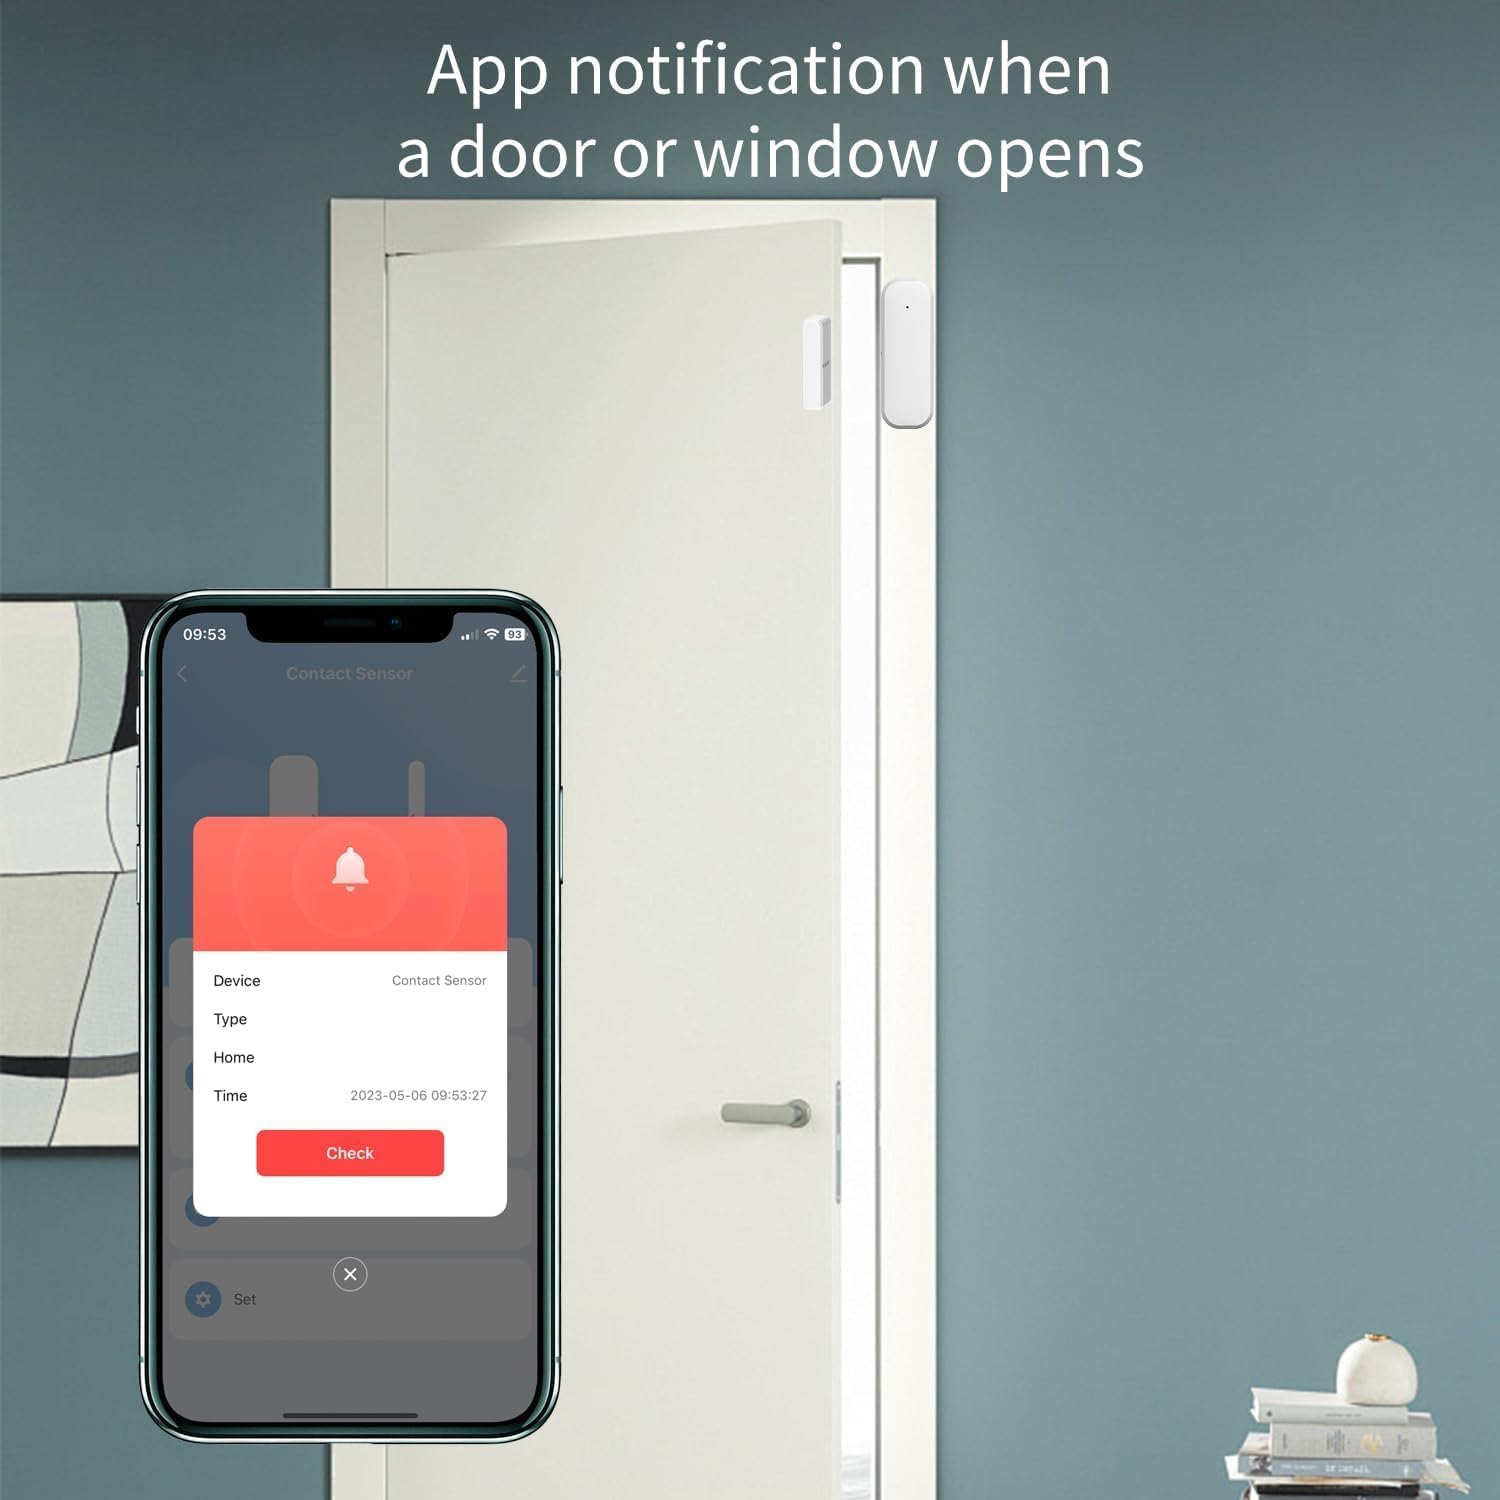
Figure 5.1: App notification when a door or window opens.
- Open the Tuya Smart Life app.
- Select the specific Door/Window Sensor from your device list.
- The app will display the current status (e.g., "Open" or "Closed") and a log of recent activities.
5.2. Recibir notificaciones
Configure push notifications in the Tuya Smart Life app to receive instant alerts on your smartphone whenever the door or window opens or closes unexpectedly.
- In the sensor's settings within the app, enable "Alarm Push" or "Notification Settings".
- Customize notification preferences as desired.
5.3. Integración del control por voz
Integrate the sensor with Amazon Alexa or Google Assistant for hands-free monitoring and automation.

Figure 5.2: Voice control with Google Assistant and Amazon Alexa.
- Ensure your Tuya Smart Life account is linked to your Alexa or Google Home app.
- Descubre nuevos dispositivos en tu aplicación de asistente de voz.
- Once discovered, you can ask questions like:
- "Alexa, ¿está abierta la puerta principal?"
- "Ok Google, ¿cuál es el estado de la ventana de la sala de estar?"
- You can also set up routines or automations (e.g., turn on a light when the door opens).
6. Mantenimiento
6.1. Reemplazo de la batería
The sensor is designed for low power consumption, providing long battery life. When the battery level is low, the Tuya Smart Life app may notify you. Replace the batteries promptly to ensure continuous operation.
- Open the back cover of the main sensor unit.
- Retire las pilas AAA viejas.
- Inserte dos pilas alcalinas AAA nuevas, observando la polaridad correcta.
- Cierre la tapa trasera.
Deseche las baterías usadas de acuerdo con las normas locales.
6.2. Limpieza
Limpie el exterior del sensor con un paño suave y seco. No utilice limpiadores abrasivos ni disolventes, ya que pueden dañar el dispositivo.
7. Solución de problemas
| Problema | Posible causa | Solución |
|---|---|---|
| Sensor not pairing with Tuya Zigbee Hub. |
|
|
| Sensor status not updating in app / Unreliable signal. |
|
|
| No se recibieron notificaciones. |
|
|
8. Especificaciones
| Atributo | Valor |
|---|---|
| Número de modelo | F-SD01Z |
| Marca | XFOX |
| Tecnología de conectividad | Zigbee 3.0 |
| Fuente de poder | Funciona con pilas (2 pilas AAA, no incluidas) |
| Volumentage | 2 voltios (CC) |
| Método de control | Aplicación, control remoto, voz |
| Tipo de montaje | Montaje en puerta |
| La tecnología de sensores | Contacto |
| Dimensiones (Unidad principal) | 2.76 x 0.98 x 0.73 pulgadas (7 x 2.5 x 1.85 cm) |
| Dimensiones (imán) | 1.73 x 0.43 x 0.73 pulgadas (4.4 x 1.1 x 1.85 cm) |
| Peso del artículo | 1.13 onzas (aprox. 32 g) |
| Color | Blanco |
| Dispositivos compatibles | Tuya Zigbee Hub, Alexa, Google Assistant, Smartphone |
| Maximum Installation Gap | 0.86 pulgadas (2.2 cm) |
9. Información de seguridad
- This device operates on 2 Volts DC. Use only specified battery types.
- No exponga el dispositivo a temperaturas extremas, luz solar directa o humedad.
- No intente desmontar ni reparar el dispositivo usted mismo. Para obtener servicio técnico, contacte con personal cualificado.
- Mantener fuera del alcance de los niños y las mascotas.
- Ensure proper battery polarity when inserting batteries. Incorrect insertion can cause damage.
10. Garantía y soporte
Para obtener información sobre la garantía y asistencia técnica, póngase en contacto con el fabricante o con su punto de compra. Conserve el recibo de compra como comprobante.
Manufacturer: FARYLINK
For further assistance, please visit the official XFOX websitio o comuníquese con su servicio de atención al cliente.