
Introducción
This manual provides detailed instructions for the installation, operation, and maintenance of your Nilight 4-Gang Rocker Switch 16AWG Wiring Harness Kit. Please read this document thoroughly before attempting installation or use to ensure proper function and safety.
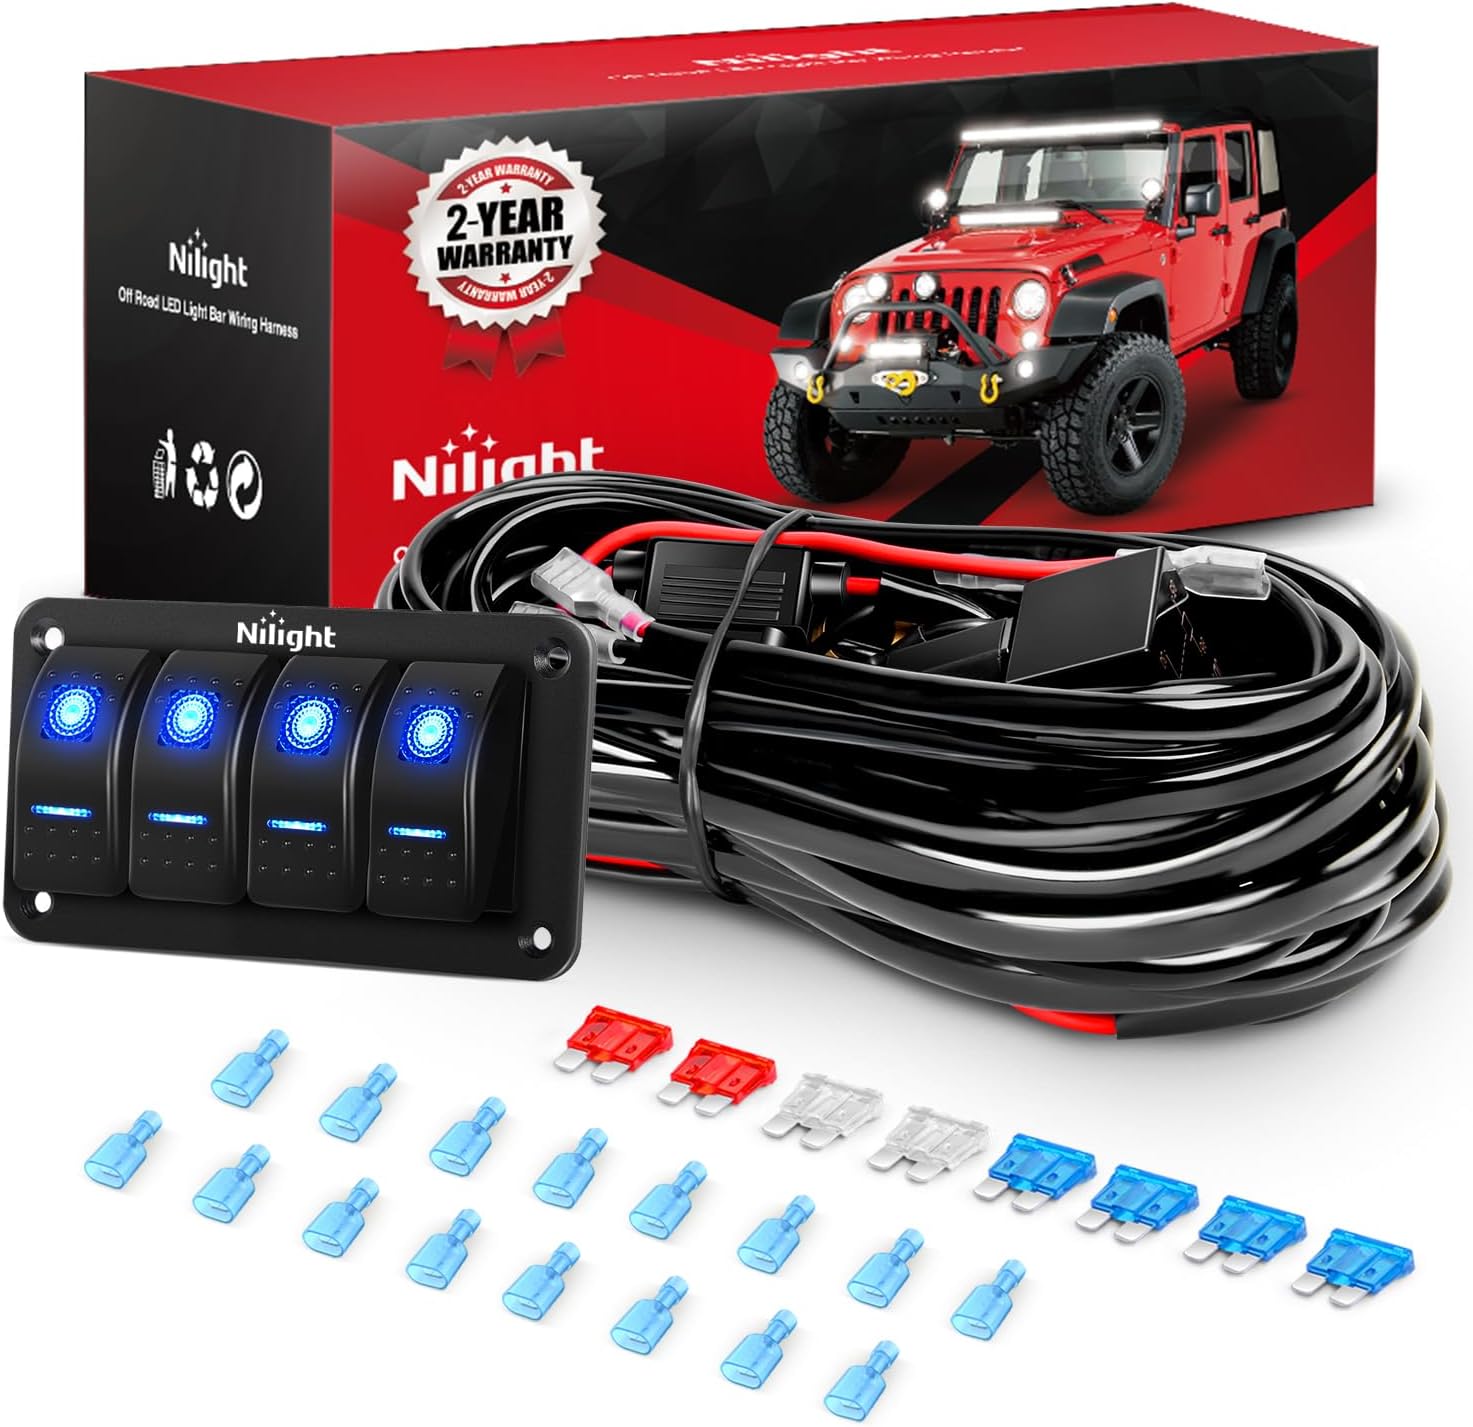
Imagen: Más alláview of the Nilight 4-Gang Rocker Switch 16AWG Wiring Harness Kit, showing the switch panel, wiring, relays, and connectors.
Información de seguridad
- Desconecte siempre la batería del vehículo antes de realizar cualquier trabajo eléctrico para evitar cortocircuitos y descargas eléctricas.
- Asegúrese de que todas las conexiones estén seguras y adecuadamente aisladas para evitar arcos eléctricos o cortocircuitos.
- No exceda el máximo de agua.tage capacity of the harness (1110W total) or individual wire gauges.
- Si su fuente de alimentación es de 24 V, reemplace el relé original de 12 V por un relé de 24 V compatible.
- Consulte con un profesional si no está seguro acerca de alguno de los pasos de instalación.
Contenido del paquete
Verifique que todos los componentes estén presentes en su paquete:
- 1 x 4-Gang Wiring Harness Kit
- Blade Fuses (various amperages)
- Conectores de pala

Image: Components of the 8-lead wiring harness kit, including the 4-gang switch panel, wiring, and various connectors.
Presupuesto
| Marca | Crepúsculo |
| Modelo | 10304 W |
| Material | Acrilonitrilo butadieno estireno |
| Calibres de cables | 16AWG, 14AWG, 12AWG |
| Wat máximotage Capacidad | Hasta 1110W |
| Tipo de interruptor | 4-Gang Rocker Switch, 5-Pin Toggle |
| Volumentage | 12V (24V compatible with relay replacement) |
| Leads Available | 8 leads (2 per switch) |
| Protección | Power Relay, Inline Blade Fuse |
Configuración e instalación
Follow these steps for proper installation of the wiring harness kit:
- Planifique su diseño: Determine the mounting location for the 4-gang rocker switch panel and the placement of your LED lights or other accessories. Consider wire routing to ensure sufficient length and protection from heat or moving parts.
- Desconecte la batería: Before starting any wiring, disconnect the negative terminal of your vehicle's battery to prevent electrical hazards.
- Monte el panel de interruptores: Install the 4-gang rocker switch panel in your desired location. Ensure it is securely fastened and accessible.
- Conéctese a la fuente de alimentación: Connect the main power input wires of the harness to your vehicle's 12V battery. The harness includes a power relay and inline blade fuse for protection. Ensure the positive (+) and negative (-) connections are correct.
- Connect Relays: The harness is pre-wired with relays. These relays manage the power distribution to your accessories, protecting the switches from high current loads.
- Conectar accesorios: Each switch on the panel controls two leads. Connect your LED lights or other 12V accessories to the corresponding leads. For example, you can connect up to 8 lights, with each switch controlling a pair of lights.
- Cableado seguro: Route all wiring safely, away from hot engine components, sharp edges, and moving parts. Use zip ties or cable clamps para asegurar el arnés.
- Vuelva a conectar la batería: Once all connections are made and secured, reconnect the negative terminal of your vehicle's battery.
- Funcionalidad de prueba: Turn on each switch to verify that your connected accessories function correctly.

Image: Detailed wiring diagram illustrating connections for the 4-gang rocker switch panel, relays, fuses, and multiple light bar outputs. Includes wire lengths for different sections.
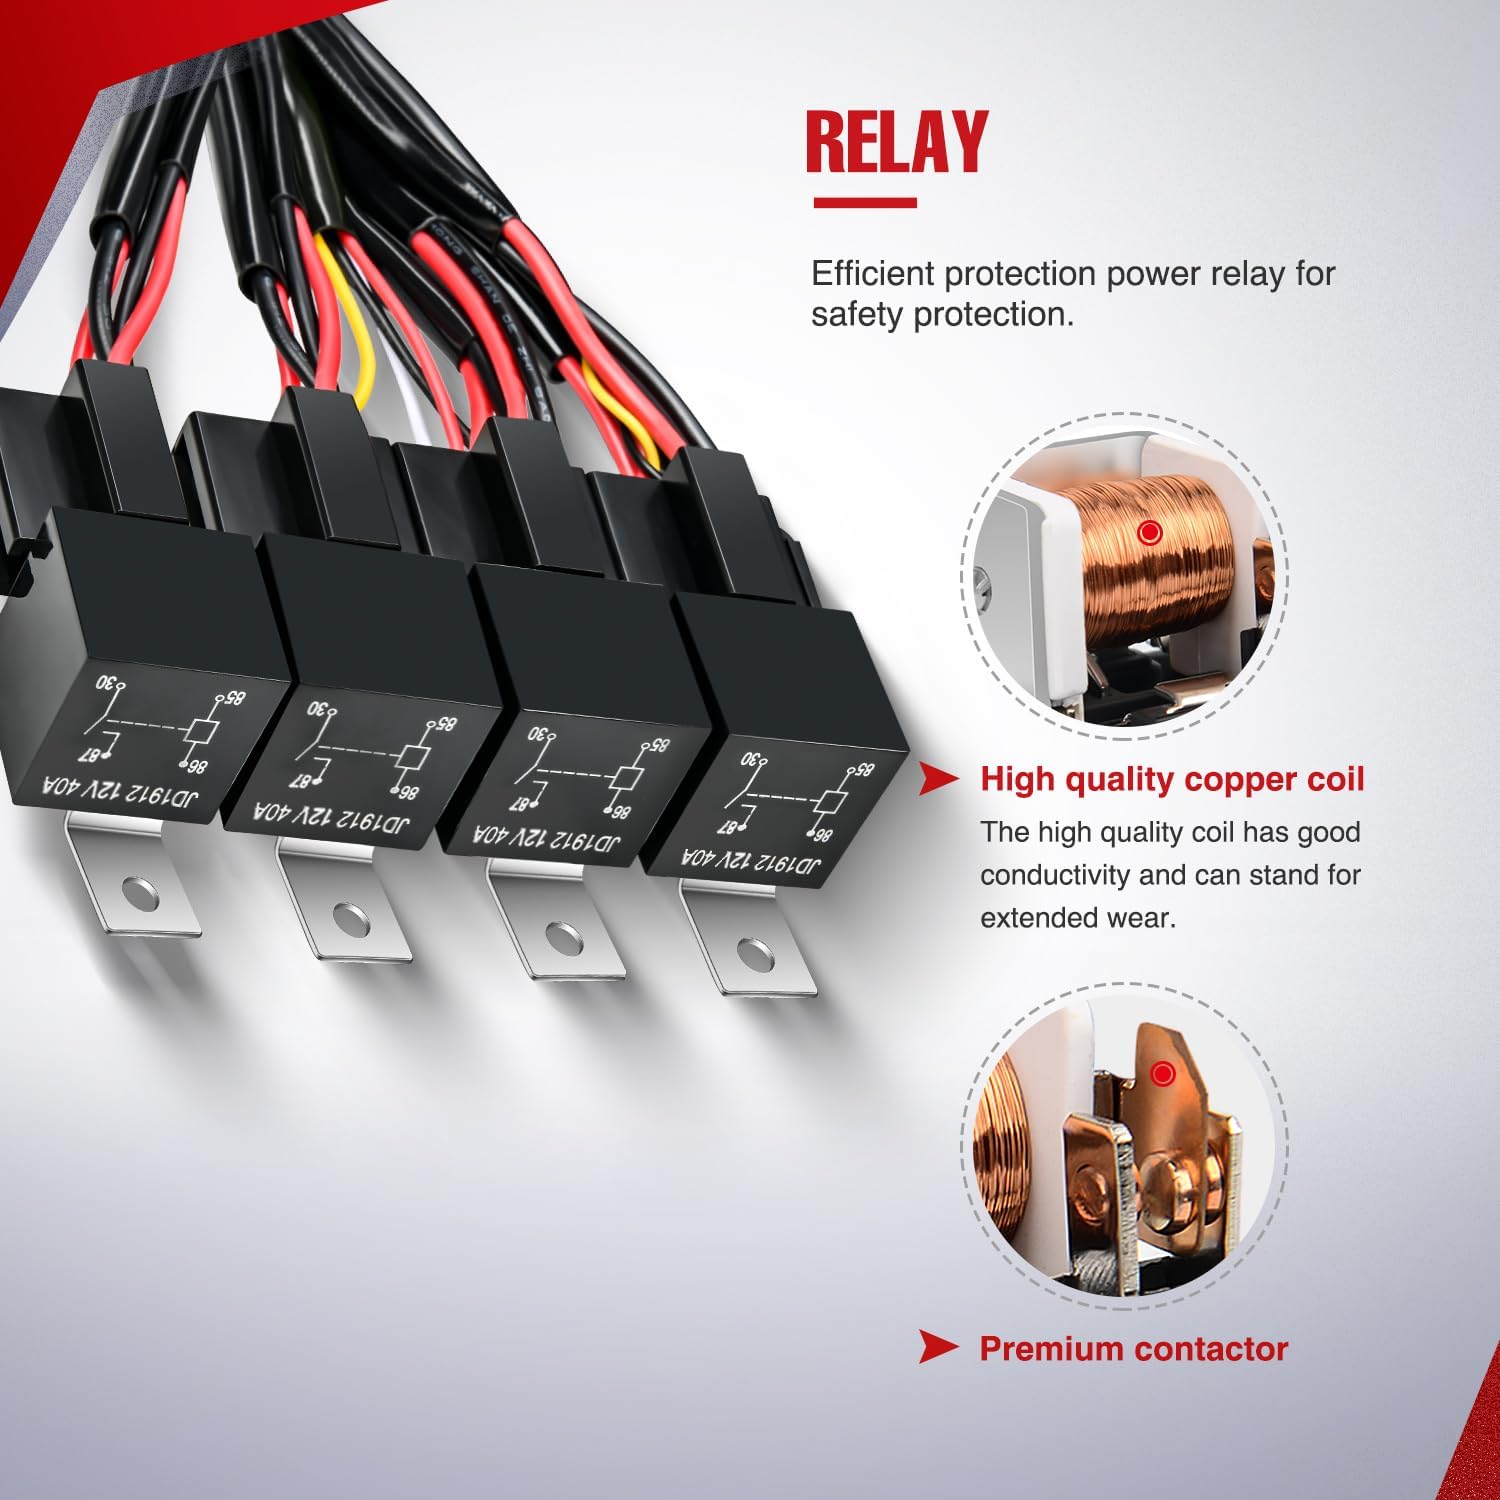
Imagen: Primer plano view of the automotive relays included in the wiring harness, highlighting the high-quality copper coil and premium contactor for efficient protection.
Instrucciones de funcionamiento
The 4-gang rocker switch panel allows independent control of up to four separate circuits (eight leads).
- Operación del interruptor: Each rocker switch has an ON/OFF position. Press the top part of the switch to turn it ON, and the bottom part to turn it OFF.
- Indicador LED: When a switch is in the ON position, a blue indicator light will illuminate, confirming the circuit is active.
- Personalización de interruptores: The kit includes DIY labels to customize the function of each switch. Apply the appropriate sticker to the switch face to easily identify its purpose.

Image: Illustration of the LED lighting effect on the rocker switch panel, showing both ON and OFF states with blue illumination when active.

Image: Display of the included DIY stickers for customizing the rocker switches, allowing users to label each switch according to its connected function.
Mantenimiento
Regular maintenance ensures the longevity and safe operation of your wiring harness kit.
- Inspeccionar el cableado: Periodically check all wiring for signs of wear, fraying, or damage. Ensure connections remain tight and secure.
- Reemplazo de fusibles: The harness is protected by inline blade fuses. If an accessory stops working, check the corresponding fuse. Replace blown fuses only with fuses of the same amperage rating. The kit includes spare fuses (15A, 25A, 40A).
- Componentes limpios: Keep the switch panel and connectors clean and free from dirt or debris.

Image: Illustration of the safe fuse box with various blade fuses (15A, 25A, 40A) for overvoltagE, protección contra sobrecarga y cortocircuito.

Image: Diagram explaining the function of fuses in protecting against current overload by breaking the circuit when current exceeds a safe limit.
Solución de problemas
If you encounter issues with your wiring harness kit, consider the following:
- No Power to Accessories:
- Check if the main power connection to the battery is secure.
- Verify that the inline blade fuse is not blown. Replace if necessary.
- Ensure the switch is in the ON position and its indicator light is illuminated.
- Inspect the connections between the harness leads and the accessories.
- El interruptor no funciona:
- Ensure the switch is properly connected to the harness.
- Check for any visible damage to the switch or its terminals.
- Fuses Blowing Repeatedly:
- This indicates an overload or a short circuit. Disconnect accessories and test circuits individually.
- Asegurar el agua total.tage of connected accessories does not exceed the harness's capacity or the individual wire gauge limits.
- Inspect wiring for any exposed wires touching metal or other wires.
Información de garantía
Nilight products typically come with a manufacturer's warranty covering defects in materials and workmanship. Please refer to the product packaging or the official Nilight website for specific warranty terms and conditions, including duration and claim procedures. Keep your proof of purchase for warranty claims.
Apoyo
For further assistance, technical support, or inquiries regarding your Nilight 4-Gang Rocker Switch 16AWG Wiring Harness Kit, please visit the official Nilight websitio o contacte con su departamento de atención al cliente. La información de contacto suele encontrarse en el empaque del producto o en su websitio.