
Introducción
Thank you for choosing the ToughTested ROC 5 Solar Power Bank. This rugged and reliable power bank is designed for outdoor and demanding environments, offering multiple charging options including MagSafe compatible wireless charging, USB-C Power Delivery, Quick Charge 3.0, and an emergency solar panel. This manual provides essential information for the safe and efficient use of your device.

Image: The ToughTested ROC 5 Solar Power Bank, a compact black and orange device with a solar panel, is shown attached magnetically to the back of a smartphone, illustrating its wireless charging capability. A hand holds the phone and power bank.
Producto terminadoview
Características principales
- Capacidad de batería de 5000 mAh: Proporciona múltiples cargas para teléfonos inteligentes y otros dispositivos.
- MagSafe & Qi-Compatible Wireless Charging: Supports MagSafe for compatible iPhones and universal Qi for other wireless charging devices.
- USB-C PD 20W & Quick Charge 3.0: Offers fast wired charging for various devices.
- Panel de carga solar: Designed for emergency recharging in remote locations.
- Diseño resistente a la intemperie IP54: Resistant to dust and splashing water.
- Linterna LED integrada: Linterna multimodo para iluminación.
Componentes
- Panel de carga solar
- Wireless Charging Pad (Magnetic)
- Puerto de entrada / salida USB-C
- Puerto de salida USB-A
- Luces indicadoras de batería LED
- Botón de encendido
- Linterna LED

Imagen: Una muestra gráficaasing the ToughTested ROC 5 Solar Power Bank with icons and text emphasizing its solar charging capability, IP54 waterproof design, and MagSafe compatibility. The power bank is depicted in an outdoor setting.
Configuración
Carga inicial del banco de energía
Before first use, fully charge your ROC 5 Power Bank using the USB-C port. Connect the included USB-A to USB-C cable to a compatible USB wall adapter (not included) and the USB-C port on the power bank. The LED indicator lights will illuminate to show charging progress and battery level. A full charge is indicated when all LED lights are solid.

Image: A visual representation of the ToughTested ROC 5 Power Bank simultaneously charging a smartwatch via USB-C, a smartphone via USB-A, and another smartphone wirelessly. This illustrates its multi-device charging capabilities.
Instrucciones de funcionamiento
Carga por cable
- Conecte el cable de carga de su dispositivo al puerto USB-C (entrada/salida) o USB-A (salida) del banco de energía.
- Conecte el otro extremo del cable a su dispositivo.
- Presiona el botón de encendido del banco de energía para iniciar la carga. Los indicadores LED mostrarán el nivel de batería restante.
Wireless Charging (MagSafe & Qi Compatible)
- Ensure your device is wireless charging compatible (Qi-enabled or MagSafe compatible). For MagSafe, ensure your iPhone (17/16/15/14/13 series) has an official MagSafe case or no case for optimal magnetic alignment.
- Align your device with the wireless charging pad on the power bank. For MagSafe, the magnets will assist in proper alignment.
- Press the power button on the power bank to activate wireless charging. Your device should indicate that it is charging.
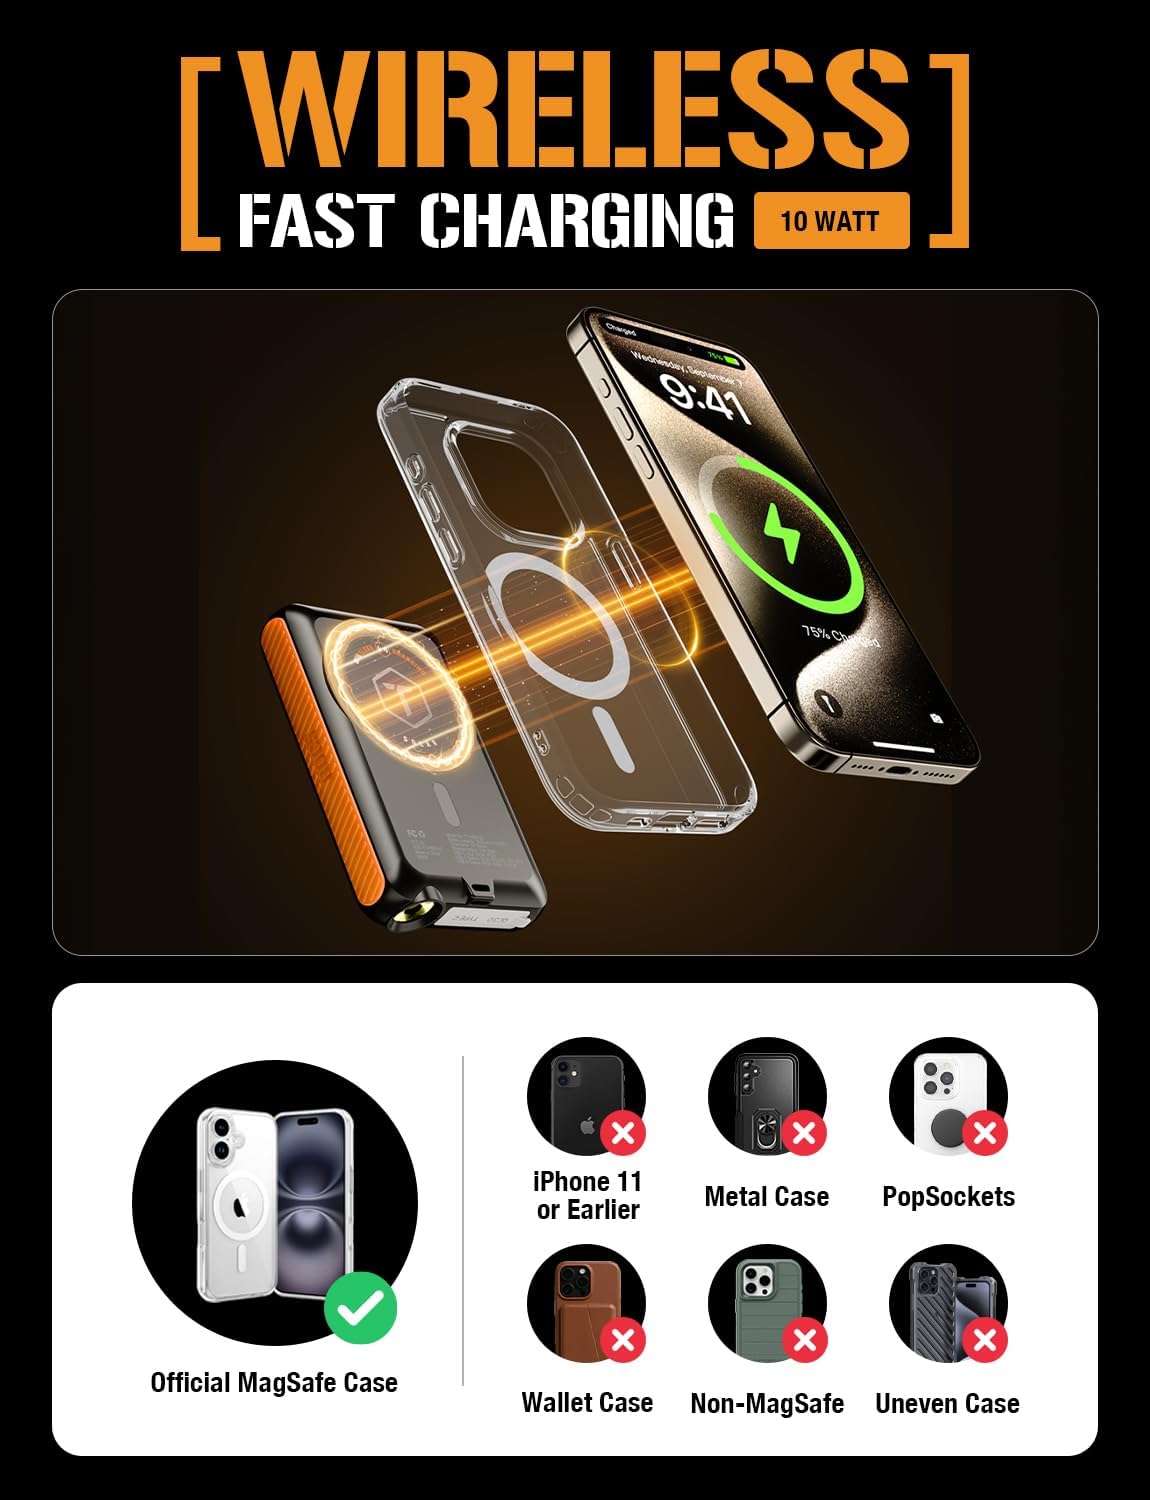
Image: A diagram showing the ToughTested ROC 5 Power Bank wirelessly charging an iPhone. It highlights the magnetic alignment for MagSafe compatibility and lists incompatible scenarios like metal cases or PopSockets.
Carga solar
The integrated solar panel is designed for emergency power replenishment and trickle charging in direct sunlight. It is not intended as a primary charging method due to its limited output (up to 100mA per hour). For daily use, recharge the power bank via its USB-C port.
- Place the solar panel directly facing strong sunlight.
- The LED indicators may show a slow charge, or the charge rate may be too low to register on the indicators if sunlight is not optimal.

Image: The ToughTested ROC 5 Solar Power Bank is shown attached to the side of a camouflage backpack, positioned to receive direct sunlight in a desert landscape, illustrating its use as an emergency solar reserve.
Linterna LED
To activate the multi-mode LED flashlight:
- Encender/Apagar: Presione dos veces el botón de encendido.
- Modos de ciclo: Once the flashlight is on, single-press the power button to cycle through modes (e.g., constant light, strobe, SOS).
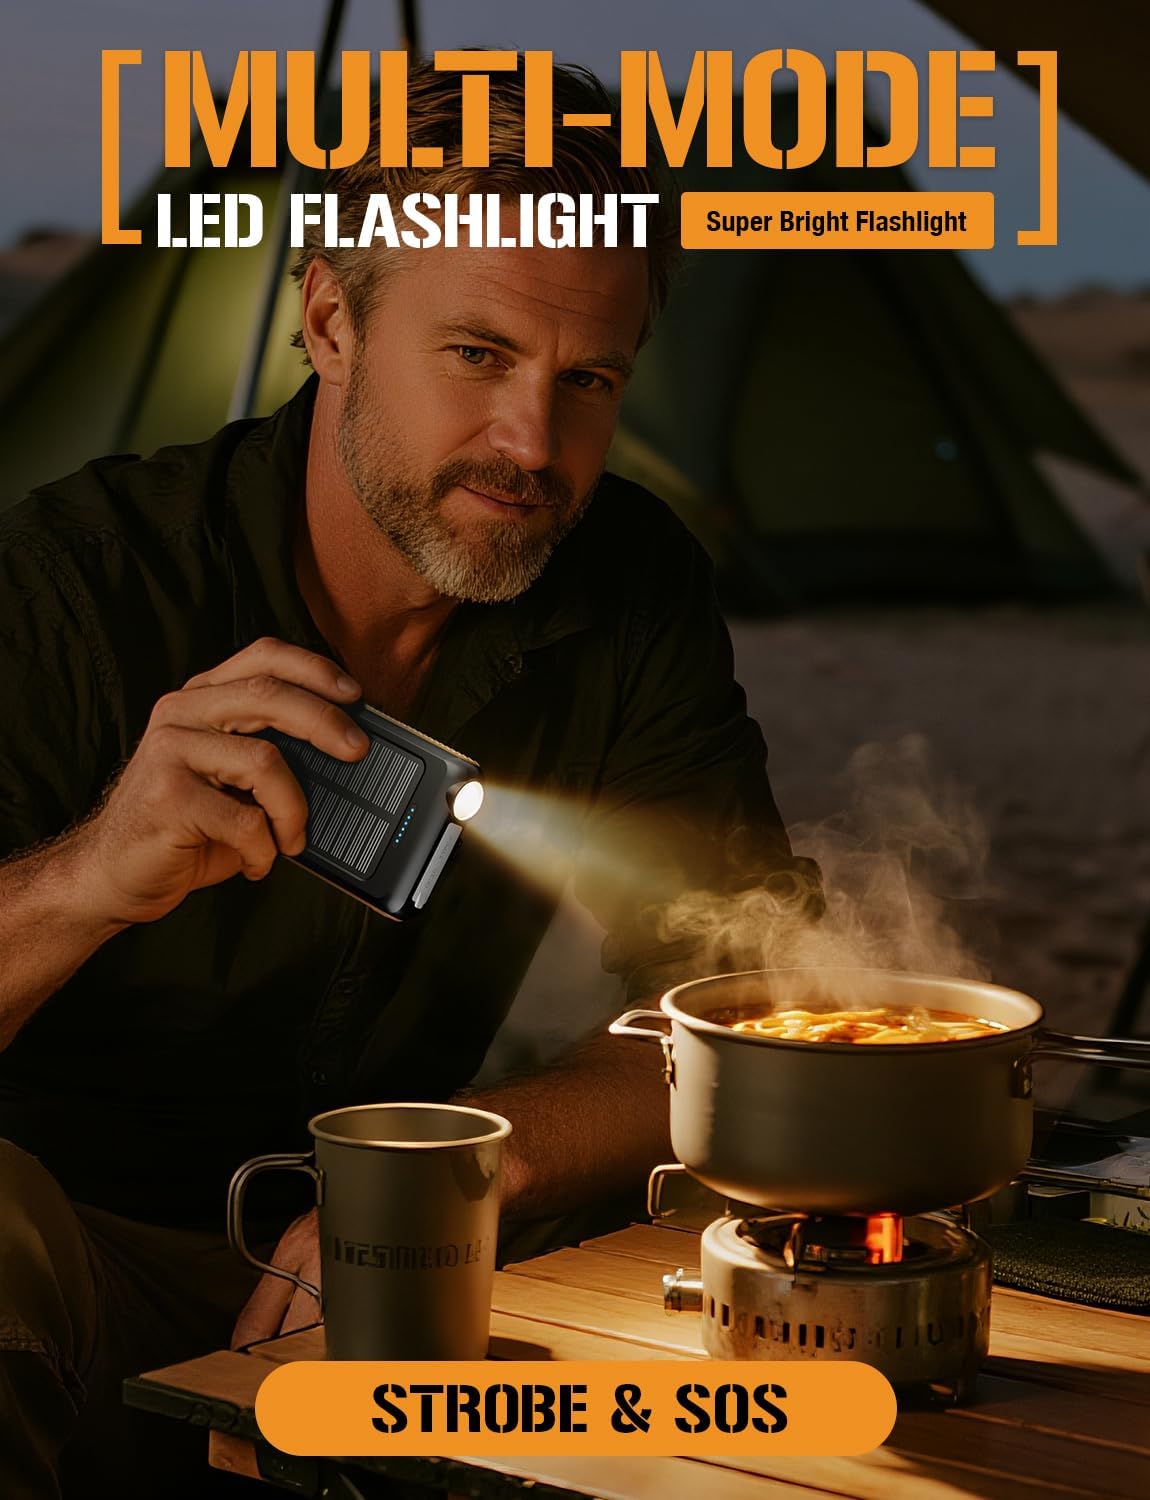
Image: A man is shown holding the ToughTested ROC 5 Power Bank, using its integrated LED flashlight to illuminate a cooking pot over a portable stove in a low-light outdoor setting, demonstrating its utility as a multi-mode flashlight.
Mantenimiento
- Limpieza: Wipe the power bank with a dry, soft cloth. Avoid using harsh chemicals or abrasive materials.
- Almacenamiento: Guarde la batería externa en un lugar fresco y seco, alejado de la luz solar directa y de temperaturas extremas. Para un almacenamiento prolongado, asegúrese de que la batería esté cargada entre el 50 % y el 75 % para conservar su buen estado.
- Cuidado de la batería: To maximize battery lifespan, avoid fully discharging the power bank frequently. Recharge it regularly, even if not in active use.
Solución de problemas
- El banco de energía no se carga: Ensure the USB-C cable is securely connected to both the power bank and a working power source. Try a different cable or wall adapter.
- Dispositivo que no se carga (con cable): Verify the cable connection to both the power bank and your device. Ensure the power bank has sufficient charge and the power button has been pressed.
- El dispositivo no se carga (inalámbrico): Check for proper alignment of your device on the wireless charging pad. Remove any thick cases or metallic objects that may interfere with wireless charging. Ensure the power bank has sufficient charge and the power button has been pressed.
- Carga solar lenta: Solar charging is supplementary. Ensure the panel is in direct, strong sunlight. Cloud cover or indirect light will significantly reduce charging efficiency.
- La linterna no funciona: Double-press the power button to turn the flashlight on or off. Ensure the power bank has sufficient charge.
Presupuesto
| Número de modelo | TT-PBW-5C |
| Capacidad de la batería | 5000 mAh |
| Dimensiones del producto | 5.6 x 2.8 x 0.6 pulgadas |
| Peso del artículo | 7.8 onzas |
| Tipo de conector | USB tipo A, USB tipo C |
| Salida de carga inalámbrica | MagSafe Compatible, Qi Compatible |
| Salida USB-C | paladio 20W |
| Salida USB-A | Control de calidad 3.0 |
| Entrada de carga solar | Up to 100mA (Emergency Reserve) |
| Resistencia a la intemperie | IP54 (resistente al polvo y a las salpicaduras) |
Información de seguridad
- No exponga el banco de energía al fuego, al agua ni a temperaturas extremas.
- No desmonte, perfore ni modifique el dispositivo.
- Mantener fuera del alcance de los niños.
- Evite dejar caer o someter el banco de energía a impactos fuertes.
- If the power bank swells, overheats, or emits an unusual odor, discontinue use immediately.
- Deseche el producto de manera responsable de acuerdo con las regulaciones locales.
Garantía y soporte
The ToughTested ROC 5 Solar Power Bank comes with a Garantía de 5 años, reflecting our commitment to quality and durability. For warranty claims, technical support, or further assistance, please visit the official ToughTested websitio o comuníquese con el servicio de atención al cliente a través de su minorista.

Image: The ToughTested ROC 5 Power Bank, its user guide, a USB cable, and a prominent '5 Year ToughCare' warranty badge are displayed together in a rugged outdoor environment, emphasizing the product's durability and extended support.