
1. Introducción
Thank you for choosing the Los Flexi LFBBUM10B Undermount Bathroom Sink. This manual provides essential information for the safe installation, operation, and maintenance of your new sink. Please read these instructions thoroughly before beginning installation and retain them for future reference.
2. Información de seguridad
Observe all local plumbing and building codes. Professional installation is recommended. Always wear appropriate safety gear, such as safety glasses and gloves, during installation. Ensure all connections are secure to prevent leaks. Do not overtighten fittings, as this may damage the ceramic.
3. Contenido del paquete
Verify that all components are present and undamaged before installation. If any parts are missing or damaged, contact customer service.
- Undermount Bathroom Sink (1)
- Guía de instalación (1)
Nota: Faucet and sink drain assembly are not included and must be purchased separately.

Image: Package contents and secure packaging details.
4. Producto terminadoview
The Los Flexi LFBBUM10B is a compact rectangular undermount bathroom sink designed for modern vanity setups. It features a glossy white finish and is crafted from durable vitreous china. The sink includes an overflow and is compatible with standard 1 3/4 inch drains.

Imagen: Frente view of the Los Flexi undermount bathroom sink.

Imagen: Detallada view of sink features: overflow, standard drain hole, and ceramic material.

Image: Features of the sink including premium ceramic, overflow prevention, and excellent drainage.
5. Dimensiones
The following dimensions are provided for planning and installation purposes. Manual measurements may vary slightly.
- Tamaño exterior: 17 15/16" L × 13" W × 7 1/16" H
- Tamaño interior: 15 3/4" L × 10 5/8" W × 5 11/16" D
- Suitable Drain Size: 1 3/4"

Image: Detailed product dimensions diagram.
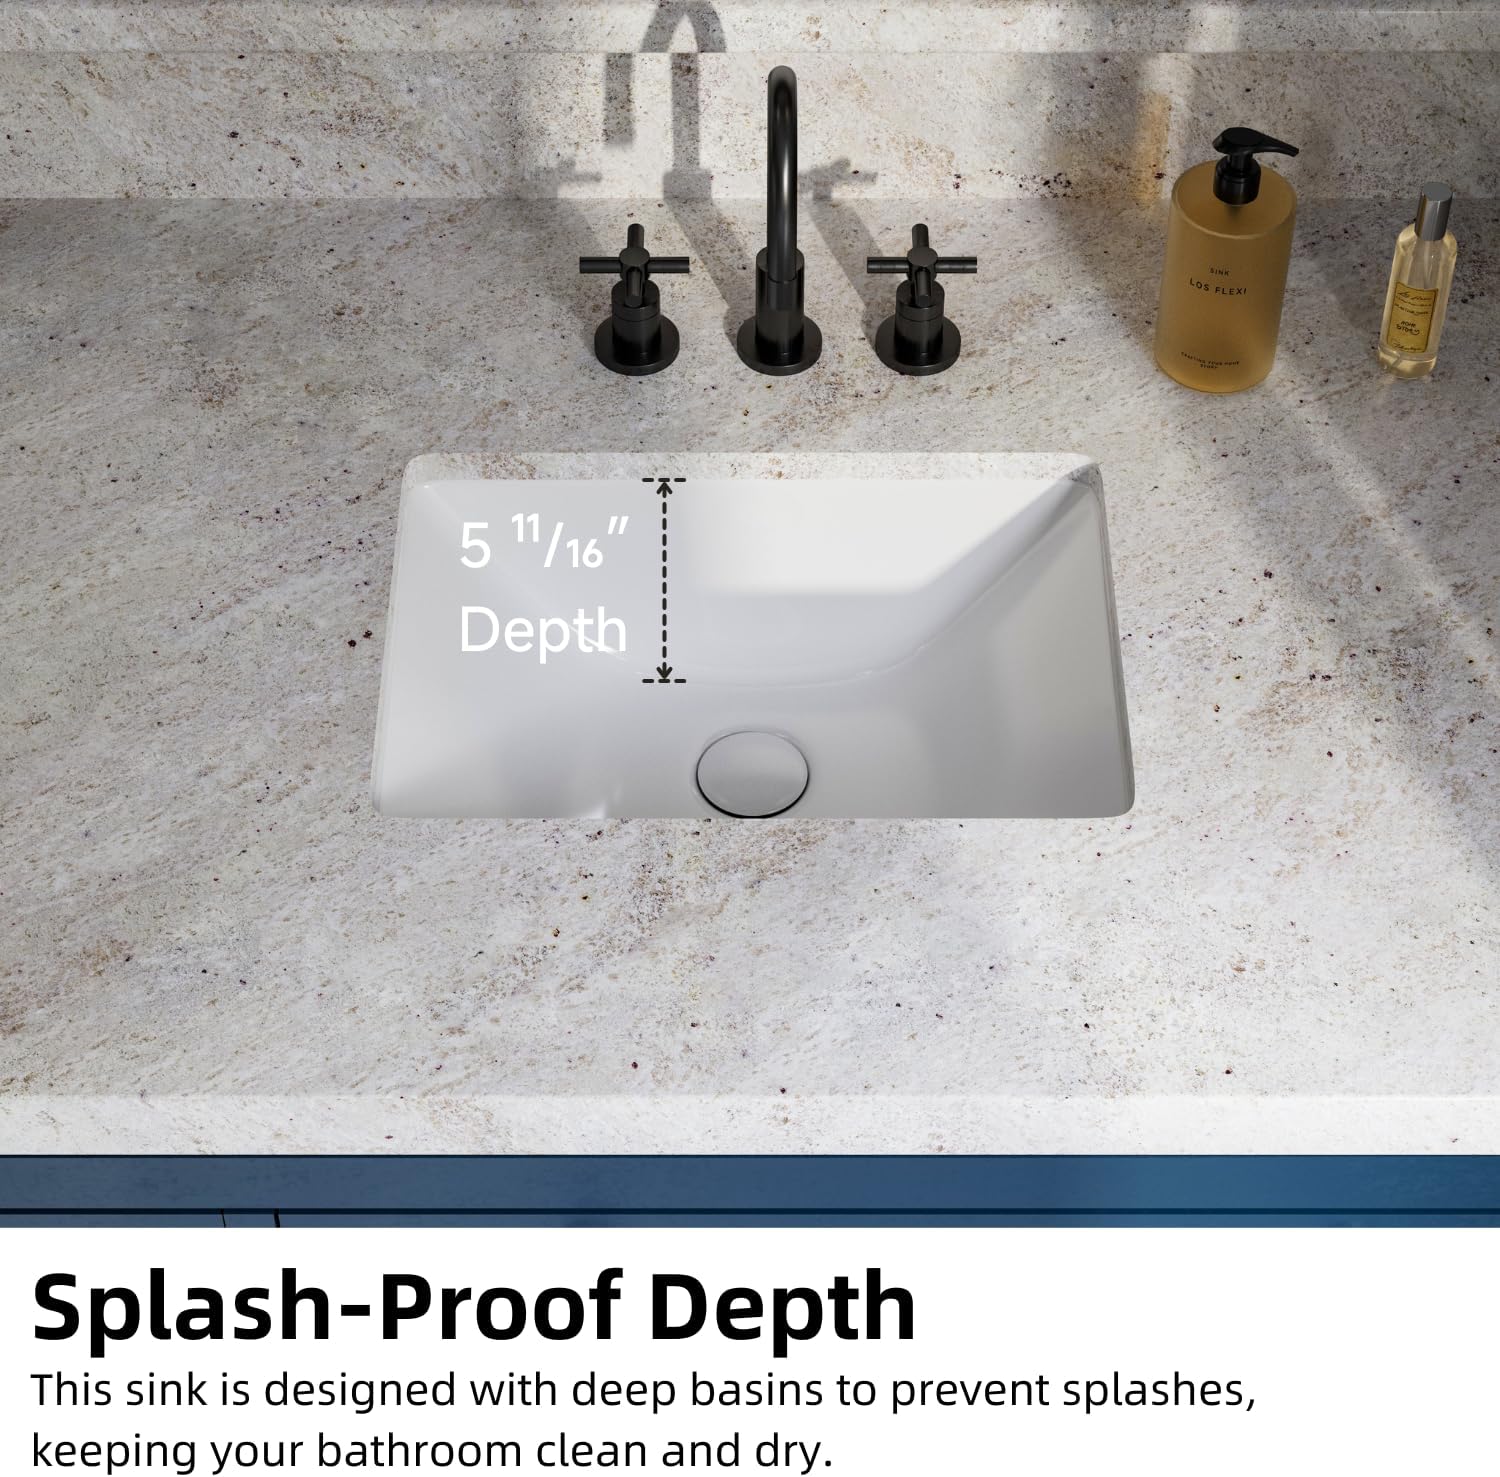
Image: Illustration of the sink's depth, designed to minimize splashing.
6. Instalación
This sink is designed for undermount installation beneath stone or solid surface countertops. It is compatible with both wall-mount and deck-mount faucets.
6.1 Tools and Materials (Not Included)
- gafas de seguridad y guantes
- Jigsaw or appropriate cutting tool for countertop
- Sellador de silicona (para cocina y baño)
- Mounting clips (if not provided with countertop or sink)
- Perforar
- Cinta métrica y lápiz
6.2 pasos de instalación
- Preparar la encimera: Place the sink upside down on the reverse side of your countertop. Carefully outline the sink's perimeter to mark the opening for cutting.
- Cut Countertop Opening: Using a jigsaw or appropriate cutting tool, carefully cut along the marked outline. Ensure the edges are smooth.
- Aplicar sellador: Apply a continuous bead of silicone sealant around the rim of the sink opening on the underside of the countertop.
- Posición del fregadero: Carefully lift the sink and align it with the opening from underneath the countertop. Press firmly to ensure good contact with the sealant.
- Fregadero seguro: Attach mounting clips (if applicable) to secure the sink to the countertop. Tighten the clips evenly until the sink is firmly in place. Do not overtighten.
- Colocación final: Allow the silicone sealant to cure completely according to the manufacturer's instructions before connecting plumbing or using the sink. Wipe away any excess sealant.

Image: Easy installation steps for the undermount sink.
Video: An introduction to Los Flexi undermount bathroom sinks, demonstrating features and ease of cleaning.
7. Operando
Once installed and plumbing connections are complete, the sink operates like any standard bathroom lavatory. Ensure the drain stopper (if installed) is functioning correctly to hold or release water as needed. The integrated overflow helps prevent water from spilling over the rim if the sink is overfilled.
8. Mantenimiento
Regular cleaning will maintain the sink's appearance and hygiene. The smooth, glazed ceramic surface is designed for easy upkeep.
- Limpieza diaria: Limpia el fregadero con publicidad.amp cloth and mild soap after each use to prevent water spots and soap scum buildup.
- Limpieza profunda: For more thorough cleaning, use a non-abrasive bathroom cleaner. Avoid harsh chemicals, abrasive pads, or scouring powders, as these can damage the glaze.
- Mantenimiento de desbordamiento: Periodically clean the overflow channel to ensure it remains clear of debris.
- Prevención de manchas: Promptly rinse away any substances that could stain the ceramic, such as hair dyes or strong cleaning agents.

Image: Sink features highlighting resistance to yellowing, staining, and scratching for easy maintenance.
9. Solución de problemas
Esta sección aborda problemas comunes que podrías encontrar.
| Problema | Posible causa | Solución |
|---|---|---|
| Drenaje lento | Desagüe o sifón obstruido. | Remove and clean the drain stopper and P-trap. Use a plumbing snake if necessary. |
| Leaking around drain | Conjunto de drenaje sellado incorrectamente. | Disassemble the drain, reapply plumber's putty or silicone sealant, and reassemble, ensuring a tight seal. |
| Manchas de agua | Depósitos o residuos de agua dura. | Limpiar regularmente con anunciosamp cloth and mild soap. For stubborn spots, use a non-abrasive cleaner designed for ceramic. |
10. Especificaciones
Detailed product specifications for the Los Flexi LFBBUM10B Undermount Bathroom Sink.
| Característica | Detalle |
|---|---|
| Marca | Los Flexi |
| Número de modelo | LFBBUM10B |
| Color | Blanco |
| Material | Cerámica (porcelana vítrea) |
| Dimensiones del producto (exteriores) | 13"D x 18"W x 7"H (17 15/16" L × 13" W × 7 1/16" H) |
| Inner Bowl Size | 15 3/4" L × 10 5/8" W × 5 11/16" D |
| Tipo de instalación | debajo del montaje |
| Tipo de acabado | Polished, Glazed |
| Forma | Rectangular |
| Tipo de drenaje | Standard 1 3/4" (Pop-Up with Overflow, Not Included) |
| Recuento de hoyos | 1 (para drenaje) |
| Peso del artículo | 16.76 libras |
| País natal | Porcelana |
11. Garantía y soporte
The Los Flexi LFBBUM10B Undermount Bathroom Sink comes with a Garantía limitada de 2 años from the date of purchase. This warranty covers manufacturing defects under normal use and service. It does not cover damage resulting from improper installation, misuse, abuse, accident, or normal wear and tear.
For warranty claims, technical assistance, or any questions regarding your product, please contact Los Flexi customer service. Our team is committed to providing responsive support within 48 hours.
Please have your model number (LFBBUM10B) and proof of purchase ready when contacting support.