ACÉMICO AT-5
Manual de usuario del sistema de micrófono inalámbrico para guitarra acústica ACEMIC AT-5
Modelo: AT-5
1. Introducción
This manual provides detailed instructions for the ACEMIC AT-5 Acoustic Guitar Wireless Microphone System. This system is designed to provide high-fidelity audio transmission for plucked string instruments, offering freedom of movement and clear sound reproduction. It utilizes UHF frequency for stable wireless connectivity and features a flexible gooseneck microphone for precise sound capture.
2. Contenido del paquete
Verifique que todos los artículos enumerados a continuación estén incluidos en su paquete:
- 1 x ACEMIC AT-5 Wireless Microphone Transmitter (with gooseneck microphone)
- 1 x ACEMIC AT-5 Wireless Receiver (with 6.35mm jack and antenna)
- Cable de carga 1 x USB-C
- 1 x 3.5mm Audio Jack Adapter
- 5 x Velcro Adhesive Attachments
- 1 x Spare Microphone Foam Cover
- 1 x Manual de usuario
- 1 x Bolsa de transporte
3. Producto terminadoview
The ACEMIC AT-5 system consists of two main components: the Transmitter and the Receiver.
3.1. Transmitter (Microphone Unit)
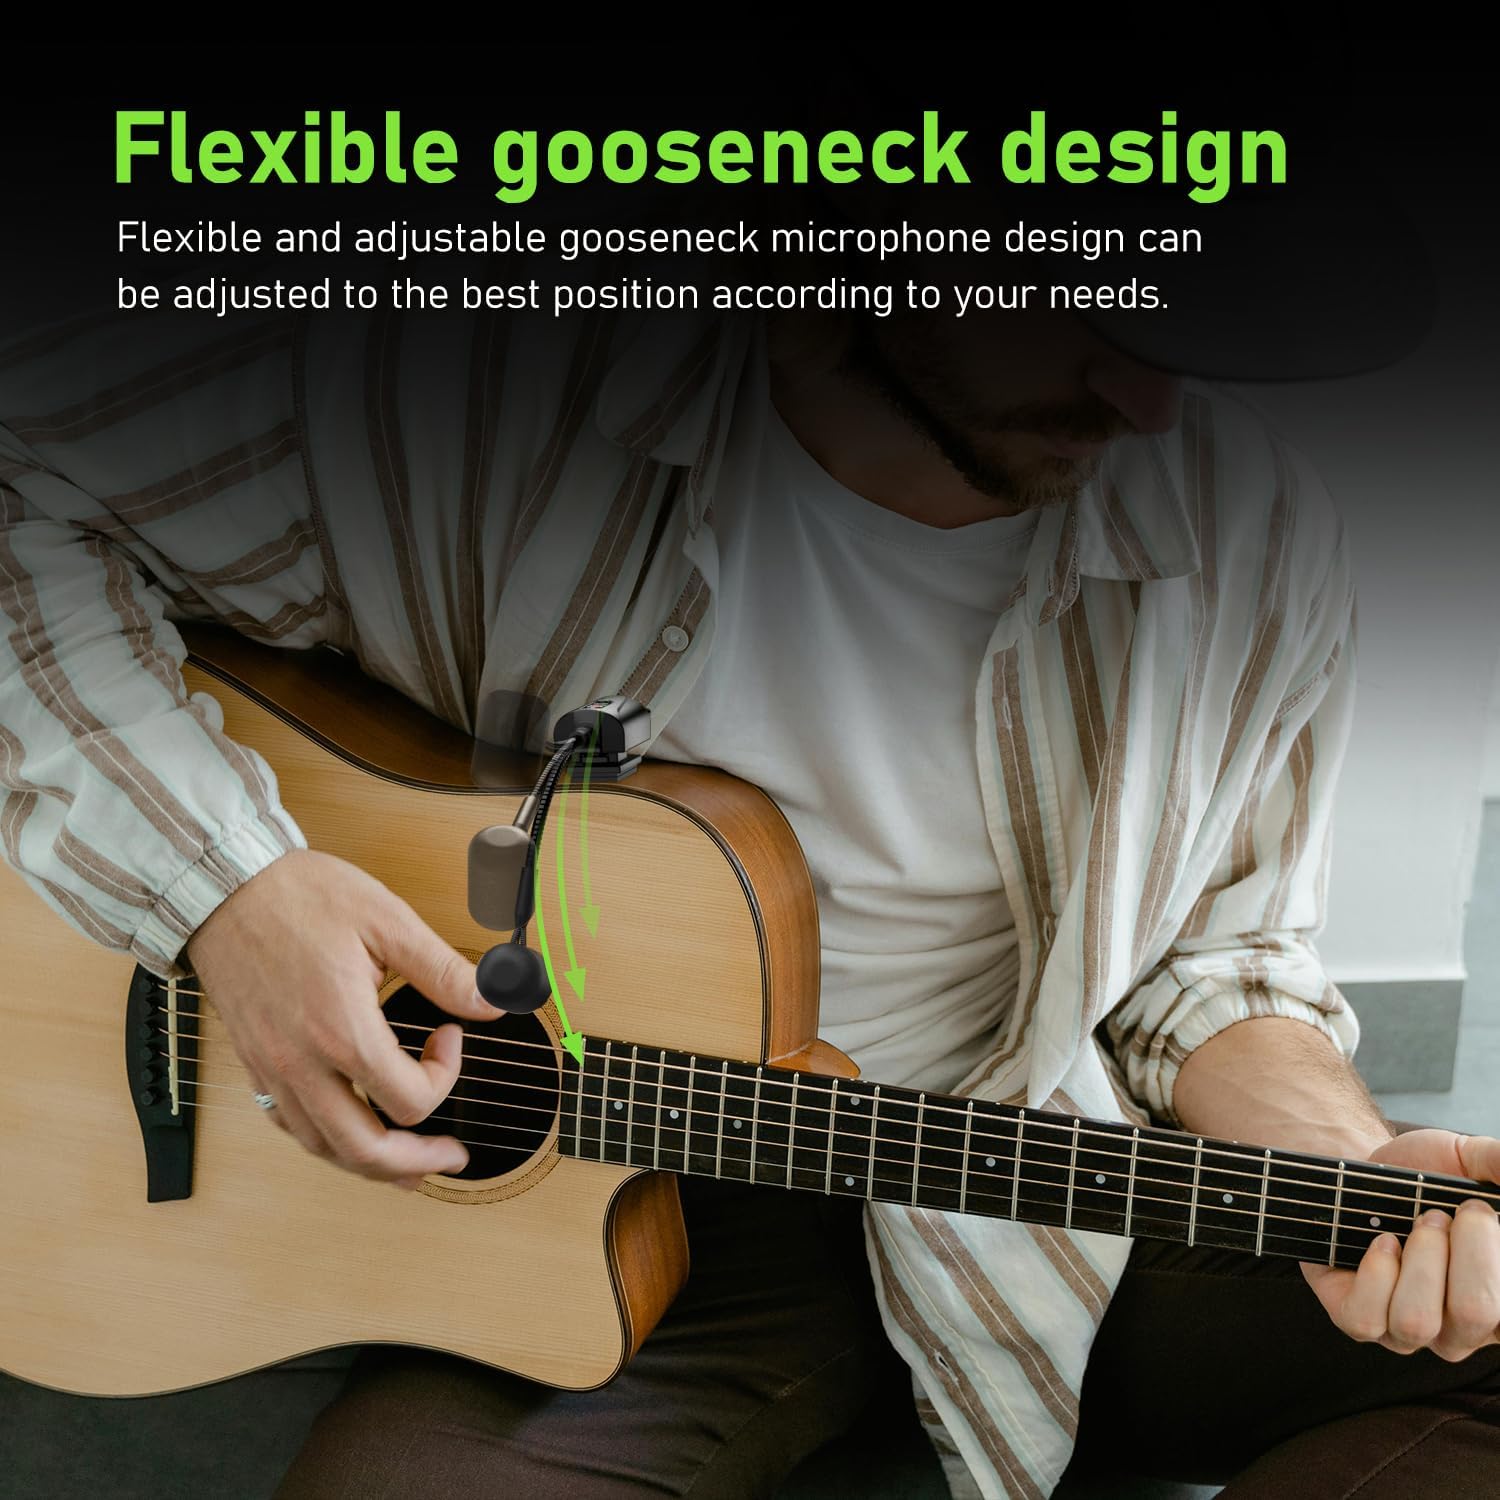
- Micrófono de cuello de ganso: Flexible arm for precise positioning.
- Microphone Foam Cover: Reduces plosives and wind noise.
- Botón de encendido: Para encender/apagar la unidad.
- Puerto de carga (USB-C): Para recargar la batería interna.
- Sensor de infrarrojos: For automatic pairing with the receiver.
3.2. Receptor
- Conector de audio de 6.35 mm: Se conecta a amplifiers, mixers, or PA systems.
- Antena: For stable signal reception.
- Botón de encendido: Para encender/apagar la unidad.
- Puerto de carga (USB-C): Para recargar la batería interna.
- Mostrar: Muestra información del canal.
- Botón de cambio de canal: For manual channel selection.
- Sensor de infrarrojos: For automatic pairing with the transmitter.

4. Instrucciones de configuración
Follow these steps to set up your ACEMIC AT-5 wireless microphone system:
4.1. Carga de las unidades
- Connect the USB-C charging cable to the charging ports on both the transmitter and receiver units.
- Conecte el otro extremo del cable a un adaptador de corriente USB (no incluido) o a un puerto USB con alimentación.
- The charging indicator will illuminate. A full charge typically takes 2.5 to 3 hours.
- Once fully charged, the indicator light will change or turn off, depending on the unit.

4.2. Attaching the Transmitter to Your Instrument
- Select a suitable location on your acoustic guitar, typically near the sound hole, where the transmitter can be securely attached without obstructing your playing.
- Peel the backing from one of the Velcro adhesive attachments.
- Apply the adhesive side firmly to the chosen spot on your guitar.
- Attach the transmitter unit to the Velcro. Ensure it is secure.
- Adjust the flexible gooseneck microphone to point towards the sound hole or strings for optimal sound capture.

4.3. Conexión del receptor
- Ensure the antenna on the receiver is correctly installed and extended.
- Plug the 6.35mm audio jack of the receiver directly into the input of your amplifier, PA system, or audio mixer.
- If your device requires a 3.5mm input, use the provided 3.5mm audio jack adapter.
4.4. Emparejamiento de las unidades
The ACEMIC AT-5 system features automatic infrared pairing:
- Power on both the transmitter and the receiver units.
- Place the IR sensors of the transmitter and receiver close to each other (within a few inches).
- The units will automatically pair. A successful connection is usually indicated by a stable light on both units.

5. Operación
5.1. Encendido / apagado
Press and hold the power button on each unit to turn it on or off.
5.2. Selección del canal
The system offers 16 preset groups of adjustable channels to mitigate potential interference. If you experience interference, you can manually switch channels on the receiver using the channel switch button. Ensure that the transmitter and receiver are on the same channel for proper operation.

5.3. Colocación del micrófono
Adjust the flexible gooseneck microphone to achieve the desired sound. Experiment with different angles and distances from the sound hole or strings to find the optimal position for your instrument and playing style. The built-in high-sensitivity condenser microphone is designed to capture clear and realistic audio.

5.4. Transmisión inalámbrica
The ACEMIC AT-5 system uses UHF frequency for stable transmission up to 130 feet (approximately 40 meters) in open areas. Performance may vary depending on environmental factors and obstacles.

6. Mantenimiento
6.1. Limpieza
Limpie las unidades con un paño suave y seco. No utilice limpiadores líquidos ni disolventes, ya que pueden dañar el acabado o los componentes internos.
6.2. Almacenamiento
When not in use, store the ACEMIC AT-5 system in its carrying bag in a cool, dry place, away from direct sunlight and extreme temperatures. Ensure the units are turned off before storage.
6.3. Cuidado de la batería
To prolong battery life, avoid completely discharging the units regularly. Recharge them periodically, even if not in frequent use.
7. Solución de problemas
If you encounter issues with your ACEMIC AT-5 system, refer to the following common problems and solutions:
| Problema | Posible causa | Solución |
|---|---|---|
| No hay salida de sonido | Unidades no encendidas Unidades no emparejadas Receiver not connected to audio input Receiver antenna not installed/extended Batería baja | Asegúrese de que tanto el transmisor como el receptor estén encendidos. Re-pair the units using the infrared sensors. Verify the receiver is securely plugged into your amplificador/mezclador. Ensure the receiver antenna is properly installed and extended. Cargue ambas unidades completamente. |
| Interferencia o ruido estático | Dispositivos electrónicos cercanos Otras señales inalámbricas Obstacles between units | Aléjese de posibles fuentes de interferencia. Change the operating channel on the receiver. Asegúrese de que haya una línea de visión clara entre el transmisor y el receptor. |
| Poor sound quality (e.g., muffled, weak) | Colocación incorrecta del micrófono El micrófono está demasiado lejos de la fuente de sonido Batería baja | Adjust the gooseneck microphone closer to the sound hole or strings. Asegúrese de que las unidades estén completamente cargadas. |
| Corto alcance de transmisión | Obstáculos que bloquean la señal Factores ambientales Batería baja | Minimize obstacles between transmitter and receiver. Asegúrese de que las unidades estén completamente cargadas. |
| El transmisor no está conectado de forma segura | Velcro adhesive worn out | Use a fresh Velcro adhesive attachment. (5 spare pieces are included). |
8. Especificaciones
| Característica | Detalle |
|---|---|
| Nombre del modelo | AT-5 |
| Marca | ACÉMICO |
| Tecnología de conectividad | Ultra alta frecuencia |
| Factor de forma del micrófono | Cuello de cisne |
| Número de canales | 16 |
| Fuente de poder | Funciona con pilas (se requieren 2 pilas de polímero de litio) |
| Tiempo de funcionamiento | 6 horas |
| Tiempo de carga | 2.5 - 3 horas |
| Rango de transmisión | Hasta 130 pies (aproximadamente 40 metros) en áreas abiertas |
| Samptasa de ling | 48 kHz |
| Estado latente | <6 ms |
| Peso del artículo | 0.46 kilogramos (1.01 libras) |
| Patrón polar | Unidireccional |
| Tipo de conector | Conector de 6.35 mm (con adaptador de 3.5 mm incluido) |
| Código Postal | 797417770397 |
9. Garantía y soporte
For warranty information and technical support, please refer to the documentation provided with your purchase or contact the seller/manufacturer directly. Specific warranty terms may vary by region and retailer.
Ask a question about this manual
Ask about setup, troubleshooting, compatibility, parts, safety, or missing instructions. Manuals+ will review the question and use this page’s manual context to help answer it.