1. Introducción
This manual provides detailed instructions for the assembly, operation, and maintenance of your Panovue 6x4FT Garden Storage Shed. Please read all instructions carefully before beginning assembly and retain this manual for future reference. This shed is designed for outdoor storage of garden tools, equipment, and other items, offering a secure and weather-resistant solution.

Image 1.1: The Panovue 6x4FT Garden Storage Shed with its door open, revealing various garden tools and equipment stored neatly inside.
2. Información de seguridad
Please observe the following safety guidelines during assembly and use of the shed:
- Asistencia: Assembly is significantly easier and safer with two to three people. Some steps require lifting and positioning structures simultaneously.
- Time Allocation: Permitir ample time for assembly (typically 4 to 5 hours for 2-3 people). Rushing can lead to errors and potential reassembly.
- Herramientas: Ensure all necessary tools, as listed in Section 4, are readily available before starting.
- Equipo de protección personal: Wear the provided gloves to protect hands from sharp edges during assembly.
- Inspección de piezas: Before construction, unpack all parts and verify their presence against the parts list.
- Protección de superficies: Lay parts on cloths or plastic sheets to prevent scratching during handling.
- Ajuste del sujetador: Carefully tighten all nuts and screws, ensuring none are missed. Avoid over-tightening.
- Integridad estructural: Regularly check that the frame is square and use a spirit level to confirm it is upright.
- Condiciones climáticas: For safety, do not stand under the metal shed during heavy winds or snow.
- Anclaje: Use expansion screws to reinforce the shed posts to the ground for enhanced stability.
- Carga de nieve: Clear snow from the roof promptly during heavy snowfall to prevent structural damage.
- Controles periódicos: Confirm all screws, buckles, and straps are tightened every 90 days.
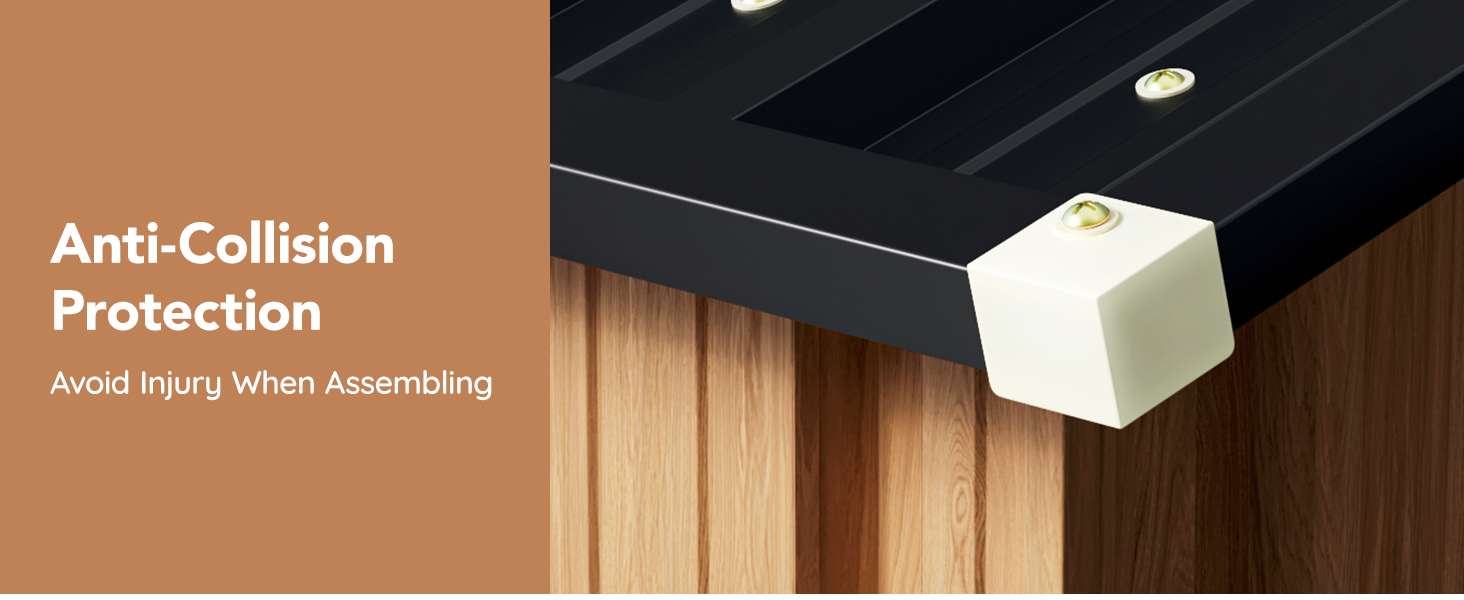
Image 2.1: Anti-collision protection on shed corners to enhance safety during assembly and daily use.
3. Contenido del paquete
Before assembly, verify that all components are present and undamaged. Refer to the included parts list for a complete inventory. Key components typically include:
- Wall Panels (Light Wood Grain)
- Paneles de techo
- Paneles de puerta
- Frame Components (Alloy Steel)
- Clear Window Panel
- Lockable Door Handle and Mechanism
- Fasteners (Screws, Nuts, Bolts)
- Rejillas de ventilación
- Anti-Collision Protectors
- 2 Pairs of Assembly Gloves
4. Herramientas necesarias
The following tools are recommended for efficient and safe assembly:
- Electric Drill (for faster screw installation)
- Screwdriver Set (Phillips head recommended)
- Wrench Set (for nuts and bolts)
- Cinta métrica
- Nivel de burbuja
- Work Gloves (2 pairs provided)
- Gafas de seguridad (recomendadas)
5. Instrucciones de montaje
Follow the detailed assembly instructions provided in the separate manual included with your product. The general steps are outlined below:
- Preparación: Choose a flat, level surface for assembly. Ensure the area is clear of obstructions and protected from wind.
- Conjunto base: Construct the base frame according to the instructions. Ensure it is square and level.
- Instalación de paneles de pared: Attach the wall panels to the base frame. Pay close attention to panel orientation and alignment.
- Door Frame and Window Installation: Assemble and install the door frame and the clear window panel.
- Montaje del techo: Install the roof support beams and then attach the roof panels. The sloping roof design aids in rainwater drainage.
- Instalación de la puerta: Mount the door panels and install the lockable handle mechanism.
- Comprobaciones finales: Verify all screws and bolts are securely tightened. Anchor the shed to the ground using expansion screws for stability.
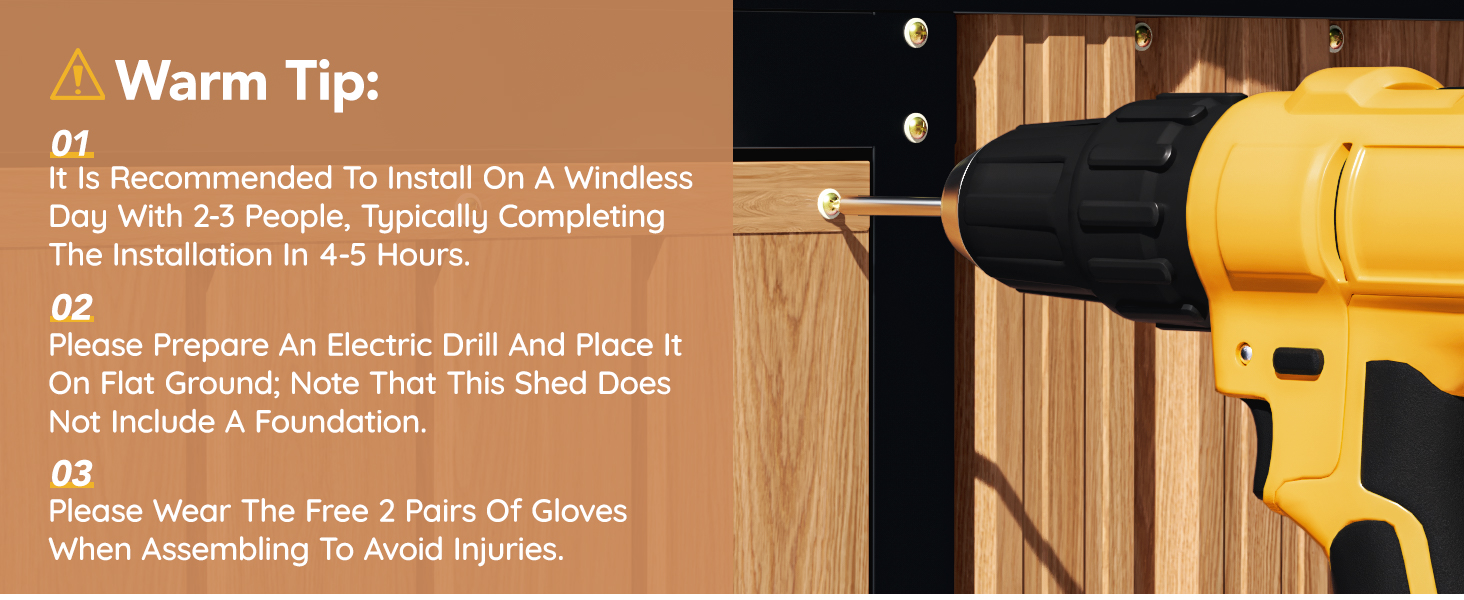
Image 5.1: Important tips for assembly, including recommendations for personnel, tools, and safety gear.

Image 5.2: Dimensional diagram of the 6x4FT shed, providing key measurements for assembly and planning.
6. Operación del cobertizo
Your Panovue storage shed is designed for practical and secure storage.
- Acceso: The broad door entrance allows for easy movement of items in and out.
- Seguridad: Utilize the lockable door to secure your stored items and prevent unauthorized access or entry by small animals.
- Ventilación: The shed features four air vents to promote air circulation, helping to keep the interior fresh and clean.
- Luz natural: The clear window provides natural light inside the shed.
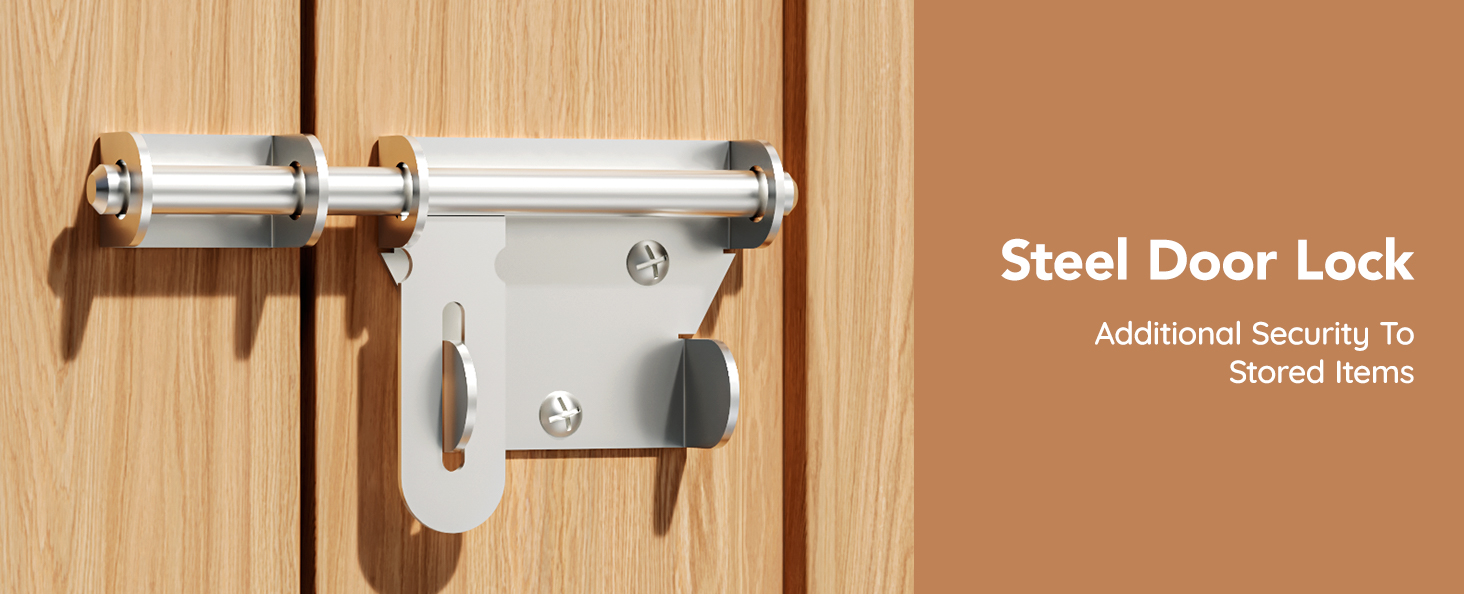
Imagen 6.1: Primer plano view of the robust steel door lock, designed for enhanced security.

Imagen 6.2: Detallada view of the shed's features, including air vents for circulation and the clear window for natural light.

Image 6.3: The interior of the shed, demonstrating its capacity for organized storage with shelving.
7. Mantenimiento
Regular maintenance will extend the lifespan and functionality of your shed:
- Comprobaciones de los sujetadores: Every 90 days, inspect and confirm that all screws, buckles, and straps are securely tightened.
- Remoción de nieve: During heavy snowfall, promptly clear snow from the roof to prevent excessive weight accumulation and potential damage.
- Limpieza: Clean the shed exterior periodically with mild soap and water to remove dirt and debris. Avoid abrasive cleaners.
- Prevención de óxido: The electro-galvanized steel with paint treatment is anti-corrosion. However, promptly address any scratches or damage to the coating to prevent rust.

Image 7.1: The shed's roof during rainfall, illustrating its design for protection against weather elements.
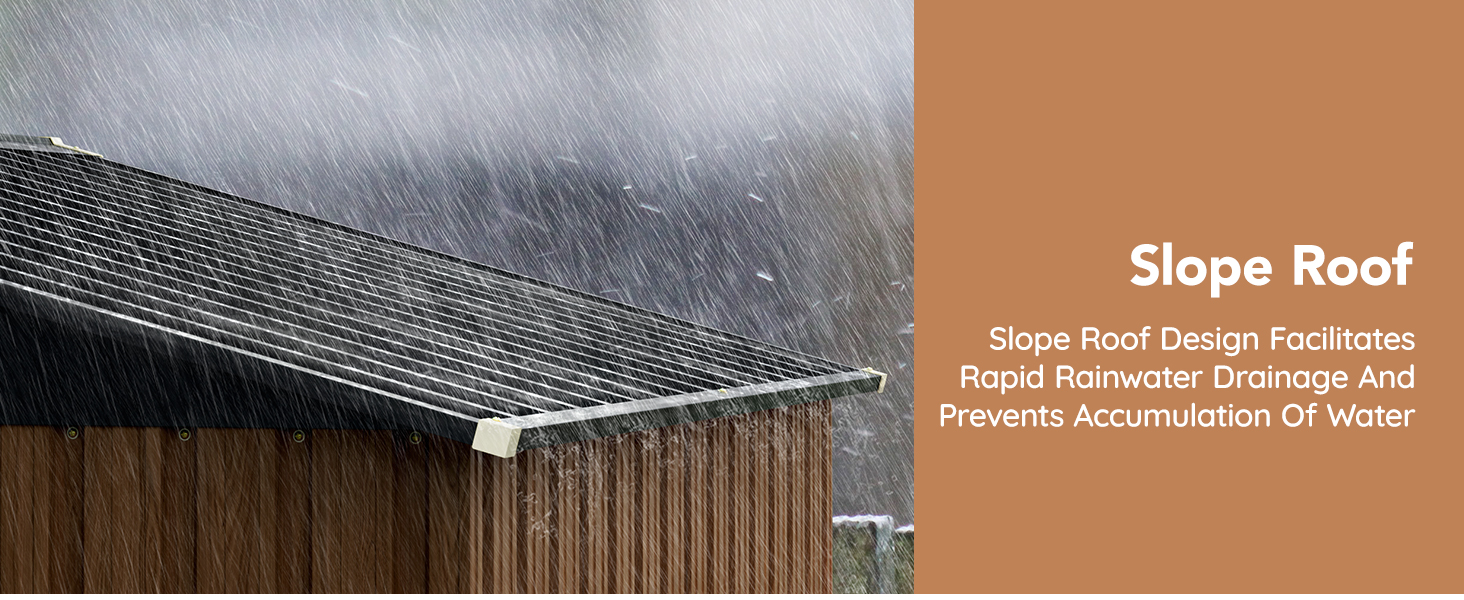
Image 7.2: The sloped roof design facilitates efficient rainwater drainage, reducing accumulation.
8. Solución de problemas
Esta sección aborda problemas comunes que podrías encontrar:
- Dificultad para alinear los agujeros durante el montaje: Ensure the base frame is perfectly square and level. Loosen adjacent fasteners slightly to allow for adjustment, then retighten once aligned.
- Shed Appears Flimsy: The shed gains significant rigidity as more panels and the roof are installed and all fasteners are tightened. Ensure all connections are secure.
- Acumulación de agua en el techo: Verify that the shed is level and the roof panels are correctly installed to allow for proper water runoff. Clear any debris from the roof.
- Door Not Closing/Locking Properly: Check for obstructions in the door track or frame. Ensure the shed is level and square, as misalignment can affect door operation. Adjust hinges or latch if necessary.
- Aparición de manchas de óxido: While the shed is anti-corrosion treated, inspect for any scratches or damage to the protective coating. Clean the area and apply a rust-inhibiting paint if needed.
9. Especificaciones
| Característica | Especificación |
|---|---|
| Marca | Panovue |
| Número de modelo | metal shed |
| Dimensiones del producto (Pr. x An. x Al.) | 52.2" de profundidad x 72.5" de ancho x 78.1" de alto |
| Peso del artículo | 108 libras |
| Color | Veta de madera clara |
| Material | Iron, Stainless Steel (Frame: Alloy Steel) |
| Tipo de material superior | Metal |
| Nivel de resistencia al agua | Resistente al agua |
| Estilo de puerta | Puertas plegables |
| Ancho de la puerta | 29.7 pulgadas |
| Altura de la puerta | 64.6 pulgadas |
| Requiere ensamblaje | Sí |

Image 9.1: Illustration of the shed's UV resistant and waterproof material properties.
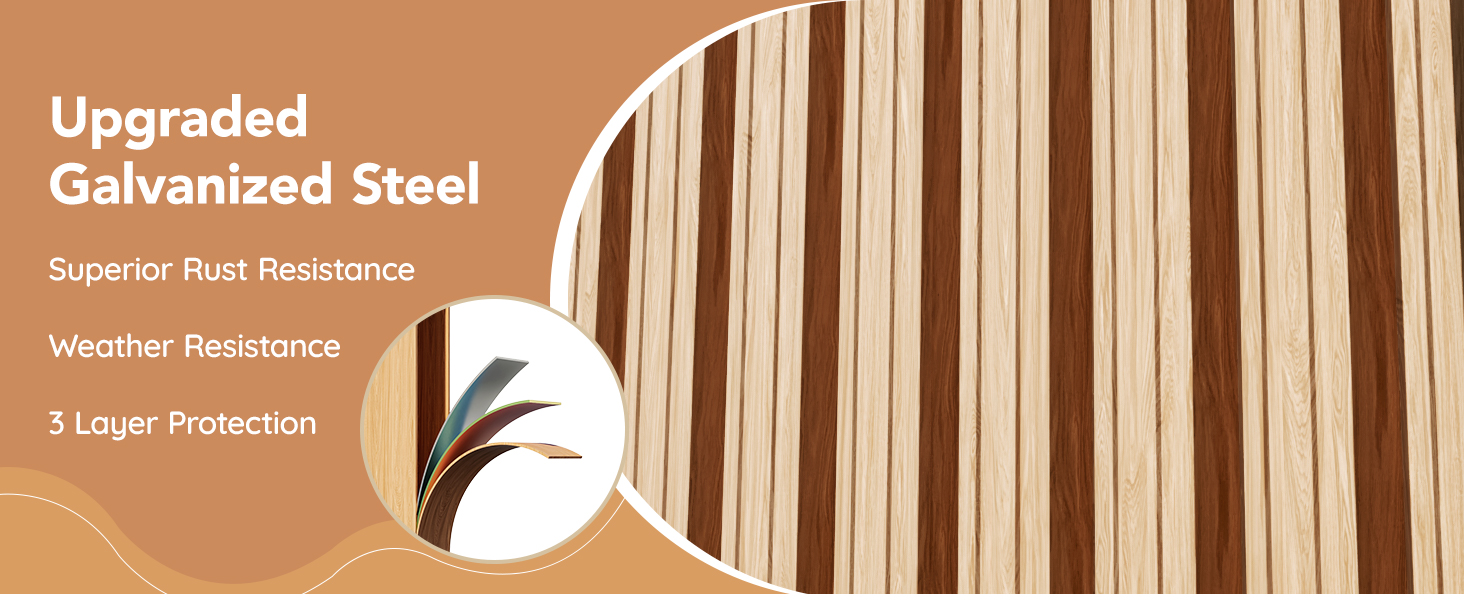
Image 9.2: Diagram detailing the 3-layer protection of the galvanized steel construction.
10. Atención al cliente
If you have any questions regarding the assembly, operation, or maintenance of your Panovue 6x4FT Garden Storage Shed, please contact our dedicated customer support team. We are committed to providing full customer support and excellent after-sales service.
For assistance, please refer to the contact information provided with your purchase or visit the official Panovue websitio.