
Introducción
This manual provides detailed instructions for the installation, operation, and maintenance of your LTS LTN8708D-P8N 8 Channel Power-over-Ethernet (PoE) Network Video Recorder (NVR). Please read this manual thoroughly before using the product to ensure proper and safe operation.
Producto terminadoview
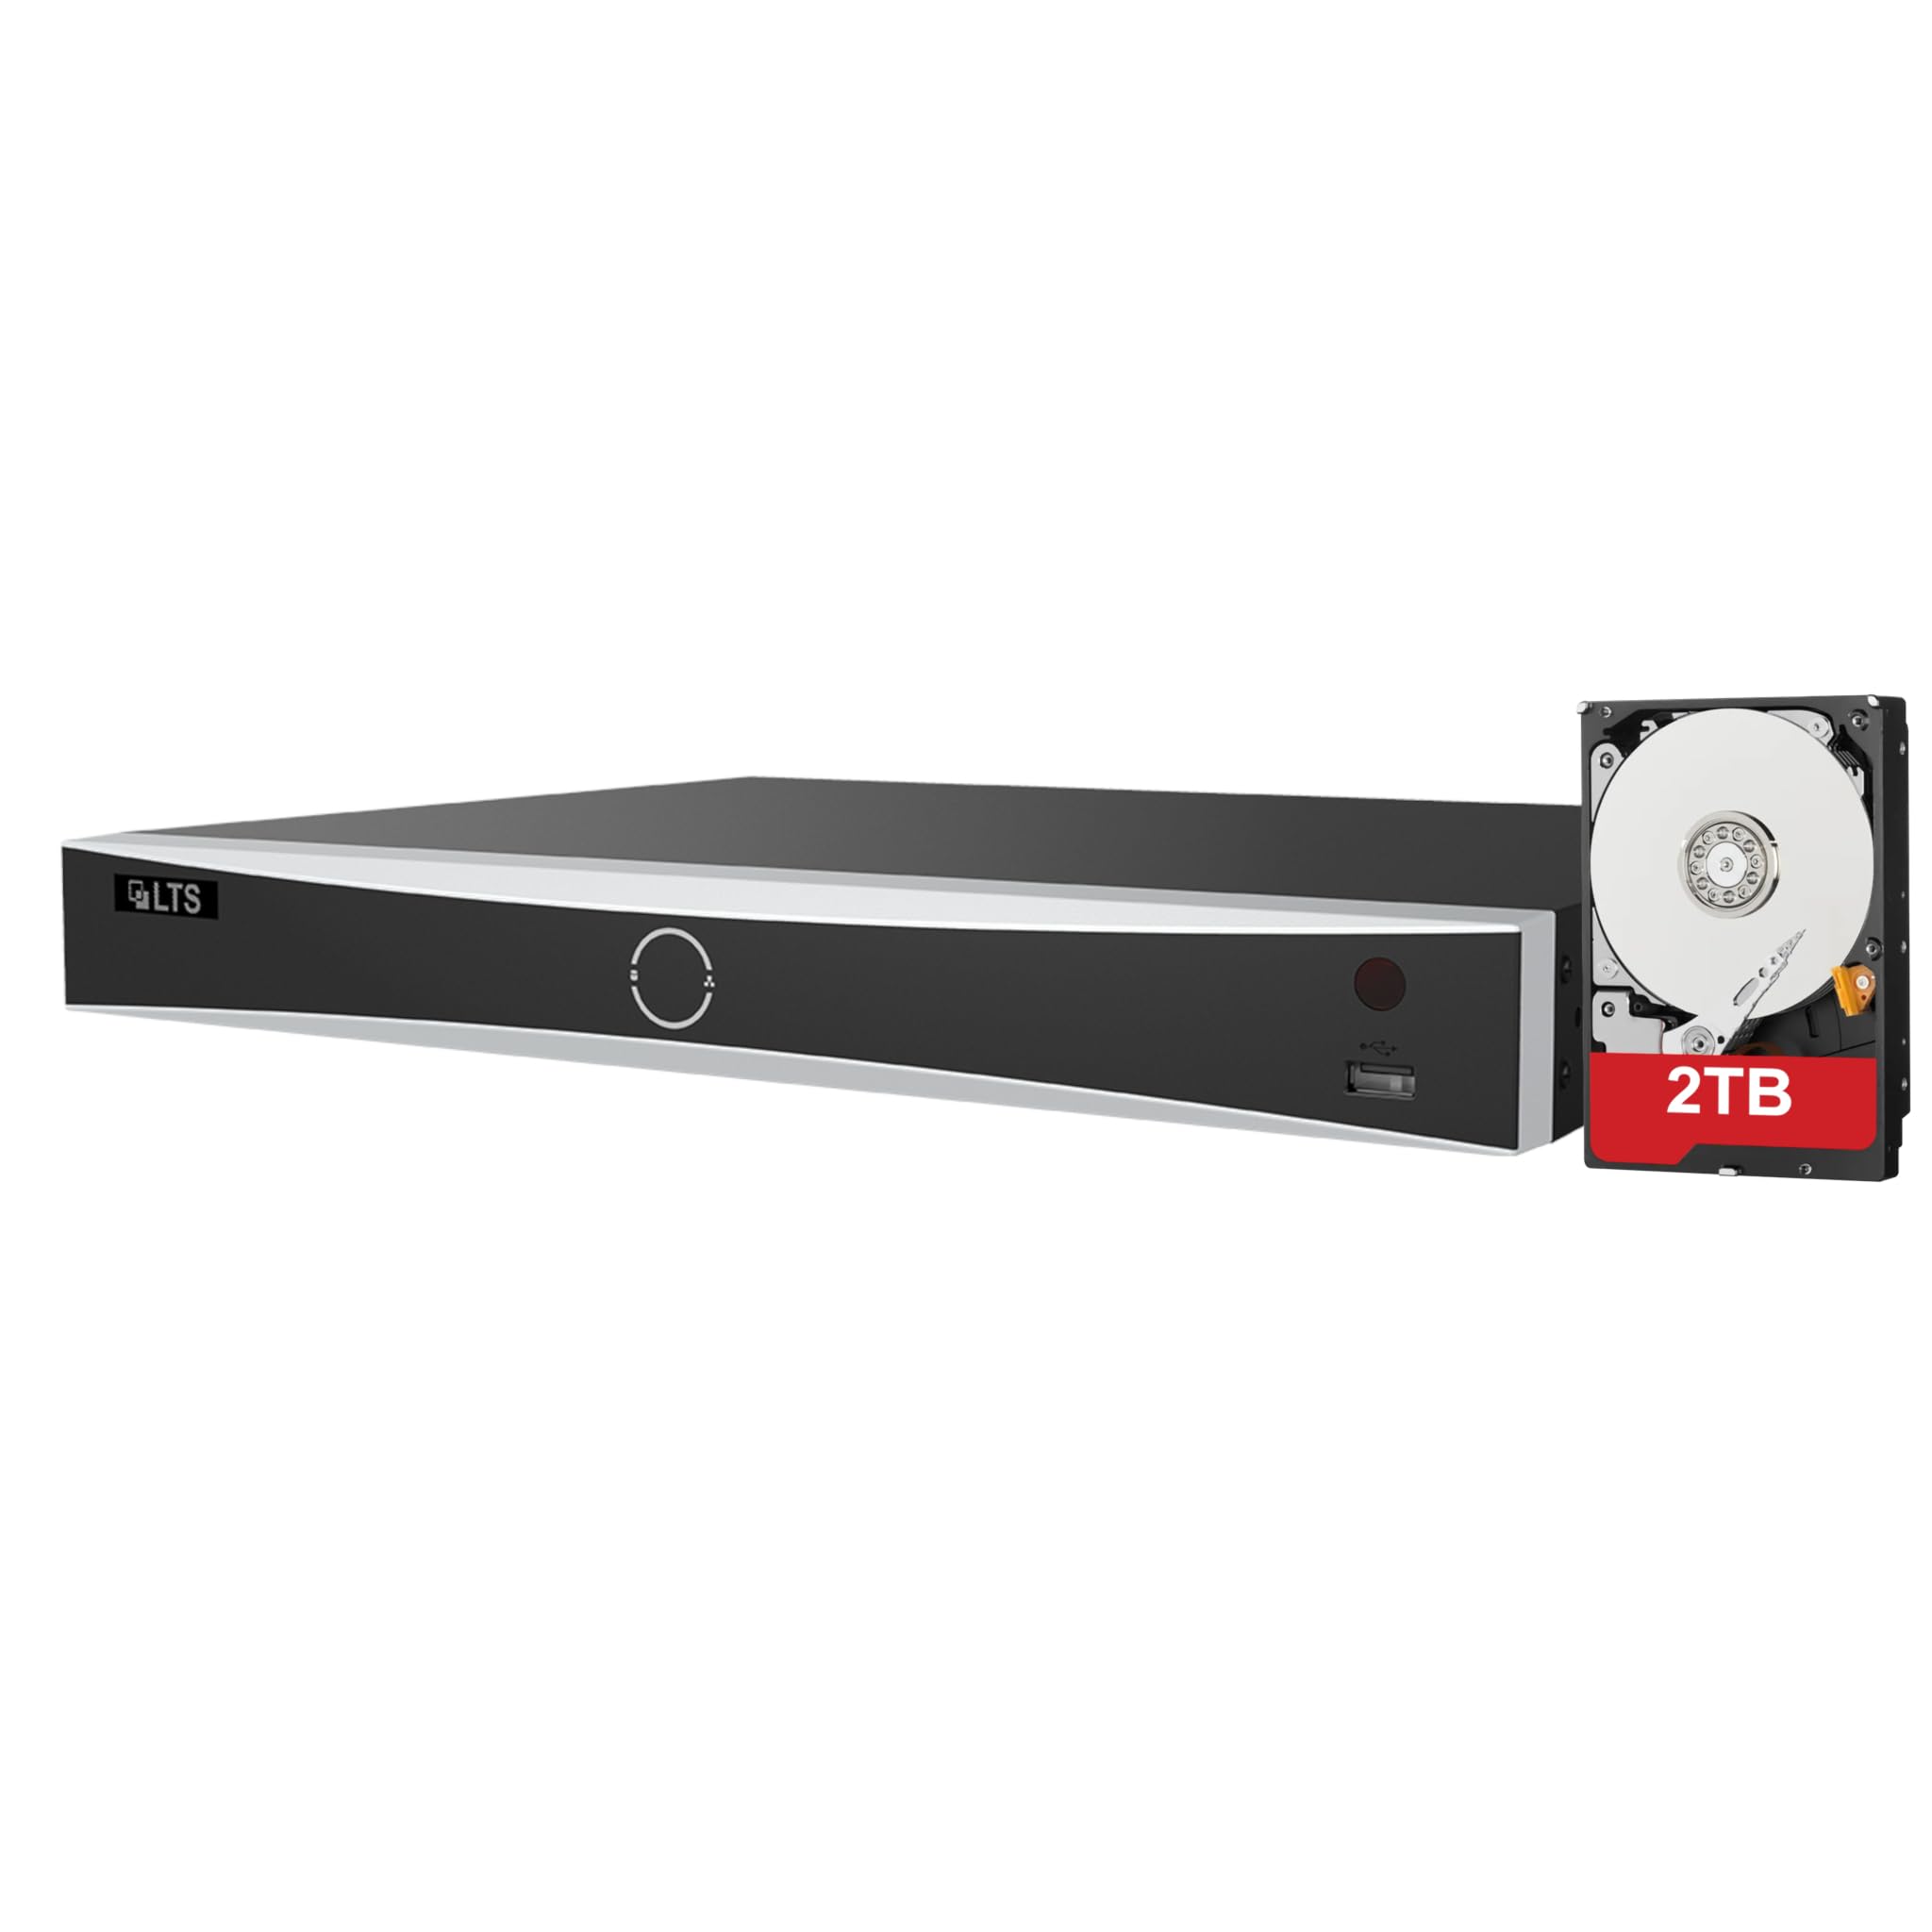
The LTS LTN8708D-P8N is an 8-channel PoE NVR designed for advanced surveillance systems, supporting up to 12MP resolution cameras. It features intelligent human and vehicle detection capabilities to enhance security monitoring.
Características principales:
- Up to 8 IP camera input channels.
- Plug & play functionality with 8 power-over-Ethernet (PoE) interfaces.
- Supports H.264 / H.264+ / H.265 / H.265+ video compression formats.
- Decoding capacity: Up to 2 channels at 12 MP, 3 channels at 8 MP, 6 channels at 4 MP, or 12 channels at 1080p.
- Up to 80 Mbps incoming bandwidth.
- Provides MD 2.0 / VCA functions for intelligent detection.
- Includes a pre-installed 2TB hard drive for immediate recording.
- Equipped with 2 SATA interfaces for additional storage expansion.

This image displays the front and rear panels of the LTS LTN8708D-P8N NVR. The front panel typically includes status indicators and a USB port, while the rear panel features multiple PoE ports for camera connections, LAN port, audio input/output, HDMI, VGA, USB ports, and the power input.
¿Qué hay en la caja?
Al desembalar, verifique que todos los elementos enumerados a continuación estén presentes y en buenas condiciones:
- LTS LTN8708D-P8N NVR unit (with pre-installed 2TB hard drive)
- Adaptador de corriente
- Ratón USB
- Mando a distancia
- SATA Cables (for additional hard drives)
- Cable Ethernet
- Tornillos de montaje para HDD

This image shows the accessories typically included with the NVR, which consist of a power adapter, mouse, remote control, SATA cables for additional hard drives, and an Ethernet cable.
Configuración
1. Desembalaje e inspección
Carefully remove the NVR and all accessories from the packaging. Inspect for any signs of damage. If any components are missing or damaged, contact your vendor immediately.
2. Instalación del disco duro (opcional)
Your NVR comes with a 2TB hard drive pre-installed. If you wish to install additional hard drives (up to two SATA drives supported), power off the NVR, open the casing, connect the SATA data and power cables to the new drive, and secure it with the provided screws. Close the casing before powering on.
3. Conexión de periféricos
- Cámaras: Connect IP cameras to the NVR's PoE ports using Ethernet cables. The NVR will provide power and data.
- Monitor: Conecte un monitor al puerto de salida HDMI o VGA del NVR.
- Red: Connect the NVR's LAN port to your network router or switch using an Ethernet cable for remote access and internet connectivity.
- Fuerza: Connect the provided power adapter to the NVR's power input and then to a power outlet.
- Dispositivos USB: Conecte el mouse USB a un puerto USB para navegar.
4. Configuración inicial
Upon first power-on, the NVR will guide you through an initial setup wizard. Follow the on-screen prompts to set up administrator passwords, network settings, date/time, and hard drive initialization. Ensure you set a strong password for security.
Instrucciones de funcionamiento
1. Navegación por la interfaz de usuario
Use the connected USB mouse to navigate the NVR's graphical user interface (GUI). Right-click to access the main menu, and left-click to select options or open sub-menus.
2. Vivir View y reproducción
- Vivir View: Desde la pantalla principal, puede view live feeds from all connected cameras. Double-click a camera window to view En pantalla completa.
- Reproducción: Access the 'Playback' menu to review comida grabadatage. Select the desired camera, date, and time to start playback.
3. Detección de personas y vehículos
The NVR's advanced MD 2.0 / VCA functions allow for intelligent detection of humans and vehicles, minimizing false alarms from environmental factors. Configure these settings in the 'Event' or 'Smart Analysis' menu.
This image illustrates the Human and Vehicle Detection feature, highlighting how the NVR can differentiate between humans, vehicles, and other movements like rain, leaves, or animals to reduce false alarms. Alerts are sent to a connected device, as shown by the smartphone notification.
4. Configuración de grabación
Customize recording schedules, motion detection areas, and recording quality in the 'Record' menu. You can set continuous recording, motion-triggered recording, or scheduled recording.
5. Acceso a la red
Configure network settings (IP address, port forwarding) in the 'Network' menu to enable remote viewing via a mobile app or web browser. Ensure your network is secure.
Mantenimiento
1. Gestión del disco duro
Regularly check the status of your hard drives in the 'HDD Management' menu. Format drives as needed, especially after initial installation or if issues arise. Ensure sufficient storage space for recordings.
2. Actualizaciones de firmware
Revise periódicamente las instrucciones del fabricante. website for firmware updates. Updating the firmware can improve performance, add new features, and enhance security. Follow the provided instructions carefully during the update process.
3. System Backup and Restore
Regularly back up important configuration settings to a USB drive. This allows for quick restoration in case of system resets or failures. The 'Backup' and 'Restore' options are typically found in the 'System' menu.
Solución de problemas
Problemas comunes y soluciones
- Sin salida de vídeo: Check monitor connections, power supply, and ensure the correct input source is selected on the monitor. Verify NVR power status.
- Cámaras que no se muestran: Ensure cameras are properly connected to PoE ports and receiving power. Check camera IP addresses and network settings.
- No realices grabaciones: Verify hard drive status and ensure it is initialized. Check recording schedules and motion detection settings.
- Error de acceso remoto: Confirm network connectivity, correct IP address/port forwarding settings, and firewall configurations. Ensure the mobile app or software is up to date.
- Contraseña olvidada: Refer to the manufacturer's official support resources for password reset procedures.
Presupuesto
| Característica | Especificación |
|---|---|
| Número de modelo | LTN8708D-P8N |
| IP Camera Inputs | 8 canales |
| Interfaces PoE | 8 puertos |
| Resolución máxima | Hasta 12 MP |
| Compresión de vídeo | H.265 + / H.265 / H.264 + / H.264 |
| Ancho de banda de entrada | 80 Mbps |
| Capacidad de decodificación | 2-ch@12 MP, 3-ch@8 MP, 6-ch@4 MP, or 12-ch@1080p |
| Interfaces SATA | 2 (supports up to 10TB per interface) |
| Disco duro preinstalado | 2TB |
| Funciones inteligentes | MD 2.0 / VCA (Human and Vehicle Detect) |
| Dimensiones del producto | 15.2 x 12.4 x 2 pulgadas |
| Peso del artículo | 8 libras |
| Tecnología de conectividad | Ethernet |
Garantía y soporte
For warranty information, technical support, and service inquiries, please refer to the official LTS Security website or contact your authorized vendor. Keep your purchase receipt and product serial number readily available for any warranty claims or support requests.