
Información importante de seguridad
Lea este manual detenidamente antes de ensamblarlo y usarlo. Consérvelo para futuras consultas.
- Always ensure the desk is properly anchored to the wall or floor to prevent tipping. Use appropriate anchoring hardware for your wall type.
- Do not place heavy objects on the desk that could cause it to tip or become unstable. Distribute weight evenly.
- Exercise caution during assembly to avoid injuries from heavy or sharp components. It is recommended to assemble with two people.
- Mantenga a los niños y las mascotas alejados del área de reunión.
- Asegúrese de que todos los tornillos y fijaciones estén bien apretados antes de usar. Revíselos periódicamente y ajústelos según sea necesario.
- Do not overload the integrated power outlets. Refer to the specifications for maximum load.
Configuración y montaje
This Grandder L-Shaped Gaming Desk (Model E109-40T) requires assembly. The package includes detailed assembly instructions. While all necessary tools are not included, standard household tools may be required.
Contenido del paquete
Verify that all components listed in the included assembly guide are present before beginning assembly.
- Desk panels (carbon fiber surface, MDF)
- Componentes del marco de metal
- Soporte de monitor
- Integrated power strip (2 AC outlets, 1 USB, 1 Type-C)
- Tira de luz LED con controlador
- Herrajes de montaje (tornillos, pernos, etc.)
- Manual de instrucciones de montaje
Pasos de montaje
- Desempaquetar e identificar: Carefully unpack all components and lay them out on a clean, soft surface to prevent scratches. Identify each part using the provided assembly diagram.
- Conjunto de marco: Assemble the main metal frame according to the instructions. Ensure all connections are secure but do not fully tighten screws until the entire frame is assembled.
- Diseño reversible: Decide whether you want the L-shaped corner on the left or right side of the desk. The design is reversible, allowing for flexible placement. Follow the specific instructions for your chosen orientation.
- Fijar los paneles del escritorio: Secure the carbon fiber desk panels to the assembled frame.
- Instalar el soporte del monitor: Fije el soporte del monitor a la superficie del escritorio principal.
- Integrar regleta de enchufes: Install the recessed power strip into its designated slot. Connect the power cable.
- Aplicar tira de luz LED: Adhere the LED light strip to the underside of the monitor stand or as indicated in the manual. Connect it to the power source.
- Install Storage Shelf: Attach the adjustable storage shelf to the side frame. This shelf is also removable.
- Ajuste final: Una vez que todos los componentes estén en su lugar y alineados, apriete completamente todos los tornillos y sujetadores.
- Placement and Anchoring: Position the desk in its desired location. For safety, anchor the desk to a wall using appropriate hardware (not included) to prevent tipping, especially if heavy equipment is placed on it.

Figure 1: Dimensions and reversible design of the Grandder L-shaped gaming desk. The corner section can be installed on either the left or right side.
Instrucciones de funcionamiento
Regleta integrada
The desk features a recessed power strip for convenient access to power and charging.
- Tomas de corriente CA: Two 125V/12A AC outlets are provided for powering devices such as monitors, computers, or other peripherals.
- Puertos USB: One 5V/3A USB-A port and one 5V/3A USB-C port are available for charging smartphones, tablets, and other USB-powered devices.
- Cable de energía: The integrated power strip is connected via a 1.5m power cable. Plug this cable into a standard wall outlet.
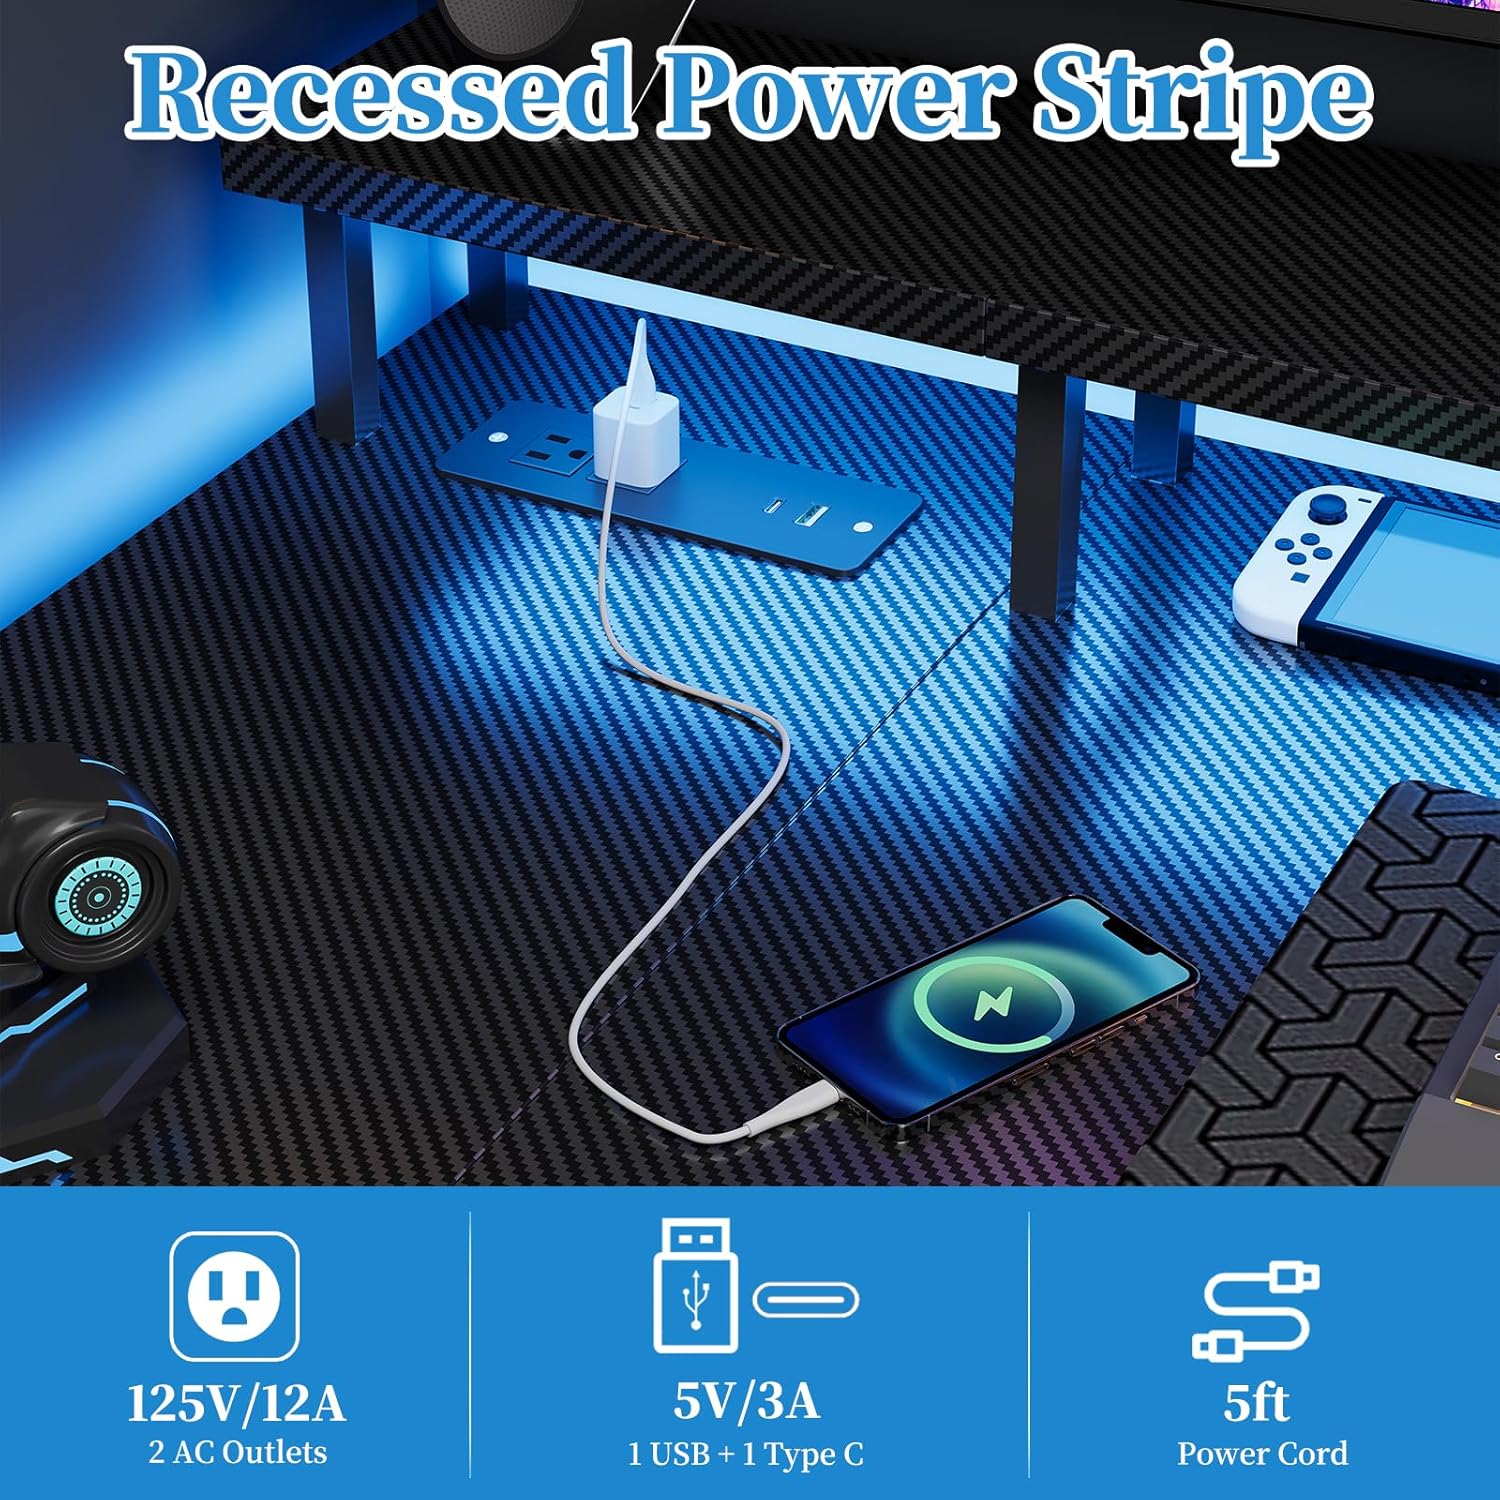
Figure 2: Recessed power strip with AC, USB-A, and USB-C outlets.
Funcionamiento de la tira de luz LED
The desk includes a multi-functional LED light strip to enhance your environment. It is controlled via an inline controller.
- Encendido/apagado: Use the power button on the controller to turn the LED strip on or off.
- Selección de colores: Cycle through various colors using the color selection button. The strip offers 20 color change options.
- Ajuste de brillo: Adjust the brightness levels to your preference using the dedicated brightness buttons.
- Control de velocidad: For dynamic lighting modes, adjust the speed of color transitions or effects.
- Predefined Modes: The controller may offer several predefined lighting modes for different atmospheres.

Figure 3: LED light strip with controller for color, brightness, and speed adjustments.
Monitor Stand and Storage Shelf
- Soporte de monitor: The elevated monitor stand promotes ergonomic viewing posture, reducing neck and eye strain. Place your monitor(s) directly on this stand.
- Estante de almacenamiento ajustable: The side storage shelf can be adjusted or removed to accommodate various items, such as a computer tower, books, or accessories.

Figure 4: Ergonomic design of the monitor stand for improved posture.

Figure 5: Adjustable storage shelf for flexible organization.
Mantenimiento
- Limpieza: Limpie las superficies del escritorio con un paño suave y húmedo.amp cloth. Avoid abrasive cleaners or harsh chemicals that could damage the carbon fiber finish or MDF.
- Sujetadores: Revise periódicamente todos los tornillos y fijaciones para asegurarse de que estén bien apretados. Vuelva a apretarlos si es necesario para mantener la estabilidad.
- Componentes eléctricos: Ensure the power strip and LED light strip connections are secure. Do not attempt to repair electrical components yourself. If damage occurs, discontinue use and contact customer support.
- Distribución del peso: Avoid concentrating heavy loads on one area of the desk. Distribute weight evenly across the surface and shelves.
Solución de problemas
Inestabilidad del escritorio
- Asunto: El escritorio se tambalea o se siente inestable.
- Solución:
- Revise todos los tornillos y pernos de montaje. Apriete los sujetadores sueltos.
- Ensure the desk is on a level surface. Use leveling feet (if included) or shims to stabilize.
- Verify that the desk is properly anchored to the wall if heavy items are placed on it.
Los enchufes eléctricos no funcionan
- Asunto: Devices plugged into the AC or USB ports are not receiving power.
- Solución:
- Asegúrese de que el cable de alimentación principal del escritorio esté enchufado de forma segura a un tomacorriente de pared que funcione.
- Compruebe si el tomacorriente de pared funciona enchufando otro dispositivo.
- Avoid overloading the power strip. Disconnect some devices to see if power is restored.
- If the issue persists, contact customer support. Do not attempt to disassemble the power strip.
LED Light Strip Not Functioning
- Asunto: The LED light strip does not turn on or is not responding to the controller.
- Solución:
- Ensure the LED strip is properly connected to its power source and the controller.
- Check if the main power cable for the desk is plugged in.
- Verify that the controller's battery (if applicable) is functional or that it is receiving power.
- Try pressing the power button on the controller firmly.
- Si el problema persiste, póngase en contacto con el servicio de atención al cliente.
Especificaciones del producto
| Número de modelo | E109-40T |
| Marca | Grandder |
| Tipo | Reversible L-Shaped Gaming Desk |
| Dimensiones (L x An x Al) | 100 x 50 x 75 cm (main section), 70 x 100 x 75 cm (overall L-shape) |
| Peso | 12.8 kilogramos |
| Color | Carbon Black Aspect |
| Material | Carbon Fiber Surface, Engineered Wood (MDF) |
| Enchufes de electricidad | 2 x AC (125V/12A), 1 x USB-A (5V/3A), 1 x USB-C (5V/3A) |
| Longitud del cable de alimentación | 1.5 metros |
| Características especiales | Integrated LED Lights, Recessed Power Strip, Monitor Stand, Reversible L-Shape, Adjustable Storage Shelf |
| Requiere ensamblaje | Sí |
Información de garantía
The Grandder L-Shaped Gaming Desk (Model E109-40T) comes with a Garantía de por vida. This warranty covers manufacturing defects and material flaws under normal use. It does not cover damage resulting from misuse, accidents, unauthorized modifications, or normal wear and tear.
To make a warranty claim, please retain your proof of purchase and contact Grandder customer support.
Atención al cliente
If you have any questions, require assistance with assembly, or encounter any issues with your Grandder L-Shaped Gaming Desk, please do not hesitate to contact our professional customer service team.
Our team is available 24/7 to provide prompt and reliable assistance.
Información del contacto: Please refer to the contact details provided on your purchase receipt or the Grandder official webSitio para los canales de soporte más actualizados.


