1. Introducción
This manual provides detailed instructions for the installation, operation, and maintenance of your ESX Vision VMX900DAB Universal 1-DIN Multimedia Receiver. Please read this manual thoroughly before using the device to ensure proper functionality and to maximize your user experience.
The ESX Vision VMX900DAB is a versatile 1-DIN multimedia receiver featuring a 9-inch multi-angle touchscreen display. It integrates advanced connectivity options including wireless Apple CarPlay and Android Auto, DAB+ digital radio, Bluetooth hands-free calling and audio streaming, and a comprehensive media player. The unit is designed for universal compatibility and offers a removable monitor for enhanced security.
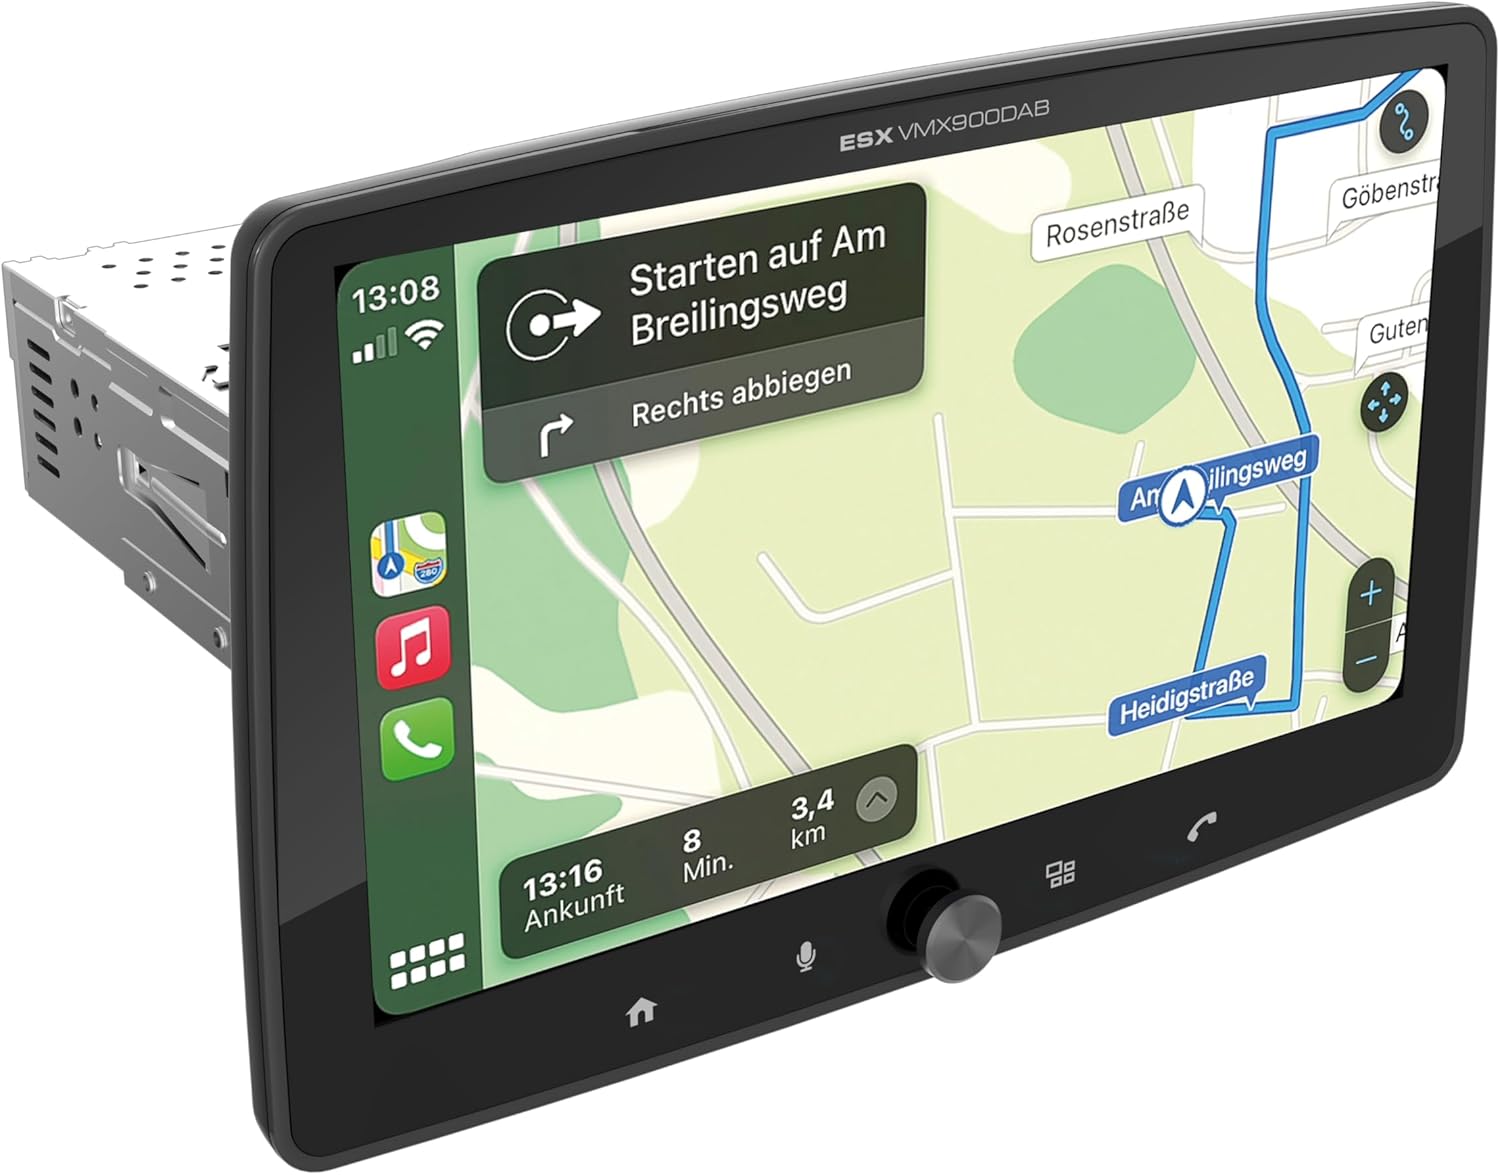
Figure 1.1: ESX Vision VMX900DAB with navigation interface.
2. Configuración e instalación
2.1 Contenido del paquete
Antes de la instalación, verifique que todos los componentes estén presentes:
- ESX Vision VMX900DAB Main Unit
- Detachable 9-inch Touchscreen Monitor
- Arnés de cableado de alimentación/altavoces
- Micrófono externo
- Antena GPS
- Antena DAB+
- Cables de extensión USB
- Herrajes de montaje (soportes, tornillos)
- Manual de usuario (este documento)

Figura 2.1: Accesorios y componentes incluidos.
2.2 Montaje de la unidad principal
- Asegúrese de que la batería del vehículo esté desconectada antes de comenzar la instalación.
- Insert the 1-DIN main unit into the vehicle's dashboard opening.
- Secure the main unit using the provided mounting brackets and screws.
2.3 Conexión del monitor
The 9-inch monitor is detachable and connects to the main unit via a click system.
- Align the monitor's connector with the slot on the main unit.
- Gently push the monitor until it clicks securely into place.
- To remove, press the release button (if applicable) and pull the monitor away.

Figure 2.2: Detachable monitor with click system.
2.4 conexiones de cableado
Consulte el diagrama de cableado incluido con la unidad para conocer las conexiones específicas. Las conexiones principales incluyen:
- Power and Speakers: Connect the main wiring harness to the vehicle's power supply and speakers.
- Micrófono externo: Conecte el micrófono externo a su entrada dedicada para obtener una calidad óptima de llamadas manos libres.
- Antena GPS: Conecte la antena GPS y móntela en un lugar con espacio libre. view del cielo para un posicionamiento preciso.
- Antena DAB+: Connect the DAB+ antenna for digital radio reception.
- Puertos USB: Two USB-A ports are available. One for media playback and charging (1.5A), and another specifically for Apple CarPlay/Android Auto and charging (1.5A).
- Pre-RCAampSalidas certificadas: Six 4V RCA outputs (FL/FR/RL/RR/SUB1/SUB2) are available for connecting external ampsalvavidas.
- AUX RCA Inputs: Stereo audio and video inputs (L/R/VIDEO) for external audio/video sources.
- Camera RCA Inputs: Entradas dedicadas para cámaras frontal y trasera.
- Control del volante: Analog steering wheel remote control input (learnable) for integration with vehicle controls.
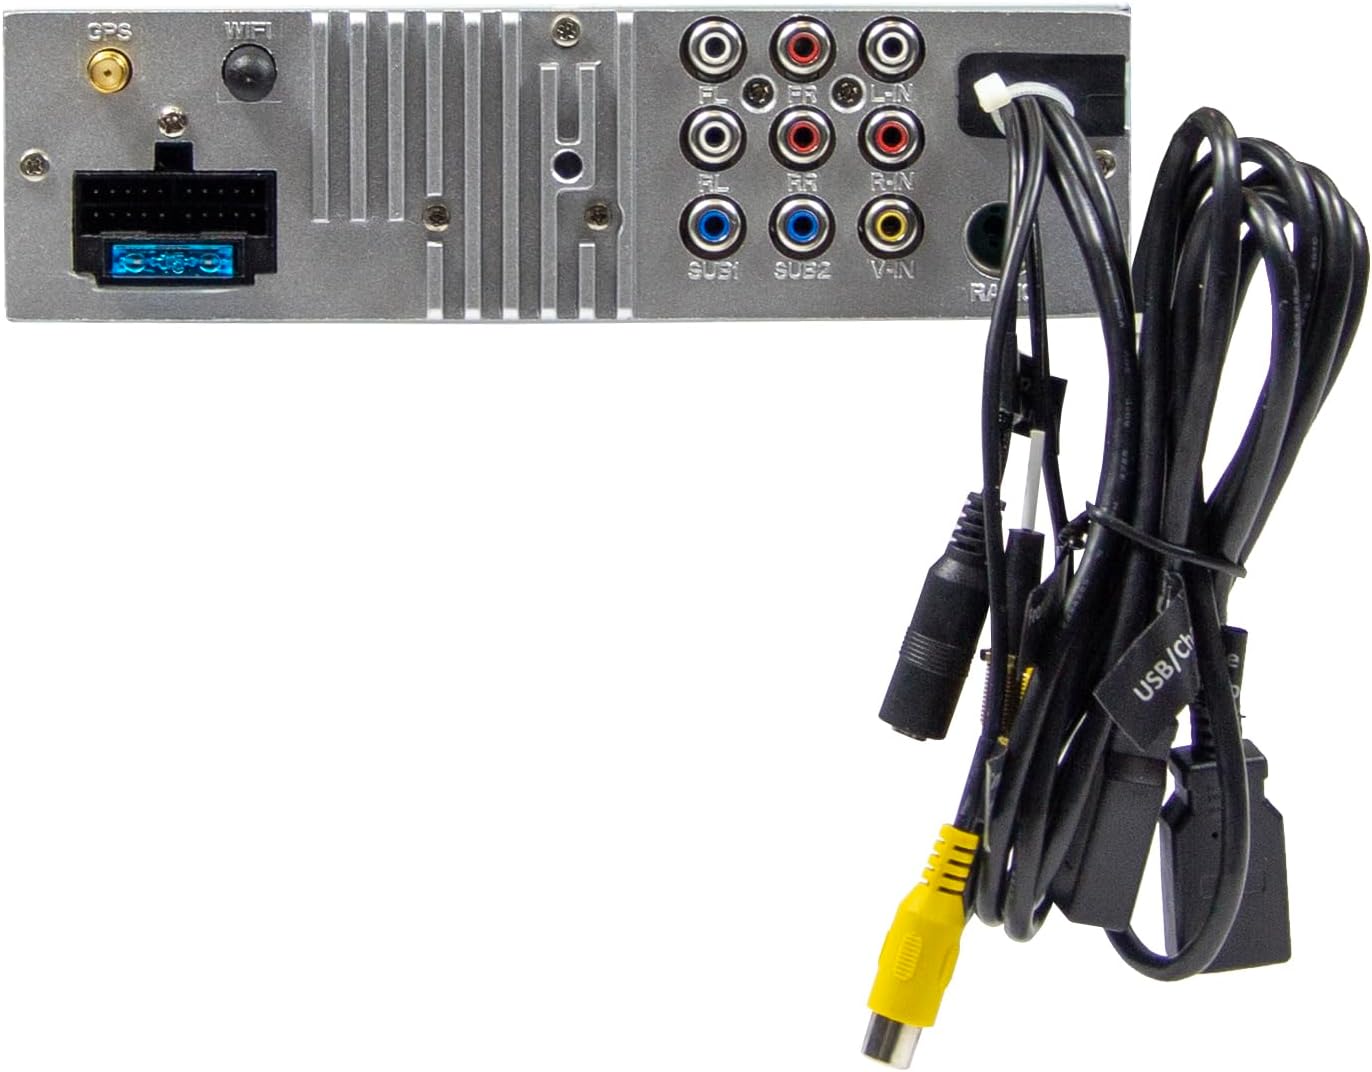
Figure 2.3: Rear connections of the main unit.
3. Instrucciones de funcionamiento
3.1 Encendido/apagado y controles básicos
- Encendido: The unit will power on automatically with the vehicle's ignition.
- Apagado: The unit will power off automatically with the vehicle's ignition.
- Control de volumen: Use the large rotary knob on the front panel to adjust the volume.
- Teclas de función: Four function keys on the front panel provide quick access to common features.
- Pantalla táctil: All primary functions are controlled via the 9-inch touchscreen.
3.2 Home Screen and Navigation
The home screen provides access to all main functions and applications.

Figure 3.1: Main menu/home screen.
3.3 Apple CarPlay y Android Auto
The VMX900DAB supports both wireless and wired (via USB) Apple CarPlay and Android Auto.
- Conexión inalámbrica: Enable Bluetooth and Wi-Fi on your smartphone and follow the on-screen prompts to connect.
- Conexión por cable: Connect your smartphone to the dedicated USB-A port using a compatible USB cable.
- Once connected, your smartphone's compatible apps (navigation, music, calls, messages) will be mirrored on the receiver's display.

Figura 3.2: Interfaz Apple CarPlay.
3.4 Radio Functions (DAB+/FM/AM)
- Radio DAB+: Select the DAB+ icon from the home screen. The unit will scan for available digital radio stations.
- Radio FM/AM: Select the Radio icon. Use the touchscreen to tune to stations, save presets, and access RDS functions.
3.5 Manos libres Bluetooth y transmisión de audio
- Emparejamiento: Enable Bluetooth on your smartphone and search for the VMX900DAB. Select the device and confirm pairing.
- Llamadas manos libres: Once paired, you can make and receive calls directly through the receiver. The external microphone ensures clear voice transmission. Your phonebook can be synchronized.
- Transmisión auditiva: Stream music wirelessly from your smartphone to the receiver.
3.6 Reproducción de medios
The unit supports various audio, video, and photo formats via USB.
- Apoyado File Formatos: AVI, FLV, MOV, MKV, WMV, WMA, MP3, FLAC, JPEG, PNG, BMP.
- Insert a USB drive into the media USB-A port. Select the USB icon from the home screen to browse and play media files.
3.7 Ajuste del monitor
The monitor can be tilted and adjusted in height to achieve the optimal viewing angle and prevent obstruction of vehicle controls.

Figure 3.3: Adjustable monitor mechanism.
NUNCA personalización
- Logotipo de inicio: Customize the startup logo in the settings menu.
- RGB Key Illumination: Select from various RGB colors and animation effects for the key illumination.
- Idiomas del menú: Supported languages include DEU, ENG, SWE, ITA.
4. Mantenimiento
4.1 Limpieza de la unidad
- Use a soft, dry cloth to wipe the display and unit surfaces.
- For stubborn marks on the screen, use a screen cleaner specifically designed for electronic displays and a microfiber cloth.
- Do not use abrasive cleaners, solvents, or harsh chemicals, as these can damage the finish or screen.
4.2 Cuidados generales
- Evite exponer la unidad a temperaturas extremas, luz solar directa durante períodos prolongados o alta humedad.
- Asegure una ventilación adecuada alrededor de la unidad para evitar el sobrecalentamiento.
- When removing the monitor, handle it carefully to avoid damage to the connectors.
5. Solución de problemas
If you encounter issues with your VMX900DAB, refer to the following common problems and solutions:
| Problema | Posible causa | Solución |
|---|---|---|
| Sin poder | Cableado incorrecto; Fusible quemado; Encendido del vehículo apagado | Verifique las conexiones eléctricas; reemplace el fusible; encienda el encendido del vehículo |
| Sin sonido | Volumen demasiado bajo; Silencio activado; Problema con el cableado del altavoz | Aumentar el volumen; Desactivar el silencio; Verificar las conexiones de los altavoces |
| El Bluetooth no se conecta | Bluetooth desactivado en el teléfono/unidad; proceso de emparejamiento incorrecto | Ensure Bluetooth is on; Re-attempt pairing process |
| Apple CarPlay/Android Auto not starting | Incorrect USB port; Faulty USB cable; Phone not compatible/configured | Use the dedicated USB port; Try a different USB cable; Check phone settings for CarPlay/Android Auto |
| Mala recepción de radio | Antenna not connected; Poor antenna placement; Weak signal area | Check antenna connection; Adjust antenna position; Try in a different location |
| El monitor no muestra nada | Monitor not securely attached; Connector issue | Ensure monitor is fully clicked into place; Check for debris in connector |
If the problem persists after attempting these solutions, please contact ESX customer support or your authorized dealer.
6. Especificaciones
| Característica | Especificación |
|---|---|
| Número de modelo | VMX900DAB |
| Mostrar | 9-inch Multi-angle Touchscreen |
| Factor de forma | 1-DIN Universal |
| Conectividad | USB, Bluetooth, Auxiliary |
| Características especiales | Wireless Apple CarPlay, Wireless Android Auto, Detachable Monitor with Click System |
| Sintonizador de radio | DAB+ (Digital Radio), FM/AM with RDS |
| Bluetooth | Hands-free function, Audio Streaming |
| Puertos USB | 2x USB-A (1.5A charging, one dedicated for CarPlay/Android Auto) |
| Max Music Power | 4 x 80 W |
| Pre-ampSalidas certificadas | 6x RCA (4V) (FL/FR/RL/RR/SUB1/SUB2) |
| Entradas AUX | RCA (L/R/VIDEO) |
| Entradas de cámara | RCA (Front/Rear) |
| Apoyado File Formatos | AVI, FLV, MOV, MKV, WMV, WMA, MP3, FLAC, JPEG, PNG, BMP |
| Micrófono externo | Incluido |
| Control del volante | Analog (learnable) |
| Receptor GPS | Incluido |
| Idiomas del menú | DEU, ENG, SWE, ITA |
| Potencia de salida total | 320 vatios |
| Configuración de canales de sonido envolvente | 4.2 |
| Modo de salida de audio | Estéreo |
7. Garantía y soporte
For warranty information, please refer to the documentation provided at the time of purchase or contact your authorized ESX dealer. Warranty terms and conditions may vary by region and retailer.
For technical support or further assistance, please contact ESX customer service or visit the official ESX webSitio para recursos de soporte.