
1. Introducción
This manual provides essential information for the safe and efficient use of your CANDY Smart Inverter Washer Dryer, model CSWS496TWMRRE/FR. Please read these instructions carefully before installing, operating, or performing maintenance on the appliance. Keep this manual for future reference.
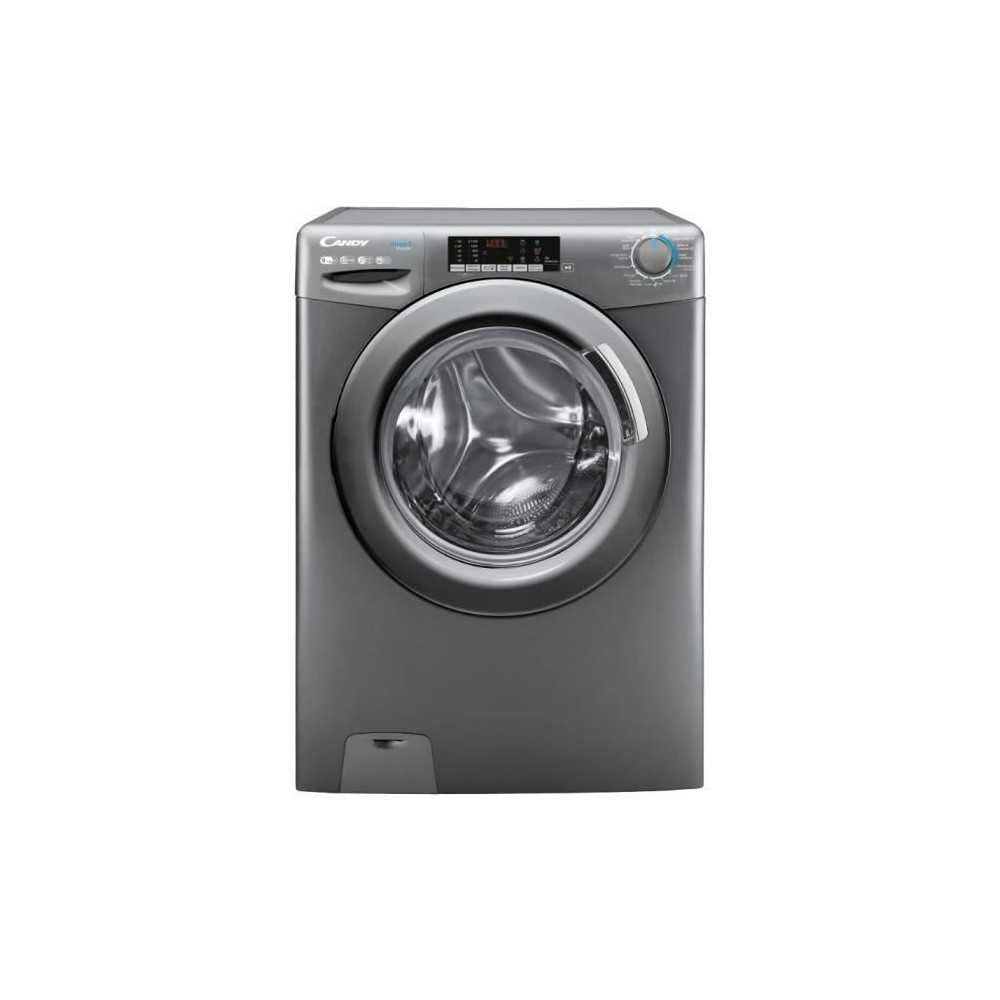
Imagen 1.1: Frente view of the CANDY Smart Inverter Washer Dryer.
2. Información de seguridad
Siga siempre las precauciones básicas de seguridad al utilizar aparatos eléctricos para reducir el riesgo de incendio, descarga eléctrica y lesiones personales. Este aparato está diseñado exclusivamente para uso doméstico.
- Asegúrese de que el aparato esté correctamente conectado a tierra.
- No permita que los niños jueguen con el aparato ni lo manipulen.
- No toque el aparato con las manos mojadas.
- Desenchufe el aparato antes de limpiarlo o realizar cualquier mantenimiento.
- No lave ni seque artículos que hayan sido limpiados, lavados, remojados o salpicados con sustancias combustibles o explosivas.
- Keep the area around the exhaust opening free from the accumulation of lint, dust, and dirt.
3. Producto terminadoview
3.1. Componentes
- Panel de control: Features a program selector dial, digital display, and touch buttons for various functions.
- Cajón de detergente: Ubicado en la parte superior izquierda, para agregar detergente y suavizante de telas.
- Tambor: Stainless steel interior for washing and drying clothes.
- Puerta: Front-loading door with a secure latch.
- Filtrar: Located at the bottom front, for collecting lint and foreign objects.
3.2. Panel de control

Imagen 3.1: Detallada view del panel de control.
The control panel allows you to select wash and dry programs, adjust settings, and monitor the cycle status. Key elements include:
- Dial selector de programa: Used to choose from 15 available wash and dry programs.
- Pantalla digital: Muestra el tiempo restante, los códigos de error y las opciones seleccionadas.
- Selección de temperatura: Adjusts wash water temperature.
- Selección de velocidad de centrifugado: Modifies the spin cycle speed up to 1400 rpm.
- Inicio diferido: Sets a delayed start time for the cycle (1-24 hours).
- Botones de opciones: Activates special functions like Steam, Mix Power System, and quick cycles.
3.3. Cajón de detergente
The detergent drawer has compartments for pre-wash detergent, main wash detergent, and fabric softener. Refer to the markings on the drawer for correct placement.
3.4. Drum Interior

Image 3.2: Interior of the washer dryer drum.
The stainless steel drum is designed for effective washing and drying. Ensure no foreign objects are left inside before starting a cycle.
4. Instalación
4.1. Desembalaje
- Remove all packaging materials, including the polystyrene base and any inserts in the drum.
- Retire los pernos de transporte de la parte trasera del aparato. Conserve estos pernos para futuras mudanzas.
4.2. Posicionamiento
- Coloque el aparato sobre una superficie firme y nivelada.
- Adjust the feet to ensure the machine is stable and level.
- Asegúrese de que haya suficiente espacio alrededor del aparato para ventilación.

Imagen 4.1: Example of washer dryer placement in a domestic environment.
4.3. Conexiones de agua y electricidad
- Conecte la manguera de entrada de agua a un grifo de agua fría.
- Position the drain hose into a standpipe or sink, ensuring it is securely fixed to prevent displacement during operation.
- Conecte el cable de alimentación a una toma eléctrica con conexión a tierra (230 voltios).
5. Instrucciones de funcionamiento
5.1. Antes del primer uso
Run a short wash cycle without laundry and detergent to clean the drum and remove any manufacturing residues.
5.2. Carga de la ropa
- Open the door and load laundry into the drum, ensuring not to overload (max 9 kg for wash, 6 kg for dry).
- Cierre la puerta firmemente.
5.3. Agregar detergente y suavizante
Pull out the detergent drawer and add appropriate amounts of detergent and fabric softener to their respective compartments. Close the drawer.
5.4. Selección del programa
- Turn the program selector dial to choose the desired wash or dry program. The appliance offers 15 programs, including 7 quick cycles.
- La pantalla digital mostrará la configuración predeterminada para el programa seleccionado.
5.5. Adjusting Settings and Special Functions
- Temperatura: Press the temperature button to adjust the wash temperature (e.g., 20°, 30°, 40°, 60°, 90°).
- Velocidad de centrifugado: Press the spin speed button to select the desired spin speed (e.g., 400, 800, 1000, 1400 rpm).
- Inicio diferido: Press the delay start button repeatedly to set a delay from 1 to 24 hours.
- Función de vapor: Activates the steam option to reduce wrinkles and refresh clothes.
- Sistema de potencia mixta: Ensures thorough cleaning by pre-mixing water and detergent.
- Ciclos rápidos: Select one of the 7 rapid cycles, including a full load program in 59 minutes.
5.6. Iniciando el ciclo
Pulse el botón Inicio/Pausa para iniciar el programa seleccionado. La pantalla mostrará el tiempo restante.
5.7. Fin de ciclo
At the end of the cycle, the appliance will signal with an audible alert and/or a message on the display. Open the door and remove the laundry.
6. Mantenimiento
6.1. Limpieza del cajón del detergente
Regularly clean the detergent drawer to prevent residue buildup. Remove the drawer, rinse it under running water, and clean any stubborn deposits with a brush. Reinsert the drawer.
6.2. Limpieza del tambor
Use the dedicated 'Drum Cleaning' program (if available) or run an empty hot wash cycle with a descaling agent or white vinegar to maintain drum hygiene.
6.3. Limpieza del filtro
Periodically clean the drain pump filter to ensure proper drainage. Place a shallow container under the filter cover, unscrew the filter, remove any lint or debris, and then securely replace it.
6.4. Limpieza exterior
Limpie las superficies exteriores del aparato con un paño suave y húmedo.amp Paño. No utilice limpiadores abrasivos ni disolventes.
7. Solución de problemas
If you encounter issues with your appliance, consult the table below for common problems and solutions. If the problem persists, contact customer support.
| Problema | Posible causa | Solución |
|---|---|---|
| El aparato no arranca | Power cord unplugged; door not closed; program not selected; Start/Pause button not pressed. | Verifique la conexión eléctrica; asegúrese de que la puerta esté cerrada; seleccione un programa; presione Inicio/Pausa. |
| No hay ingesta de agua | Water tap closed; water inlet hose kinked; water filter blocked. | Open water tap; straighten hose; clean water inlet filter. |
| El agua no drena | Manguera de drenaje doblada o bloqueada; filtro de la bomba de drenaje bloqueado. | Enderece o limpie la manguera de drenaje; limpie el filtro de la bomba de drenaje. |
| Vibración excesiva | El aparato no está nivelado; no se han quitado los pernos de transporte; carga desigual. | Adjust leveling feet; remove transport bolts; redistribute laundry. |
| La ropa no se seca correctamente | Overloaded; incorrect drying program; lint filter blocked. | Reduce load; select appropriate drying program; clean lint filter. |
8. Especificaciones
| Característica | Especificación |
|---|---|
| Nombre del modelo | C SWS496TWMRRE/FR |
| Marca | DULCE |
| Dimensiones del producto (Pr. x An. x Al.) | 54P x 60l x 86h cm |
| Capacidad de lavado | 9 kilogramos |
| Capacidad seca | 6 kilogramos |
| Velocidad máxima de centrifugado | 1400 rpm |
| Número de programas | 15 |
| Energy Class (Wash) | A |
| Nivel de ruido | 76 dB |
| Volumentage | 230 voltios |
| Material (Tambor) | Acero inoxidable |
| Peso | 65 kilogramos |
| Tipo de instalación | Freestanding |
| Tipo de control | Tocar |
9. Garantía y soporte
9.1. Información de garantía
This CANDY appliance comes with a Garantía del fabricante de 2 años. Please retain your proof of purchase for warranty claims. The warranty covers defects in materials and workmanship under normal domestic use.
9.2. Atención al cliente
For technical assistance, spare parts, or to schedule a service appointment, please contact CANDY customer support. Refer to the contact information provided in the separate warranty card or on the official CANDY websitio.
The user manual is included with the product for detailed instructions and further support.