Introducción
This manual provides essential instructions for the safe assembly, operation, and maintenance of your new Generic 70.87" Tall Wardrobe Kitchen Cabinet. Please read all instructions carefully before beginning assembly and retain this manual for future reference.

Image: The fully assembled 70.87 inch Tall Wardrobe Kitchen Cabinet, featuring a walnut finish, six cabinet doors, one open display shelf, and a single drawer. It is shown in a kitchen environment, demonstrating its potential use for storage and as a coffee bar or appliance station.
Información de seguridad
ADVERTENCIA: El incumplimiento de estas instrucciones de seguridad podría provocar lesiones o daños al producto.
- Mantenga todas las piezas pequeñas y los materiales de embalaje fuera del alcance de los niños.
- Monte la unidad sobre una superficie suave y limpia para evitar rayones.
- Asegúrese de que todas las conexiones estén bien apretadas antes de usar. Revíselas periódicamente y vuelva a apretarlas según sea necesario.
- No sobrecargue los estantes ni los cajones. Distribuya el peso uniformemente.
- For stability, it is highly recommended to anchor the cabinet to a wall using appropriate hardware (not always included, check package contents).
- Do not climb on or allow children to play on or around the cabinet.
Contenido del paquete
Before assembly, verify that all parts listed in the included parts diagram are present and undamaged. If any parts are missing or damaged, do not proceed with assembly. Contact customer support for assistance.
Note: A detailed parts list and hardware pack are typically included within the product packaging. Refer to these documents for exact component identification.
Herramientas necesarias
- Destornillador Phillips
- Martillo (para tacos y clavos para paneles traseros)
- Cinta métrica
- Nivel
- Drill (optional, for wall anchoring)
Configuración y montaje
Follow the numbered steps below carefully. It is recommended to have two people for assembly.
- Desembalaje e identificación de las piezas: Lay out all components on a clean, soft surface. Compare each part to the included parts list and hardware diagram.
- Ensamblar el marco base: Connect the side panels to the bottom panel using the provided cam locks and dowels. Ensure all connections are snug.
- Instalar el panel posterior: Carefully align and attach the back panel to the assembled frame using small nails or screws. This adds stability.
- Ensamblar cajones: For the single drawer, attach the side panels to the front and back panels. Insert the bottom panel into the grooves. Secure with screws. Attach the drawer glides to the drawer sides and the cabinet frame.
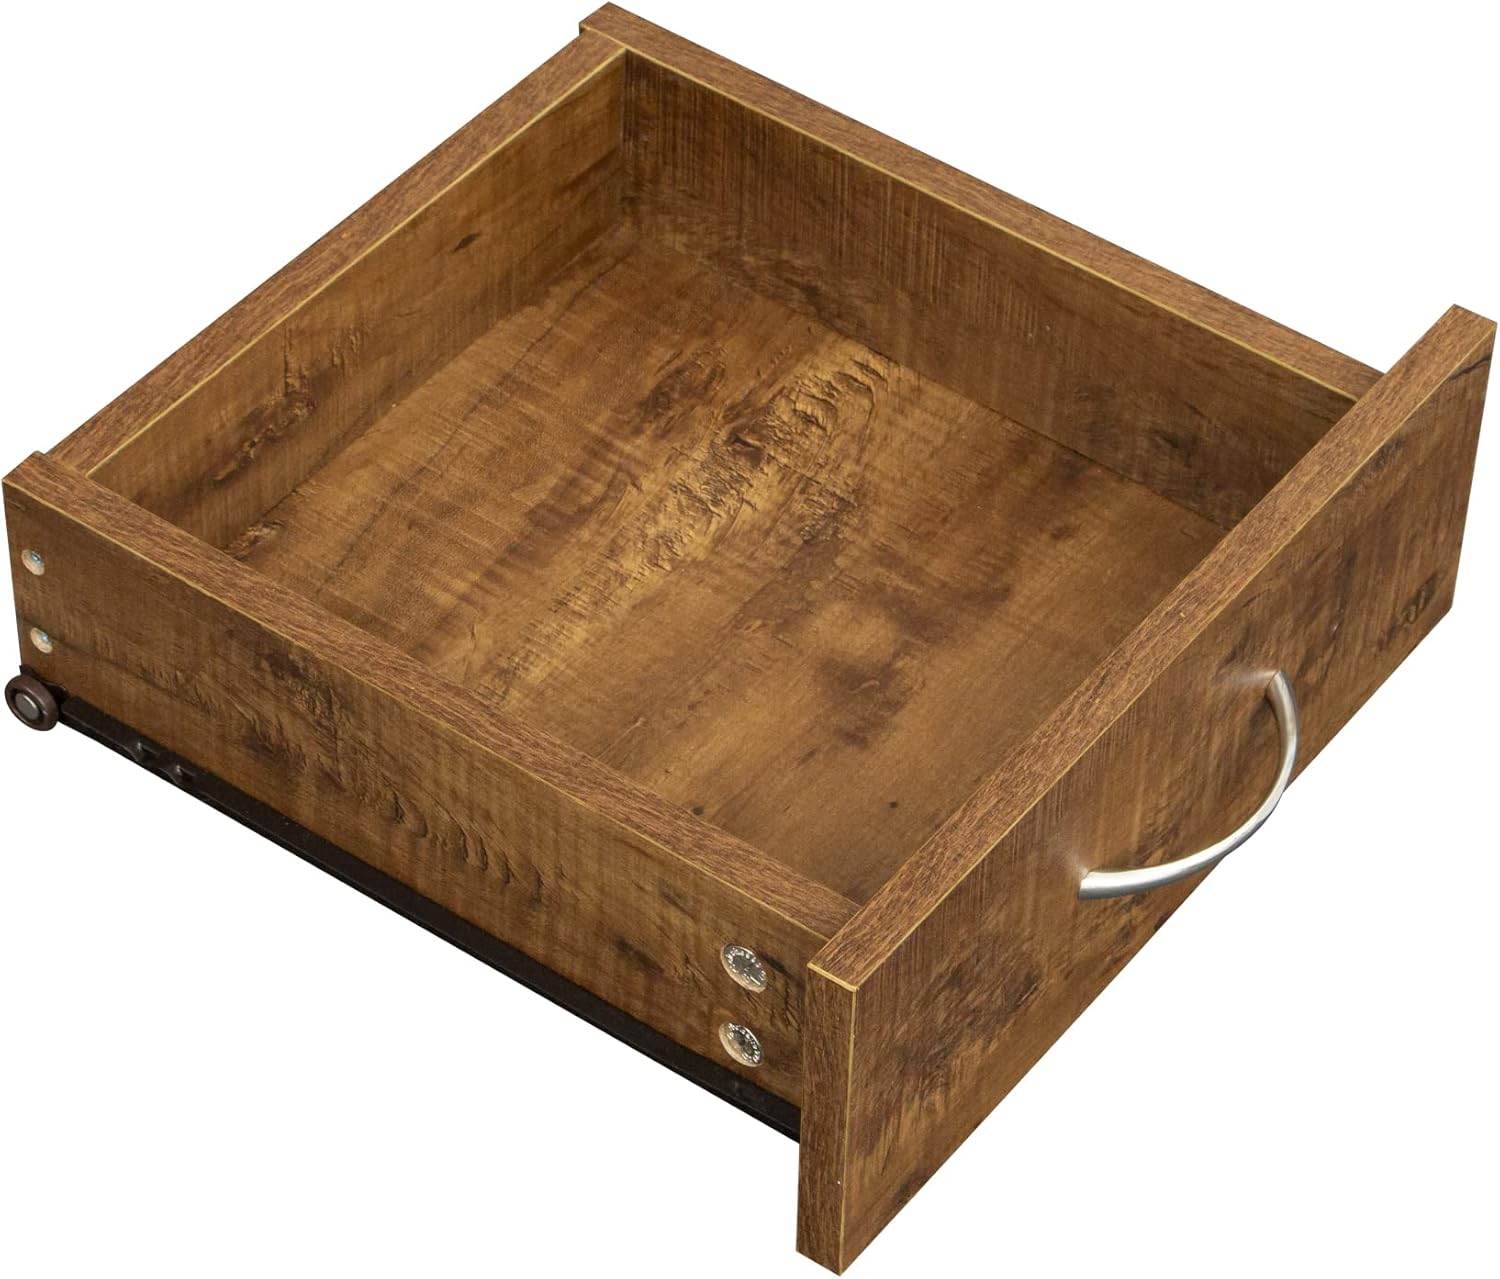
Imagen: Un detalle view of the cabinet's drawer, pulled open to reveal its interior and the smooth metal handle. This illustrates the drawer's construction and functionality.
- Fijar las puertas del armario: Mount the hinges to the cabinet doors and then attach the doors to the main cabinet frame. Adjust hinges as needed for proper alignment.
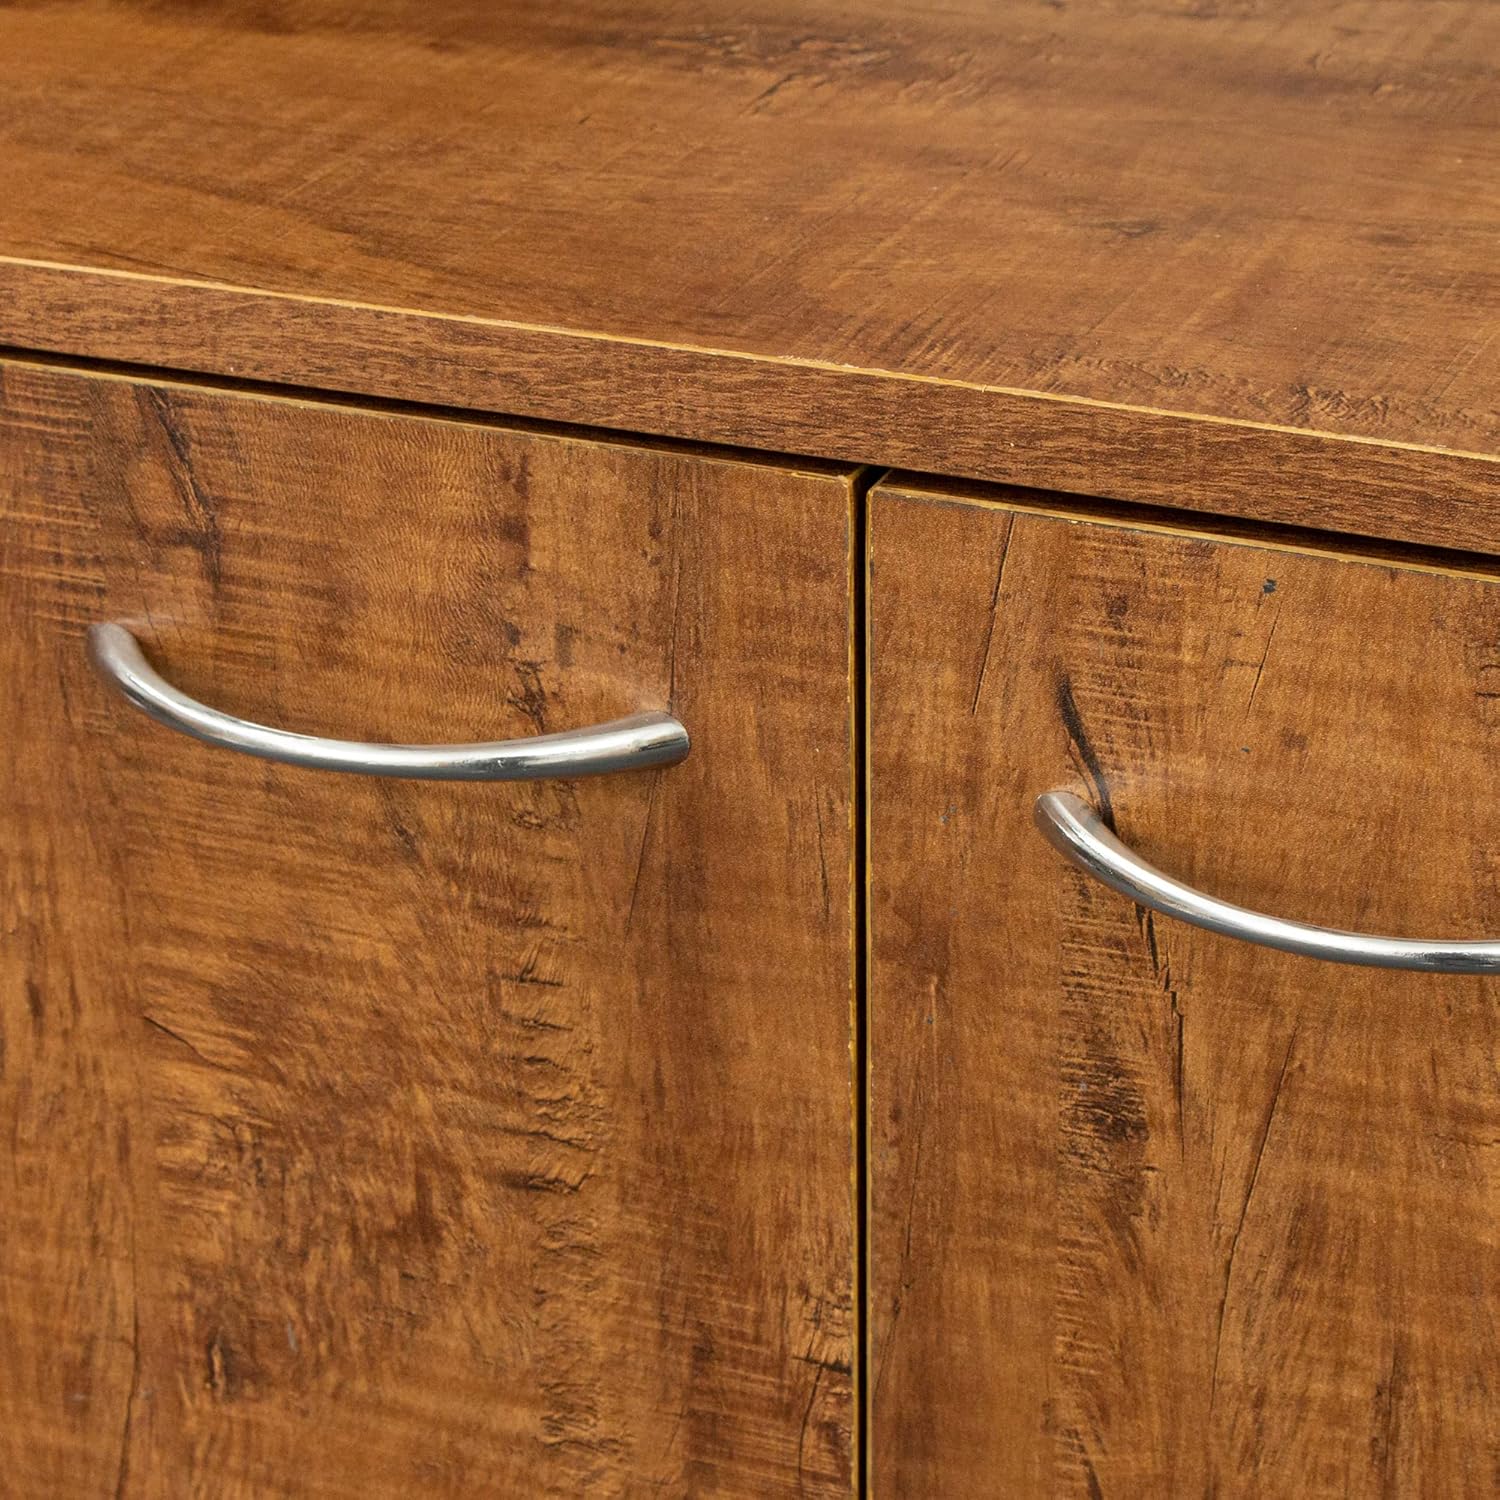
Image: A close-up of two adjacent cabinet doors, highlighting the textured walnut finish and the sleek, curved metal handles. This detail shows the aesthetic and functional hardware of the cabinet.
- Instalar estantes: Insert shelf pins into the desired holes within the cabinet sections. Place shelves onto the pins.

Image: A detailed shot of a clear plastic shelf pin, designed to support adjustable shelves, inserted into a pre-drilled hole on the interior side panel of the cabinet. This demonstrates the mechanism for shelf placement.
- Wall Anchoring (Highly Recommended): Locate a suitable wall stud. Using the provided wall anchor kit (if included) or a separate kit, secure the cabinet to the wall to prevent tipping.
- Inspección final: Ensure all parts are correctly assembled and tightened. Check for stability.
Instrucciones de funcionamiento
- Puertas: Gently open and close the cabinet doors using the handles. Avoid slamming to prevent damage to hinges and the cabinet structure.
- Cajón: Pull the drawer open and push it closed smoothly. Do not force the drawer if it feels stuck; check for obstructions.
- Estantes: The internal shelves are adjustable. To reposition, remove items, lift the shelf, remove the pins, reinsert pins into desired holes, and place the shelf back.
- Estantería abierta: Utilize the open shelf for frequently accessed items or decorative displays. Ensure items do not protrude excessively to avoid accidental knocking.
Mantenimiento
- Limpieza: Limpie las superficies con un paño suave yamp Paño. Evite limpiadores abrasivos o productos químicos fuertes, ya que pueden dañar el acabado. Seque inmediatamente con un paño limpio.
- Derrames: Limpie los derrames inmediatamente para evitar manchas o daños en la madera de ingeniería.
- Hardware: Periodically check all screws, bolts, and cam locks to ensure they remain tight. Re-tighten as needed.
- Luz del sol: Evite la exposición prolongada a la luz solar directa, que puede provocar decoloración o decoloración del acabado.
Solución de problemas
| Problema | Posible causa | Solución |
|---|---|---|
| El gabinete está tambaleante | Conexiones sueltas; suelo irregular | Tighten all screws and cam locks. Use shims under the base if the floor is uneven. Ensure wall anchoring is secure. |
| El cajón no se desliza suavemente | Obstruction; misaligned glides; loose screws | Check for items blocking the drawer. Ensure drawer glides are correctly installed and screws are tight. |
| Doors are misaligned | Bisagras no ajustadas correctamente; tornillos de bisagra sueltos | Adjust the screws on the hinges to align the doors. Refer to hinge adjustment instructions if available. Tighten all hinge screws. |
| Piezas faltantes | Error de embalaje | Do not assemble. Contact customer support with your parts list and purchase information. |
Presupuesto
- Marca: Genérico
- Modelo: B0F8B6R6D2
- Color: Nuez
- Dimensiones del producto: 39.37" de profundidad x 15.35" de ancho x 70.87" de alto
- Material: Madera de ingeniería
- Tipo de montaje: Floor Mount (Wall anchoring recommended)
- Requiere ensamblaje: Sí
- Peso: Aproximadamente 116.80 libras
Garantía y soporte
For warranty information or to report missing/damaged parts, please refer to the documentation included with your purchase or contact the seller directly. Keep your purchase receipt for warranty claims.
For further assistance, please reach out to the retailer or manufacturer's customer service department.