
1. Introducción
Welcome to the XTUGA F4A 4-Channel Audio Mixer. This manual provides essential information for setting up, operating, and maintaining your audio mixer. Please read it thoroughly to ensure optimal performance and longevity of your device.
2. Características principales
- Mezclador de 4 canales: Features 4 input channels for versatile audio mixing.
- Conectividad inalámbrica Bluetooth: Built-in Bluetooth for seamless audio streaming from compatible devices.
- 99 efectos DSP: Integrated Digital Signal Processor with 99 effects for enhanced audio customization.
- Igualdad: Includes 3-band equalization adjustment per channel and a 7-band stereo equalizer for precise tone control.
- PAD/HPF Functions: High Pass Filter (HPF) removes low-frequency interference below 80Hz. Pad (Constant Attenuation) button attenuates input signals by 26dB.
- Panorámica estéreo: Converts 4 mono modes to 2 stereo modes (e.g., channels 1/2 and 5/6).
- USB/PC/Phone Playback & Recording: Supports direct connection for audio playback and recording via USB to PC or phone.
- Poder fantasma: Alimentación phantom de +48 V para micrófonos de condensador.
3. Guía de configuración
3.1 Desembalaje e inspección inicial
Carefully remove all components from the packaging. Verify that all items listed in the product list are present and undamaged.

Image: XTUGA F4A Mixer and included accessories.
3.2 Conexión de alimentación
Connect the provided power adapter to the DC 12V input on the mixer and then to a suitable power outlet. Ensure the power switch is in the OFF position before connecting.
3.3 Conexiones de entrada de audio
Connect your microphones, instruments, or other audio sources to the appropriate input channels. The mixer supports XLR and 6.35mm (1/4 inch) inputs for microphones and line-level devices.

Image: Front panel of the XTUGA F4A mixer showing various inputs and controls.
3.3.1 Condenser Microphones (+48V Phantom Power)
For condenser microphones, activate the +48V phantom power by pressing the dedicated button for the respective channel. A red indicator light will confirm activation.
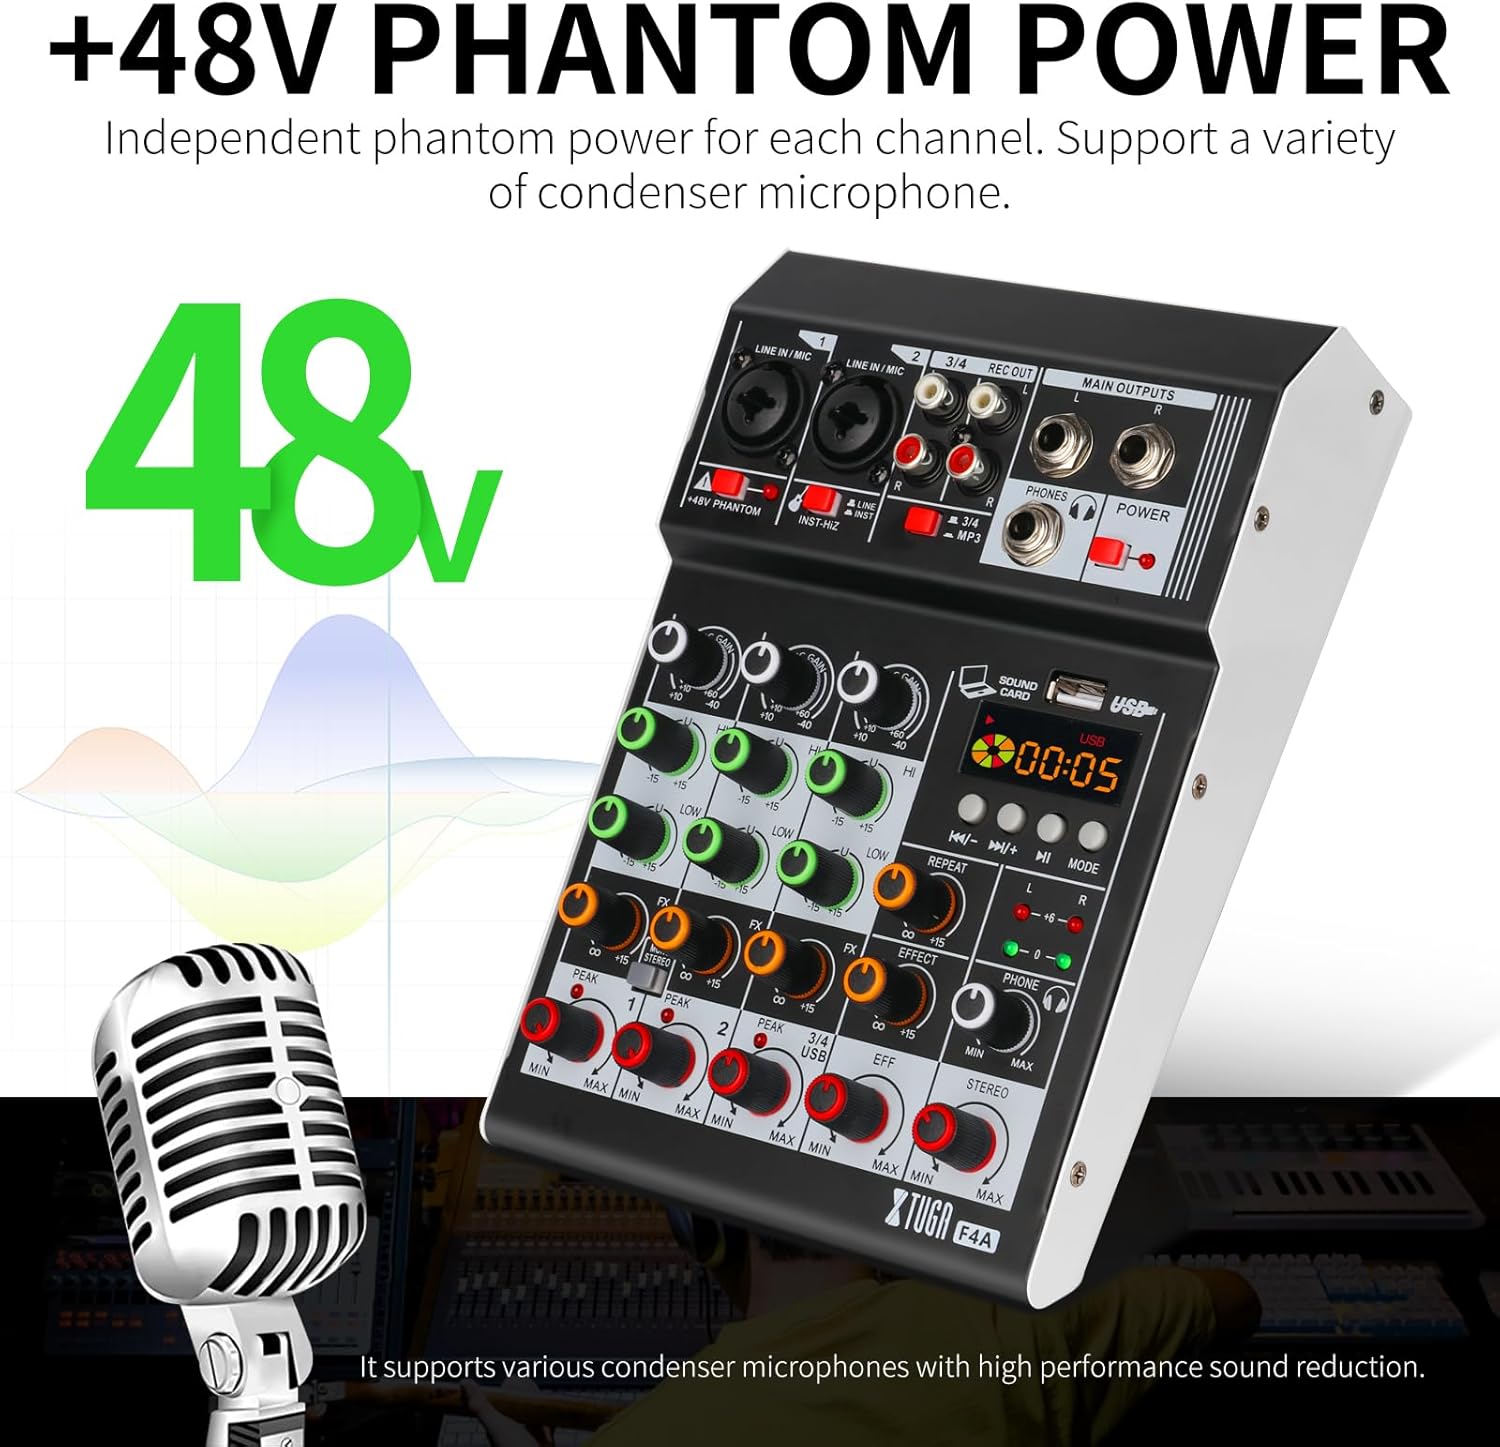
Image: Close-up of the XTUGA F4A mixer highlighting the +48V phantom power button for condenser microphones.
3.3.2 USB/PC/Phone Connection
Connect the mixer to a PC or phone using a USB cable for digital audio input and output. This allows for direct playback and recording.

Image: Diagram showing how to connect the XTUGA F4A mixer to a computer or USB device for playback and recording.
3.3.3 Emparejamiento Bluetooth
To connect via Bluetooth, activate the Bluetooth function on the mixer and search for 'BT-AUDIO' on your smart device. Pair the devices to stream audio wirelessly.

Image: The XTUGA F4A mixer connected wirelessly via Bluetooth to a smartphone.
3.4 Monitoreo de auriculares
Connect your headphones to the PHONES output for monitoring the mixed audio. Adjust the headphone level using the dedicated knob.
Video: Demonstrates the method for connecting and operating headphone monitoring with the mixer.
4. Instrucciones de funcionamiento
4.1 Controles de canales
Each channel features individual controls for GAIN, PAN, HIGH, MID, LOW, AUX, and EFF. Adjust these knobs to shape the sound of each input source.
4.1.1 PAD/HPF Functionality
Press the PAD button to attenuate the input signal by 26dB, useful for high-level sources. Activate the HPF (High Pass Filter) to remove unwanted low-frequency noise below 80Hz.
4.2 Ecualización (EQ)
Utilize the 3-band EQ on each channel for basic tone adjustments. The 7-band stereo graphic equalizer provides finer control over the overall mix frequency response.
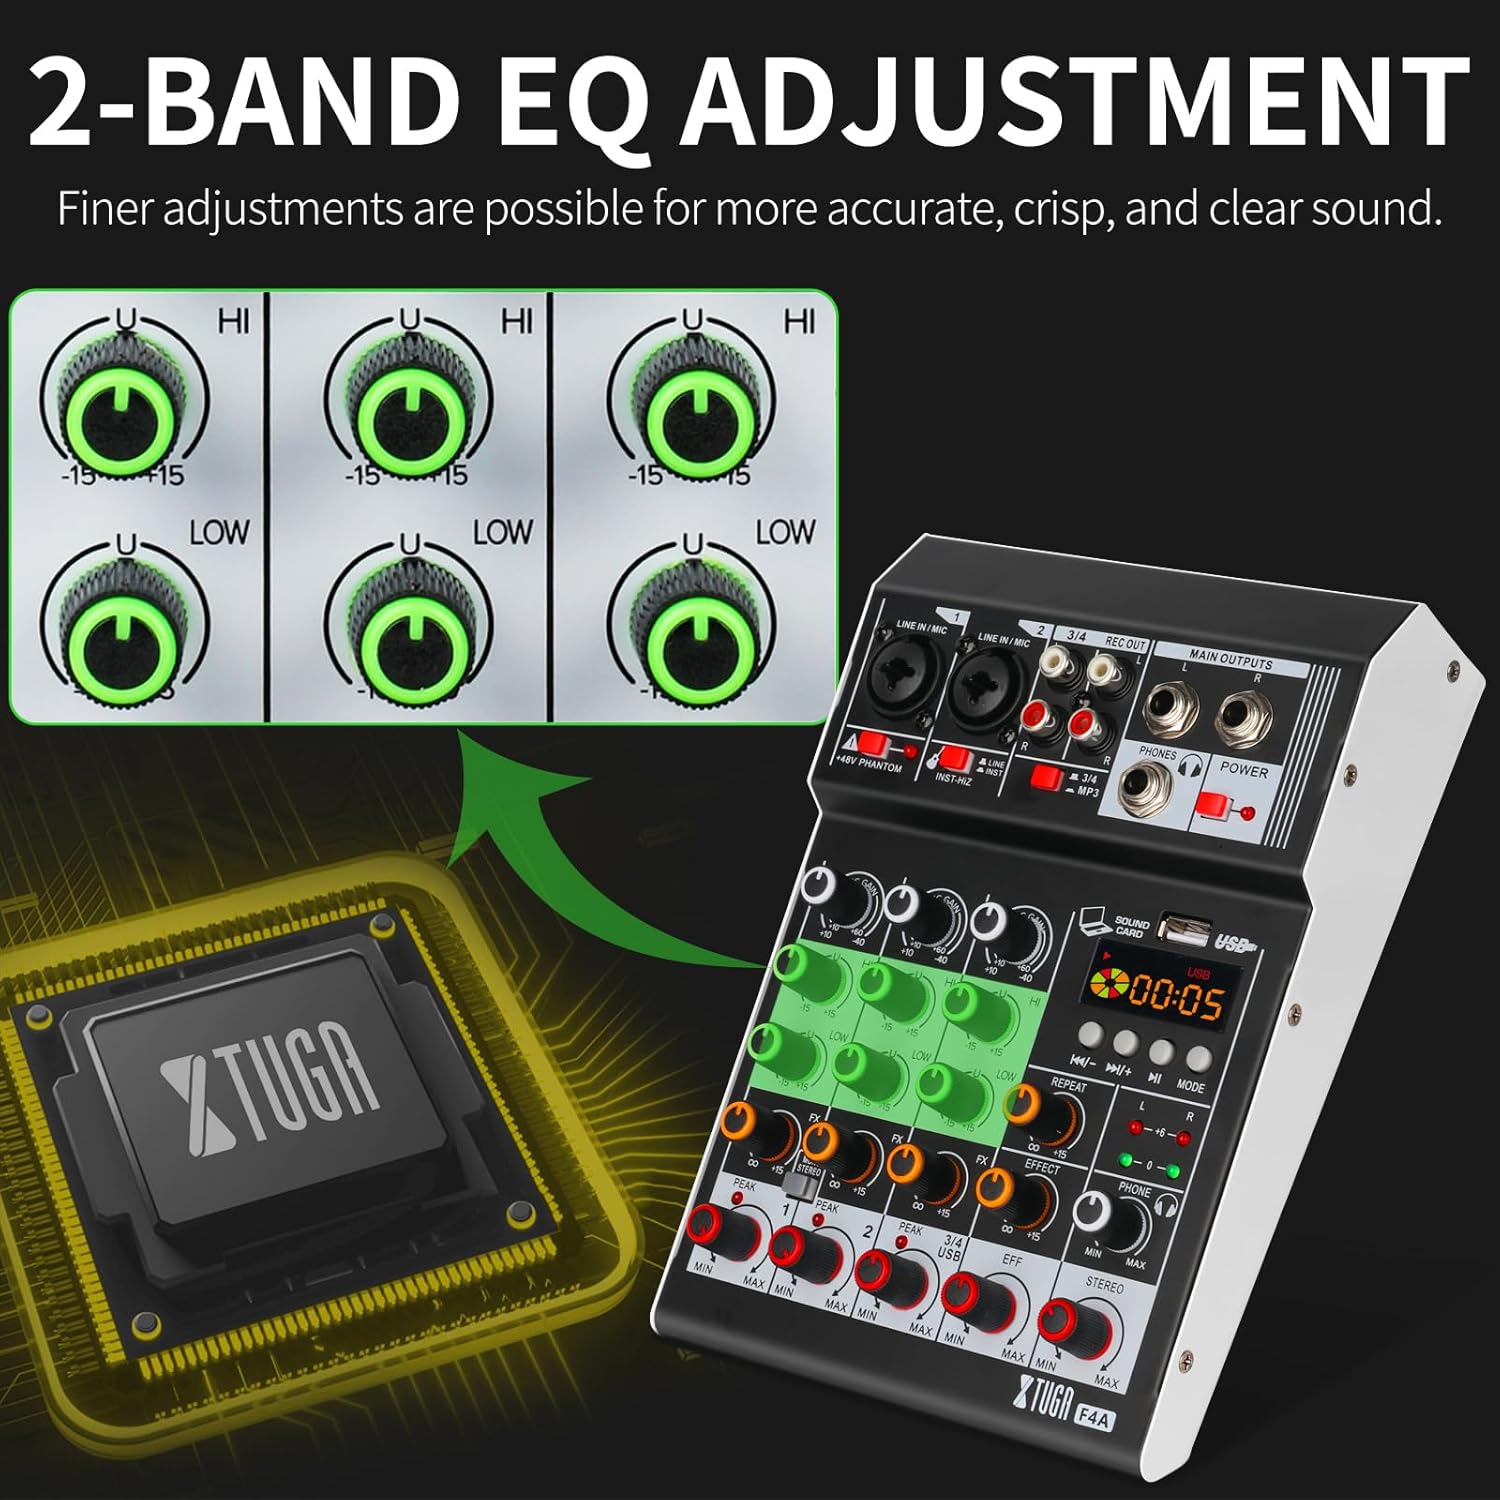
Image: Close-up of the XTUGA F4A mixer's 2-band EQ section, illustrating how to make finer adjustments for accurate sound.
4.3 efectos DSP
The built-in 99 DSP effects can be applied to individual channels or the main mix. Rotate the PROGRAM knob to select an effect and adjust its parameters as needed. This allows for diverse soundscapes suitable for various performance types.
Vídeo: Terminadoview of the professional audio mixer, demonstrating its features including the MP3 player functionality.
4.4 Reproducción USB/Bluetooth
When connected via USB or Bluetooth, use the dedicated controls on the mixer's media player section to play, pause, skip tracks, and adjust volume for the digital audio source.
5. Mantenimiento y cuidado
- Limpieza: Utilice un paño suave y seco para limpiar la superficie de la batidora. Evite limpiadores líquidos o materiales abrasivos.
- Almacenamiento: Guarde la batidora en un lugar fresco y seco, alejado de la luz solar directa y de temperaturas extremas.
- Manejo: Handle the mixer with care to prevent damage to knobs, faders, and ports.
6. Solución de problemas
6.1 No hay salida de sonido
- Asegúrese de que el mezclador esté encendido y que todos los cables estén conectados de forma segura.
- Check master volume faders and individual channel levels.
- Verifique que las fuentes de entrada estén activas y produzcan sonido.
6.2 Mala calidad de audio
- Compruebe la ganancia adecuadataging to avoid clipping (PEAK indicators).
- Ensure correct microphone type is used with or without phantom power.
- Inspeccione los cables para detectar daños o conexiones sueltas.
6.3 Problemas de conectividad Bluetooth
- Ensure the mixer's Bluetooth mode is active and discoverable.
- Verifique que el Bluetooth de su dispositivo esté habilitado y dentro del alcance.
- Forget and re-pair the device if connection is unstable.
7. Especificaciones técnicas
- Modelo: F4A
- Canales: 4
- Efectos DSP: 99
- Ecualizador: Ecualizador gráfico estéreo de 3 bandas por canal y 7 bandas
- Conectividad: Bluetooth, USB, XLR, 6.35mm (1/4 inch)
- Poder fantasma: +48 V
- Peso del artículo: 23 libras
- Dimensiones del paquete: 11 x 7.3 x 4 pulgadas
8. Información de garantía
This product is covered by the manufacturer's standard warranty. Please refer to the warranty card included in your product packaging or visit the XTUGA official websitio para conocer los términos y condiciones detallados.
9. Atención al cliente
For further assistance, technical support, or service inquiries, please contact XTUGA customer support through the contact information provided on the official websitio web o en la documentación de su producto.