1. Introducción
This manual provides essential information for the safe and efficient operation of your Anern 4200W Hybrid Solar Inverter. Please read this manual thoroughly before installation and use. Keep it for future reference.
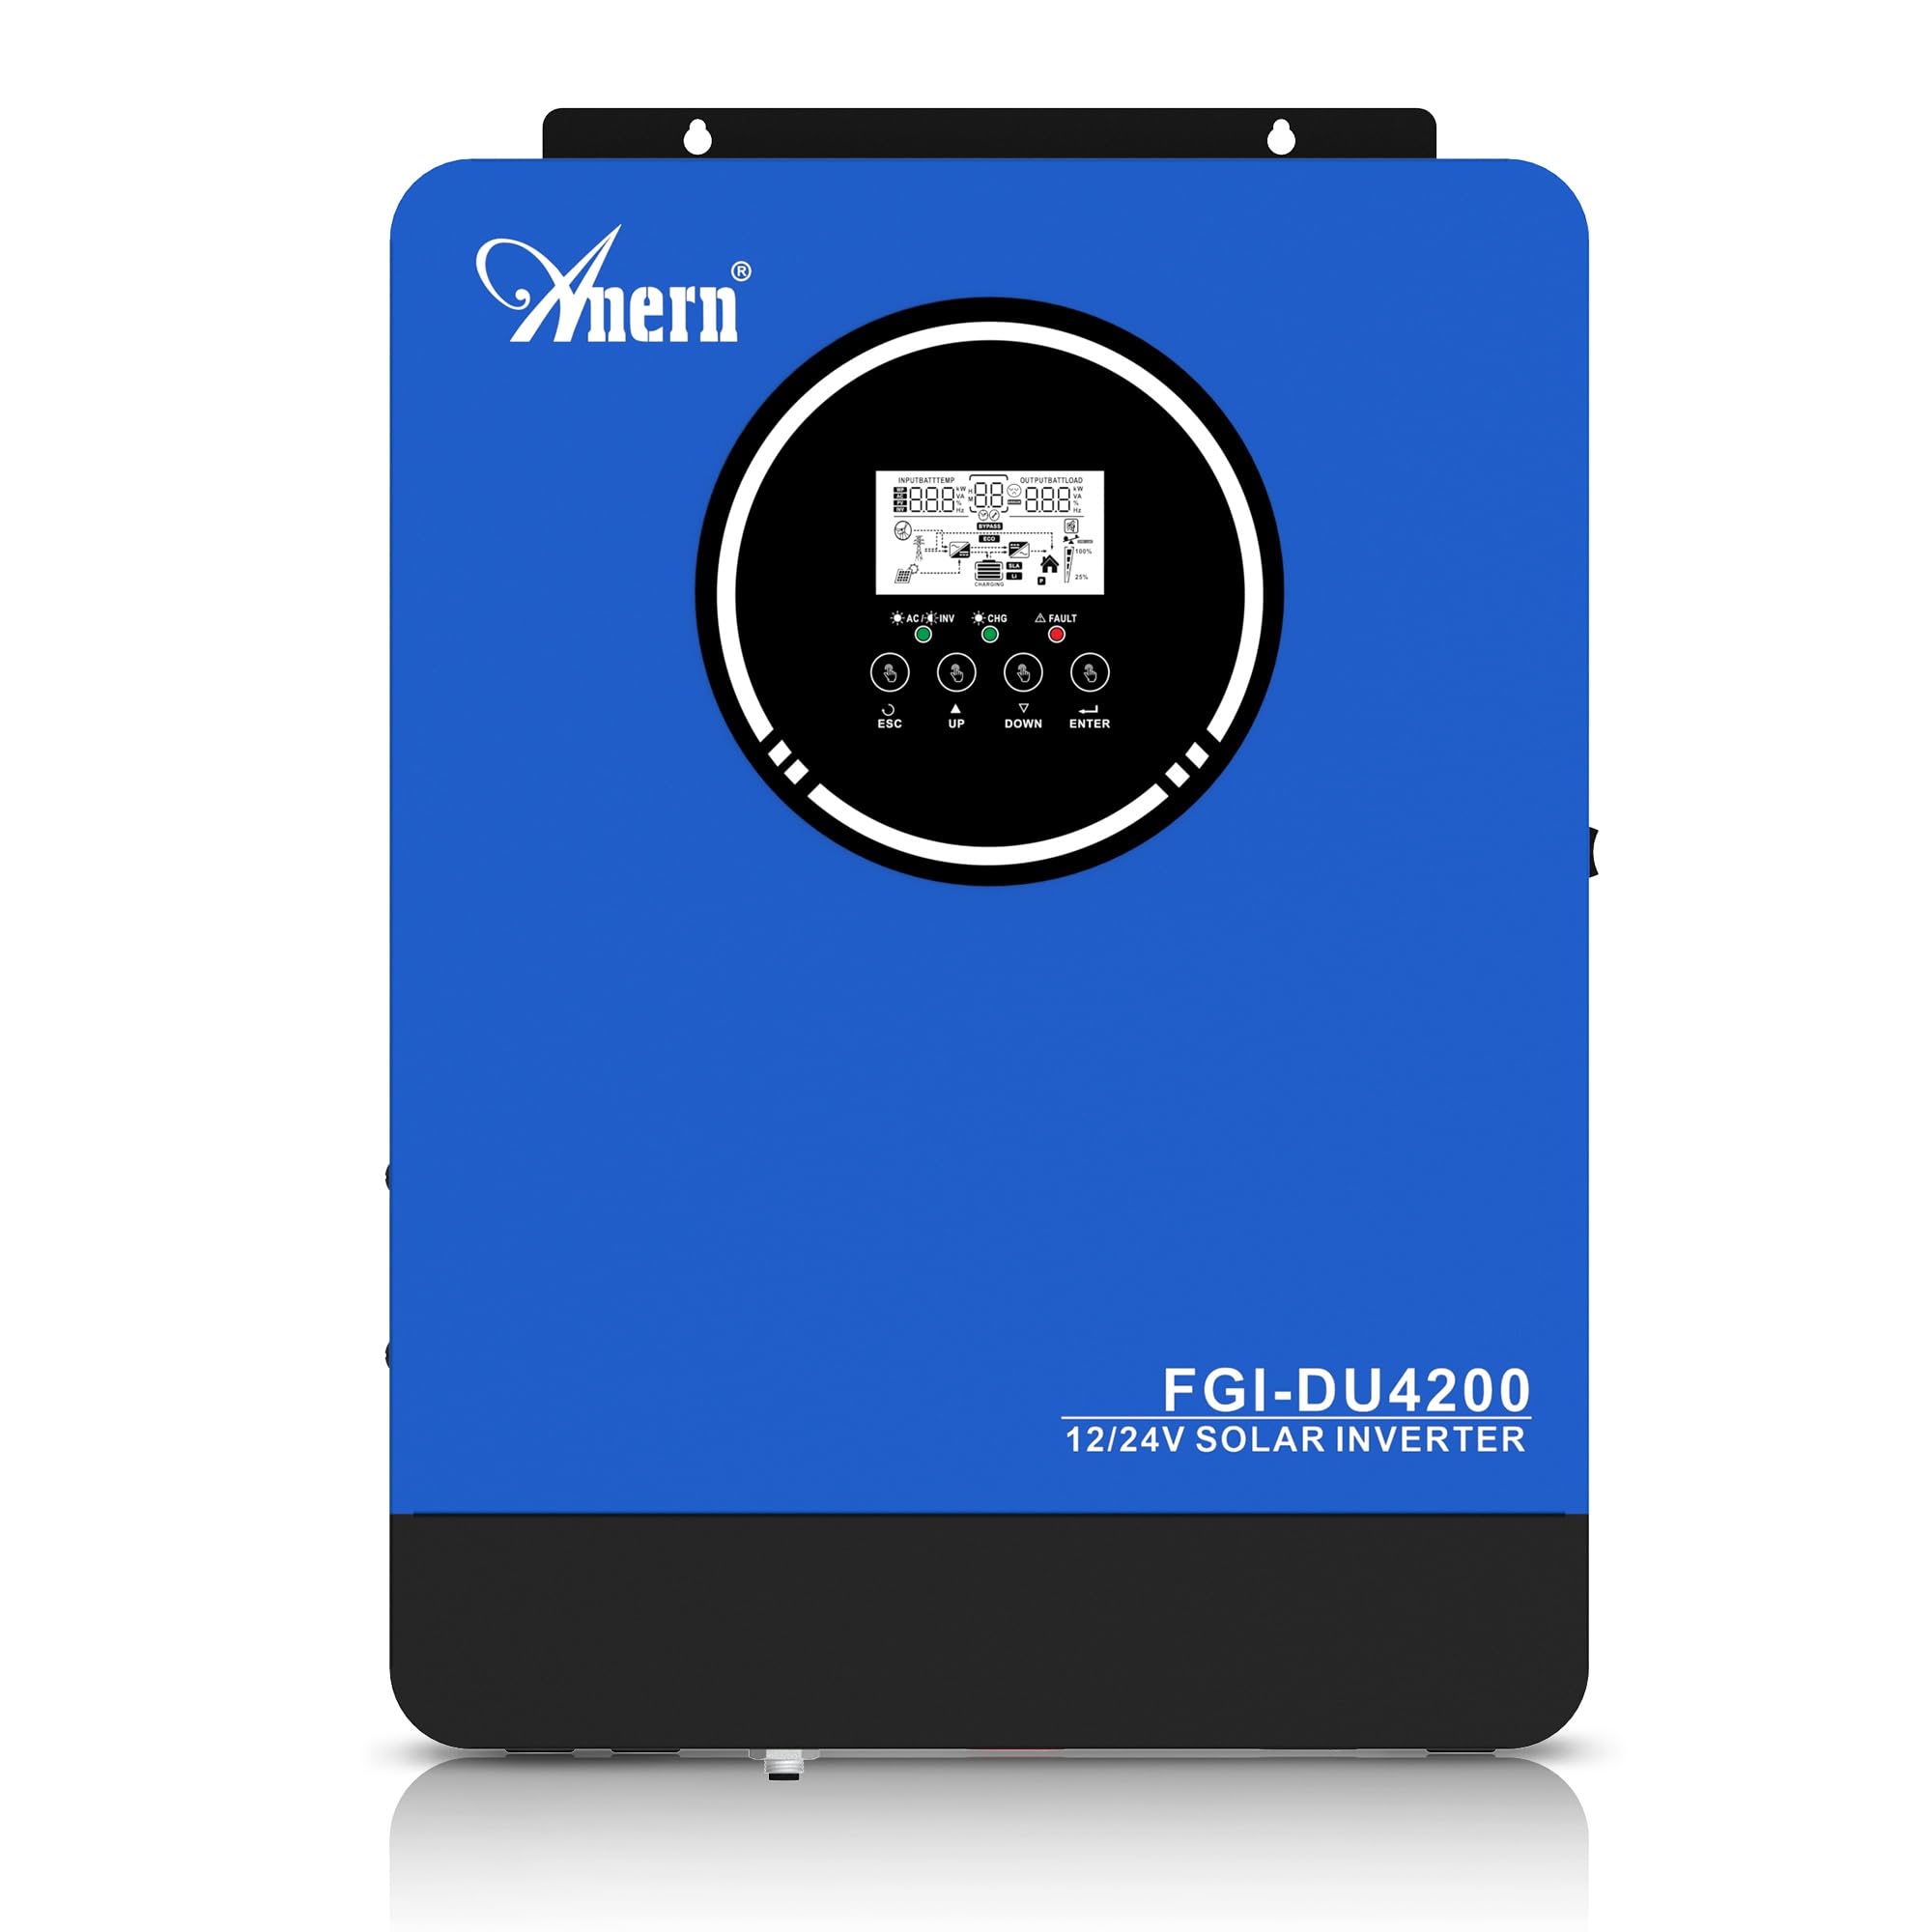
Figure 1: Anern 4200W Hybrid Solar Inverter. This image displays the main unit of the inverter, highlighting its key specifications such as 100A AC charging current, 4200W rated output power, and 500 VDC maximum PV array voltage.
2. Instrucciones de seguridad
Observe siempre las siguientes precauciones de seguridad para reducir el riesgo de descarga eléctrica, incendio o lesiones:
- La instalación debe ser realizada por personal calificado.
- Ensure all wiring is correctly connected and equipped with appropriate protective switches.
- No desmonte el inversor. No contiene piezas que puedan ser reparadas por el usuario.
- Evite exponer el inversor a la lluvia, nieve, rocío o cualquier líquido.
- Asegúrese de que haya una ventilación adecuada alrededor del inversor para evitar el sobrecalentamiento.
- Desconecte todas las fuentes de energía (fotovoltaica, batería, red pública) antes de realizar cualquier mantenimiento o cableado.
3. Producto terminadoview
The Anern 4200W Hybrid Solar Inverter is designed to convert DC power from solar panels and batteries into AC power for household use. It features an integrated 100A MPPT solar charge controller and supports both 12V and 24V battery systems with automatic detection.
Características principales:
- Salida de onda sinusoidal pura de 4200 W: Proporciona energía estable y limpia para dispositivos electrónicos sensibles.
- Controlador de carga solar MPPT de 100 A: Maximiza la cosecha de energía de los paneles solares.
- 12V/24V Battery Auto-Detection: Automatically adjusts output based on connected battery voltage.
- Interfaz BMS: Supports communication with lithium batteries for enhanced monitoring and protection.
- Real-time LED Display: Shows system status, operating data, and error codes.
- Configurable Charging & Output Modes: Offers flexibility for various application needs.
- Optional WiFi/GPRS Monitoring: Remote monitoring capability (module sold separately).

Figure 2: Inverter Display and Controls. This image illustrates the inverter's LCD display, function buttons for configuration, and the optional WiFi module for remote monitoring.
4. Configuración e instalación
4.1 Diagrama de cableado
Refer to the electrical schematic for proper system wiring. Ensure all connections are secure and correctly polarized.

Figure 3: Electrical Schematic. This diagram shows the complete wiring for a solar inverter system, including solar panels, combiner box, DC/AC breakers, inverter, utility grid connection, and loads.
4.2 Conexión de la batería
The inverter supports 12V and 24V battery configurations. It automatically detects the battery voltage and adjusts its output accordingly (2300W for 12V, 4200W for 24V). For 24V systems, connect two 12V batteries in series. For 12V systems, connect batteries in parallel if increasincapacidad g.

Figure 4: Battery Connection Options. This image illustrates how to connect batteries for 12V (parallel connection for 2300W output) and 24V (series connection for 4200W output) systems.
The inverter also supports lithium batteries and includes a BMS (Battery Management System) interface for monitoring and protection. Ensure the BMS is properly connected if using lithium batteries.

Figure 5: Communication Interfaces. This image highlights the dual communication interfaces for BMS (Battery Management System) and optional WiFi module, enabling remote monitoring and battery communication.
4.3 Startup and Shutdown Sequence
Secuencia de inicio:
- Conecte la batería.
- Encienda el inversor.
- Activate the protective switches for PV, Utility, and Loads.
Secuencia de apagado:
- Deactivate the protective switches for Loads, Utility, and PV.
- Apague el inversor.
- Desconecte la batería.
Important Note: Inductive loads (e.g., motors, refrigerators) may require up to 3 times their rated power for startup. Ensure the inverter's capacity is sufficient to handle these surge loads. Exceeding the inverter's surge capacity can cause damage.
5. Operación
5.1 Pantalla LCD y configuraciones
The inverter features an LED display that provides real-time system data and operating status. Use the function buttons below the display to navigate menus and configure settings. Settings include battery charging current, AC/solar charging priority, and charging current priority.
5.2 modos de carga
El inversor ofrece cuatro modos de carga configurables:
- Prioridad solar: Se prioriza la energía solar para la carga.
- Solo solares: Para la carga se utiliza únicamente energía solar.
- Prioridad de utilidad: Utility grid power is prioritized for charging.
- Solar + Utility Hybrid: Combina energía solar y de servicios públicos para cargar.
5.3 modos de salida
Three output modes are available to adapt to various application needs:
- Prioridad Solar (SUB): Solar power is prioritized for loads.
- Prioridad de utilidad (USB): Utility grid power is prioritized for loads.
- Unidad de negocio especial: Solar, Battery, Utility priority.

Figure 6: Charging and Output Modes. This diagram visually explains the four available charging modes (Solar Charge, Utility Priority, Solar Priority, Hybrid Charge) and three load output modes (PV Priority, Utility Priority, SBU Priority).
5.4 Monitoreo Remoto
The inverter supports remote monitoring via an optional WiFi/GPRS module (sold separately). This allows users to monitor system performance and status from a distance.
6. Mantenimiento
El mantenimiento regular garantiza un rendimiento óptimo y la longevidad de su inversor:
- Mantenga el inversor limpio y sin polvo. Utilice un paño seco para limpiarlo.
- Asegúrese de que las aberturas de ventilación no estén bloqueadas.
- Revise periódicamente todas las conexiones del cableado para comprobar que estén bien ajustadas y que no presenten signos de corrosión.
- Monitor the battery status, especially if using lithium batteries with the BMS interface, to prevent overcharge or deep discharge.
- Inspect solar panels for dirt or damage that could reduce efficiency.
7. Solución de problemas
The LED display will show error codes if issues arise. Refer to the inverter's display for specific error codes to diagnose and resolve problems. Common issues and their potential solutions include:
- Sin salida de potencia: Check battery connections, DC/AC breakers, and inverter power switch.
- Vol de batería bajatage: Ensure batteries are adequately charged. Check charging sources (solar, utility).
- Advertencia de sobrecarga: Reduce the connected load. Inductive loads may cause temporary overloads during startup.
- Calentamiento excesivo: Ensure proper ventilation. Clean any dust from the inverter's vents.
- PV Input Error: Verifique las conexiones y el volumen del panel solar.tage. Ensure PV array voltage está dentro del rango especificado (55-500 V CC).
For persistent issues or error codes not listed, contact customer support.
8. Especificaciones técnicas
| Característica | Especificación |
|---|---|
| Marca | Anern |
| Número de modelo | AN-FGI-DU 4200 |
| Energía eléctrica | 4200 vatios |
| Potencia de salida | 4500 vatios |
| Max. Output Power (Watts) | 4200 |
| Forma de onda de salida | De onda sinusoidal pura |
| Fuente de poder | Con energía solar, con pilas |
| Usos recomendados del producto | Hogar |
| Componentes incluidos | Manual de instrucciones |
| Cumplimiento | CE |
| Dimensiones del producto | 30 x 10 x 40 cm; 8.86 kg |
9. Garantía y soporte
For warranty information and technical support, please refer to the documentation provided with your purchase or contact Anern customer service. Keep your purchase receipt as proof of purchase.