1. Introducción
Thank you for choosing the OSRAM LEDSTIXX USB Light Stick. This manual provides essential information for the safe and efficient use of your new light stick. Please read these instructions carefully before installation and operation, and retain them for future reference.
The OSRAM LEDSTIXX is a versatile, rechargeable LED light stick designed for flexible illumination in various indoor environments. It features a durable aluminum body, 3-level dimming, and a rotatable design for optimal light positioning.
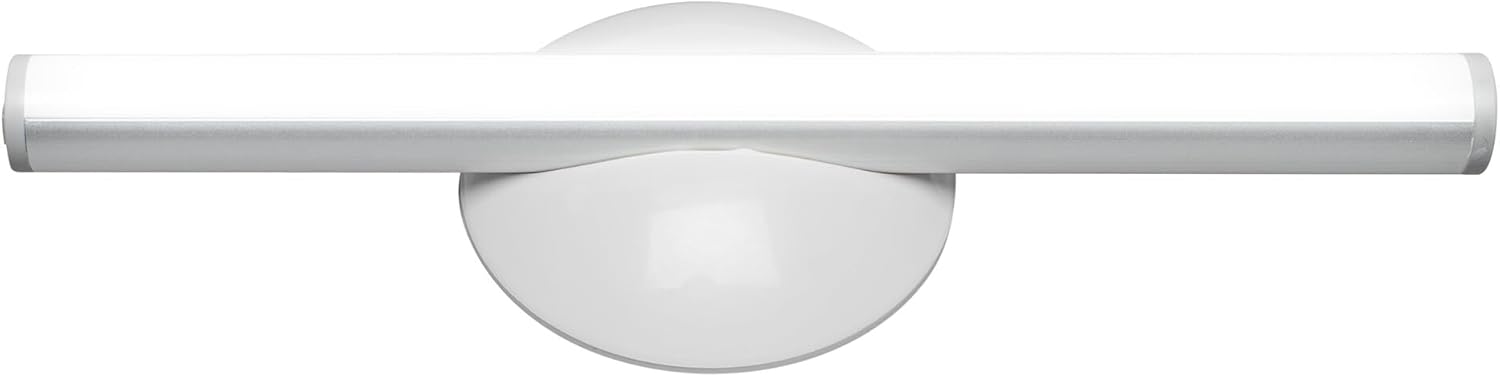
Imagen 1.1: Frente view of the OSRAM LEDSTIXX USB Light Stick.
2. Información de seguridad
- Este producto está destinado únicamente para uso en interiores.
- No exponga el dispositivo a temperaturas extremas, luz solar directa o humedad alta.
- Do not attempt to open, modify, or repair the device. This may void the warranty and pose a safety risk.
- Mantener fuera del alcance de los niños.
- Utilice únicamente el cable USB proporcionado o un equivalente certificado para cargar.
- Asegúrese de que la superficie de montaje esté limpia y seca antes de la instalación.
3. Contenido del paquete
Verifique que todos los artículos estén presentes en el paquete:
- 1x OSRAM LEDSTIXX USB Light Stick (Silver)
- Installation accessories (mounting bracket, adhesive pads)
- Cable de carga USB
- Manual de usuario
4. Configuración e instalación
The LEDSTIXX offers flexible mounting options. Follow these steps for installation:
- Elija una ubicación: Select a clean, dry, and flat surface for mounting. Common applications include under cabinets, inside wardrobes, or near mirrors.
- Prepare la superficie: Clean the chosen surface thoroughly to ensure optimal adhesion of the mounting bracket.
- Coloque el soporte de montaje: Peel the protective film from the adhesive pad on the back of the mounting bracket. Firmly press the bracket onto the desired surface for at least 30 seconds. Allow the adhesive to set for a few hours before attaching the light stick.
- Attach the Light Stick: The LEDSTIXX light stick attaches magnetically to the mounting bracket. Simply place the light stick onto the bracket. It can be rotated and oriented as needed.
- Cargando: Before first use, fully charge the light stick using the provided USB cable. Connect the USB cable to the charging port on the light stick and to a standard USB power source (e.g., computer, USB wall adapter). The charging indicator will show the charging status.
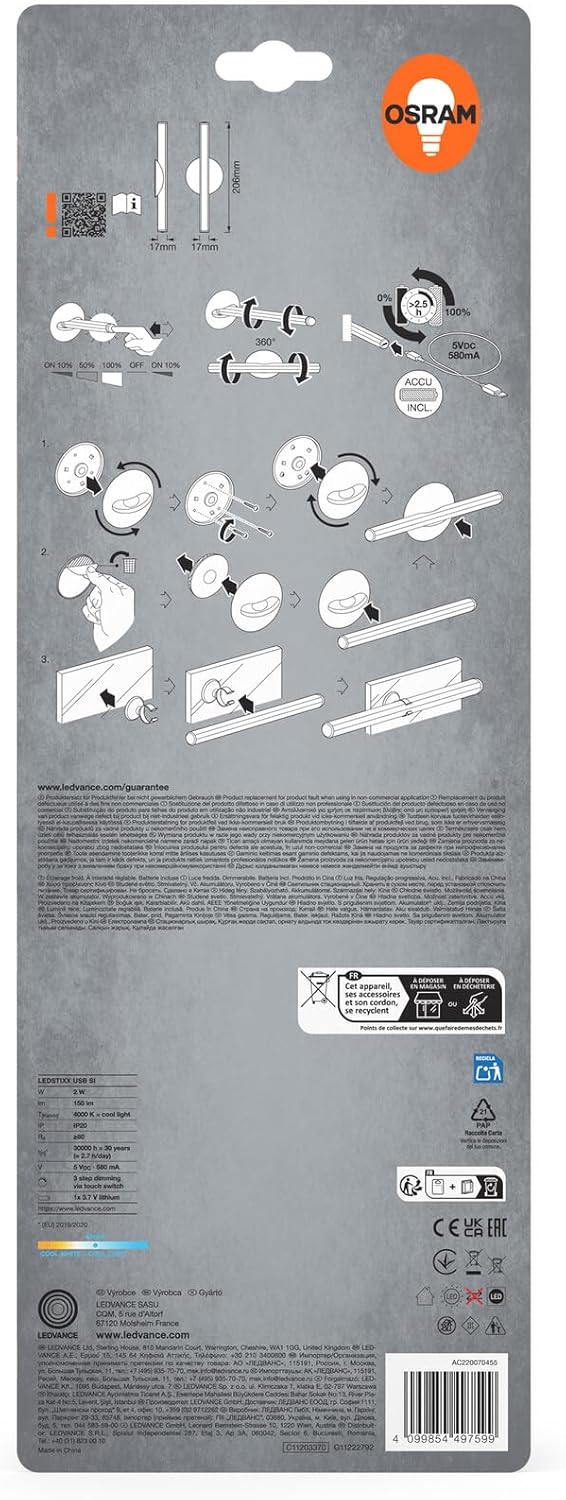
Image 4.1: Visual guide for installing the OSRAM LEDSTIXX using the adhesive mounting bracket.
5. Operación
The OSRAM LEDSTIXX features simple touch control for power and dimming.
- Encendido/apagado: Briefly touch the control area on the light stick to turn it on or off.
- Atenuación: The light stick has 3 dimming levels. After turning it on, repeatedly touch the control area to cycle through the brightness levels (e.g., 100% > 50% > 25% > Off).
- Indicador de carga: A small LED indicator will show the charging status. Typically, red indicates charging and green indicates fully charged.
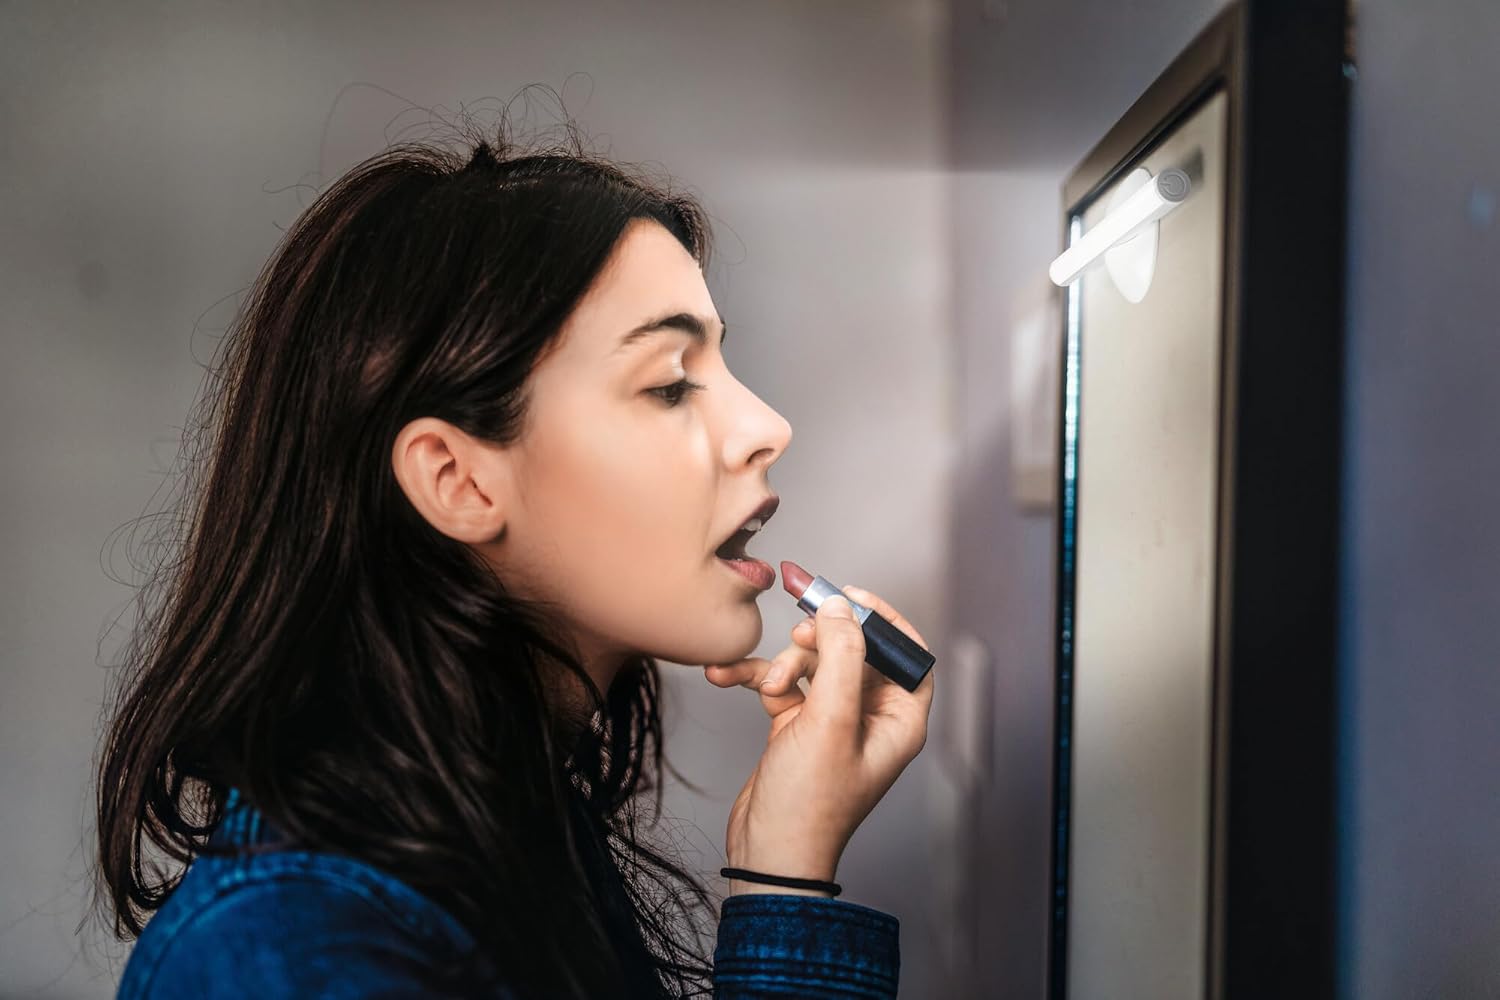
Image 5.1: The LEDSTIXX providing neutral white light for tasks such as applying makeup.
6. Mantenimiento
- Limpieza: Wipe the light stick with a soft, dry cloth. Do not use abrasive cleaners or solvents.
- Cuidado de la batería: Para prolongar la vida útil de la batería, evite descargarla por completo con frecuencia. Recargue el dispositivo regularmente, especialmente si no lo usará durante un período prolongado.
- Almacenamiento: Store the light stick in a cool, dry place when not in use.
7. Solución de problemas
| Problema | Posible causa | Solución |
|---|---|---|
| La luz no se enciende. | La batería está descargada. | Charge the light stick using the USB cable. |
| La luz es tenue o parpadea. | Batería baja. | Recharge the light stick. |
| Light stick does not adhere to surface. | Surface is dirty or uneven. Adhesive not fully set. | Clean the surface thoroughly. Allow adhesive to set for several hours before attaching the light stick. |
| Cannot change brightness levels. | Operación incorrecta. | Ensure you are briefly touching the control area repeatedly to cycle through the 3 dimming levels. |
8. Especificaciones
| Característica | Detalle |
|---|---|
| Marca | OSRAM |
| Nombre del modelo | LEDstixx USB Silver |
| Número de modelo | 4099854497599 |
| Material | Aluminio |
| Color | Plata |
| Fuente de luz | LED integrado |
| Flujo luminoso | 150 lúmenes |
| Temperatura de color | 4000 Kelvin (blanco neutro) |
| Quétage | 2 vatios |
| Volumentage | 5 Volt (USB) |
| Fuente de poder | Battery powered (Rechargeable Lithium Battery) |
| Atenuación | 3 niveles |
| Resistencia al agua | Resistente al agua (IP44) |
| Dimensiones (L x An x Al) | 20.6 cm x 1.7 cm x 1.7 cm |
| Peso del producto | 85 gramos |
| Etiqueta de eficiencia energética de la UE | G (View EPREL) |
| País natal | Porcelana |

Image 8.1: Dimensional drawing of the OSRAM LEDSTIXX, showing its length of 206mm and width of 17mm.
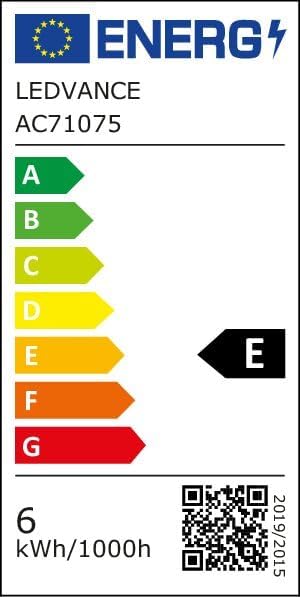
Image 8.2: EU Energy Efficiency Label for the LEDSTIXX, indicating class G and 6 kWh/1000h consumption.
9. Garantía y soporte
OSRAM products are manufactured to high-quality standards. For warranty information and customer support, please refer to the official OSRAM webSitio web o contacte a su distribuidor local. Conserve su comprobante de compra para cualquier reclamación de garantía.