
1. Producto terminadoview
The Alphacool Core RX 9070 XT TUF + Prime GPU Water Block is designed for the latest AMD Radeon RX generation graphics cards. This water block is part of the Core product series, offering high-quality construction and optimized cooling performance. It features a copper cooler milled from a single piece, a brass connection terminal with a nylon cover, and chrome plating for durability. The integrated acrylic top allows for impressive aRGB lighting. The design includes an optimized cooler base and nozzle for efficient heat transfer.
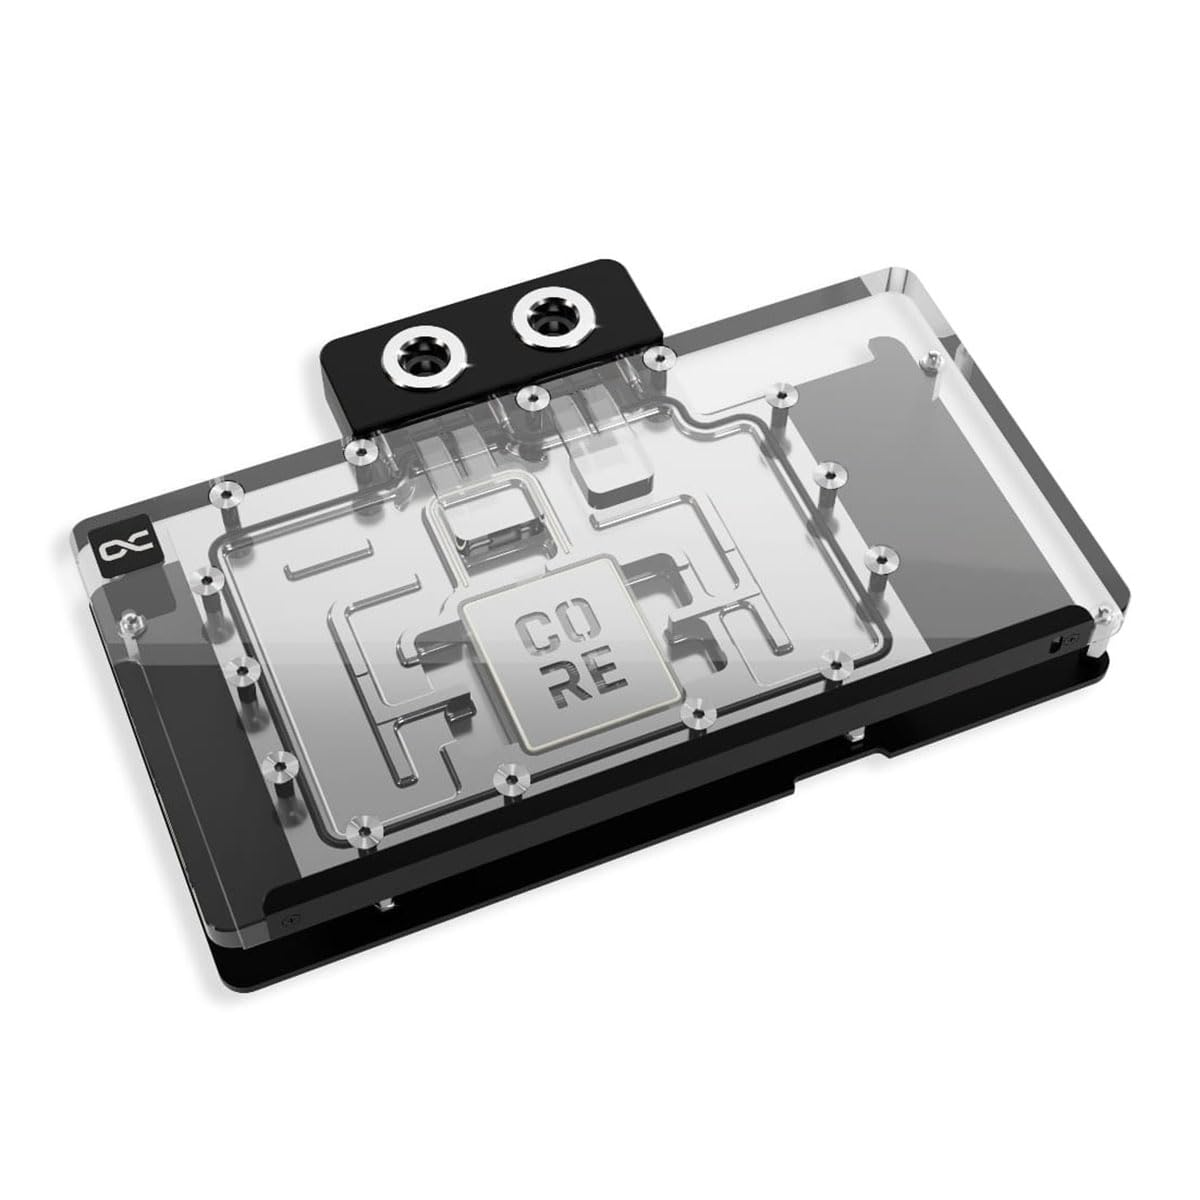
Figure 1: Alphacool Core RX 9070 XT TUF + Prime GPU Water Block with Backplate, showing the overall design and clear acrylic top.
2. ¿Qué hay en la caja?
Verifique que todos los componentes estén presentes antes de comenzar la instalación.
- 1x GPU Water Block
- 1 placa trasera.
- Tornillos de montaje y arandelas
- Almohadillas Térmicas
- Pasta térmica
- RGB Connection Cable (if applicable)
3. Configuración e instalación
This section provides detailed instructions for installing your Alphacool Core GPU Water Block. Ensure your system is powered off and disconnected from the mains before proceeding. It is recommended to consult your graphics card's manual for disassembly instructions.
3.1 Preparación
- Reunir herramientas: You will need a small Phillips head screwdriver, isopropyl alcohol, and lint-free cloths.
- Disassemble GPU: Carefully remove the stock cooler from your graphics card. This typically involves unscrewing the mounting screws around the GPU core and removing any fan headers or RGB cables.
- Clean GPU: Use isopropyl alcohol and a lint-free cloth to thoroughly clean the GPU die and memory modules, removing all traces of old thermal paste and thermal pads.
3.2 Aplicación de materiales térmicos
Proper application of thermal paste and pads is critical for optimal cooling performance.

Figure 2: The copper cooler base of the water block, where thermal paste and pads are applied.
- Aplicar pasta térmica: Apply a small amount of thermal paste (pea-sized dot or thin line) to the center of the GPU die. Do not spread it manually; the pressure from the water block will distribute it evenly.
- Aplicar almohadillas térmicas: Cut the provided thermal pads to the correct sizes according to the instruction diagram (usually included with the product, or refer to Alphacool's website for a specific model diagram). Carefully place them on the memory modules and VRM components on the graphics card PCB. Ensure good contact and no air bubbles.
3.3 Montaje del bloque de agua

Figure 3: Underside of the water block showing mounting holes for secure attachment to the GPU PCB.
- Position Water Block: Carefully align the water block with the mounting holes on the graphics card PCB. Lower the block straight down onto the GPU, ensuring the thermal paste and pads make proper contact.
- Bloque de agua seguro: Insert the provided mounting screws through the back of the PCB and into the water block. Tighten them in a diagonal pattern (e.g., top-left, bottom-right, top-right, bottom-left) until snug. Do not overtighten.
3.4 Installing the Backplate
The backplate provides structural support and additional cooling for the rear of the PCB.

Figure 4: The aluminum backplate, designed to cover the entire back of the GPU PCB.
- Apply Backplate Thermal Pads: If included, apply thermal pads to the designated areas on the backplate to make contact with the rear of the PCB components.
- Placa posterior de montaje: Align the backplate with the mounting holes on the rear of the graphics card. Secure it with the remaining screws, tightening them evenly.
3.5 Connecting to the Cooling Loop

Figura 5: Arriba view of the water block, highlighting the G1/4 inch connection ports for liquid cooling.
- Instalar accesorios: Screw G1/4 inch fittings (not included) into the inlet and outlet ports of the water block. Ensure they are hand-tightened securely.
- Conecte la tubería: Connect your liquid cooling tubing to the installed fittings, ensuring a secure and leak-free connection.
- Connect RGB (Optional): If your water block includes aRGB lighting, connect the provided RGB cable to a compatible 3-pin 5V aRGB header on your motherboard or a dedicated RGB controller.

Figura 6: Example of the integrated aRGB lighting in the water block.
4. Instrucciones de funcionamiento
- Prueba de fugas: Before powering on your computer, perform a thorough leak test of your entire liquid cooling loop. It is highly recommended to use an air pressure tester for at least 15-30 minutes. Alternatively, fill the loop with coolant and run the pump for several hours with the system powered off, checking for any leaks.
- Puesta en marcha inicial: Once leak testing is complete and no leaks are detected, power on your system. Monitor coolant temperatures and GPU temperatures using appropriate software.
- Escucha: Regularly monitor your system's temperatures to ensure optimal performance. High temperatures may indicate issues with coolant flow, air bubbles, or insufficient thermal contact.
5. Mantenimiento
- Reemplazo de refrigerante: It is recommended to replace the coolant in your loop every 6-12 months, depending on the coolant type and usage.
- Limpieza del sistema: Periodically inspect your water block and other loop components for any signs of buildup or corrosion. If necessary, disassemble and clean with distilled water and a soft brush.
- Eliminación de polvo: Keep your system's radiators and fans clean from dust to maintain efficient heat dissipation.
6. Solución de problemas
| Problema | Posible causa | Solución |
|---|---|---|
| High GPU Temperatures |
|
|
| Fuga de refrigerante |
|
|
| La iluminación RGB no funciona |
|
|
7. Especificaciones
- Modelo: 14779
- Dimensiones del producto (L x An x Al): 220.00 x 144.50 x 33.07 mm (8.66" de largo x 5.69" de ancho x 1.3" de alto)
- Método de enfriamiento: Agua
- Material: Copper (cooler), Brass (connection terminal), Nylon (cover), Aluminum (backplate), Acrylic (top)
- Tipo de conector: G1/4 inch threads for fittings
- Color: Addressable RGB (3-Pin 5V)
- Peso del artículo: Aproximadamente 1.81 kg (4 libras)
8. Compatibilidad
This water block is compatible with the following graphics card models:
- Asus Prime Radeon RX 9070 OC Edition 16GB GDDR6
- Asus TUF Gaming Radeon RX 9070 OC Edition 16GB GDDR6
- Asus Prime Radeon RX 9070 XT OC Edition 16GB GDDR6
- Asus TUF Gaming Radeon RX 9070 XT OC Edition 16GB GDDR6
Always verify your specific graphics card model against the compatibility list before purchase and installation.
9. Garantía y soporte
Alphacool products are manufactured to high standards and come with a manufacturer's warranty. For specific warranty terms and conditions, please refer to the official Alphacool websitio o comuníquese con su servicio de atención al cliente.
For technical assistance, troubleshooting, or warranty claims, please visit the Alphacool support portal or contact their customer service department.
- Oficial Websitio: www.alfacool.com
- Apoyo: Consulte la sección de soporte en el sitio oficial. websitio.