
1. Introducción
The SilverStone CS383 is a high-performance full tower chassis designed for Network Attached Storage (NAS) and workstation applications. It supports a wide range of components, including SSI-EEB motherboards, multiple storage drives, and advanced cooling solutions. This manual provides detailed instructions for the assembly, operation, and maintenance of your CS383 chassis.

Figura 1.1: Frente view of the SilverStone CS383 chassis with the door open, showing the hot-swappable drive bays.
Características principales:
- Supports motherboards up to E-ATX / SSI-EEB form factors.
- Includes 8 hot-swappable 3.5" or 2.5" drive trays with support for SAS-12G / SATA-6G drives.
- Features 8 expansion slots, accommodating GPUs or adapter cards up to 340mm in length.
- Supports liquid cooling radiators up to 420mm or air coolers up to 186mm tall.
- Capable of housing dual power supplies or up to 4 additional 5.25" drive bay devices.
2. Configuración del sistema
2.1 Preparación del chasis
Before installing components, ensure the chassis is placed on a stable, flat surface. Remove the side panels by unscrewing the thumbscrews at the rear and sliding the panels backward.

Figura 2.1: Lado view of the CS383 chassis.
2.2 Instalación de la placa base
- Install the necessary motherboard standoffs into the chassis tray according to your motherboard's form factor (SSI-EEB, SSI-CEB, E-ATX, ATX, Micro-ATX, Mini-ITX).
- Coloque con cuidado la placa base sobre los separadores, alineando los orificios de los tornillos.
- Asegure la placa base con tornillos.

Figure 2.2: Internal layout showing motherboard mounting area.

Figure 2.3: Workstation-grade component support, including SSI-EEB motherboard and dual PSU options.
2.3 Drive Installation (Hot-Swappable Bays)
The CS383 features eight hot-swappable drive bays for 3.5" or 2.5" SAS-12G / SATA-6G drives.
- Open the front door of the chassis.
- Press the release latch on a drive tray and pull it out.
- Mount your 3.5" or 2.5" drive into the tray using the provided screws.
- Slide the loaded drive tray back into the bay until it clicks into place.
- Ensure all drives are properly connected to the backplane for power and data.

Figure 2.4: Detail of the hot-swappable drive bays.
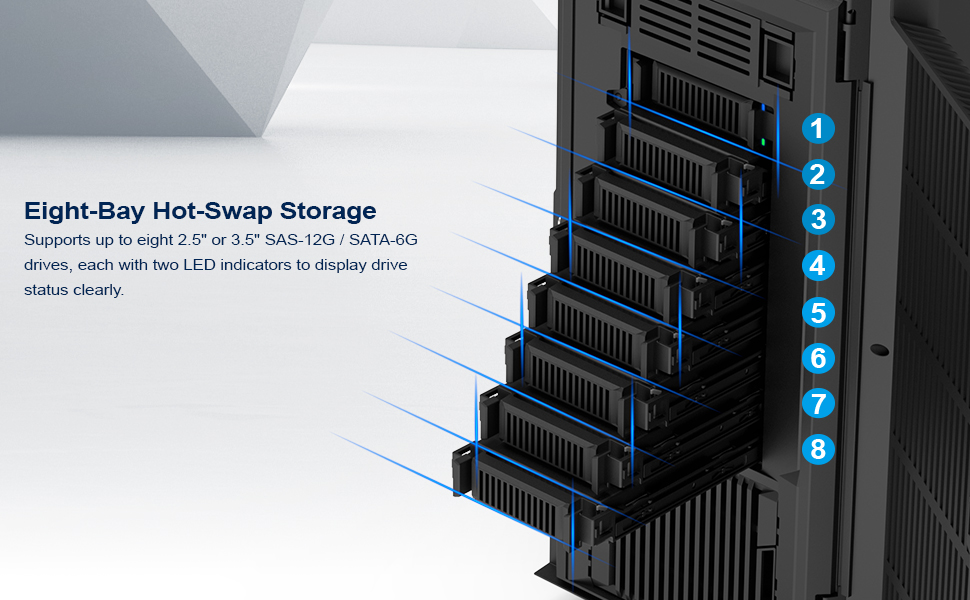
Figure 2.5: Eight-bay hot-swap storage with drive status indicators.
2.4 Instalación de la fuente de alimentación
The chassis supports standard ATX (PS2) power supplies and offers an optional secondary PSU slot.
- Mount your primary power supply in the designated bottom-rear compartment.
- Secure it with screws from the rear of the chassis.
- For dual PSU configurations, install the second power supply in the lower front 5.25" bay area.
2.5 Instalación de la tarjeta de expansión
The CS383 provides eight expansion slots for graphics cards, network adapters, or RAID controllers.
- Remove the necessary slot covers from the rear of the chassis.
- Insert your expansion card into the corresponding PCIe slot on the motherboard.
- Secure the card with screws or the tool-less retention mechanism.

Figure 2.6: Expansion slots for adapter cards.
2.6 Instalación del sistema de refrigeración
The chassis supports various cooling configurations, including liquid cooling radiators up to 420mm and air coolers up to 186mm tall.
- Radiadores: Mount liquid cooling radiators to the top panel.
- Aficionados: Two 92mm fans are pre-installed behind the drive bays for efficient cooling. Additional fans can be installed as needed.

Figure 2.7: Top panel supporting up to a 420mm liquid cooling radiator.

Figure 2.8: Internal component clearance diagram.
2.7 Additional Storage Options
Beyond the hot-swappable bays, the CS383 offers additional mounting points for 2.5" SSDs and 3.5" HDDs, as well as three 5.25" drive bays at the bottom front.

Figure 2.9: Additional 2.5" SSD and 3.5" HDD mounting locations.
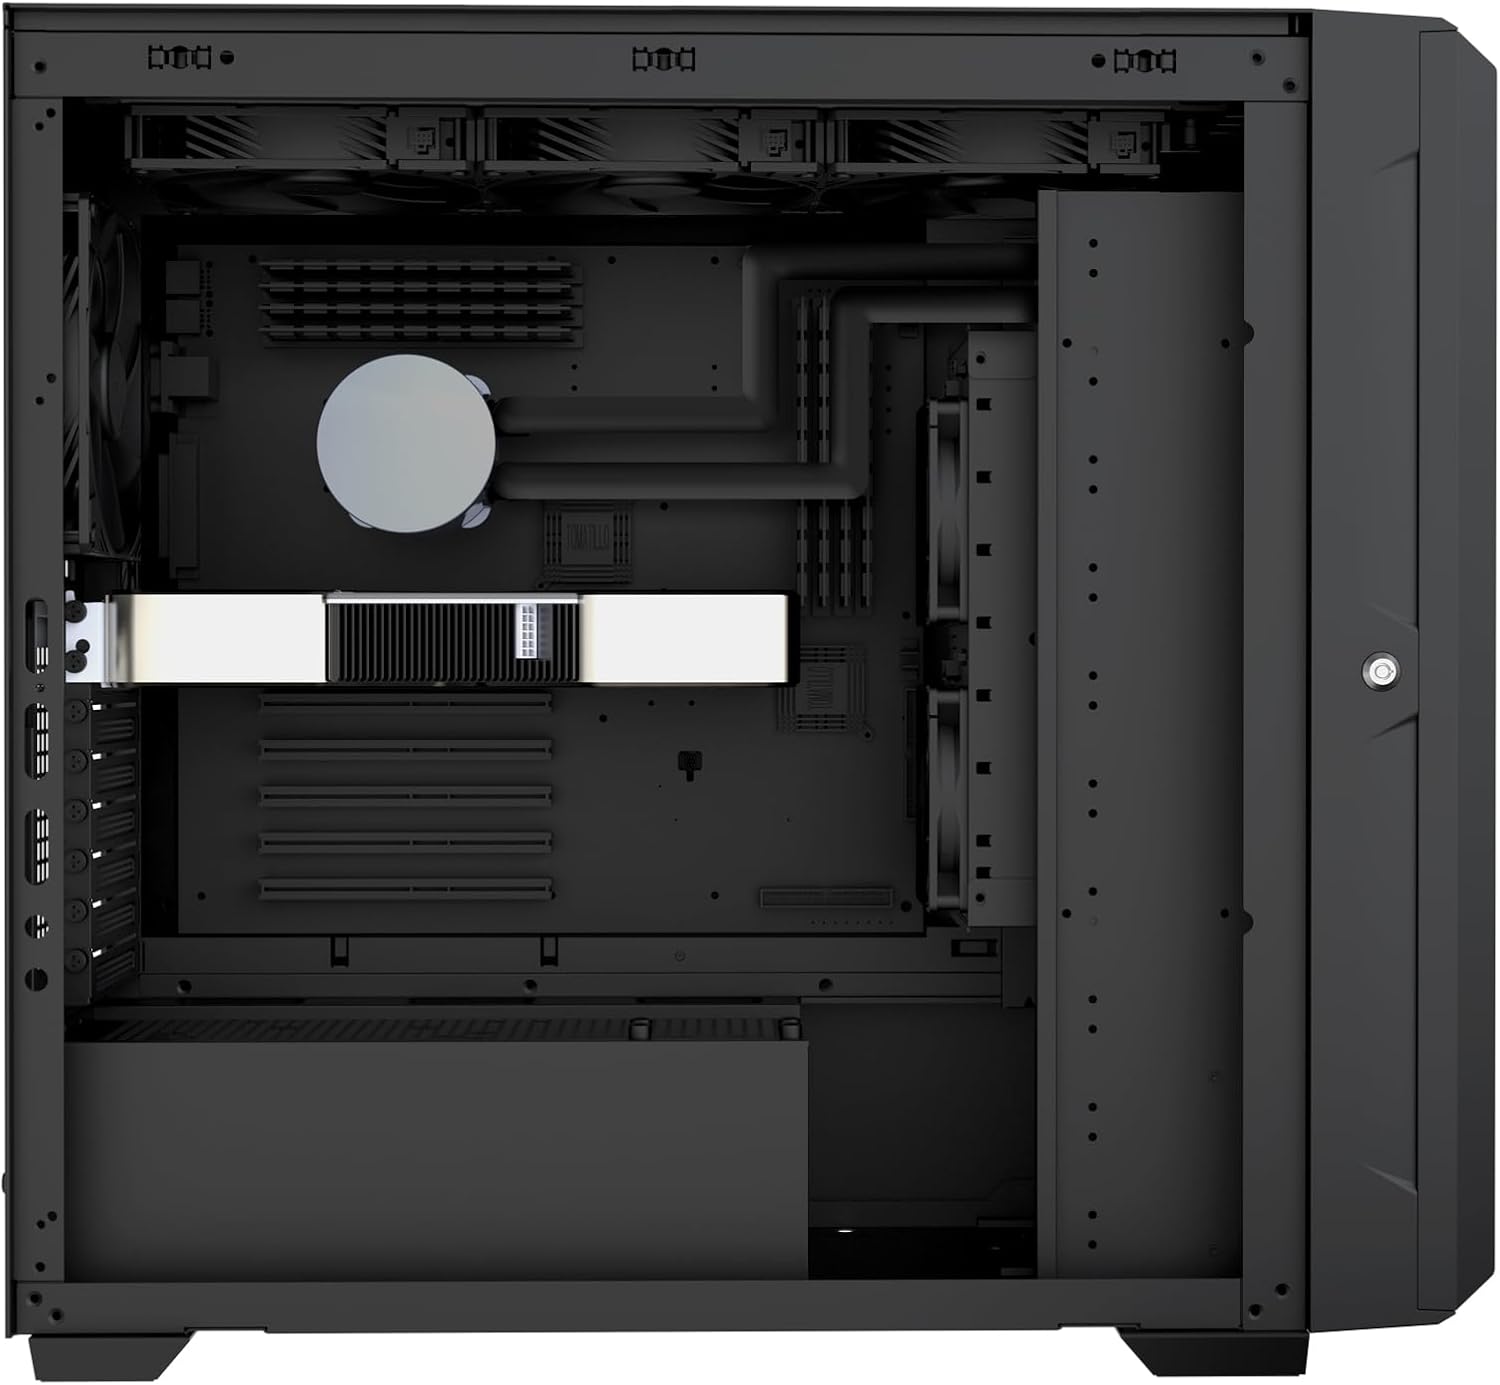
Figure 2.10: Three 5.25" drive bays.
3. Operación
3.1 Front Panel Controls and I/O
The front panel provides essential controls and connectivity options:
- Botón de encendido: Initiates or shuts down the system.
- Botón de reinicio: Reinicia el sistema.
- Puertos USB: Para conectar dispositivos externos.
- Conectores de audio: Para auriculares y micrófonos.
- Drive Activity LEDs: Indicate read/write activity for each hot-swappable drive.

Figure 3.1: Front panel I/O and controls.
3.2 Intercambio en caliente de unidades
The hot-swappable drive bays allow for adding or removing drives while the system is running, provided your operating system and RAID controller support this feature.
- Ensure the drive is properly unmounted or ejected from the operating system before removal.
- Open the front door and press the release latch on the desired drive tray.
- Carefully pull the drive tray out.
- To insert a new drive, mount it into an empty tray and slide it into the bay until it locks.
- The operating system should detect the new drive automatically.
Nota: Always refer to your operating system and RAID controller documentation for specific hot-swap procedures to prevent data loss.
4. Mantenimiento
4.1 Limpieza del filtro de polvo
The CS383 includes removable dust filters in key areas to prevent dust buildup and maintain optimal cooling performance. Regular cleaning is recommended.
- Locate the dust filters (e.g., at the bottom of the chassis).
- Gently slide out or unclip the filters.
- Clean the filters using compressed air or by rinsing them with water. Ensure they are completely dry before reinstallation.
- Reinstall the filters securely.
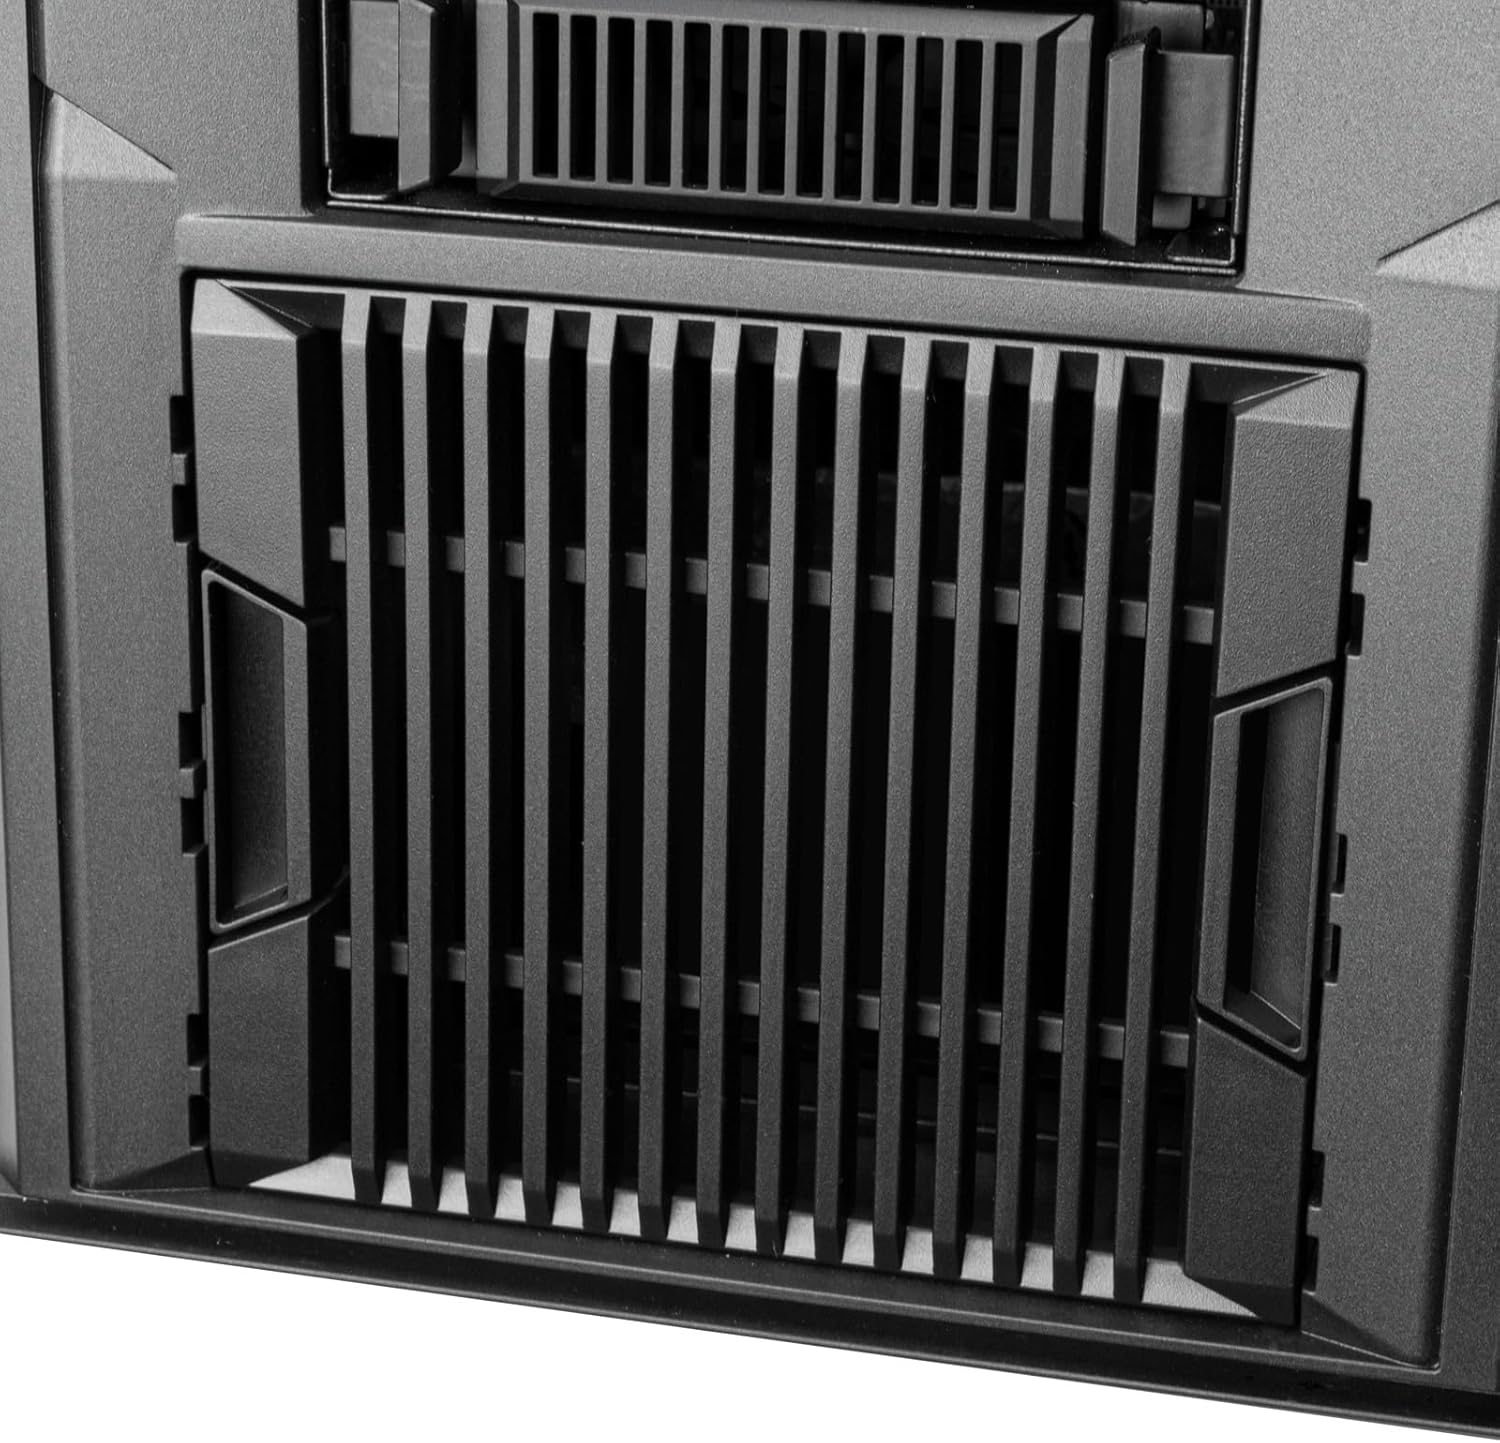
Figure 4.1: Removable dust filter at the bottom of the chassis.
4.2 Mantenimiento del ventilador
Periodically check the chassis fans for dust accumulation. Clean them with compressed air to ensure unrestricted airflow.
Precaución: Disconnect power to the system before performing any internal cleaning or maintenance.
5. Solución de problemas
- El sistema no se enciende:
- Asegúrese de que la fuente de alimentación esté conectada correctamente a la toma de pared y que el interruptor de encendido de la fuente de alimentación esté en la posición "ENCENDIDO".
- Verifique que todos los cables de alimentación (ATX de 24 pines, CPU de 8 pines, PCIe, SATA) estén conectados de forma segura a la placa base y a los componentes.
- Verifique la conexión del botón de encendido del panel frontal a la placa base.
- Unidades no detectadas:
- Confirm drives are fully seated in their hot-swap trays and the trays are locked into the bays.
- Verify SATA/SAS data and power cables from the backplane are connected to the motherboard/RAID controller and power supply.
- Check BIOS/UEFI settings to ensure SATA/SAS ports are enabled.
- Problemas de sobrecalentamiento:
- Ensure all chassis fans are spinning and not obstructed.
- Limpie periódicamente los filtros de polvo y los componentes internos.
- Verifique que el enfriador de la CPU y los ventiladores de la GPU funcionen correctamente.
- Consider optimizing fan curves in BIOS/UEFI or adding additional cooling if temperatures remain high under load.
- La entrada/salida del panel frontal no funciona:
- Check the internal cable connections from the front panel to the motherboard (USB headers, audio headers).
6. Especificaciones
| Característica | Detalle |
|---|---|
| Nombre del modelo | CS383 (SST-CS383) |
| Marca | Piedra plateada |
| Tipo de caso | Torre llena |
| Material | Acero aleado, aluminio |
| Color | Negro |
| Compatibilidad de la placa base | SSI-EEB, SSI-CEB, Extended ATX, ATX, Micro-ATX, Mini-ITX |
| Drive Bays (Hot-Swap) | 8 x 3.5"/2.5" SAS-12G / SATA-6G |
| Ranuras de expansión | 8 |
| Compatibilidad con longitud de GPU | Hasta 340 mm |
| Soporte de altura del enfriador de CPU | Hasta 186 mm |
| Soporte del radiador | Hasta 420 mm (superior) |
| Soporte de fuente de alimentación | Standard ATX (PS2), Dual PSU capable |
| Dimensiones del producto (LxAnxAl) | 23.15" x 9.77" x 20.79" (588 mm x 248 mm x 528 mm) |
| Peso del artículo | 42.3 libras (19.18 kg) |
7. Garantía y soporte
7.1 Garantía del producto
SilverStone Technology products are covered by a limited warranty. The specific terms and duration of the warranty may vary by region and product. Please retain your proof of purchase for warranty claims.
7.2 Soporte técnico
For technical assistance, troubleshooting, or further inquiries regarding your SilverStone CS383 chassis, please visit the official SilverStone Technology website or contact their customer support department. You can find contact information and support resources at www.silverstonetek.com.