AMZASA AS9027-4AB

AMZASA AS9027-4AB Plug-in Crystal Chandelier Instruction Manual

Model: AS9027-4AB | Brand: AMZASA

Introducción

Gracias por la compraasing the AMZASA AS9027-4AB Plug-in Crystal Chandelier. This manual provides essential information for the safe and correct assembly, operation, and maintenance of your new lighting fixture. Please read all instructions carefully before installation and retain this manual for future reference.

Información importante de seguridad

  • Desconecte siempre la alimentación antes de realizar la instalación, limpieza o mantenimiento.
  • Este producto está destinado únicamente para uso en interiores.
  • Asegúrese de que la superficie de montaje pueda soportar el peso del accesorio.
  • Use only E12 base bulbs, maximum 40W per bulb (bulbs not included).
  • If using a dimmer switch, ensure bulbs are dimmable and compatible with the switch.
  • Handle glass crystals with care to prevent breakage.
  • Mantenga los materiales de embalaje fuera del alcance de los niños.
  • Si no está seguro de alguna parte de la instalación, consulte a un electricista calificado.

Contenido del paquete

Verifique que todos los componentes estén presentes y sin daños antes de comenzar el ensamblaje. Si alguna pieza falta o está dañada, comuníquese con atención al cliente.

  • Chandelier Frame with 4 E12 Sockets
  • Glass Crystal Strings (various sizes and shapes, labeled A, B, C, D, E, F)
  • Glass Decorative Saucers
  • Power Cord with In-line ON/OFF Switch
  • Cadena colgante
  • Gancho de techo
  • Clips de gestión de cables
  • Herrajes de montaje (tornillos, anclajes)
Image showing all components of the AMZASA Plug-in Crystal Chandelier, including the main frame, various crystal strings, glass saucers, power cord with switch, and hanging hardware.

Figure 1: Chandelier Components Overview

Instrucciones de instalación y montaje

Follow these steps to assemble and install your AMZASA Plug-in Crystal Chandelier. It is recommended to wear the provided gloves to avoid fingerprints on the crystals. Refer to the assembly video for visual guidance on each step.

Video: AMZASA Plug-in Crystal Chandelier Assembly Guide. This video demonstrates the complete assembly process from unboxing to final installation.

Paso 1: preparar los componentes

Carefully unbox all components and lay them out on a clean, soft surface. Identify the different crystal types (A, B, C, D, E, F) as shown in the video.

Step 2: Assemble Crystal Saucers (A Crystals)

Attach the 'A' crystals to the small holes around the edge of the glass decorative saucers. Ensure they are securely fastened.

Step 3: Attach Top Crystal Chains (B Crystals)

Connect the 'B' crystal chains between the top center part of the chandelier frame and the light bulb sockets. There are four 'B' chains for the four arms.

Step 4: Attach Arm Crystal Chains (C Crystals)

Attach the 'C' crystal chains to the arms of the chandelier, connecting them from one arm to the central base. Ensure even distribution.

Step 5: Attach Bottom Center Crystals (E Crystals)

Secure the 'E' crystals to the bottom center of the chandelier frame. These are typically shorter, individual crystal drops.

Step 6: Attach Saucer Crystals (F Crystals)

Attach the 'F' crystals to the bottom of the glass decorative saucers that were assembled in Step 2.

Step 7: Attach Hanging Chain

Connect the provided hanging chain to the top loop of the chandelier. Ensure the connection is secure.

Step 8: Install Ceiling Hook and Hang Chandelier

Screw the ceiling hook into a secure ceiling joist or use appropriate anchors for drywall. Hang the chandelier chain from this hook. Adjust the chain length to achieve the desired hanging height.

Image showing the chandelier hanging from a ceiling hook with the power cord routed along the ceiling using clips.

Figure 2: Chandelier Hanging and Cable Management

Step 9: Route Power Cord and Attach Remaining Crystals (D Crystals)

Route the power cord along the ceiling to a power outlet using the provided cable management clips. Once the chandelier is hung, attach the 'D' crystal chains to the arms, connecting them to the central base or other designated points as shown in the video.

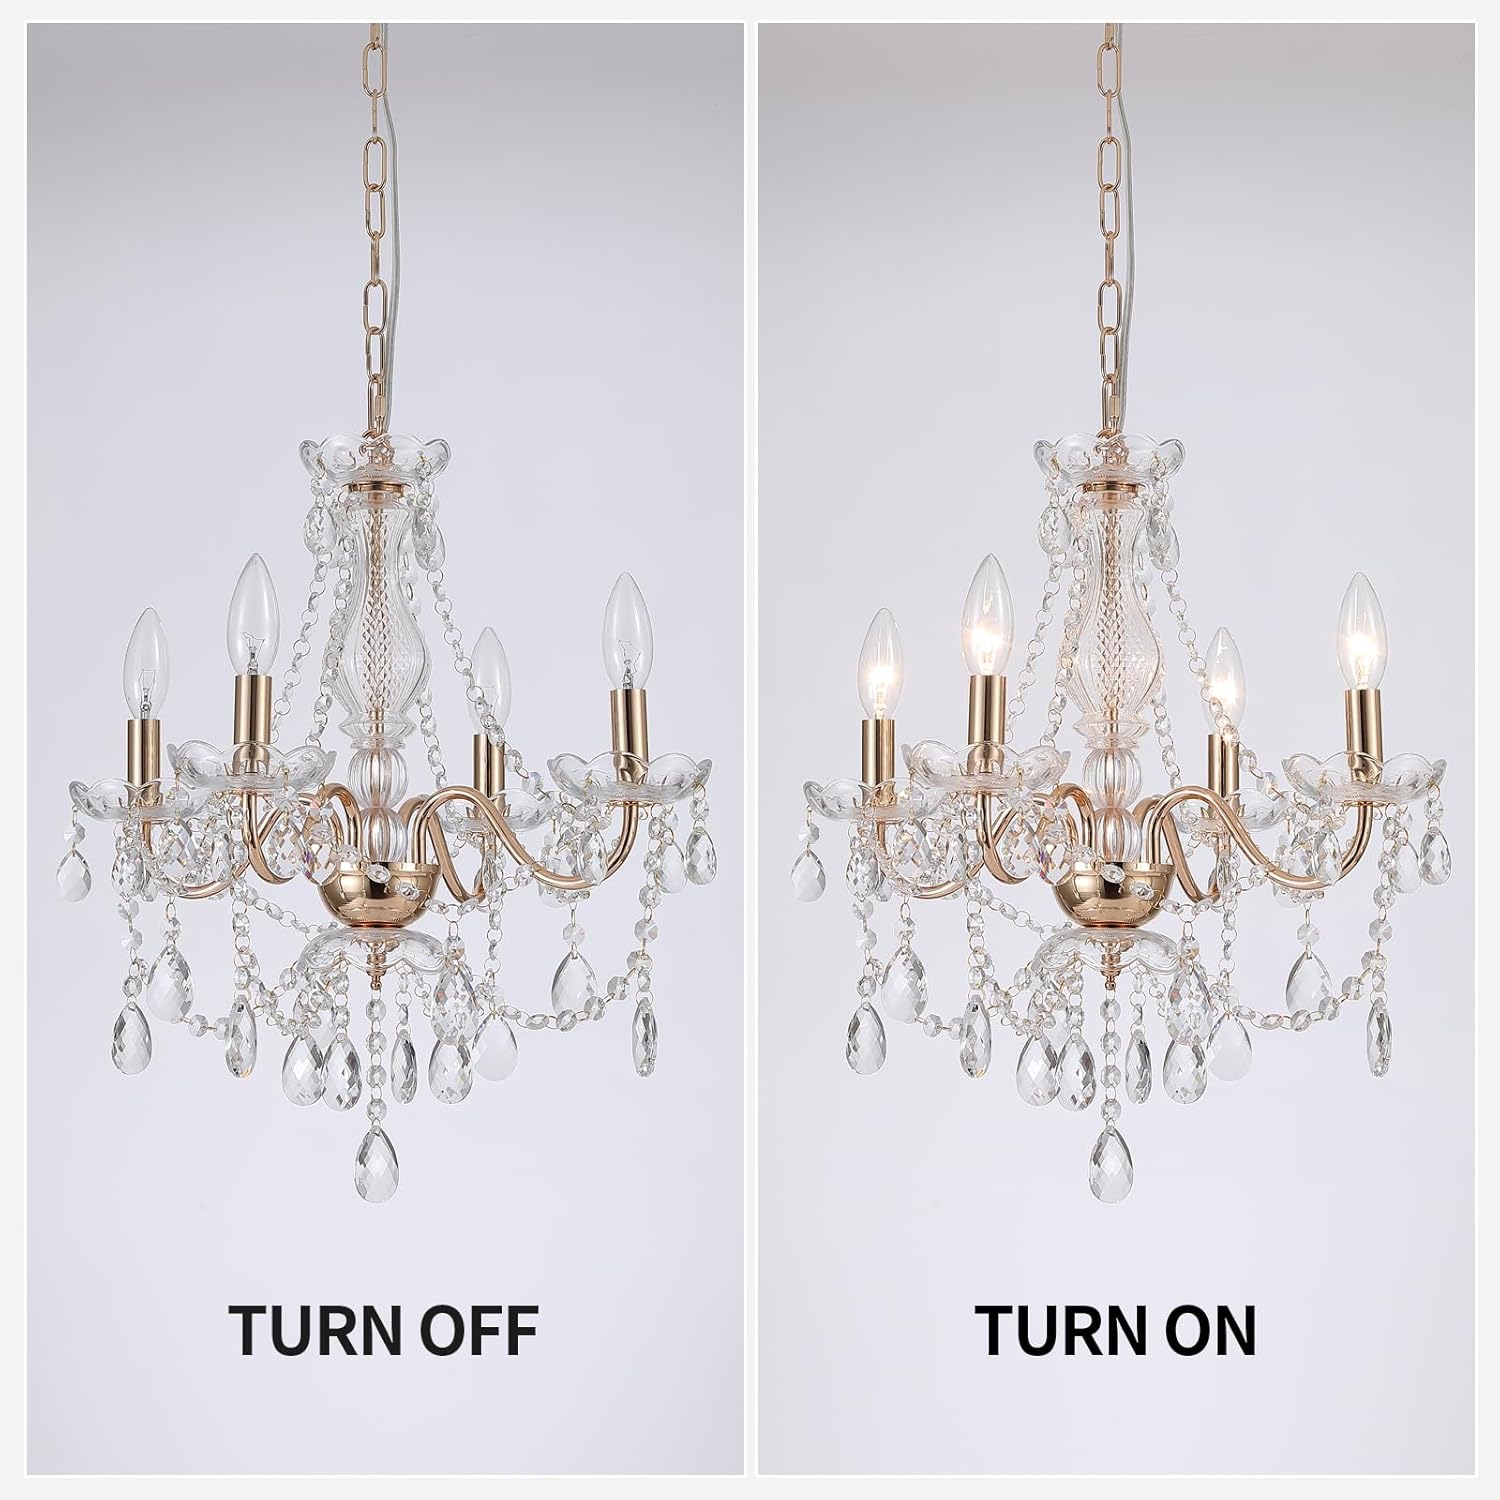
Step 10: Install Light Bulbs

Screw 4 E12 base bulbs (max 40W each, not included) into the chandelier sockets. Ensure bulbs are fully seated.

Instrucciones de funcionamiento

  1. Conexión de energía: Plug the chandelier's power cord into a standard 110V AC wall outlet.
  2. Encender/Apagar: Use the in-line ON/OFF switch located on the power cord to control the light.
  3. Funcionalidad regulable: If you are using dimmable E12 bulbs and have a compatible dimmer switch installed in your wall outlet, the chandelier's brightness can be adjusted. The chandelier itself does not include a dimmer.
Close-up of the in-line ON/OFF switch on the chandelier's power cord.

Figure 3: In-line ON/OFF Switch

Mantenimiento

  • Limpieza: To clean the chandelier, first ensure it is unplugged. Use a soft, dry cloth to gently wipe the metal frame and glass crystals. For stubborn dust or smudges on crystals, a slightly damp cloth with mild glass cleaner can be used, followed by a dry cloth. Avoid abrasive cleaners or harsh chemicals.
  • Reemplazo de bombilla: Ensure the chandelier is unplugged and bulbs are cool before attempting to replace them. Unscrew the old bulb and screw in a new E12 base bulb (max 40W).
  • Cuidado del cristal: Handle crystals with care. If any crystal strings become detached, reattach them using the small metal rings.

Solución de problemas

ProblemaPosible causaSolución
Chandelier does not light up.1. El cable de alimentación no está enchufado.
2. ON/OFF switch is off.
3. Bombilla(s) defectuosa(s).
4. Apagartage o disyuntor disparado.
1. Asegúrese de que el cable de alimentación esté bien enchufado a un tomacorriente que funcione.
2. Flip the ON/OFF switch to the 'ON' position.
3. Replace bulb(s) with new E12 bulbs.
4. Check your home's circuit breaker and ensure power is restored.
Las luces parpadean.1. Conexión de bombilla floja.
2. Incompatible dimmer switch or dimmable bulbs.
1. Ensure all bulbs are screwed in tightly.
2. Verify that both your bulbs and dimmer switch are compatible. If not, replace bulbs or dimmer.
Los cristales aparecen opacos o sucios.Polvo o manchas en los cristales.Clean crystals as described in the Maintenance section.
La lámpara cuelga de forma desigual.Improper installation of ceiling hook or chain.Re-check the installation of the ceiling hook and ensure the chain is securely and evenly attached.

Presupuesto

Número de modelo:AS9027-4AB
Marca:AMZASA
Dimensiones (L x An x Al):19.9" x 18.1" x 79.7" (Adjustable Height: 59.8" max)
Material:Glass, Iron, Crystal
Fuente de energía:CA (enchufable)
Volumentage:110 voltios
Número de luces:4
Wat máximotage por bombilla:40 vatios
Base de la bombilla:E12
Características especiales:Adjustable Height, Dimmable (with compatible bulbs/switch)
Tipo de instalación:Plug-in Chandelier
Peso del artículo:6.82 libras
Diagram showing the dimensions of the AMZASA Plug-in Crystal Chandelier, including height, width, and adjustable cord length.

Figura 4: Dimensiones del producto

Garantía y atención al cliente

AMZASA is committed to providing high-quality products and excellent customer service. If you encounter any issues such as color deviation, missing parts, or difficulties with installation, please contact us directly via email. We aim to provide a response within 24 hours.

Para obtener más ayuda, visite el sitio web AMZASA Store on Amazon.

© 2026 AMZASA. All rights reserved.

Ask a question about this manual

Ask about setup, troubleshooting, compatibility, parts, safety, or missing instructions. Manuals+ will review the question and use this page’s manual context to help answer it.