1. Introducción
Thank you for choosing the PRIXTON Prado XL 15.6-inch Digital Photo Frame. This manual provides essential information for setting up, operating, and maintaining your device. Please read it carefully before use to ensure optimal performance and longevity of your digital photo frame.
The PRIXTON Prado XL features a vibrant 15.6-inch Full HD IPS touchscreen display, offering clear and vivid image reproduction. With built-in Wi-Fi, 32GB of internal memory, and support for both photos and videos, it allows you to easily share and display your cherished memories. The frame also includes integrated speakers and multiple input options, including USB Type-C, USB-A, and an SD card slot, providing versatile ways to manage your content.
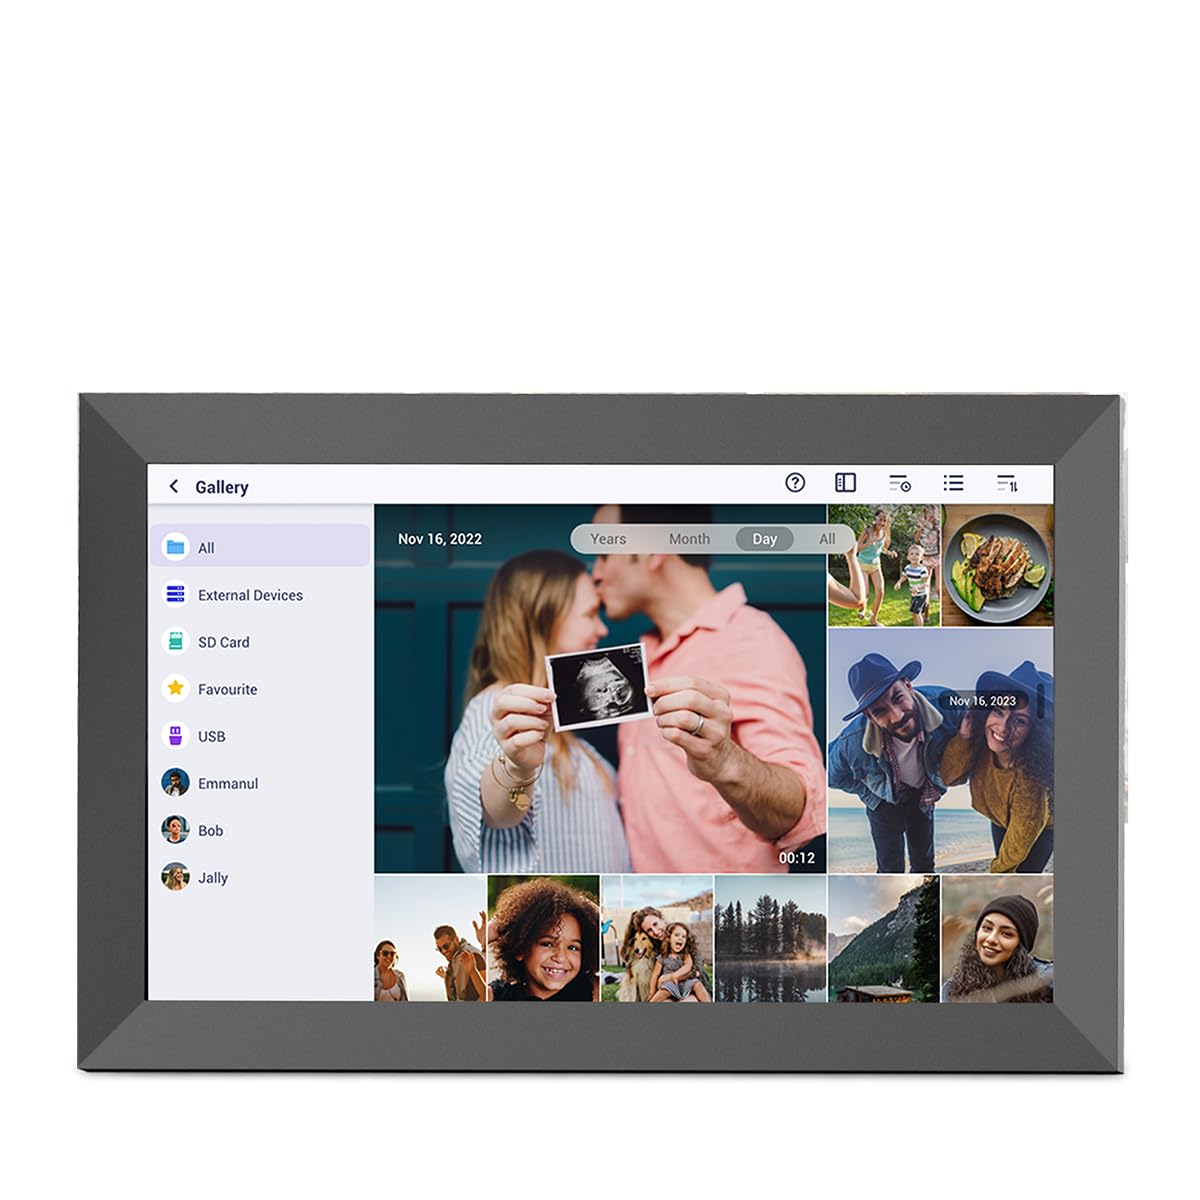
Image: The PRIXTON Prado XL digital photo frame showcasing a family picture.
2. Contenido del paquete
Por favor, marque la casilla correspondiente a los siguientes artículos:
- PRIXTON Prado XL 15.6-inch Digital Photo Frame
- Adaptador de corriente
- Manual de usuario (este documento)
3. Producto terminadoview
Familiarize yourself with the various ports and controls on your digital photo frame.

Image: Back panel of the frame, highlighting the power button, USB-A, USB-C, SD card slot, and headphone jack.
Componentes clave:
- Botón de encendido: Located on the back, used to turn the frame on/off or put it into sleep mode.
- Puerto USB-A: For connecting USB flash drives to transfer photos and videos.
- Puerto USB tipo C: For connecting compatible devices or for data transfer.
- Ranura para tarjeta SD: For inserting SD cards to display or transfer media.
- Toma de auriculares: Para conectar dispositivos de audio externos.
- Entrada de energía DC: Para conectar el adaptador de corriente.
- Orificios para montaje en pared: Para montar el marco en una pared.
4. Configuración
4.1 Encendido
- Connect the power adapter to the DC Power Input port on the back of the frame.
- Conecte el adaptador de corriente a una toma de pared.
- The frame will automatically power on. If not, press and hold the Power Button for a few seconds.
4.2 Configuración inicial
Upon first startup, you will be guided through the initial setup process:
- idioma: Elige tu idioma preferido de la lista.
- Conectarse a Wi-Fi: Select your Wi-Fi network and enter the password. A stable internet connection is required for app functionality and software updates.
- Establecer fecha y hora: Configure the correct date, time, and time zone.
4.3 Connecting with the Uhale App
The Uhale app allows you to easily send photos and videos directly to your frame from your smartphone.
- Descargar la aplicación: Buscar "Uhale" in your smartphone's app store (iOS or Android) and install it.
- Crear una cuenta: Open the Uhale app and follow the instructions to create a new user account.
- Emparejar el marco: On your digital photo frame, navigate to the "Settings" menu and find the "Bind Device" or "Add Device" option. This will display a unique code or QR code.
- Enter Code/Scan QR: In the Uhale app, select "Add Device" and either manually enter the code displayed on your frame or use your phone's camera to scan the QR code.
- Una vez emparejado, puedes comenzar a enviar fotos y vídeos a tu marco.

Image: A smartphone screen showing the Uhale app interface next to the digital photo frame.
5. Funcionamiento del marco
5.1 Navegación con pantalla táctil
The Prado XL features a responsive touchscreen for easy navigation:
- Grifo: Seleccione un elemento o abra un menú.
- Golpe fuerte: Navigate through photos, menus, or lists.
- Pellizcar para hacer zoom: Zoom in or out on photos (if supported by software).
5.2 Agregar fotos y vídeos
There are several ways to add media to your frame:
5.2.1 A través de la aplicación Uhale
- Open the Uhale app on your paired smartphone.
- Selecciona las fotos o vídeos que deseas enviar.
- Tap the "Send" or "Share" button to transfer them to your frame.
- The media will appear on your frame shortly, provided it is connected to Wi-Fi.
5.2.2 Via USB Drive or SD Card
- Insert a USB flash drive into the USB-A port or an SD card into the SD card slot.
- The frame will detect the external storage. Navigate to the "Gallery" or "Files" section.
- Select the desired photos or videos and choose to copy them to the frame's internal memory.

Image: User interacting with the Uhale app to send content to the digital photo frame.
5.3 Managing Content and Slideshows
- Galería: Access all your stored photos and videos. You can view them individually or start a slideshow.
- Borrar: Select unwanted media and choose the delete option.
- Configuración de presentación de diapositivas: Customize slideshow duration, transition effects, and playback order in the settings menu.

Image: The digital photo frame displaying a lively birthday party scene.
6. Menú de configuración
Access the settings menu by tapping the gear icon on the home screen. Here you can configure various aspects of your frame:
- Mostrar: Adjust brightness, screen sleep time, and display mode.
- Wifi: Administre sus conexiones de red.
- Fecha y hora: Manually set or synchronize date and time.
- Almacenamiento: View internal storage usage and manage external storage devices.
- Acerca de: View device information, including software version and model number.
7. Mantenimiento
7.1 Limpieza de la pantalla
Para limpiar la pantalla táctil, límpiela suavemente con un paño suave que no deje pelusa. Para manchas difíciles, límpiela ligeramente con un paño húmedo.ampEnjuague el paño con agua o una solución limpiadora segura para pantallas. Evite usar productos químicos agresivos o materiales abrasivos.
7.2 Actualizaciones de software
Ensure your frame is connected to Wi-Fi to receive automatic software updates. Updates provide new features, performance improvements, and bug fixes. You can manually check for updates in the "Settings" > "About" menu.
8. Solución de problemas
| Asunto | Posible solución |
|---|---|
| El marco no se enciende. | Asegúrese de que el adaptador de corriente esté bien conectado tanto al marco como a una toma de corriente que funcione. Pruebe con otra toma de corriente. |
| No se puede conectar al wifi. | Check if your Wi-Fi router is on and working. Re-enter the Wi-Fi password carefully. Move the frame closer to the router. |
| Fotos/videos no aparecen. | Verify that the media has been successfully uploaded via the app or copied from USB/SD. Check file formats for compatibility. Ensure the frame is connected to Wi-Fi if using the app. |
| La pantalla táctil no responde. | Restart the frame by holding the power button. Ensure the screen is clean and free of debris. |
| El marco es lento o se congela. | Restart the frame. Clear some internal storage if it is nearly full. |
9. Especificaciones
| Característica | Detalle |
|---|---|
| Número de modelo | 10006183 |
| Tamaño de la pantalla | 15.6 pulgadas |
| Tipo de pantalla | Pantalla táctil IPS |
| Resolución | 1920 x 1080 Full HD |
| Memoria interna | Flash de 32 GB |
| RAM | 1 GB |
| Conectividad | Wifi |
| Puertos | USB Type-C, USB-A, SD Card Slot, Headphone Jack |
| Audio | Altavoces integrados |
| Dimensiones (L x An x Al) | 14 x 21 x 2.51 cm |
10. Garantía y soporte
PRIXTON products are designed and manufactured to the highest quality standards. For information regarding warranty coverage, please refer to the warranty card included with your product or visit the official PRIXTON websitio.
If you encounter any issues or have questions not covered in this manual, please contact PRIXTON customer support for assistance. You can find contact details on the PRIXTON websitio o a través de su plataforma de compra.
Soporte en línea: Visit the PRIXTON Store on Amazon