
CHEREEKI B0FHHKMP1X
CHEREEKI Digital LED Alarm Clock User Manual
Model: B0FHHKMP1X
Introducción
Gracias por la compraasing the CHEREEKI Digital LED Alarm Clock. This manual provides detailed instructions for setting up and operating your new alarm clock. Please read it thoroughly before use and keep it for future reference.
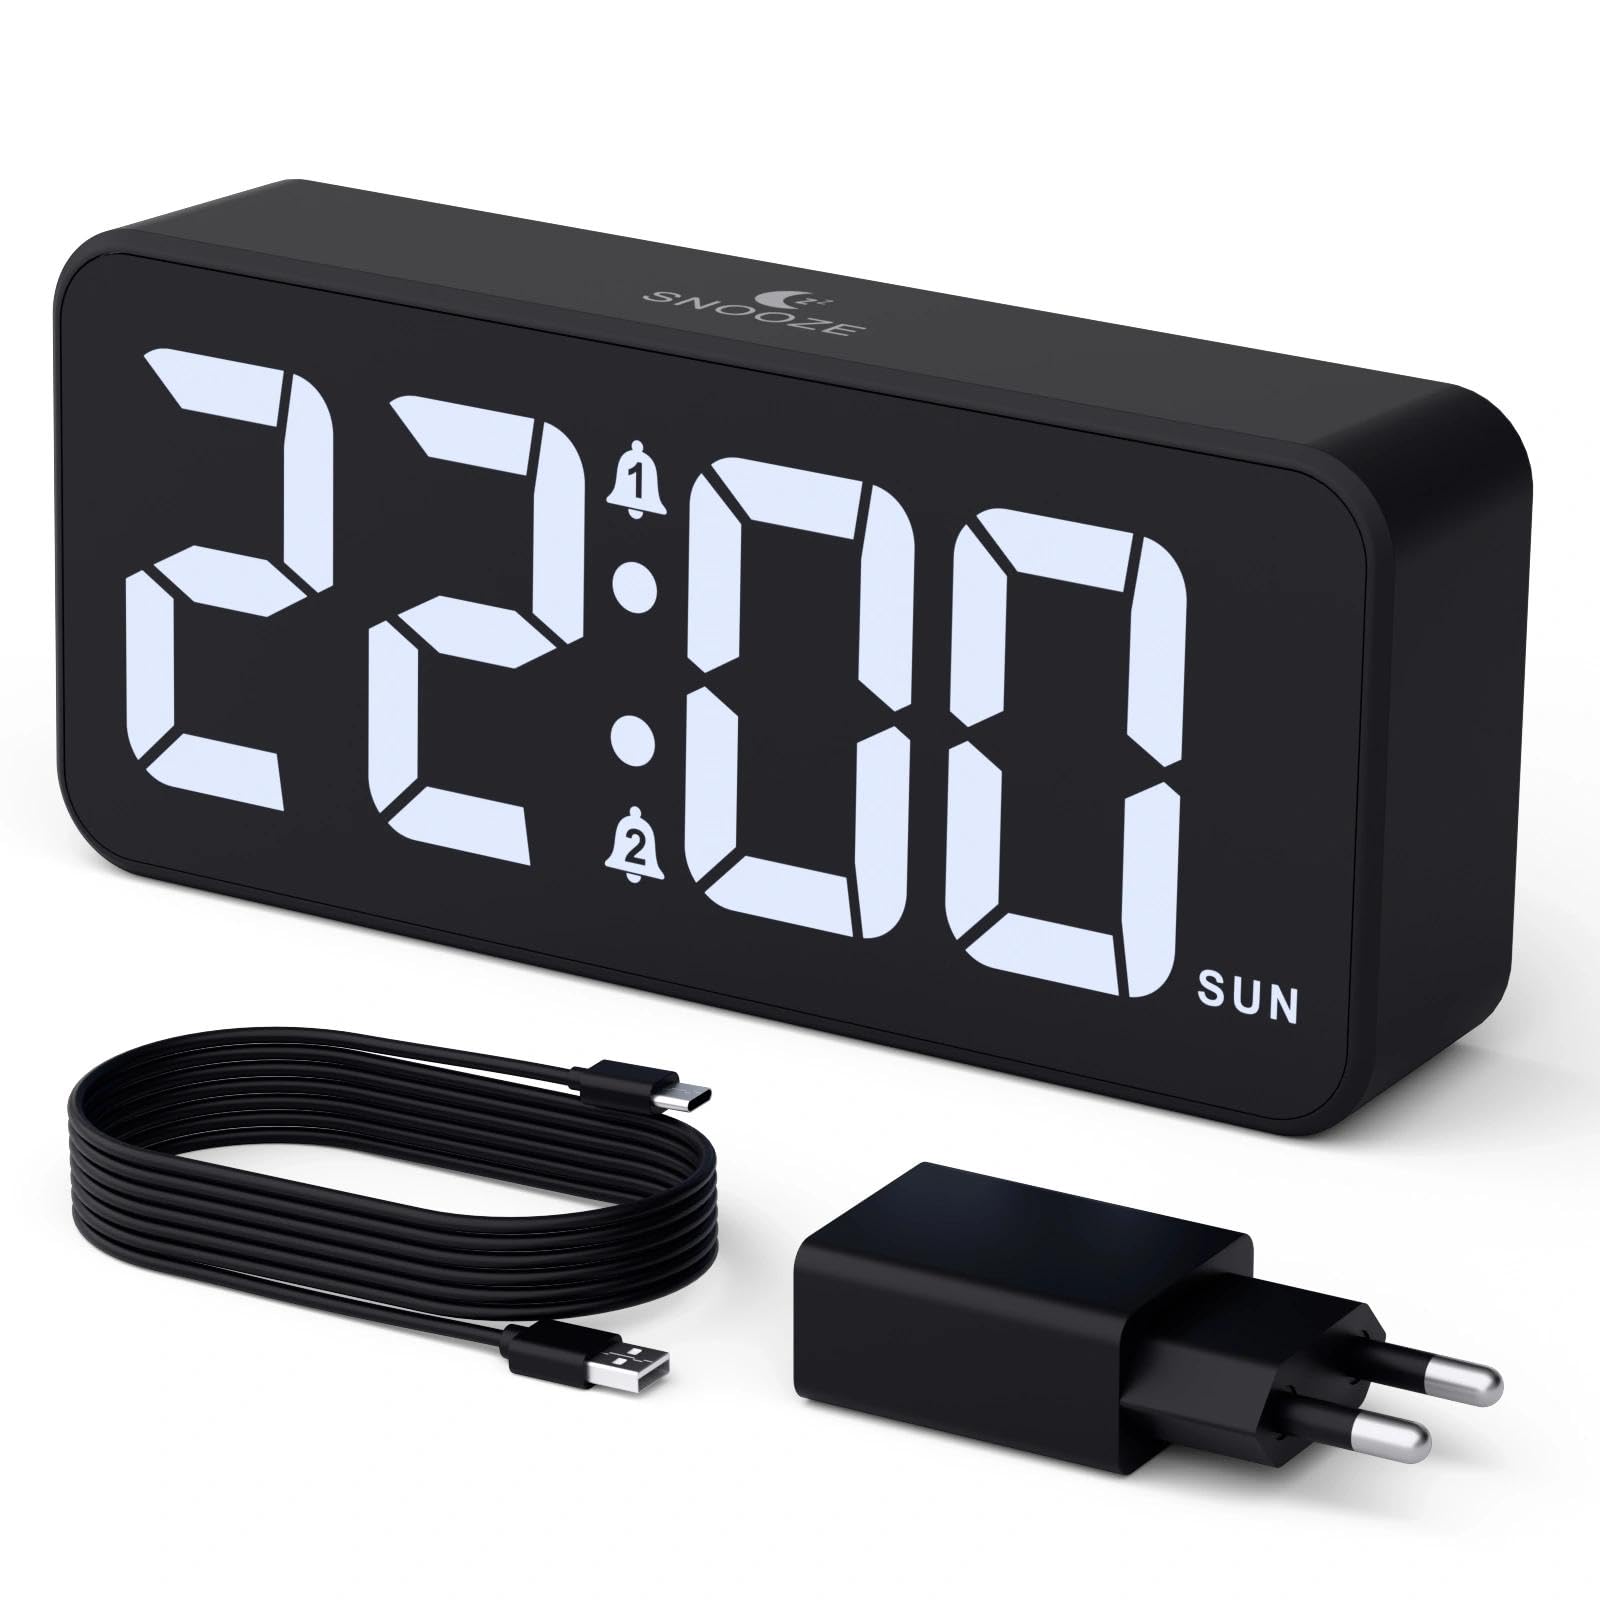
Image: The CHEREEKI Digital LED Alarm Clock, showcasing its large LED display and key features.
Información de seguridad
- Ensure the power adapter and cable are compatible with the device's voltage requirements (5V/1A or 5V/2A).
- No exponga el dispositivo al agua ni a la humedad excesiva.
- Evite colocar el dispositivo cerca de fuentes de calor o bajo la luz solar directa.
- No intente desmontar ni reparar el dispositivo usted mismo. Contacte con atención al cliente si surge algún problema.
- Mantener fuera del alcance de los niños.
Contenido del paquete
- CHEREEKI Digital LED Alarm Clock
- Power Adapter (5V/1A or 5V/2A)
- Cable de carga USB (1.5 m)
- Manual de usuario
- CR2032 Backup Battery (pre-installed or included)

Image: Illustration of the items included in the product package.
Diseño y controles del producto

Image: Rear panel of the alarm clock with labels for all buttons and ports.
- Botón de ajuste de hora: Presione para ingresar al modo de configuración de hora.
- Botón de alarma 1: Press to set Alarm 1.
- Botón de alarma 2: Press to set Alarm 2.
- Botones arriba / abajo: Adjust values during setting.
- Perilla del regulador de intensidad: Rotate to adjust display brightness (0-100%).
- Perilla de volumen: Rotate to adjust alarm volume (10 levels).
- Puerto de salida USB: Para cargar dispositivos externos.
- Puerto de entrada tipo C: For power supply to the alarm clock.
- Botón DST: Para el ajuste del horario de verano.
- Compartimento de la batería: Houses the CR2032 backup battery.
Configuración
1. Conexión de alimentación
The alarm clock operates solely on AC power. Connect the provided USB cable to the Type-C input port on the back of the clock and plug the adapter into a standard wall outlet (5V/1A or 5V/2A). The display will light up.

Image: The alarm clock connected to a power source via its adapter.
2. Batería de respaldo
A CR2032 backup battery is included to retain time and alarm settings during power outages. This battery does not power the display or alarm functions; it only preserves memory. Ensure the battery is correctly installed in the compartment on the back of the clock.

Image: Close-up of the backup battery compartment, indicating its purpose to retain settings during power loss.
Instrucciones de funcionamiento
Ajuste de la hora
- Press the "TIME SET" button. The hour digits will flash.
- Utilice los botones “ARRIBA” o “ABAJO” para ajustar la hora.
- Pulse "TIME SET" de nuevo para confirmar la hora y pasar al ajuste de los minutos. Los dígitos de los minutos parpadearán.
- Utilice los botones “ARRIBA” o “ABAJO” para ajustar los minutos.
- Press "TIME SET" once more to confirm the minutes and exit time setting mode.
Configuración de alarmas (Alarma 1 y Alarma 2)
This clock supports two independent alarms with three scheduling options.
- Press the "ALARM 1" or "ALARM 2" button. The alarm hour digits will flash.
- Utilice los botones “ARRIBA” o “ABAJO” para ajustar la hora de la alarma.
- Press the respective alarm button again to confirm the hour and move to minute setting. The minute digits will flash.
- Use the "UP" or "DOWN" buttons to adjust the alarm minutes.
- Press the alarm button again to select the alarm schedule:
- Días laborables: De lunes a viernes
- Fines de semana: sabado a domingo
- A diario: De lunes a domingo
- Press the alarm button once more to confirm the schedule and exit alarm setting mode.
- To enable/disable an alarm, press the "ALARM 1" or "ALARM 2" button briefly outside of setting mode. An alarm icon will appear/disappear on the display.

Image: The alarm clock demonstrating dual alarm settings with various scheduling options.
Función de repetición
When the alarm sounds, touch the top of the clock to activate the 5-minute snooze function. The alarm will temporarily stop and sound again after 5 minutes. To turn off the alarm completely, press any other button on the back of the clock.
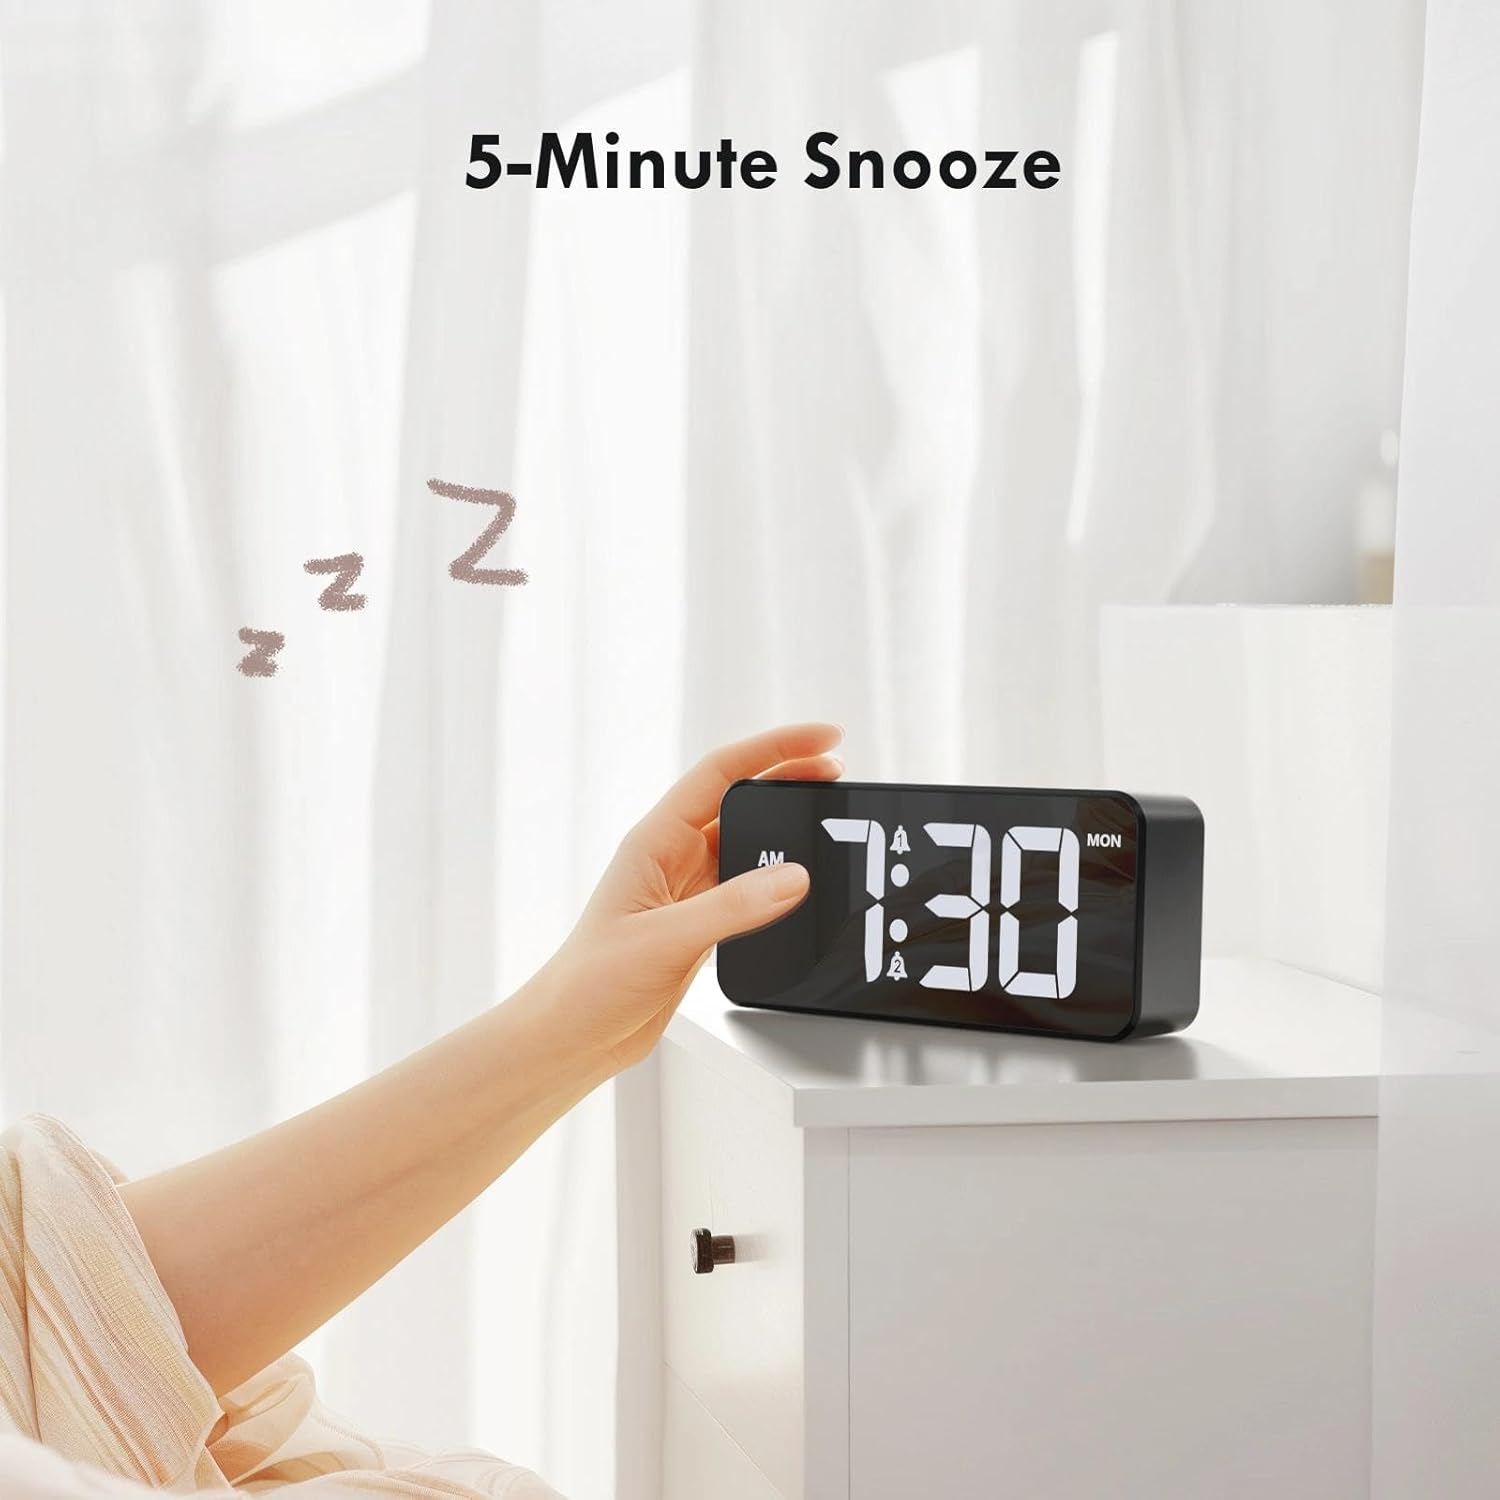
Image: A user activating the snooze function by touching the top of the alarm clock.
Ajuste del brillo de la pantalla
Rotate the "DIMMER" knob on the back of the clock to adjust the display brightness from 0% (off) to 100% (maximum brightness). This allows for comfortable viewfuncionando en cualquier condición de iluminación.

Image: Visual representation of the adjustable brightness feature and the dimmer knob.
Ajustar el volumen de la alarma
Rotate the "VOLUME" knob on the back of the clock to select one of the 10 available alarm volume levels. Choose a volume that suits your preference.

Image: The volume control knob and a visual scale indicating adjustable volume levels.
Formato 12/24 horas
To switch between 12-hour and 24-hour time formats, press and hold the "TIME SET" button for a few seconds until the format changes. In 12-hour format, "AM" or "PM" indicators will be displayed.

Image: The alarm clock showing both 12-hour and 24-hour time display options.
Puerto de carga USB
The USB-A output port on the back of the clock allows you to charge other devices, such as smartphones or tablets. Simply connect your device's charging cable to this port.

Image: The alarm clock charging a smartphone via its integrated USB port.
Horario de verano (DST)
To adjust for Daylight Saving Time, press the "DST" button on the back of the clock. This will advance or set back the time by one hour. Press it again to revert.
Mantenimiento
- Limpie la superficie del reloj con un paño suave y seco. No utilice limpiadores abrasivos ni disolventes.
- Mantenga el dispositivo libre de polvo y escombros.
- If the backup battery needs replacement, use a CR2032 coin cell battery. Ensure correct polarity.
Solución de problemas
| Problema | Posible causa | Solución |
|---|---|---|
| La pantalla está apagada. | Not connected to power; Dimmer set to 0%. | Ensure the clock is plugged into a working power outlet. Rotate the Dimmer knob to increase brightness. |
| La alarma no suena. | Alarm not activated; Volume set to minimum. | Press the ALARM 1/2 button to activate the alarm (icon should appear). Rotate the Volume knob to increase volume. |
| Configuración perdida después de un corte de energíatage. | La batería de respaldo está muerta o falta. | Reemplace la batería de respaldo CR2032. |
| La carga USB no funciona. | El reloj no está encendido; el cable del dispositivo está defectuoso. | Ensure the alarm clock is powered. Try a different USB cable or device. |
Presupuesto
- Marca: CHEREEKI
- Modelo: B0FHHKMP1X
- Color: Negro
- Tipo de pantalla: LED digitales
- Material: Acrilonitrilo butadieno estireno (ABS)
- Dimensiones del producto: 14.5 x 3.81 x 6.5 cm (5.7 x 1.5 x 2.5 pulgadas)
- Peso del artículo: 230 gramos (0.5 lbs)
- Fuente de energía: Wired Electric (5V/1A or 5V/2A adapter)
- Batería de respaldo: CR2032 (for memory retention only)
- Características especiales: Adjustable Brightness, Dual Alarm, Snooze, USB Charging Port, 12/24H Format, Adjustable Volume, Day of Week Display
Garantía y soporte
This CHEREEKI Digital LED Alarm Clock comes with a Garantía de por vida. For any product inquiries, technical support, or warranty claims, please contact CHEREEKI customer service through the retailer where you purchased the product or visit the official CHEREEKI websitio para información de contacto.
Conserve su comprobante de compra para fines de garantía.
Ask a question about this manual
Ask about setup, troubleshooting, compatibility, parts, safety, or missing instructions. Manuals+ will review the question and use this page’s manual context to help answer it.