
Introducción
Thank you for choosing the GMBACK Wireless Pro Controller. This manual provides detailed instructions for setting up, operating, and maintaining your controller to ensure optimal performance and an enhanced gaming experience. Please read this manual thoroughly before use.
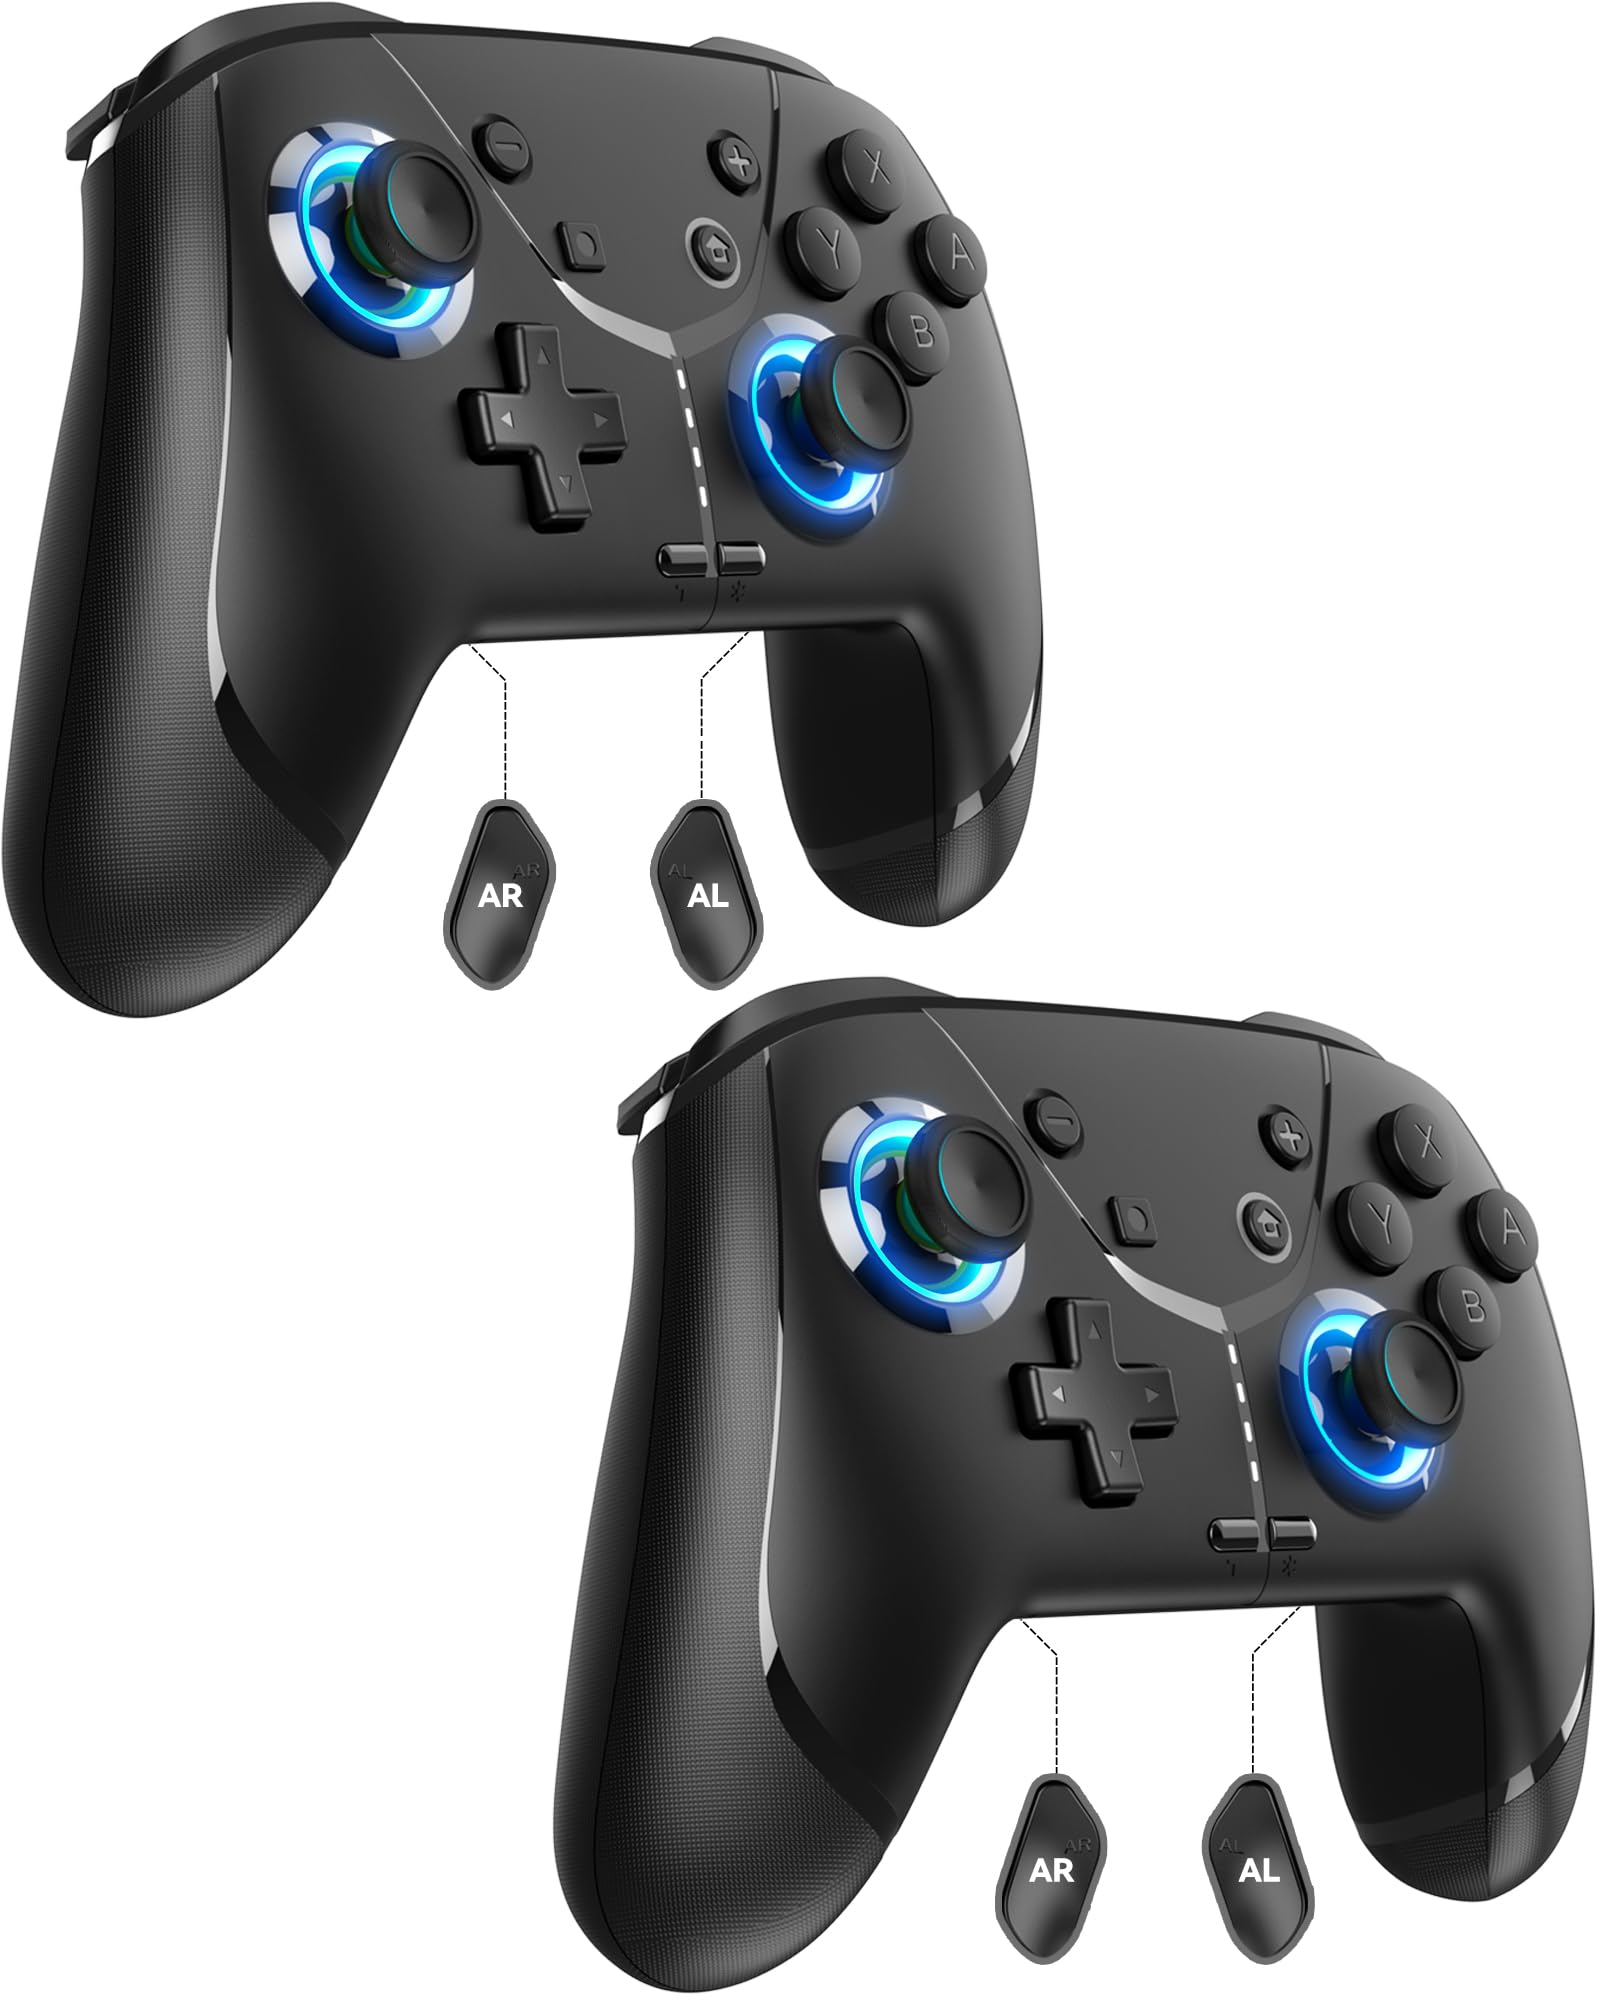
Image: GMBACK Wireless Pro Controller, front view.
Contenido del paquete
- 2 x GMBACK Wireless Pro Controllers
- 2 cables de carga USB-C
- 1 x Manual de usuario
Empezando
1. Emparejamiento con Nintendo Switch
- Asegúrate de que tu consola Nintendo Switch esté encendida y actualizada con el software del sistema más reciente.
- En el menú HOME, selecciona 'Controladores', entonces 'Cambiar agarre/orden'.
- On the GMBACK controller, press and hold the Botón de sincronización (located on the top edge near the USB-C port) for 3-5 seconds until the LED indicators begin to flash rapidly.
- The controller will automatically pair with the Switch. Once paired, the player LED(s) on the bottom of the controller will light up solid.

Image: GMBACK Wireless Pro Controller connected to a Nintendo Switch console.
2. Conexión a la PC (con cable)
- Connect the GMBACK controller to your PC using the provided USB-C cable.
- El mando se reconocerá como un gamepad estándar. Los controladores podrían instalarse automáticamente.
- For optimal compatibility, ensure your PC's operating system is up to date.
3. Carga del controlador
- Conecte el controlador a una fuente de alimentación USB (por ejemplo, base Switch, PC, adaptador de pared USB) usando el cable USB-C provisto.
- Los indicadores LED mostrarán el estado de carga. Una carga completa suele tardar entre 2 y 3 horas.
- The controller features an 800mAh battery, providing approximately 15-20 hours of playtime on a full charge.

Image: Visual representation of the 800mAh battery, 15-20 hours playtime, and 2-3 hours charging time.
Características y funciones principales
1. Loop Macro Function
The controller supports a loop macro function, allowing you to record and replay a sequence of up to 30 seconds of button presses and joystick movements. This includes joysticks, triggers, D-pad, ABXY, and +/- buttons.
- Para registrar: Refer to the detailed instructions in the included user manual for specific recording steps.
- To Start/Stop Loop: Sostener el Botón turbo y el Botón macro simultaneously. The controller will automatically replay your recorded actions in a continuous loop.

Imagen: Trasera view of the controller highlighting the AR and AL programmable buttons and the text 'Loop Macro Function'.
2. Sensor giroscópico de 6 ejes
The integrated 6-axis gyro sensor provides precise motion detection, allowing for intuitive control in compatible games that utilize motion sensing. This enhances immersion and gameplay accuracy.

Image: Controller being used for a racing game, illustrating the 6-Axis Gyro Sensor feature.
3. Customizable Turbo Function
The controller offers three adjustable turbo speeds for rapid-fire actions. This feature can be set to either auto-fire or manual-fire mode.
- To Adjust Turbo Speed: Refer to the included user manual for specific button combinations to cycle through the three turbo speeds.
- Para activar/desactivar Turbo: Presione el Botón turbo along with the desired action button.

Image: Controller displaying the 'Auto & Manual Turbo' feature with a gaming background.
4. Dual Vibration Adjustment
Experience immersive feedback with four levels of dual vibration intensity: None, Weak, Medium, and Strong. Adjust the vibration to your preference for different games.
- To Adjust Vibration: Consult the user manual for the specific button combination to cycle through vibration levels.

Image: Controller illustrating the four levels of dual vibration: None, Weak, Medium, Strong.
5. Iluminación RGB
The controller features dynamic RGB lighting around the joysticks, enhancing the visual appeal during gameplay. The lighting can be adjusted or turned off.
- To Adjust RGB Lighting: Refer to the user manual for instructions on changing lighting modes or turning off the lights.

Image: Controller showcasing its RGB lighting feature around the joysticks.
6. Remappable ABXY Buttons
The ABXY buttons can be remapped to switch between Nintendo Switch and Xbox layouts, providing flexibility for different gaming preferences without needing to physically remove any buttons.
- To Remap ABXY: Follow the instructions in the user manual for the specific button sequence to switch layouts.

Image: Controller illustrating the ABXY button function switching between Nintendo Switch and Xbox layouts.
7. Screenshot and Home Wake-up
- The controller includes a dedicated Botón de captura de pantalla for capturing in-game moments.
- El Botón de inicio can be used to wake up your Nintendo Switch console from sleep mode.
Mantenimiento
- Limpieza: Utilice un paño suave y seco para limpiar el mando. Evite utilizar productos químicos agresivos o materiales abrasivos.
- Almacenamiento: Guarde el controlador en un lugar fresco y seco, alejado de la luz solar directa y de temperaturas extremas.
- Cuidado de la batería: Para prolongar la vida útil de la batería, evite descargar completamente el mando con frecuencia. Cárguelo regularmente, incluso si no lo usa constantemente.
Solución de problemas
- El controlador no se conecta:
- Asegúrese de que el controlador esté cargado.
- Verifique que el interruptor esté en modo 'Cambiar agarre/orden'.
- Try restarting both the Switch and the controller.
- Asegúrese de que ningún otro dispositivo inalámbrico esté causando interferencias.
- Botones que no responden:
- Compruebe si el controlador está emparejado correctamente.
- Test button functionality in Switch system settings.
- Ensure the controller's firmware is up to date (if applicable, check GMBACK support websitio).
- Problemas de carga:
- Utilice el cable USB-C proporcionado.
- Pruebe con una fuente de alimentación USB diferente.
- Asegúrese de que el puerto de carga del controlador esté limpio y libre de residuos.
Presupuesto
| Característica | Detalle |
|---|---|
| Modelo | HD6900 |
| Compatibilidad | Nintendo Switch 2, Switch, Switch Lite, Switch OLED, Windows PC (wired) |
| Capacidad de la batería | 800 mAh |
| Recreo | 15-20 horas |
| Tiempo de carga | 2-3 horas |
| Conectividad | Inalámbrico (Bluetooth), con cable (USB-C) |
| Características especiales | Loop Macro, 6-Axis Gyro Sensor, Dual Vibration (4 levels), Adjustable Turbo (3 speeds), RGB Lighting, Remappable ABXY, Screenshot, Home Wake-up |
| Peso del artículo | 8.5 onzas |
| Dimensiones del paquete | 6.54 x 5.31 x 5.28 pulgadas |
Vídeo oficial del producto
Vídeo: Terminadoview of the GMBACK Wireless Switch Controller, demonstrating its features and compatibility with Nintendo Switch, Switch Lite, and Switch OLED consoles.
Garantía y soporte
GMBACK products come with a standard manufacturer's warranty. For detailed warranty information, technical support, or any inquiries regarding your controller, please refer to the contact information provided on the product packaging or visit the official GMBACK websitio.

Image: Icon representing customer support.