
1. Introducción
This manual provides essential information for the installation, operation, and maintenance of your Hikvision IDS-7208HQHI-M1/XT 8-Channel 5MP Turbo HD DVR. Please read this manual thoroughly before using the product to ensure correct and safe operation. Keep this manual for future reference.
The Hikvision IDS-7208HQHI-M1/XT is an advanced 8-channel Digital Video Recorder designed for high-definition surveillance systems. It supports various video input formats, including Turbo HD, AHD, CVI, CVBS, and IP cameras, offering versatile compatibility. Key features include 5MP recording capability, H.265+ video compression for efficient storage, AcuSense technology for intelligent motion detection, and remote access via the Hik-Connect app.
2. Contenido del paquete
Verifique que todos los artículos estén presentes y en buen estado al desembalarlos. Si falta algún artículo o está dañado, contacte a su proveedor inmediatamente.
- DVR main unit
- Adaptador de corriente
- Ratón USB
3. Características del producto
The Hikvision IDS-7208HQHI-M1/XT DVR offers a range of features designed for effective surveillance:
- 8-Channel DVR with 5MP HD Support: Supports multiple analog HD camera formats and up to 8 channels of real-time video monitoring and recording.
- Two-Way Audio Support: Enables audio communication through compatible cameras.
- Built-In AcuSense Technology: Smart analysis minimizes false alarms by focusing on human and vehicle-based motion detection.
- Remote Access via Hik-Connect App: View live video, playback recordings, and receive alerts anytime on your smartphone.
- Efficient Storage with H.265+ Compression: Saves bandwidth and hard disk space while maintaining clear video quality.
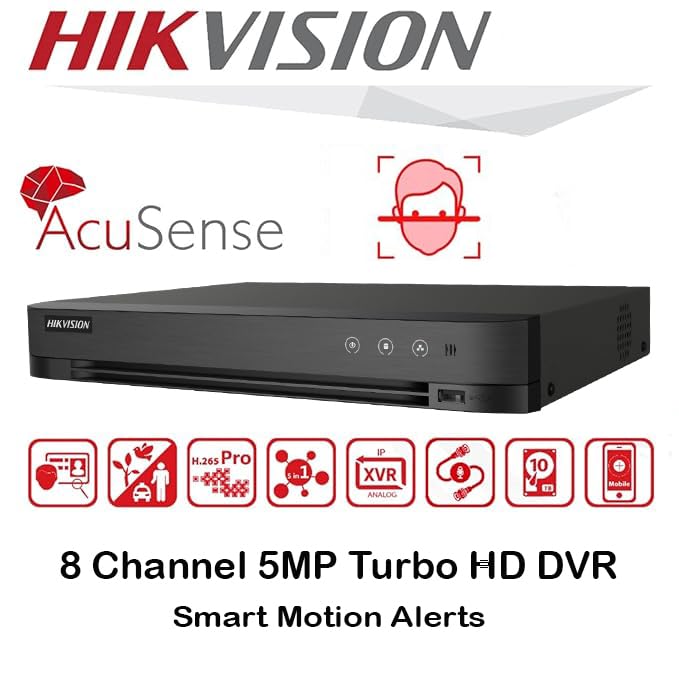
Imagen: Más alláview of key features including AcuSense, H.265+ compression, and 5MP resolution support.
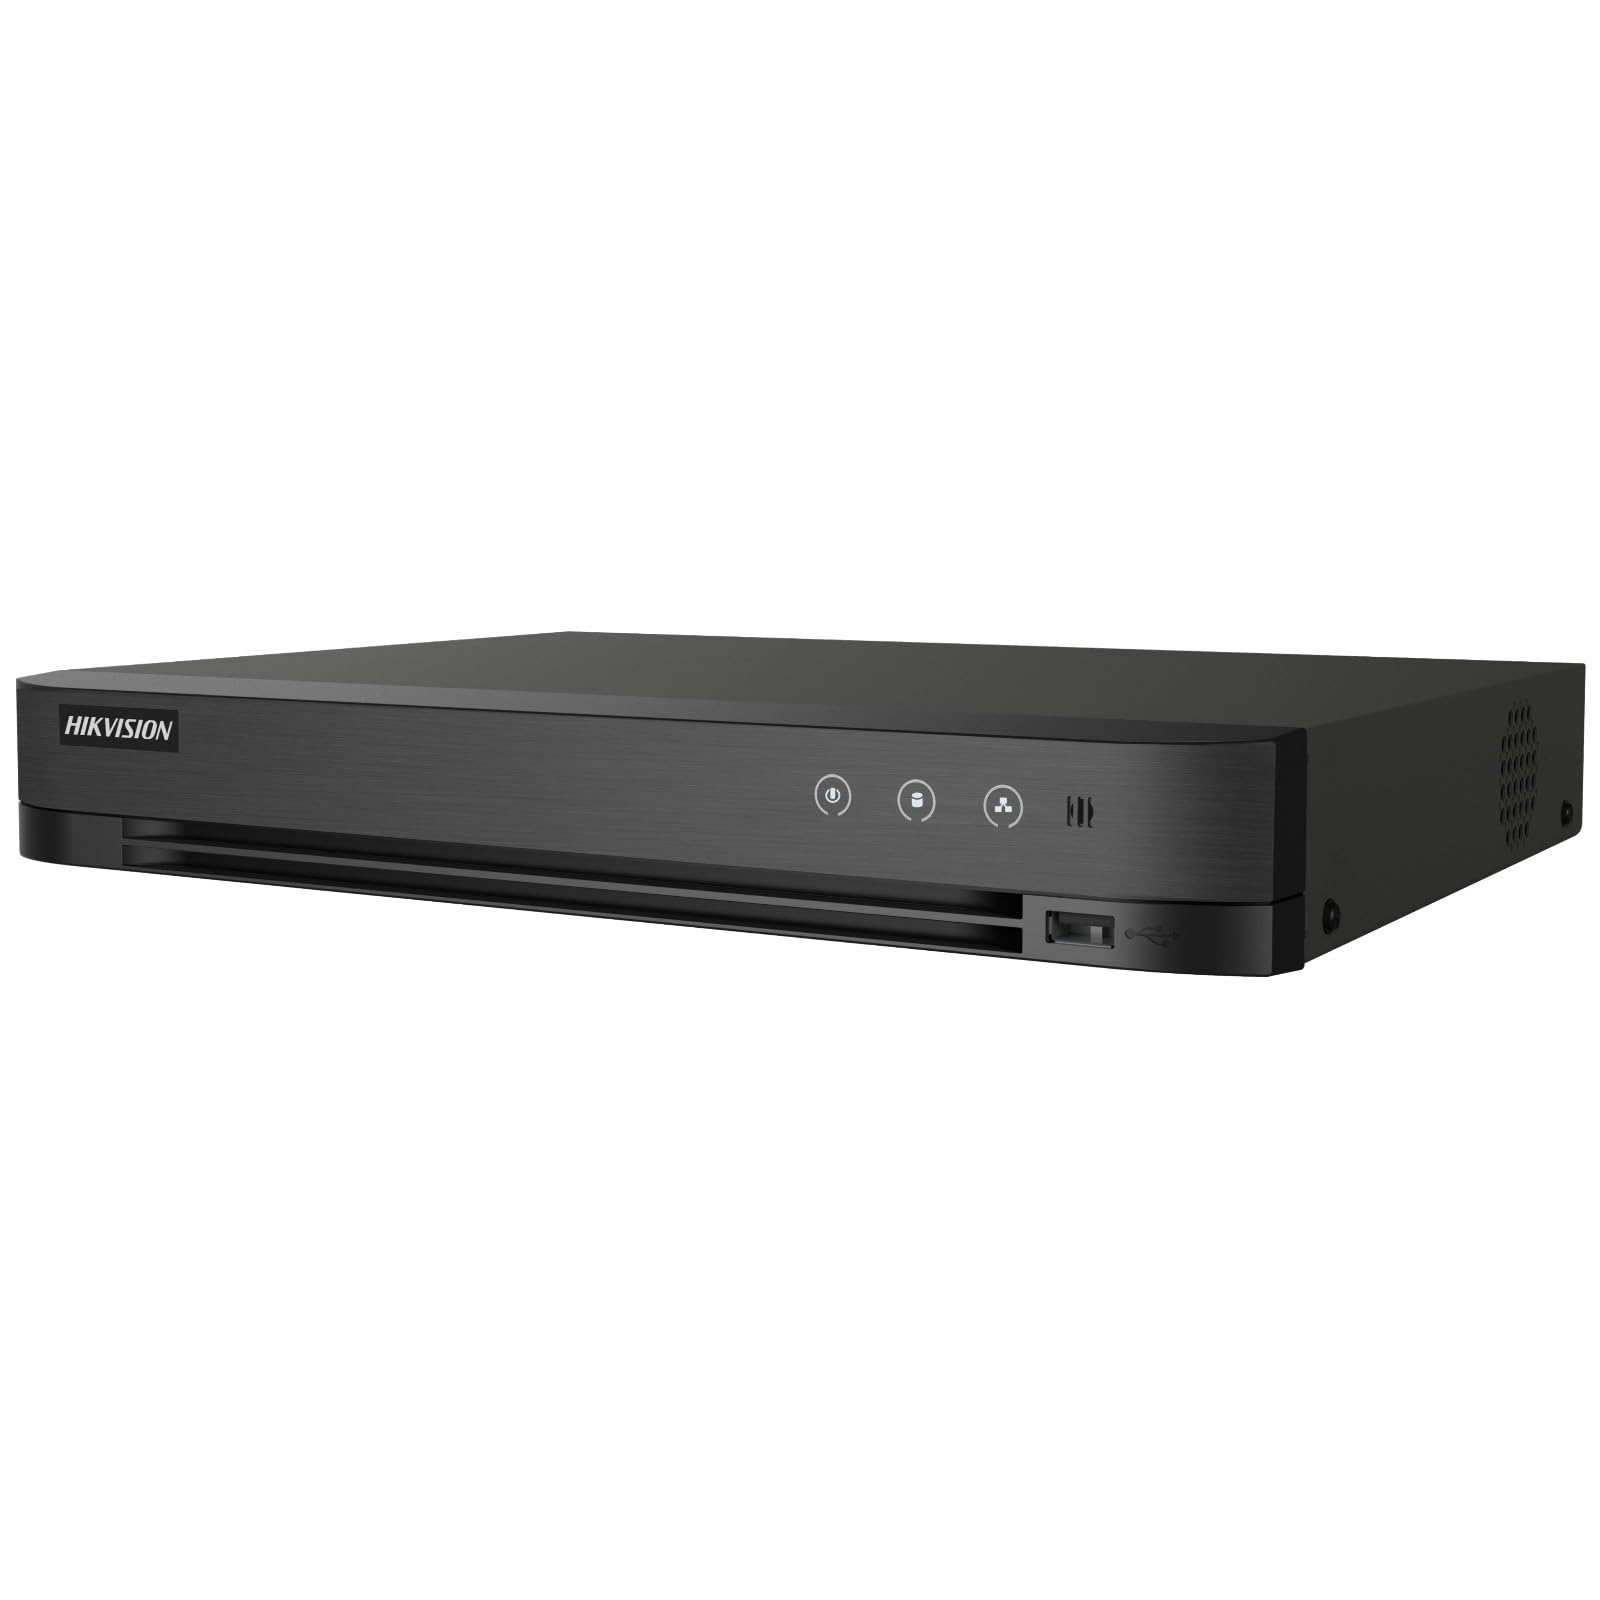
Image: The Hikvision Turbo HD DVR highlighting its support for two-way audio cameras, enabling interactive communication.
4. Interfaz física
Familiarize yourself with the ports and indicators on the DVR unit. The following diagram illustrates the rear panel of the Hikvision IDS-7208HQHI-M1/XT DVR:

Image: Rear panel connections of the DVR, showing video inputs, audio ports, network, and power.
- Entrada de vídeo (BNC): Connect analog HD cameras (Turbo HD, AHD, CVI, CVBS).
- Video Out (BNC): Connect to a monitor for local display.
- Entrada de audio (RCA): Connect external audio input devices.
- Salida HDMI: Connect to an HDMI-compatible monitor or TV for high-definition video output.
- Salida VGA: Connect to a VGA-compatible monitor.
- Salida de audio (RCA): Connect to external audio output devices.
- Puertos USB: Connect a USB mouse, USB flash drive for backup, or external storage.
- Puerto LAN (RJ45): Connect to your network for remote access and IP camera integration.
- RS-485: For PTZ camera control (if supported).
- Entrada de alimentación de 12 V CC: Conecte el adaptador de corriente incluido.
- Terminal de tierra: Para conectar a tierra el dispositivo.
5. Configuración
Follow these steps for initial setup of your DVR system:
5.1 Instalación del disco duro (si no está preinstalado)
- Desatornille y retire la cubierta superior del DVR.
- Conecte el cable de datos SATA y el cable de alimentación al disco duro.
- Asegure el disco duro al chasis del DVR utilizando los tornillos provistos.
- Vuelva a colocar la cubierta superior y fíjela con tornillos.
5.2 Conexión de periféricos
- Connect your cameras to the En el vídeo (BNC) ports.
- Connect a monitor to the HDMI or VGA Puerto de salida.
- Connect the USB mouse to a Puerto USB.
- Connect the DVR to your network router using an Ethernet cable plugged into the Puerto LAN.
- Conecte el adaptador de corriente a la Entrada de alimentación de 12 V CC and then plug it into a power outlet.
5.3 Configuración inicial
- Al iniciar por primera vez, el DVR lo guiará a través de un asistente de configuración.
- Set a strong password for the administrator account.
- Configure los ajustes de red (DHCP suele ser suficiente para la mayoría de las redes domésticas).
- Initialize the hard drive if prompted. This will format the drive for recording.
- Adjust date, time, and other system preferences as needed.
6. Operando
Once the DVR is set up, you can begin monitoring and recording.
6.1 en vivo View
Después de iniciar sesión, el DVR mostrará la transmisión en vivo. view de las cámaras conectadas en el monitor. Puede alternar entre una sola cámara view y cuadrícula multicámara view utilizando los controles en pantalla o el ratón.
6.2 Grabación
The DVR is typically configured to record continuously or based on motion detection. You can adjust recording schedules and settings through the DVR's menu system (Configuración > Grabar > Programar).
6.3 Reproducción
Para volverview comida grabadatage, navegue hasta el Reproducción menu. Select the date, time, and camera channel to view recordings. Use the playback controls (play, pause, fast forward, rewind) to navigate through the footage.
6.4 Remote Access (Hik-Connect App)
The Hik-Connect app allows you to access your DVR remotely from a smartphone or tablet.
- Descargue la aplicación Hik-Connect de la tienda de aplicaciones de su dispositivo.
- Cree una cuenta Hik-Connect e inicie sesión.
- Add your DVR by scanning the QR code on the DVR's label or by manually entering its serial number.
- Follow the in-app instructions to complete the device addition.
- Una vez añadido, puedes view live feeds, play back recordings, and receive push notifications for events.

Image: Illustration of the Hik-Connect mobile application interface, demonstrating remote access to live video and recordings.
7. Mantenimiento
El mantenimiento regular garantiza un rendimiento óptimo y la longevidad de su sistema DVR.
- Clean the DVR: Periodically clean the exterior of the DVR with a soft, dry cloth. Ensure ventilation openings are free from dust to prevent overheating.
- Actualizaciones de firmware: Consulta la información oficial de Hikvision webSitio para actualizaciones de firmware. Actualizar el firmware puede mejorar el rendimiento, añadir funciones y corregir errores. Siga atentamente las instrucciones de actualización.
- Estado del disco duro: Monitor the health of your hard drive through the DVR's system menu (Gestión de discos duros). Replace the hard drive if it shows signs of failure.
- Copia de seguridad de alimentos importantestage: Realice copias de seguridad periódicas de archivos de vídeo importantes.tage a una unidad USB externa o almacenamiento en red.
- Seguridad de la contraseña: Change your DVR and Hik-Connect passwords periodically to maintain security.
8. Solución de problemas
Esta sección aborda problemas comunes que podrías encontrar.
8.1 No hay salida de video en el monitor
- Verifique si el monitor está encendido y conectado correctamente al puerto HDMI o VGA del DVR.
- Asegúrese de que la fuente de entrada correcta esté seleccionada en su monitor.
- Intente conectarlo a un monitor diferente o utilizar un cable diferente.
8.2 Las cámaras no se muestran
- Verify that cameras are powered on and properly connected to the DVR's BNC inputs.
- Check camera power supplies.
- Ensure the camera type (TVI, AHD, CVI, CVBS) is compatible with the DVR and configured correctly in the DVR settings.
8.3 El acceso remoto no funciona
- Asegúrese de que el DVR esté conectado a Internet a través del puerto LAN.
- Verifique la configuración de red en el DVR (Configuration > Network).
- Verify that the Hik-Connect service is enabled on the DVR.
- Asegúrese de que su teléfono inteligente tenga una conexión a Internet activa.
- Re-add the device to the Hik-Connect app if necessary.
8.4 Sin grabación
- Check if a hard drive is installed and properly initialized (Configuration > HDD).
- Verify recording schedules are set correctly (Configuración > Grabar > Programar).
- Asegúrese de que haya suficiente espacio libre en el disco duro.
9. Especificaciones
Detailed technical specifications for the Hikvision IDS-7208HQHI-M1/XT DVR:
| Característica | Especificación |
|---|---|
| Número de modelo | IDS-7208HQHI-M1/XT |
| Entrada de vídeo | 8-Channel (Turbo HD/AHD/CVI/CVBS/IP) |
| Compresión de vídeo | H.265 + / H.265 / H.264 + / H.264 |
| Resolución de grabación | Hasta 5MP |
| Salida de vídeo | HDMI, VGA, BNC |
| Entrada/salida de audio | 2-Way Audio Support |
| Interfaz de red | 1 RJ45 10M/100M Ethernet Interface |
| Interfaz USB | 2 x USB 2.0 |
| Soporte para HDD | 1 interfaz SATA (hasta 10 TB de capacidad por disco duro) |
| Fuente de alimentación | 12 V CC |
| Dimensiones (L x An x Al) | 19.7 x 19.2 x 4.1 cm |
| Peso | 1.5 kilogramos |
| Fabricante | HIKVISION, Prama Hikvision India Pvt. Ltd. |
10. Garantía y soporte
Para obtener información sobre la garantía y soporte técnico, consulte la tarjeta de garantía incluida con su producto o visite el sitio web oficial de Hikvision. webSitio. Conserve su recibo de compra como comprobante para reclamaciones de garantía.
For further assistance, contact Hikvision customer support or your authorized dealer.