
1. Introducción
Thank you for choosing the VIKIO HOME VKH-RP31-30B 30-Inch Wall Mount Range Hood. This appliance is designed to effectively remove smoke, grease, and odors from your kitchen, ensuring a cleaner and more pleasant cooking environment. Featuring a powerful 900 CFM dual intake motor, convertible ducting options, and intuitive gesture and touch controls, this range hood combines performance with modern convenience. Please read this manual thoroughly before installation and operation to ensure proper use and maintenance.
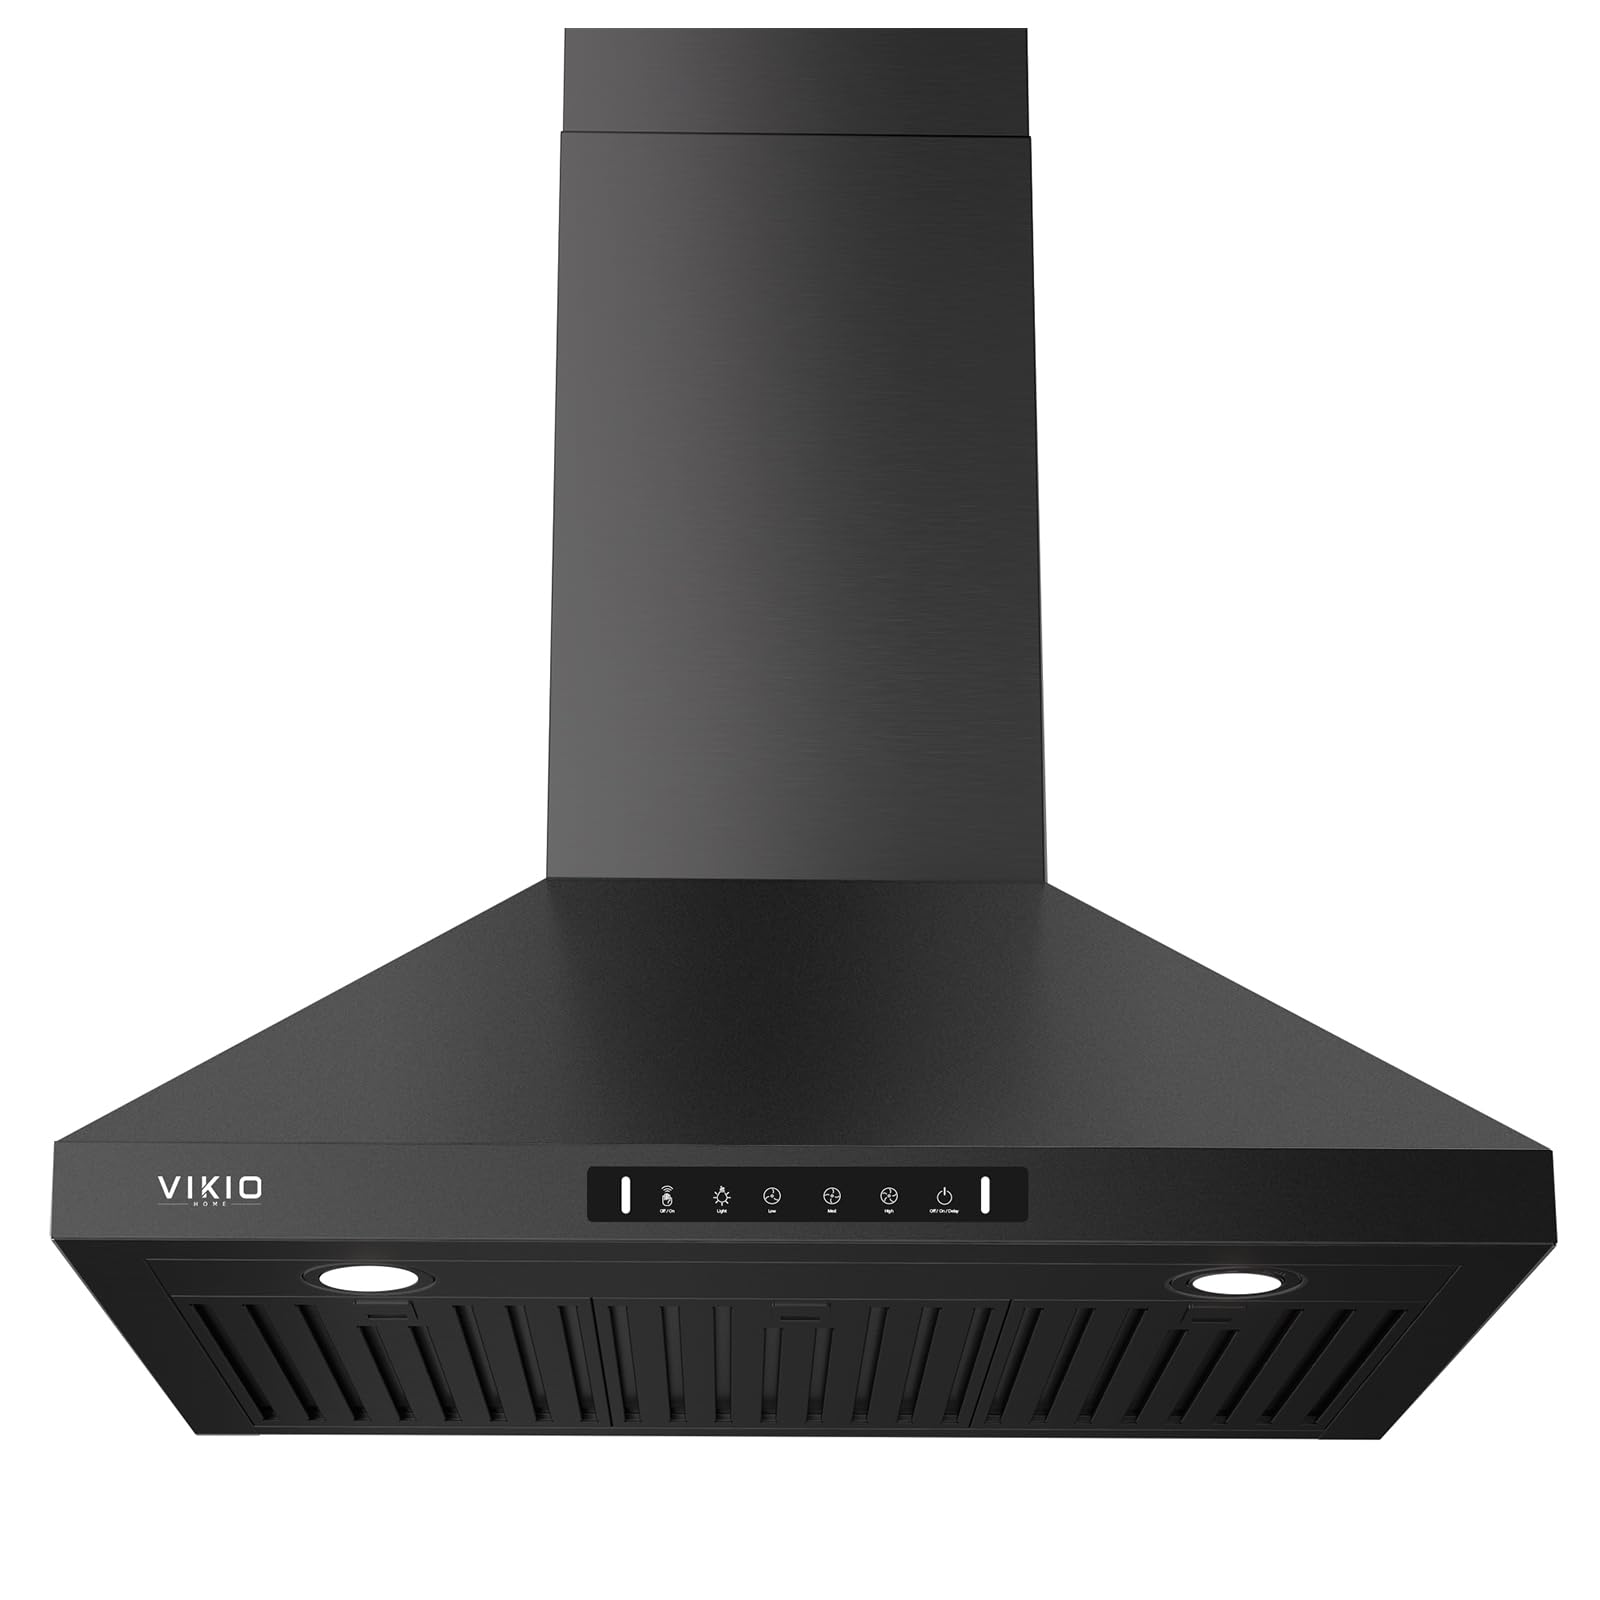
Figure 1.1: VIKIO HOME 30-Inch Wall Mount Range Hood (Black Painted Stainless Steel)
2. Información importante de seguridad
Para reducir el riesgo de incendio, descarga eléctrica o lesiones, tenga en cuenta lo siguiente:
- Lea todas las instrucciones antes de utilizar este aparato.
- Los trabajos de instalación y cableado eléctrico deben ser realizados por personas calificadas de acuerdo con todos los códigos y normas aplicables, incluida la construcción resistente al fuego.
- No utilice ningún ventilador con un cable o enchufe dañado. Deseche el ventilador o devuélvalo a un centro de servicio autorizado para que lo examinen o lo reparen.
- Se necesita suficiente aire para una combustión adecuada y el escape de gases a través del conducto de humos (chimenea) del equipo que quema combustible para evitar el contratiro. Siga las pautas y los estándares de seguridad del fabricante del equipo de calefacción, como los publicados por la Asociación Nacional de Protección contra Incendios (NFPA), la Sociedad Estadounidense de Ingenieros de Calefacción, Refrigeración y Aire Acondicionado (ASHRAE) y las autoridades de códigos locales.
- Al cortar o perforar la pared o el techo, no dañe el cableado eléctrico ni otros servicios públicos ocultos.
- Los ventiladores canalizados siempre deben ventilarse hacia el exterior.
- Always turn off power to the unit at the service panel and lock the service disconnecting means to prevent power from being switched on accidentally before servicing or cleaning.
- Limpie los filtros de grasa con frecuencia. No permita que la grasa se acumule en el ventilador ni en el filtro.
- Never ignite foods under the range hood.
- Utilice esta unidad únicamente de la manera prevista por el fabricante. Si tiene preguntas, póngase en contacto con el fabricante.
3. Contenido del paquete
Verifique que todos los componentes estén presentes y sin daños antes de comenzar la instalación.

Figure 3.1: Included components and hardware.
- Main Product (Range Hood)
- Chimenea inferior
- Chimenea superior
- Soporte de montaje
- Filtros deflectores (x3)
- 6" Round Aluminum Duct (for ducted installation)
- Charcoal Filters (x2) (for ductless installation)
- Manual de usuario
- Mounting Screws (M5x40mm) (x2)
- Washer (Ø5.5x16mm) (x2)
- Wall Bracket Mounting Screws (M4x16mm) (x2)
- Anchor (Ø6mm) (x2)
- Chimney Mounting Screws (M4x8mm) (x4)
Note: Before installing, remove any protective white film from the components.
4. Especificaciones
| Característica | Especificación |
|---|---|
| Número de modelo | VKH-RP31-30B |
| Capacidad de flujo de aire | 900 CFM (pies cúbicos por minuto) |
| Material | Black Painted Stainless Steel |
| Nivel de ruido | 40 dBA (low speed) to <65 dBA (high speed) |
| Tipo de montaje | Montaje en pared |
| Tipo de controles | Detección de gestos y control táctil |
| Volumentage | 120 voltios |
| Número de velocidades | 3 |
| Peso del artículo | 21 libras |
| Tipo de fuente de luz | LED (2 x 3W GU10) |
| Tipo de filtro | Permanent Baffle Filters |
| Tipo de ventilación | Convertible (Ductless/Ducted) |
| Dimensiones del producto | 19.65" de profundidad x 29.48" de ancho x 51.09" de alto |
| Proceso de dar un título | ETL |

Figura 4.1: Dimensiones del producto para la planificación de la instalación.
5. Instalación y configuración
Proper installation is crucial for the performance and safety of your range hood. Due to the size and weight, installation typically requires 1-2 people.
5.1 Lista de verificación previa a la instalación
- Ensure you have all necessary tools and hardware as listed in Section 3.
- Confirm the mounting location is suitable and can support the weight of the range hood.
- Verifique que el suministro eléctrico cumpla con las especificaciones del producto (120 V).
- Decide between ducted or ductless installation and prepare accordingly.
5.2 Instalación con conductos o sin conductos
This range hood is convertible and can be installed in either ducted or ductless (recirculating) configuration.

Figure 5.1: Illustration of ducted (left) and ductless (right) installation methods.
- Instalación canalizada: Vents air directly outside using the 6" round aluminum duct. This method offers faster smoke removal and does not require charcoal filter replacements.
- Instalación sin ductos: Recirculates filtered air back into the kitchen. This method requires the installation of charcoal filters (included) which need regular replacement.
5.3 Pasos generales de instalación
- Marcar los puntos de montaje: Use the provided template or measure carefully to mark the drilling points for the mounting bracket and chimney support.
- Perforar agujeros: Drill pilot holes and insert anchors as required for your wall type.
- Soporte de montaje: Fije el soporte de montaje a la pared utilizando los tornillos adecuados.
- Colgar la campana extractora: Carefully lift and hang the main range hood unit onto the mounting bracket. Ensure it is securely seated.
- Connect Ducting (Ducted): Attach the aluminum duct to the range hood exhaust and route it to the exterior vent. Seal all connections with duct tape.
- Install Charcoal Filters (Ductless): If using ductless mode, install the charcoal filters onto the motor housing as per instructions.
- Instalar secciones de chimenea: Attach the upper and lower chimney sections, securing them with the chimney mounting screws.
- Conexión eléctrica: Connect the range hood to a grounded electrical outlet or hardwire it according to local electrical codes.
- Instalar filtros deflectores: Insert the stainless steel baffle filters into their slots.
6. Instrucciones de funcionamiento
Your VIKIO HOME range hood features both touch controls and gesture sensing for convenient operation.

Figure 6.1: Control panel with touch and gesture sensing points.
6.1 Funciones del panel de control
- Encendido/apagado: Enciende o apaga la unidad.
- Luz: Enciende y apaga las luces LED.
- Baja velocidad: Activa el ventilador a baja velocidad para cocciones ligeras.
- Med Speed: Activa el ventilador a velocidad media para una cocción moderada.
- Alta velocidad: Activates the fan at high speed for heavy smoke and odors.
- Apagado retardado: Press this button to activate a 3-minute delayed shutdown. The fan will continue to operate for 3 minutes and then turn off automatically.
6.2 Control de gestos
The range hood can be operated by waving your hand in front of the gesture sensing points located on the control panel.

Figure 6.2: Wave hand to control functions.
- Encender/Apagar: Wave your hand across the left sensing point to turn the fan on or off.
- Ajustar velocidad: Wave your hand across the control panel from left to right to increase fan speed (Low > Med > High). Wave from right to left to decrease fan speed.
- Apagado retardado: Wave your hand across the right sensing point to activate the delayed shutdown function.
Note: Gesture control can be disabled if preferred. Refer to the full user manual for detailed instructions on disabling this feature.
Video 6.1: Demonstration of the VIKIO HOME range hood's gesture control and features.
7. Mantenimiento
El mantenimiento regular garantiza un rendimiento óptimo y la longevidad de su campana extractora.
7.1 Limpieza de los filtros deflectores
The permanent stainless steel baffle filters are designed to capture grease and are dishwasher-safe for easy cleaning.

Figure 7.1: Baffle filters are dishwasher safe for convenient cleaning.
- Eliminar filtros: Gently pull the latch on each baffle filter and slide it out.
- Limpio: Coloque los filtros en el lavavajillas o lávelos a mano con agua caliente y un gradoasing de detergente.
- Secar y reinstalar: Asegúrese de que los filtros estén completamente secos antes de volver a instalarlos.
7.2 Reemplazo de filtros de carbón (solo en modo sin conductos)
If your range hood is installed in ductless mode, the charcoal filters need to be replaced periodically, typically every 3-6 months depending on usage.
- Remove Baffle Filters: Follow the steps above to remove the baffle filters.
- Retire los filtros de carbón viejos: Locate the charcoal filters attached to the motor housing and twist or unclip them to remove.
- Instalar nuevos filtros de carbón: Attach new charcoal filters (VIKIO HOME genuine replacement filters recommended) by twisting or clipping them into place.
- Reinstall Baffle Filters: Place the baffle filters back into their slots.
7.3 Limpieza general
- Wipe the exterior surfaces of the range hood with a soft cloth and a mild, non-abrasive cleaner.
- Do not use abrasive pads or cleaners that could scratch the stainless steel finish.
- Clean the LED lights with a soft, damp paño.
8. Solución de problemas
Antes de ponerse en contacto con el servicio de atención al cliente, consulte la siguiente tabla para conocer problemas comunes y sus soluciones.
| Problema | Posible causa | Solución |
|---|---|---|
| La campana extractora no se enciende | No hay suministro de energía; disyuntor disparado; cableado suelto. | Check power connection, reset circuit breaker, ensure all wiring is secure. |
| Pobre rendimiento de succión | Clogged grease filters; incorrect ducting size; blocked ductwork; charcoal filters saturated (ductless). | Clean or replace filters. Check ductwork for obstructions or proper installation. Replace charcoal filters if in ductless mode. |
| Ruido excesivo | Loose fan blades; foreign object in fan; improper installation; ductwork issues. | Inspect fan for obstructions. Ensure all mounting screws are tightened. Check ductwork for kinks or restrictions. |
| Las luces no funcionan | Bombilla fundida; conexión suelta. | Replace LED bulb (GU10 type). Check light connections. |
| El control de gestos no responde | Gesture control disabled; obstruction near sensors; incorrect gesture. | Ensure gesture control is enabled. Clear any objects near the sensors. Practice gestures as described in Section 6.2. |
9. Garantía y atención al cliente
VIKIO HOME stands behind the quality of its products. Your range hood comes with a 2-year confidence warranty.
- Cobertura de la garantía: This warranty covers defects in materials and workmanship under normal use for a period of two (2) years from the date of purchase.
- Servicio al cliente: For any questions, assistance, or warranty claims, please contact our professional customer service team. We aim to provide a response within 24 hours.
- Piezas de repuesto: We offer free replacement of accessories such as filters and lights as needed during the warranty period.
Conserve su comprobante de compra para el servicio de garantía.