
1. Introducción
This manual provides instructions for the assembly, operation, and maintenance of your HOOBRO BF102UBZ01-FG05RS01 Narrow Side Table. This versatile furniture piece features a built-in charging station, multiple storage shelves, and a compact design suitable for various living spaces.

Image: The HOOBRO narrow side table with charging station, showcasing its compact design and functionality in a living room setting.
2. Instrucciones de seguridad
- Lea atentamente todas las instrucciones antes del montaje y uso.
- Mantenga todas las piezas pequeñas y los materiales de embalaje fuera del alcance de los niños y las mascotas para evitar riesgos de asfixia.
- Ensure the product is assembled on a soft, clean surface to prevent scratches.
- Do not overload the shelves. Refer to the specifications for weight limits (if available).
- Place the table on a level and stable surface to prevent tipping.
- For the charging station, ensure the power cord is not pinched or damaged. Plug into a properly grounded electrical outlet.
- No exponga la estación de carga a la humedad ni a líquidos.
3. Contenido del paquete
Antes de comenzar el montaje, verifique que todos los componentes enumerados a continuación estén presentes y sin daños. Si alguna pieza falta o está dañada, póngase en contacto con atención al cliente.
- Wooden Shelves (Top, Middle)
- Componentes del marco de metal
- Estante de malla en forma de L
- Regleta con 1 toma de CA y 2 puertos USB
- Herrajes de montaje (tornillos, pernos, llave Allen)
- Manual de instrucciones
4. Configuración y montaje
The assembly process for this side table is designed to be straightforward. Each part is numbered for easy identification. Follow the included clear instruction manual step-by-step.
- Desempaquetar componentes: Retire con cuidado todas las piezas del embalaje y colóquelas sobre una superficie limpia y suave.
- Identificar piezas: Match each component to the corresponding number in the assembly diagram.
- Ensamblar el marco: Connect the metal frame components using the provided hardware. Do not fully tighten screws until all parts are loosely assembled.
- Fijar estantes: Secure the wooden shelves and the L-shaped mesh rack to the frame.
- Instalar regleta de enchufes: Mount the power strip to the designated area on the table frame.
- Ajuste final: Once all parts are in place, securely tighten all screws and bolts.
- Colocación: Position the assembled table in its desired location, ensuring it is stable.
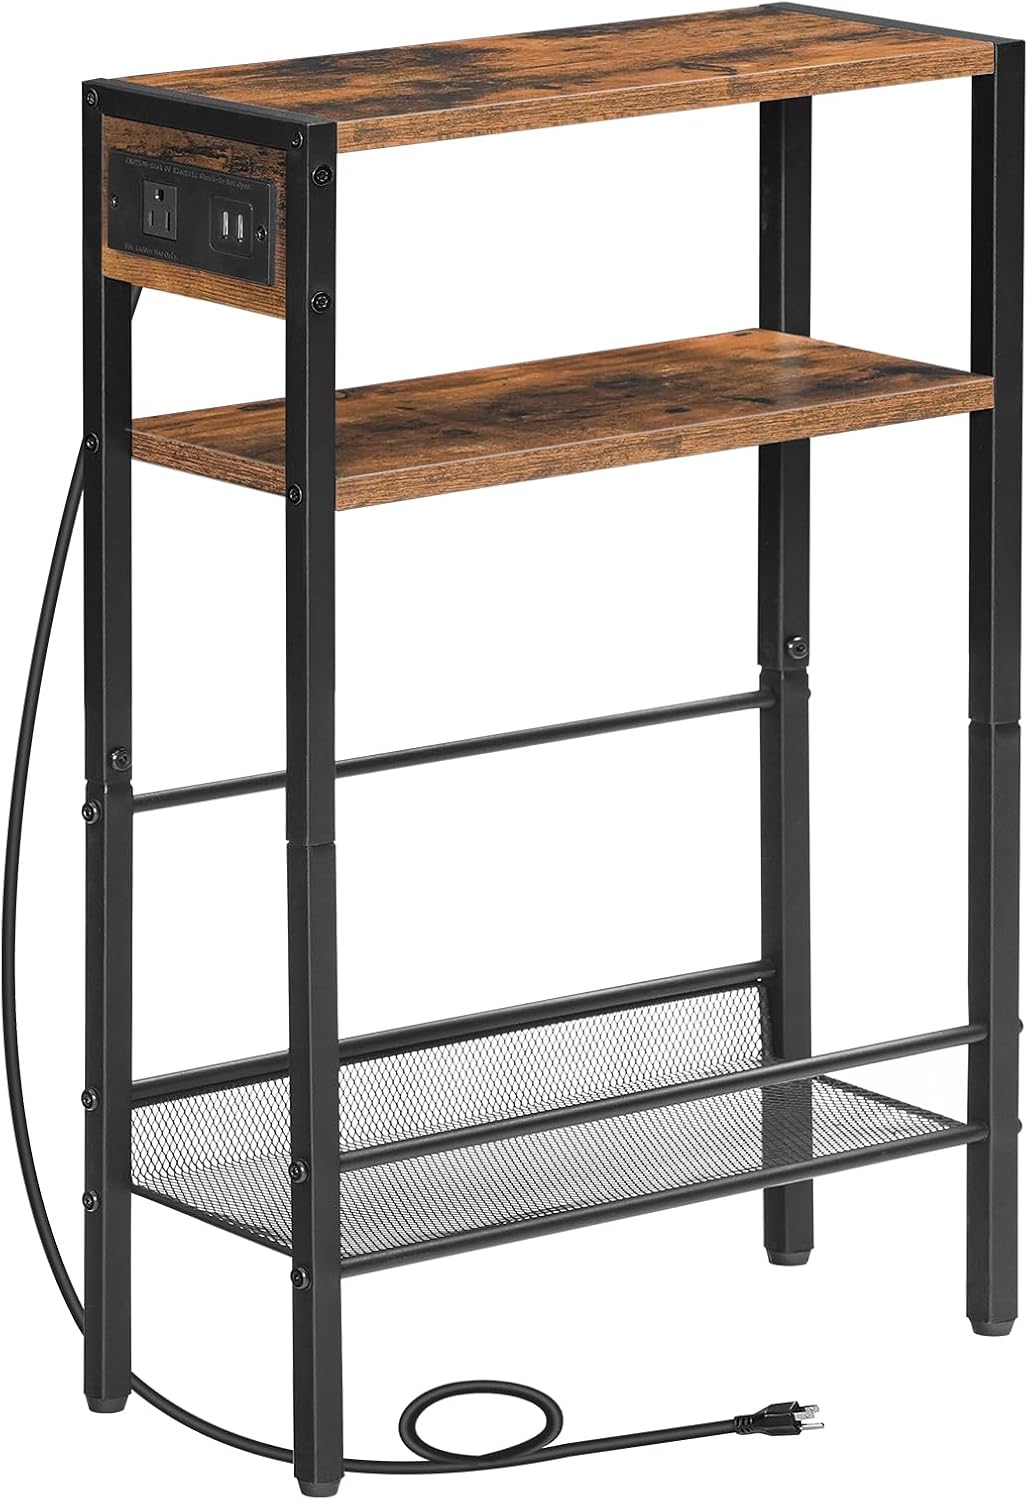
Imagen: Un detalle view of the side table's structure, highlighting the integrated charging station and shelf design.
5. Instrucciones de funcionamiento
5.1 Estación de carga
The side table is equipped with a convenient power strip featuring 1 AC outlet and 2 USB ports.
- Conexión de energía: Conecte el cable de alimentación de la mesa a un tomacorriente de pared estándar.
- Toma de CA: Utilice la toma de CA para alimentar dispositivos como lamps, computadoras portátiles u otros dispositivos electrónicos.
- Puertos USB: Conecte sus teléfonos inteligentes, tabletas u otros dispositivos alimentados por USB a los puertos USB para cargarlos.
5.2 Utilización del almacenamiento
The table offers multiple storage options to help organize your items.
- Estante superior: Ideal for placing a record player, a lamp, drinks, or decorative items.
- Middle Wooden Shelf: Suitable for commonly used items like remote controls, glasses, or small books.
- Bottom L-shaped Mesh Rack: Designed with side rails, this rack is perfect for storing magazines, larger books, or vinyl records.
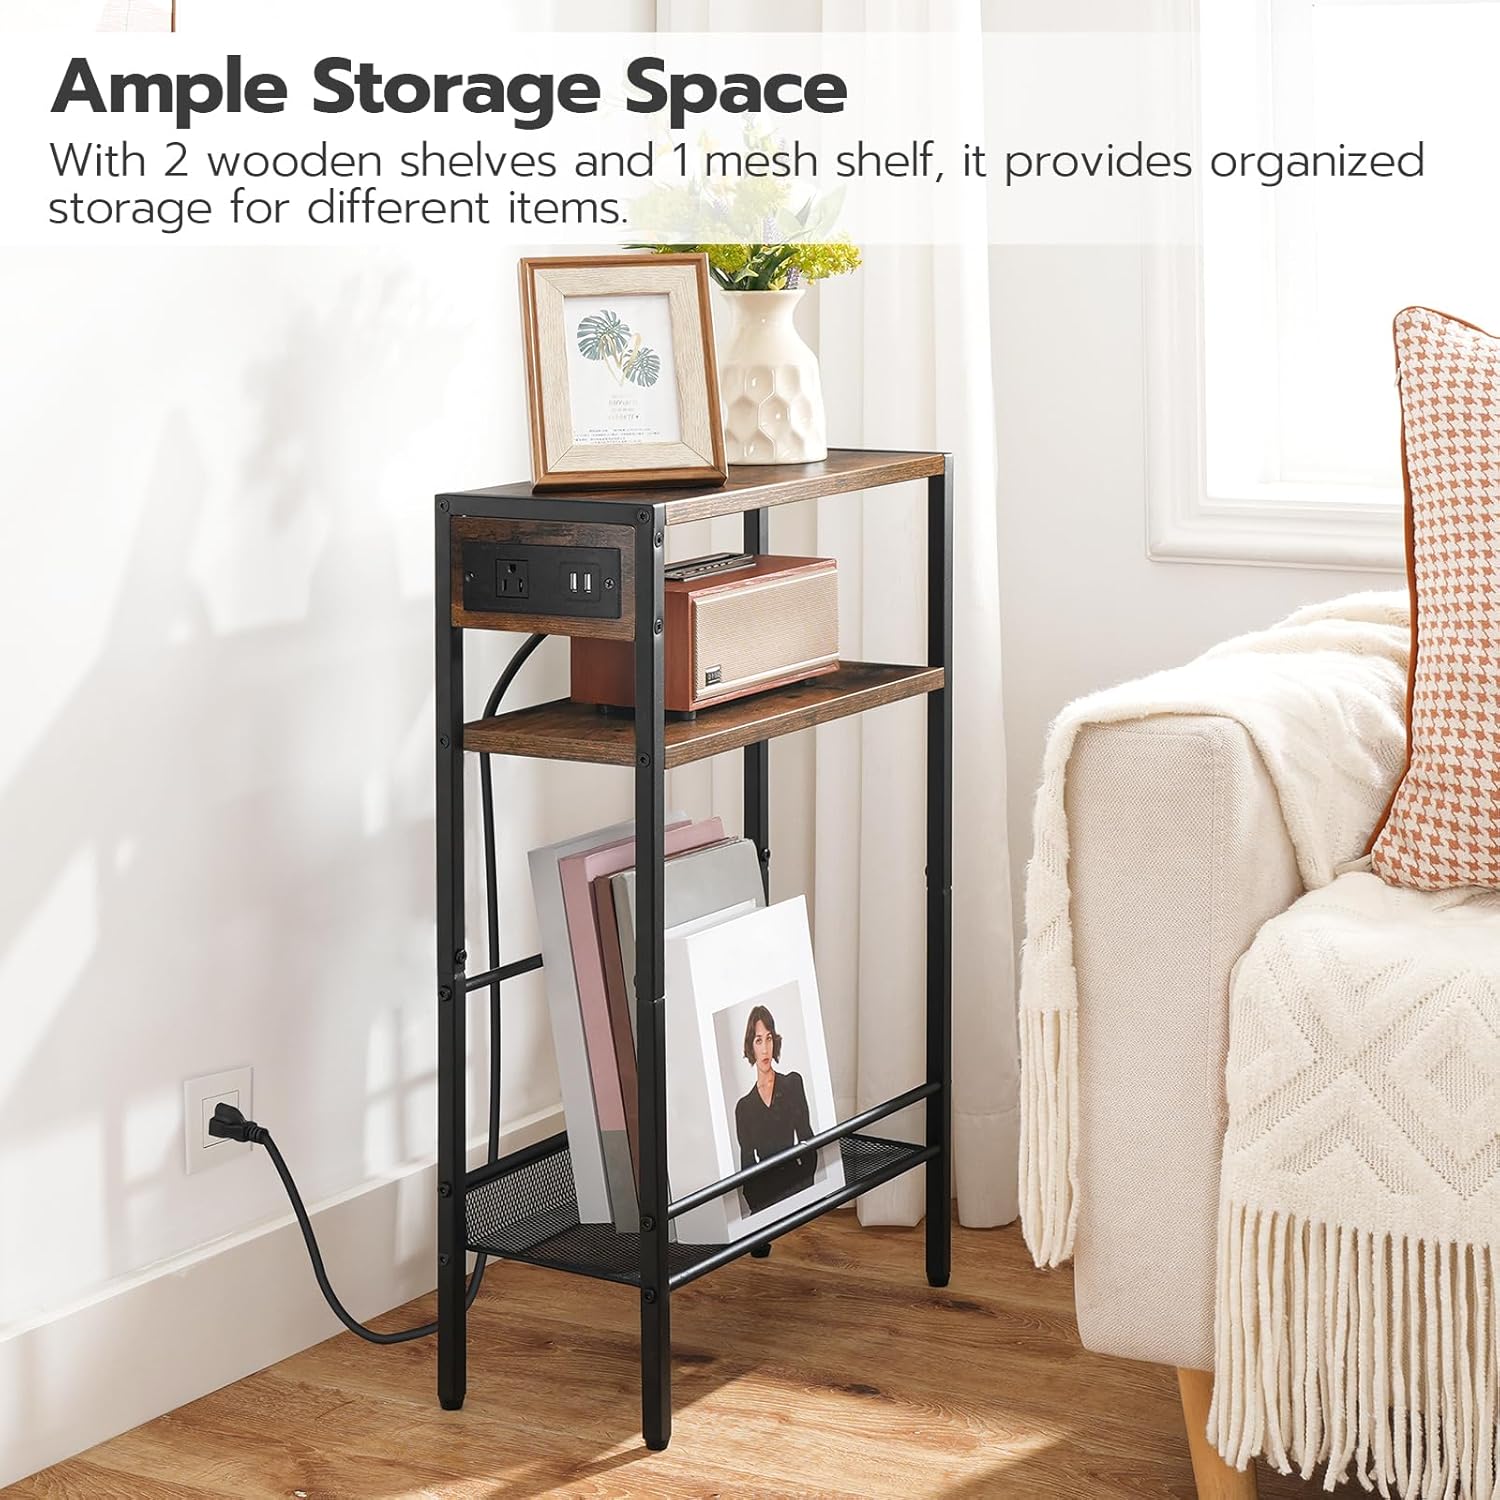
Image: The side table demonstrating its ample storage capacity with various items neatly organized on its shelves.
6. Mantenimiento
- Limpieza: Limpie las superficies de la mesa con un paño suave.amp Paño. Evite utilizar productos químicos agresivos o limpiadores abrasivos, que pueden dañar el acabado.
- Limpiar el polvo: Regularly dust the table to prevent buildup.
- Seguridad eléctrica: Inspeccione periódicamente el cable de alimentación y la estación de carga para detectar cualquier signo de desgaste o daño. Suspenda su uso si detecta algún daño y contacte con atención al cliente.
- Comprobación de estabilidad: Revise ocasionalmente todos los tornillos y pernos para asegurarse de que estén bien apretados. Vuelva a apretarlos si es necesario para mantener la estabilidad.
7. Solución de problemas
- La estación de carga no funciona:
- Asegúrese de que el cable de alimentación de la mesa esté enchufado de forma segura a un tomacorriente de pared que funcione.
- Verifique si la toma de corriente de pared está recibiendo energía (pruebe con otro dispositivo).
- Verify that the devices you are trying to charge are properly connected to the AC outlet or USB ports.
- La mesa es inestable/se tambalea:
- Asegúrese de que todos los tornillos y pernos de montaje estén completamente apretados.
- Check if the table is placed on an even surface. Adjust if necessary.
- Piezas faltantes o dañadas:
- If you discover any missing or damaged parts during unpacking or assembly, do not proceed with assembly. Contact HOOBRO customer support immediately for assistance.
8. Especificaciones
| Número de modelo | BF102UBZ01-FG05RS01 |
| Dimensiones generales | 38.1 cm de largo x 29.97 cm de ancho x 55.12 cm de alto (15" de largo x 11.8" de ancho x 21.7" de alto) |
| Estación de carga | 1 toma de CA, 2 puertos USB |
| Material | Madera de ingeniería, estructura de metal |

Image: Detailed dimensions of the side table, including length, width, and height measurements.
9. Garantía y soporte
For warranty information, product support, or to report missing/damaged parts, please contact HOOBRO customer service through the retailer's platform or the official HOOBRO website. Please have your model number (BF102UBZ01-FG05RS01) and purchase details ready when contacting support.