
1. Información importante de seguridad
Please read and understand all safety instructions before installing or operating this solar battery charger maintainer. Failure to follow these instructions may result in electric shock, fire, or serious injury.
- No intente desmontar, modificar ni reparar el panel solar ni el controlador. Encargue cualquier servicio técnico a personal cualificado.
- Ensure all connections are secure and correct before applying power. Loose connections can cause sparks and damage.
- Avoid touching the exposed ends of wires or terminals when the panel is exposed to sunlight, as it can generate voltage.
- Use equipo de protección personal (EPP) adecuado, incluidas gafas y guantes de seguridad, durante la instalación.
- Keep the solar panel and controller away from flammable materials and explosive gases.
- The controller is not waterproof. Protect it from rain, snow, and excessive moisture.
- Asegúrese de que haya una ventilación adecuada alrededor del controlador para evitar el sobrecalentamiento.
- Este producto está diseñado únicamente para sistemas de batería de 12 V. No lo conecte a otros sistemas de voltaje.tagy sistemas.
2. Producto terminadoview
The VEVOR 50W 12V Solar Battery Charger Maintainer is designed to efficiently charge and maintain 12V batteries using solar energy. It features high-efficiency monocrystalline cells and an intelligent MPPT controller to prevent overcharge and over-discharge, extending battery lifespan. The panel is IP65 waterproof for outdoor use.
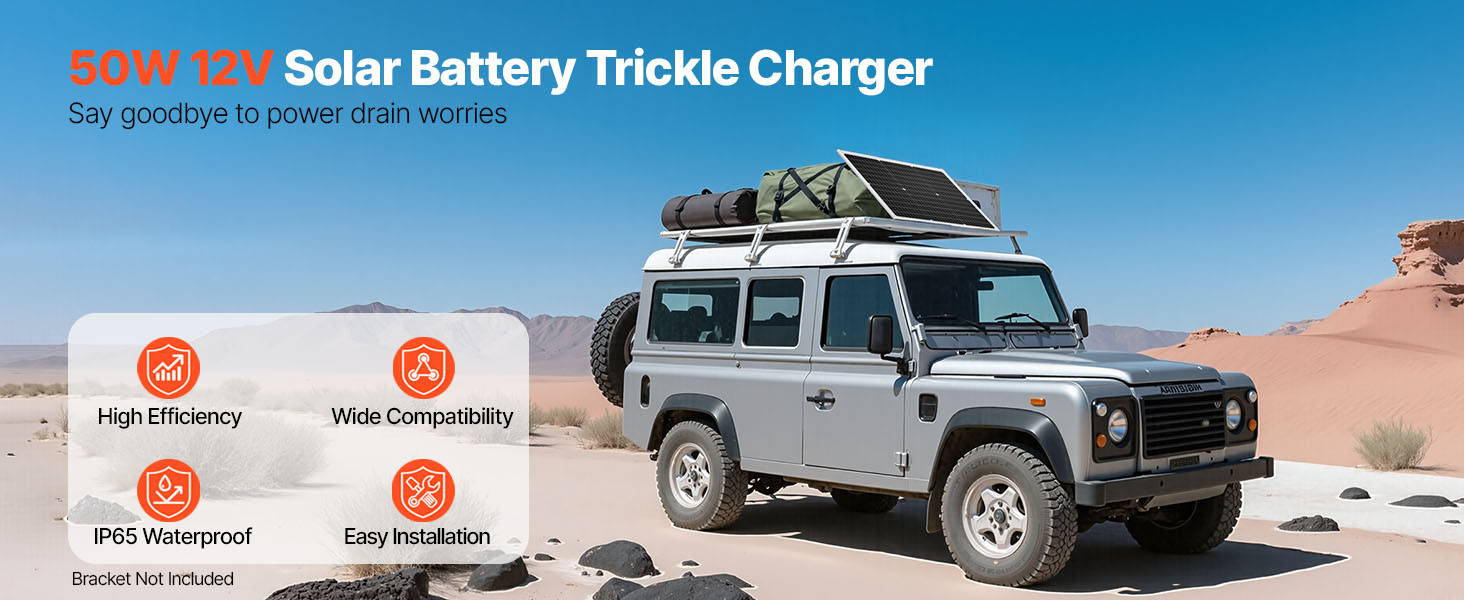
Figure 2.1: High-Efficiency Monocrystalline Solar Panel Construction
3. ¿Qué hay en la caja?
Verifique que todos los componentes estén presentes y sin daños al desembalarlo:
- 1 panel solar monocristalino de 50 W
- 1 controlador de carga solar MPPT
- 1 x Alligator Clip Cable (43.3 inch / 1100 mm)
- 1 x O-Ring Terminal Cable (43.3 inch / 1100 mm)
- 1 x Extension Cable (122 inch / 3100 mm)
- Manual de usuario
4. Especificaciones
| Característica | Especificación |
|---|---|
| Número de modelo del artículo | 50 W |
| Máxima potencia | 50 vatios |
| Vol de salidatage | 12 V CC |
| Vol. De potencia máximatage | 20 V |
| Volumen de batería compatibletage | 12 V |
| Tipo de célula solar | Silicio monocristalino |
| Material de la superficie | High-Transparency Tempered Glass |
| Tipo de controlador | External MPPT Controller |
| Waterproof Rating (Panel) | IP65 |
| Temperatura de funcionamiento | -40 ℉ a 185 ℉ (-40 ℃ a 85 ℃) |
| Dimensiones del producto (L x An x Al) | 23" x 29.5" x 0.98" (585 x 495 x 25 mm) |
| Peso del artículo | 6.4 libras (2.9 kg) |
| Tipo de conector | MC4 |
5. Configuración e instalación
5.1 Colocación
Select a location for the solar panel that receives maximum direct sunlight throughout the day, unobstructed by shadows from trees, buildings, or other objects. The panel is designed for flat placement on surfaces such as rooftops, RVs, boats, or in open yards.

Figure 5.1: Recommended Placement Scenarios
Nota: A mounting bracket is not included. If placing on a roof or in an area prone to strong winds, ensure the panel is securely fastened and reinforced to prevent it from being blown away.
5.2 Conexión del panel solar
The solar panel kit includes an MPPT controller and various connection cables for versatile use. Follow these steps for proper connection:
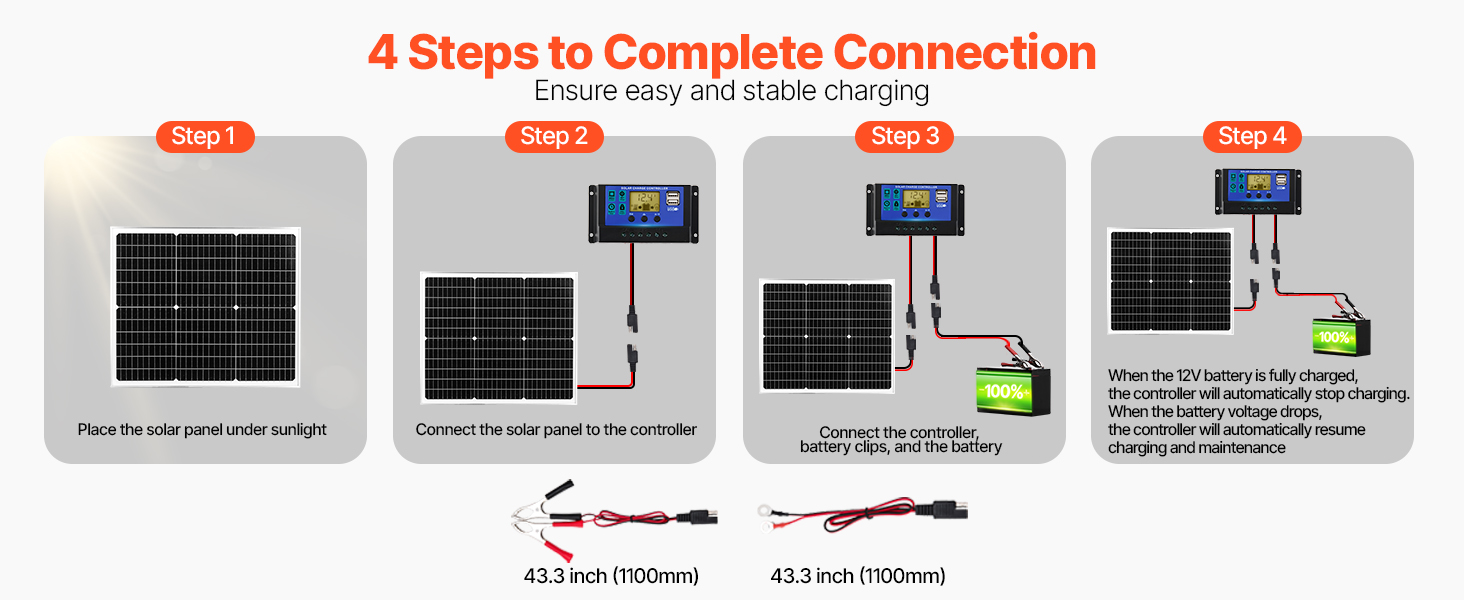
Figure 5.2: Connection Methods and Cables
- Coloque el panel solar: Coloque el panel solar bajo la luz solar directa.
- Conectarse al controlador: Connect the solar panel's MC4 connectors to the corresponding input terminals on the MPPT solar charge controller. Ensure polarity is correct (positive to positive, negative to negative).
- Connect Controller to Battery: Choose the appropriate connection cable (alligator clips or O-ring terminals) based on your battery type. Connect the cable to the battery output terminals on the MPPT controller. Then, connect the other end of the cable to your 12V battery. Ensure correct polarity: red to positive (+), black to negative (-).
- Verificar conexión: Once all connections are made, the controller display should activate, indicating the battery voltage y estado de carga.
Importante: Always connect the controller to the battery first, then to the solar panel. When disconnecting, disconnect the solar panel first, then the battery.
6. Instrucciones de funcionamiento
6.1 Proceso de carga
The intelligent MPPT controller manages the charging process automatically. When the solar panel is exposed to sunlight and connected to a 12V battery via the controller, it will begin charging. The controller features 6-stage protection to optimize battery health.
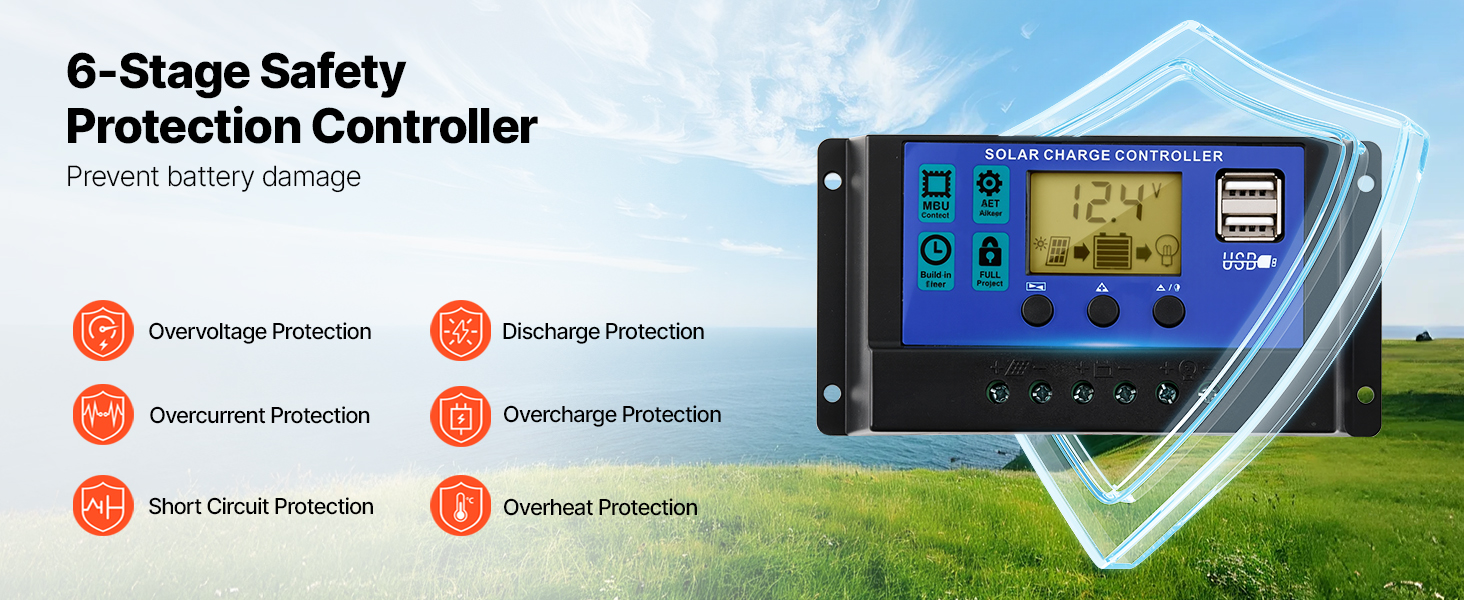
Figure 6.1: MPPT Intelligent Controller with Safety Features
- The controller automatically stops charging when the battery voltage reaches 12V to prevent overcharging.
- It automatically resumes charging when the battery voltage drops below 12V, ensuring continuous maintenance.
- The display on the controller provides real-time information on battery voltage y estado de carga.
6.2 Compatibilidad de la batería
This solar charger maintainer is compatible with multiple 12V battery types:
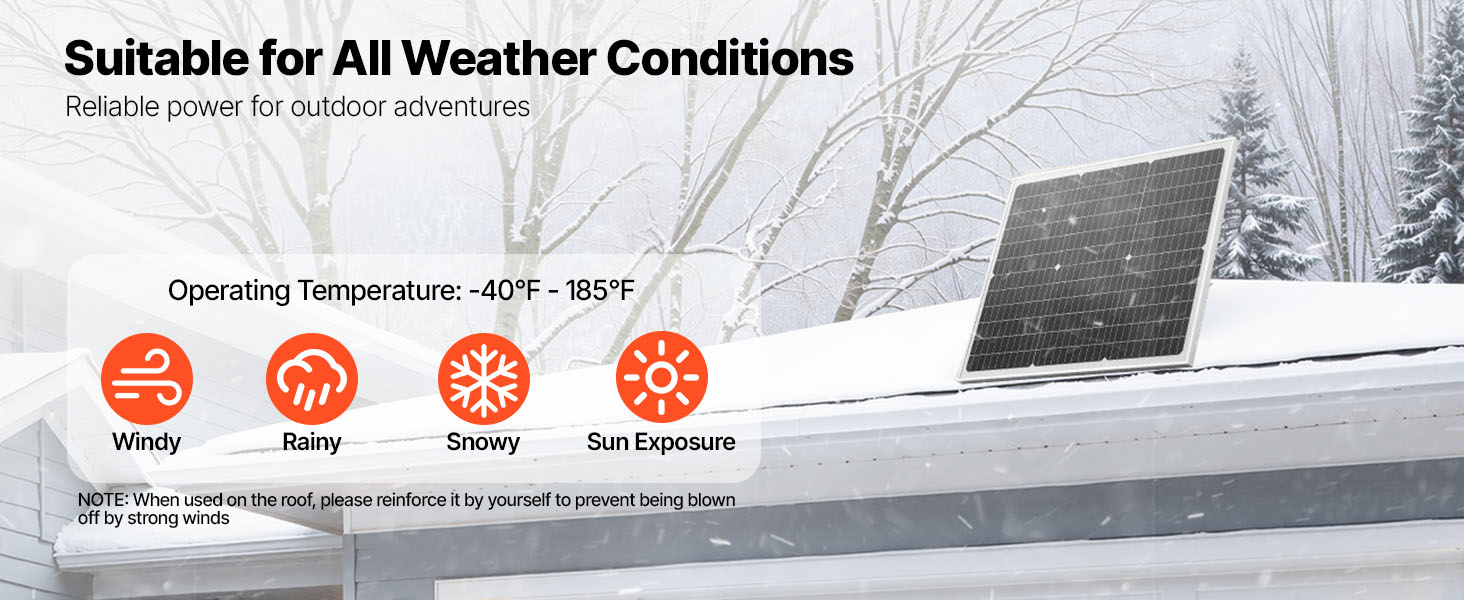
Figura 6.2: Tipos de baterías de 12 V compatibles
- LiFePO4 (fosfato de hierro y litio)
- Li-ion (ion de litio)
- AGM (estera de fibra de vidrio absorbente)
- Gel
- SLA (plomo-ácido sellado)
- EFB (batería inundada mejorada)
7. Mantenimiento
Regular maintenance ensures optimal performance and longevity of your solar battery charger maintainer.
- Limpieza: Limpie periódicamente la superficie del panel solar con un paño suave y húmedo.amp cloth to remove dust, dirt, and debris. A clean panel ensures maximum sunlight absorption. Do not use abrasive cleaners or harsh chemicals.
- Inspección: Regularly inspect all cables and connections for signs of wear, corrosion, or damage. Ensure connections remain tight.
- Cuidado del controlador: Keep the MPPT controller dry and free from dust. Ensure it has adequate ventilation.
- Protección ambiental: While the panel is IP65 waterproof, the controller is not. Protect the controller from direct exposure to rain, snow, and extreme moisture.
8. Solución de problemas
If you encounter issues with your VEVOR solar battery charger maintainer, refer to the following table for common problems and solutions.
| Problema | Posible causa | Solución |
|---|---|---|
| No charging indication on controller | Sin luz solar o con luz solar insuficiente Conexiones sueltas o incorrectas Faulty solar panel or controller | Move panel to direct sunlight; clean panel surface Check all cable connections for tightness and correct polarity Test components individually if possible; contact support |
| La batería no se carga completamente | Exposición solar insuficiente Degradación de la batería Controller settings (if applicable) | Asegúrese de la máxima exposición a la luz solar. Have battery tested by a professional Ensure controller is set for 12V battery type (automatic for this model) |
| La pantalla del controlador está apagada | No battery connection Vol de la bateríatage demasiado bajo Fallo del controlador | Connect controller to a 12V battery Charge battery with an alternative charger if critically low Contactar con soporte técnico |
| Overcharging/Over-discharging (despite controller) | Mal funcionamiento del controlador Incorrect battery type selection (if applicable) | Immediately disconnect and contact support. This model automatically detects 12V. |
9. Garantía y soporte
Los productos VEVOR están diseñados para ofrecer fiabilidad y rendimiento. Para obtener información sobre la garantía, soporte técnico o consultas de servicio, consulte la tarjeta de garantía incluida con su producto o visite el sitio web oficial de VEVOR. website. Please have your product model number (50W) and purchase details ready when contacting support.