
KBS MBF-014A
Manual del usuario de la panificadora KBS 20 en 1 MBF-014A
Modelo: MBF-014A
1. Introducción y másview
Thank you for choosing the KBS 20-IN-1 Bread Maker, Model MBF-014A. This appliance is designed to simplify your bread-making process with its versatile programs and user-friendly features. Please read this manual thoroughly before operation to ensure safe and optimal use.
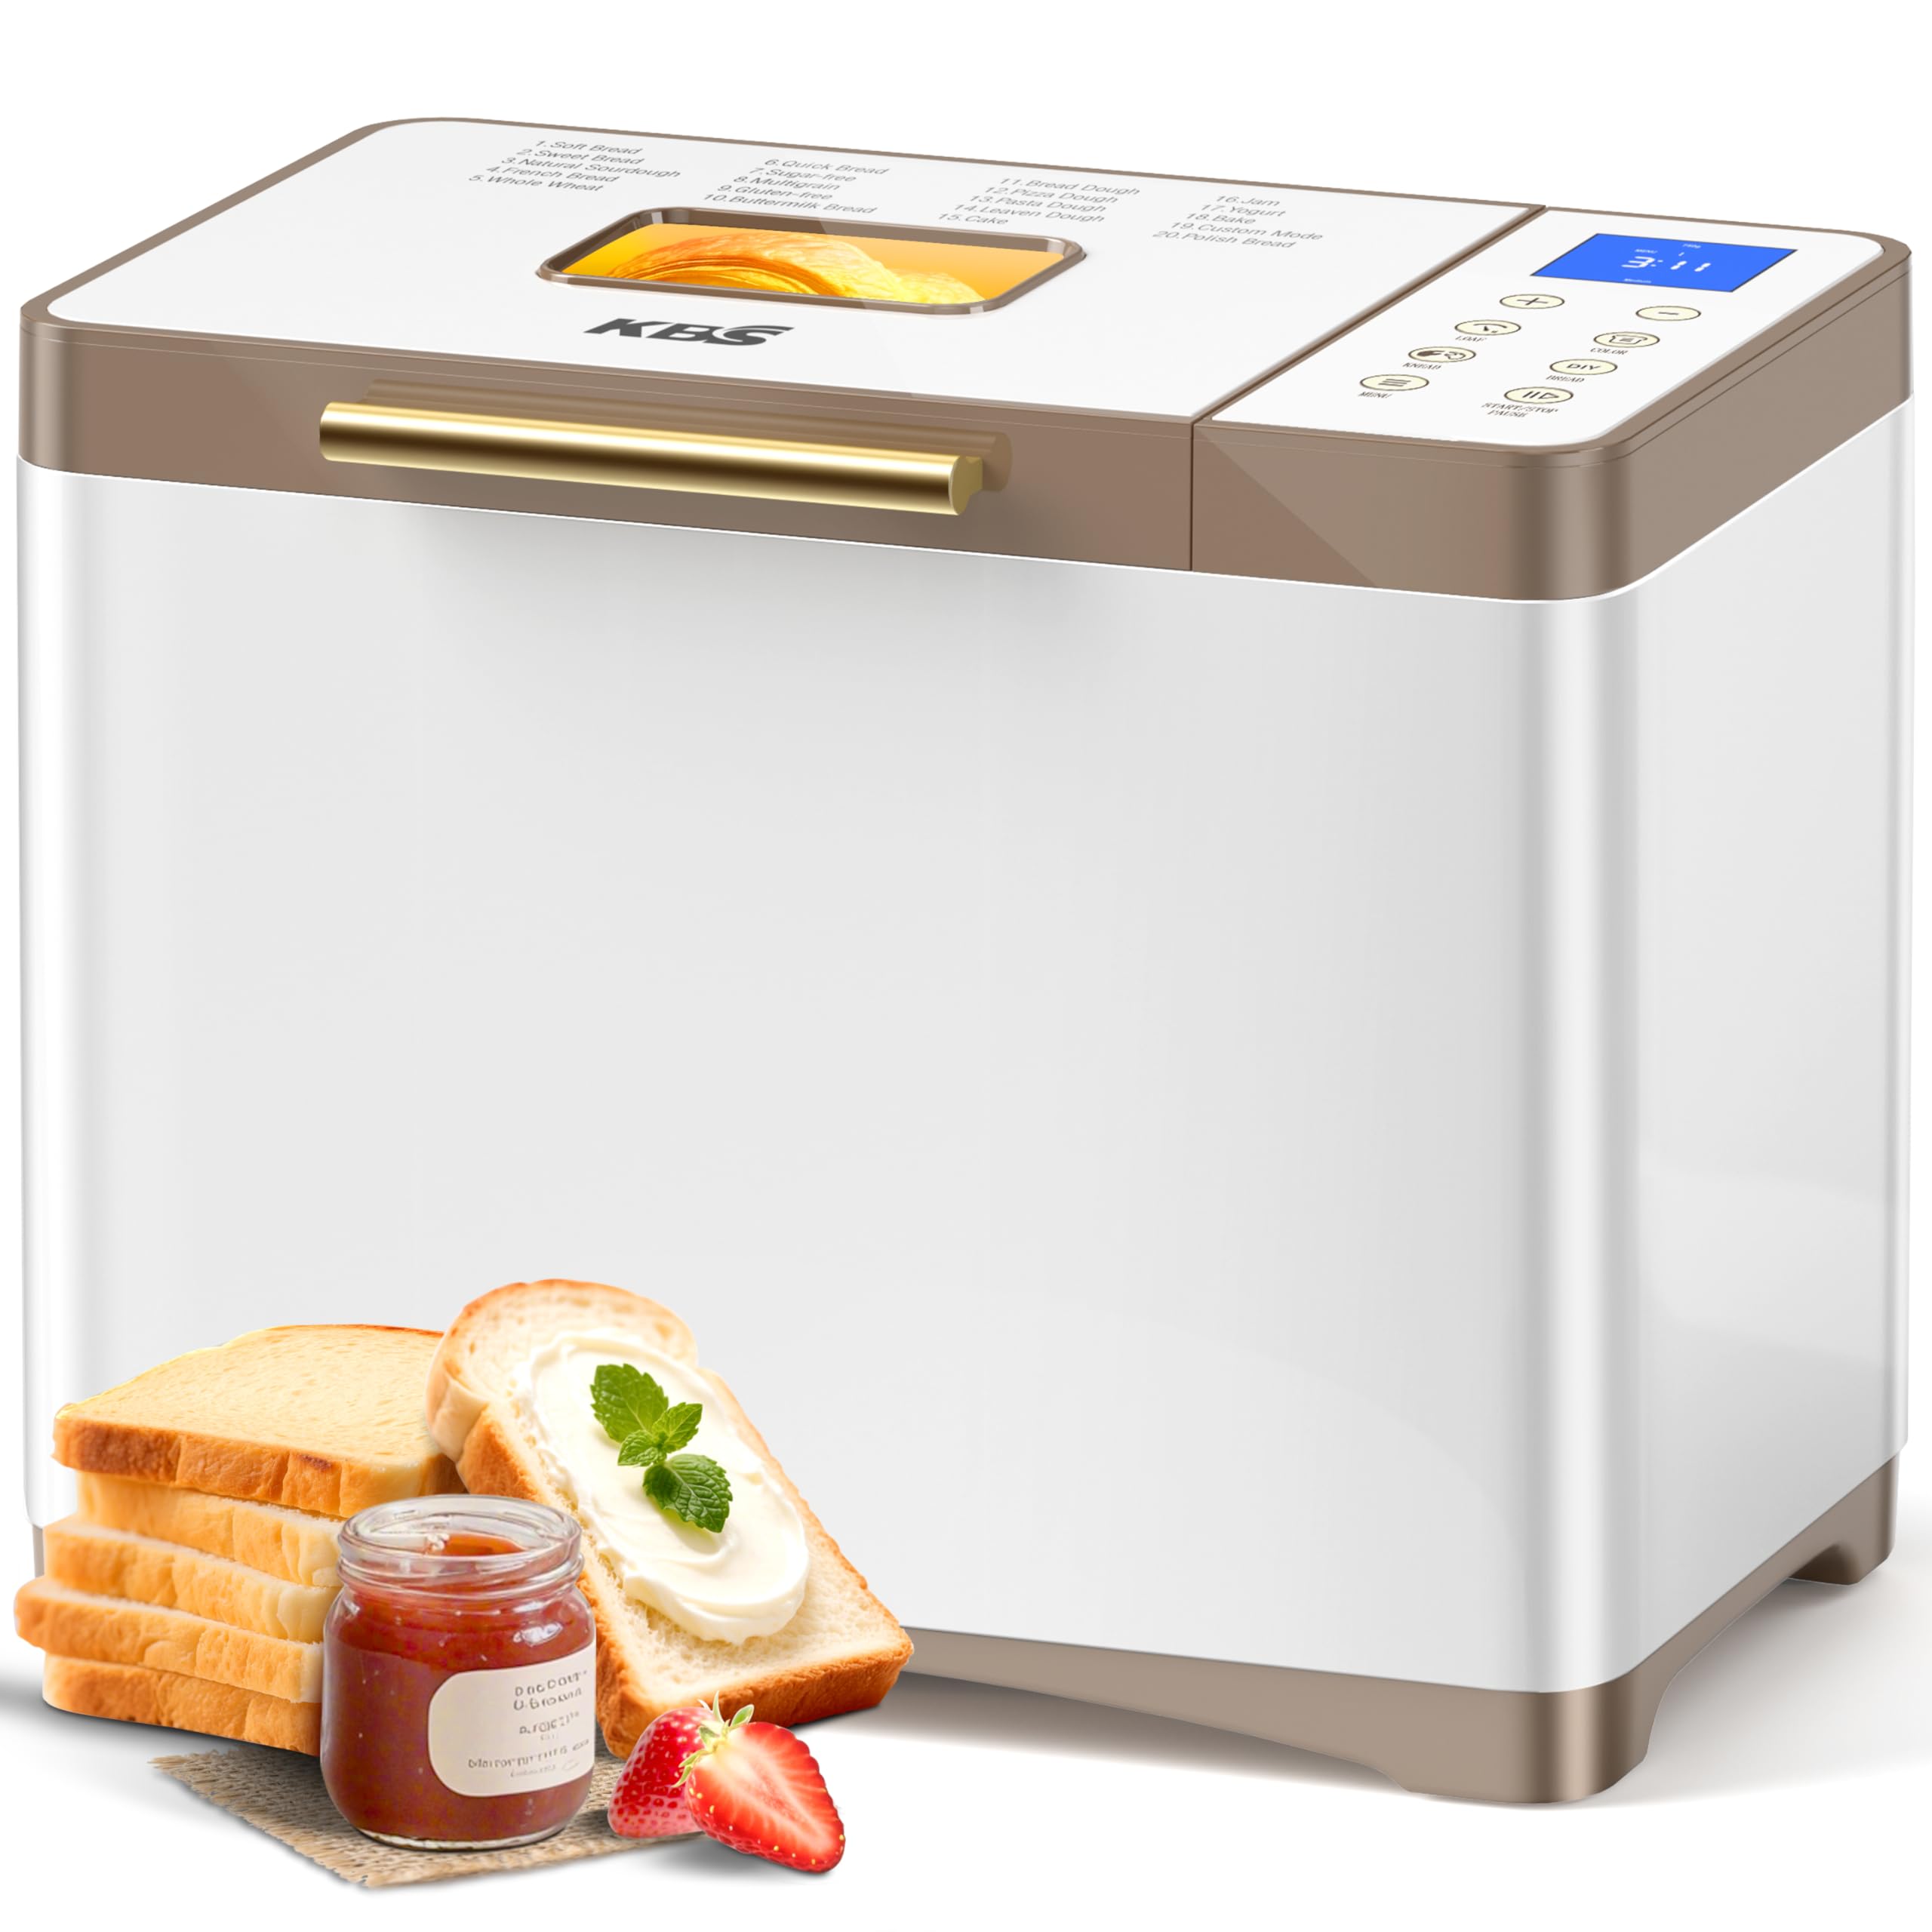
Image: KBS 20-IN-1 Bread Maker, Model MBF-014A, in White-Gold color.
Características principales:
- 20 Menús preprogramados: Including Soft Bread, Sweet Bread, Natural Sourdough, French Bread, Whole Wheat, Quick Bread, Sugar-free, Multigrain, Gluten-free, Buttermilk Bread, Bread Dough, Pizza Dough, Pasta Dough, Leaven Dough, Cake, Jam, Yogurt, Bake, Custom Mode, and Polish Bread.
- Programa personalizado (Menú 19): Allows 100% customization of time for each of the 6 steps: autolysing, basic rise, degassing, re-rise, reshape, and last rise. Settings can be saved for repeated use.
- Nonstick Ceramic Pan & Stainless Steel Paddle: Features a 3000°F-fired ceramic pan for long-lasting nonstick performance and a durable stainless steel paddle tested for 10,000 cycles.
- Circulación de aire caliente de 360°: Ensures uniform baking and browning for a crispier crust and fluffier interior.
- 650W Variable-Frequency Motor: Provides 360° planetary mixing and adjusts speed for different doughs, offering energy efficiency and extended lifespan.
- 4-Season Constant Temperature System: Dual NTC and PID temperature control maintains consistent warmth, precisely locking onto an optimal 38°C rising zone.
- Funciones de conveniencia: 15-hour delay timer, 60-minute keep warm function, and 15-minute power outage copia de seguridad.
- Capacity & Crust Control: Bakes 1, 1.5, or 2 lb loaves with three crust settings (light, medium, dark).
- Durable & Intuitive Design: High-quality stainless steel body with a seamless glass digital touch panel for easy cleaning and modern aesthetics.
2. Instrucciones de seguridad
Para evitar lesiones personales o daños a la propiedad, tenga en cuenta las siguientes precauciones de seguridad:
- Asegúrese siempre de que la panificadora esté colocada sobre una superficie estable, plana y resistente al calor, lejos de materiales inflamables.
- No sumerja el aparato, el cable o el enchufe en agua u otros líquidos.
- Mantenga a los niños y mascotas alejados del aparato durante su funcionamiento. Las superficies exteriores pueden calentarse.
- Desenchufe la panificadora del tomacorriente cuando no esté en uso, antes de ensamblar o desmontar piezas y antes de limpiarla.
- No opere ningún aparato con un cable o enchufe dañado, o después de que el aparato funcione mal o haya sufrido algún daño de cualquier tipo.
- Evite el contacto con piezas móviles.
- No utilice accesorios no recomendados o vendidos por el fabricante.
- No lo coloque sobre o cerca de un quemador de gas o eléctrico caliente, ni dentro de un horno caliente.
- Tenga mucho cuidado cuando mueva un aparato que contenga aceite caliente u otros líquidos calientes.
- No utilice el aparato para otro uso que no sea el doméstico previsto.
- Asegúrese del volumentage indicado en el aparato corresponde al voltaje de su red local.tage antes de conectar el aparato.
- The bread pan and paddle are nonstick ceramic. Avoid using metal utensils that could scratch the surface.
3. Componentes y accesorios del producto
Familiarize yourself with the parts of your KBS Bread Maker and the included accessories.

Image: Included accessories for the KBS Bread Maker.
Accesorios incluidos:
- 1 x Nonstick Ceramic Pan
- 1 x Stainless Steel Paddle
- 1 guante resistente al calor.
- 1 x Medición de la Copa
- 1 cuchara medidora
- 1 x Gancho (para quitar la paleta)
- 1 x Manual de usuario (este documento)
- 1 x libro de recetas
Panel de control sobreview:

Imagen: Detallada view of the KBS Bread Maker's digital touch panel and menu options.
The seamless glass digital panel features intuitive touch controls for selecting menus, loaf size, crust color, and starting/stopping the baking process. A clear LCD display shows program status and time remaining.
4. Configuración
- Desembalaje: Carefully remove all packaging materials and accessories. Inspect the bread maker for any damage.
- Limpieza: Before first use, clean the bread pan, paddle, and other accessories with warm, soapy water. Wipe the exterior of the appliance with a damp Paño. Seque bien todas las piezas.
- Colocación: Place the bread maker on a dry, stable, heat-resistant countertop, ensuring adequate ventilation around the unit. Do not place it near heat sources or in direct sunlight.
- Insertar molde para pan: Place the nonstick ceramic bread pan into the baking chamber. Ensure it is securely seated by twisting it gently until it locks into place.
- Coloque la paleta de amasado: Insert the stainless steel kneading paddle onto the shaft at the bottom of the bread pan.
- Conexión de energía: Plug the power cord into a grounded electrical outlet. The bread maker will beep, and the display will light up, indicating it is ready for operation.
5. Instrucciones de funcionamiento
Follow these steps to bake your desired bread or prepare other items using your KBS Bread Maker.
Operación básica:
- Añadir ingredientes: Refer to your recipe book. Typically, liquids are added first, followed by dry ingredients, and finally yeast on top. Ensure yeast does not come into direct contact with liquids or salt initially.
- Cerrar la tapa: Close the lid of the bread maker securely.
- Seleccionar Menú: Press the "MENU" button repeatedly to cycle through the 20 available programs until your desired program number is displayed.
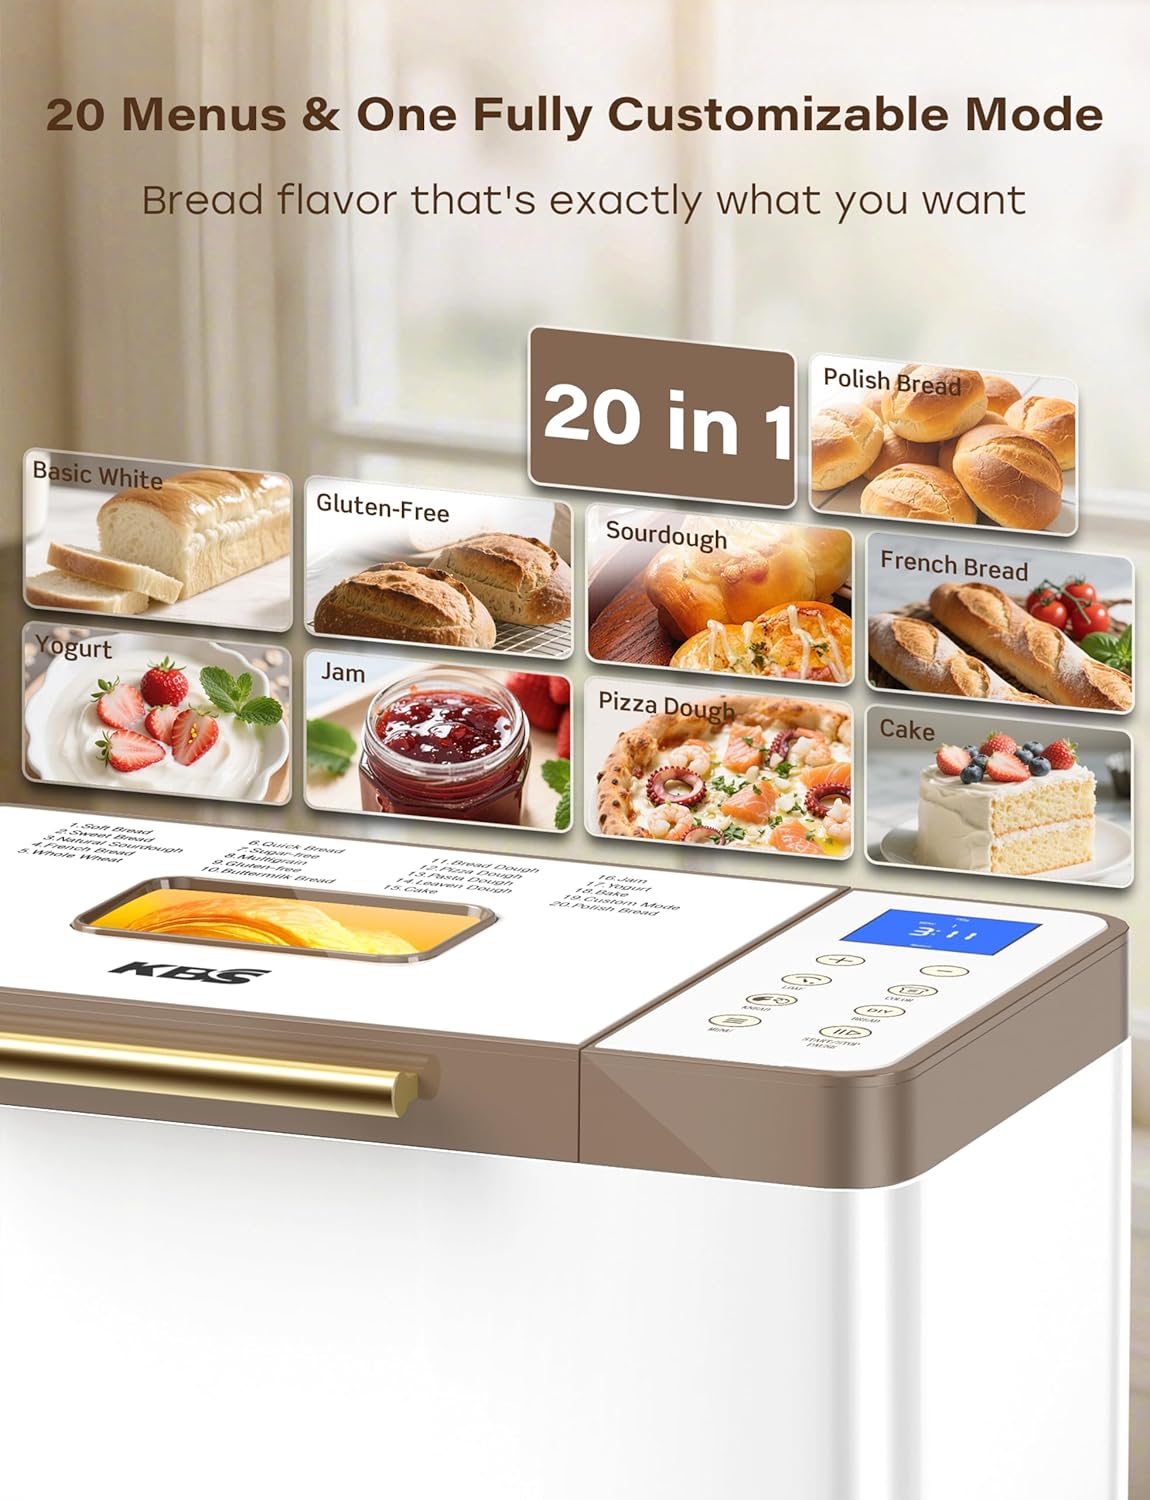
Image: The 20 pre-programmed menu options on the bread maker.
- Seleccione el tamaño del pan: Press the "LOAF" button to choose between 1 LB, 1.5 LB, or 2 LB loaf sizes, if applicable for the selected program.
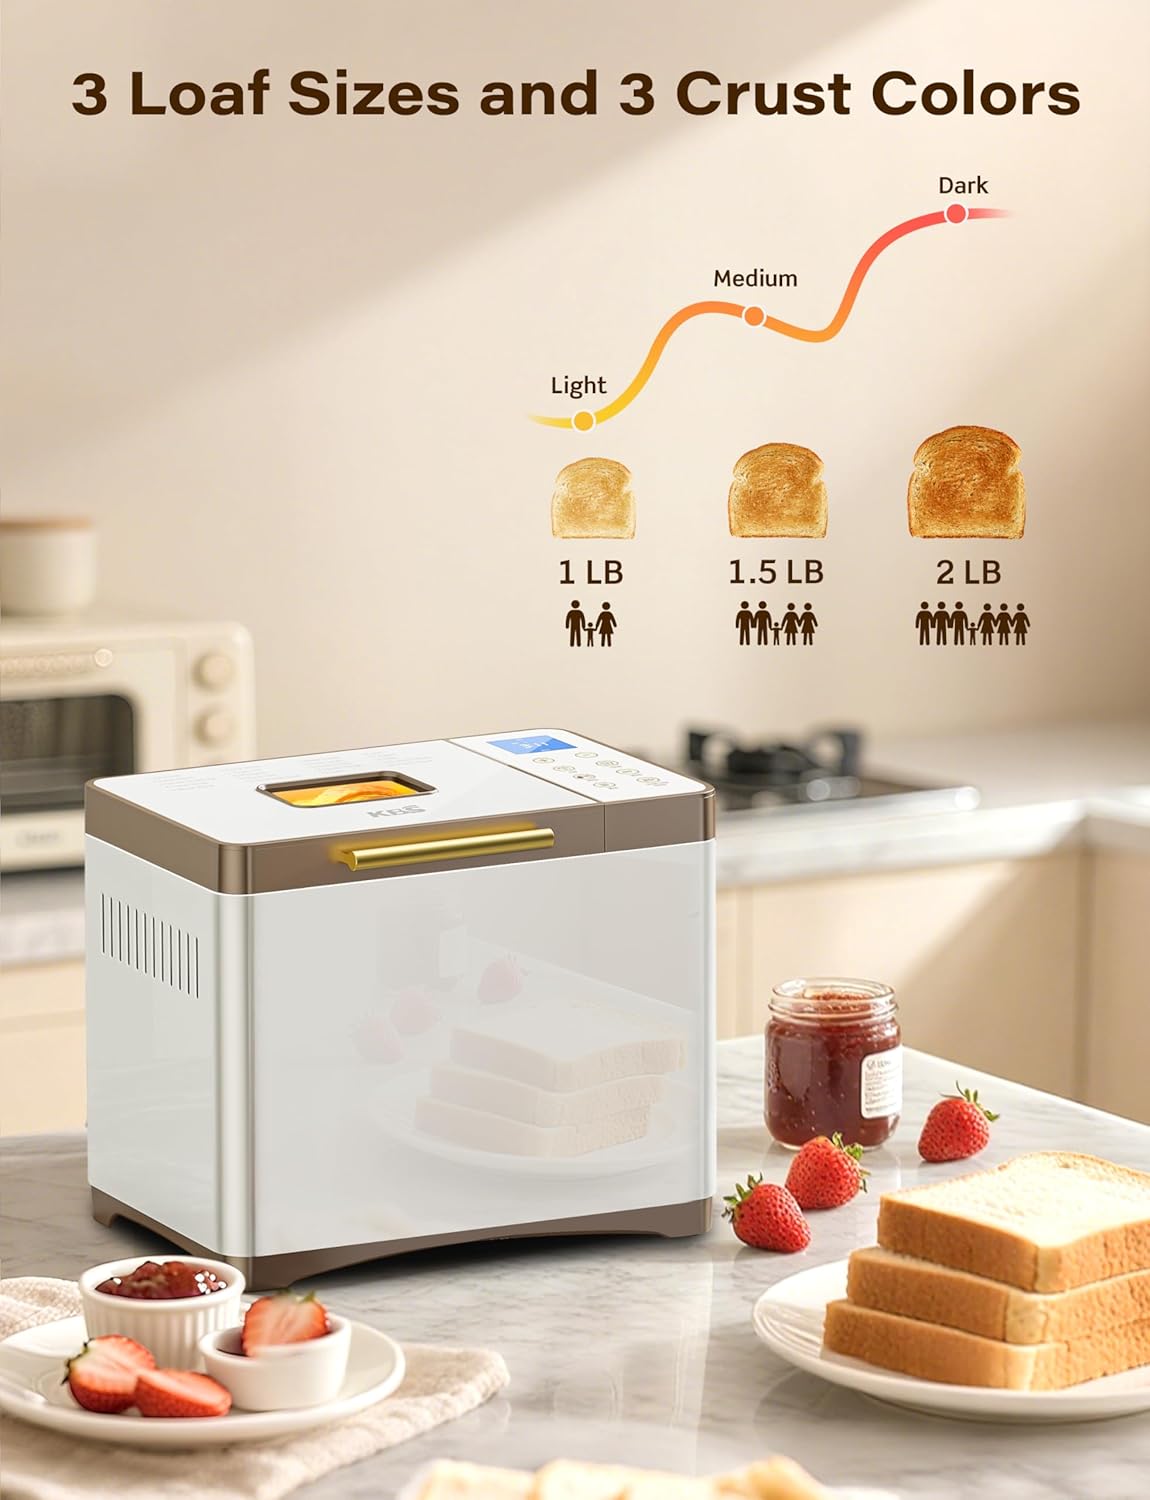
Image: Loaf size and crust color selection options.
- Seleccionar el color de la corteza: Press the "COLOR" button to choose between Light, Medium, or Dark crust settings, if applicable.
- Establecer temporizador de retardo (opcional): If you wish to delay the start of the baking process, use the "+" and "-" buttons to set the desired delay time (up to 15 hours). The delay time includes the baking time.
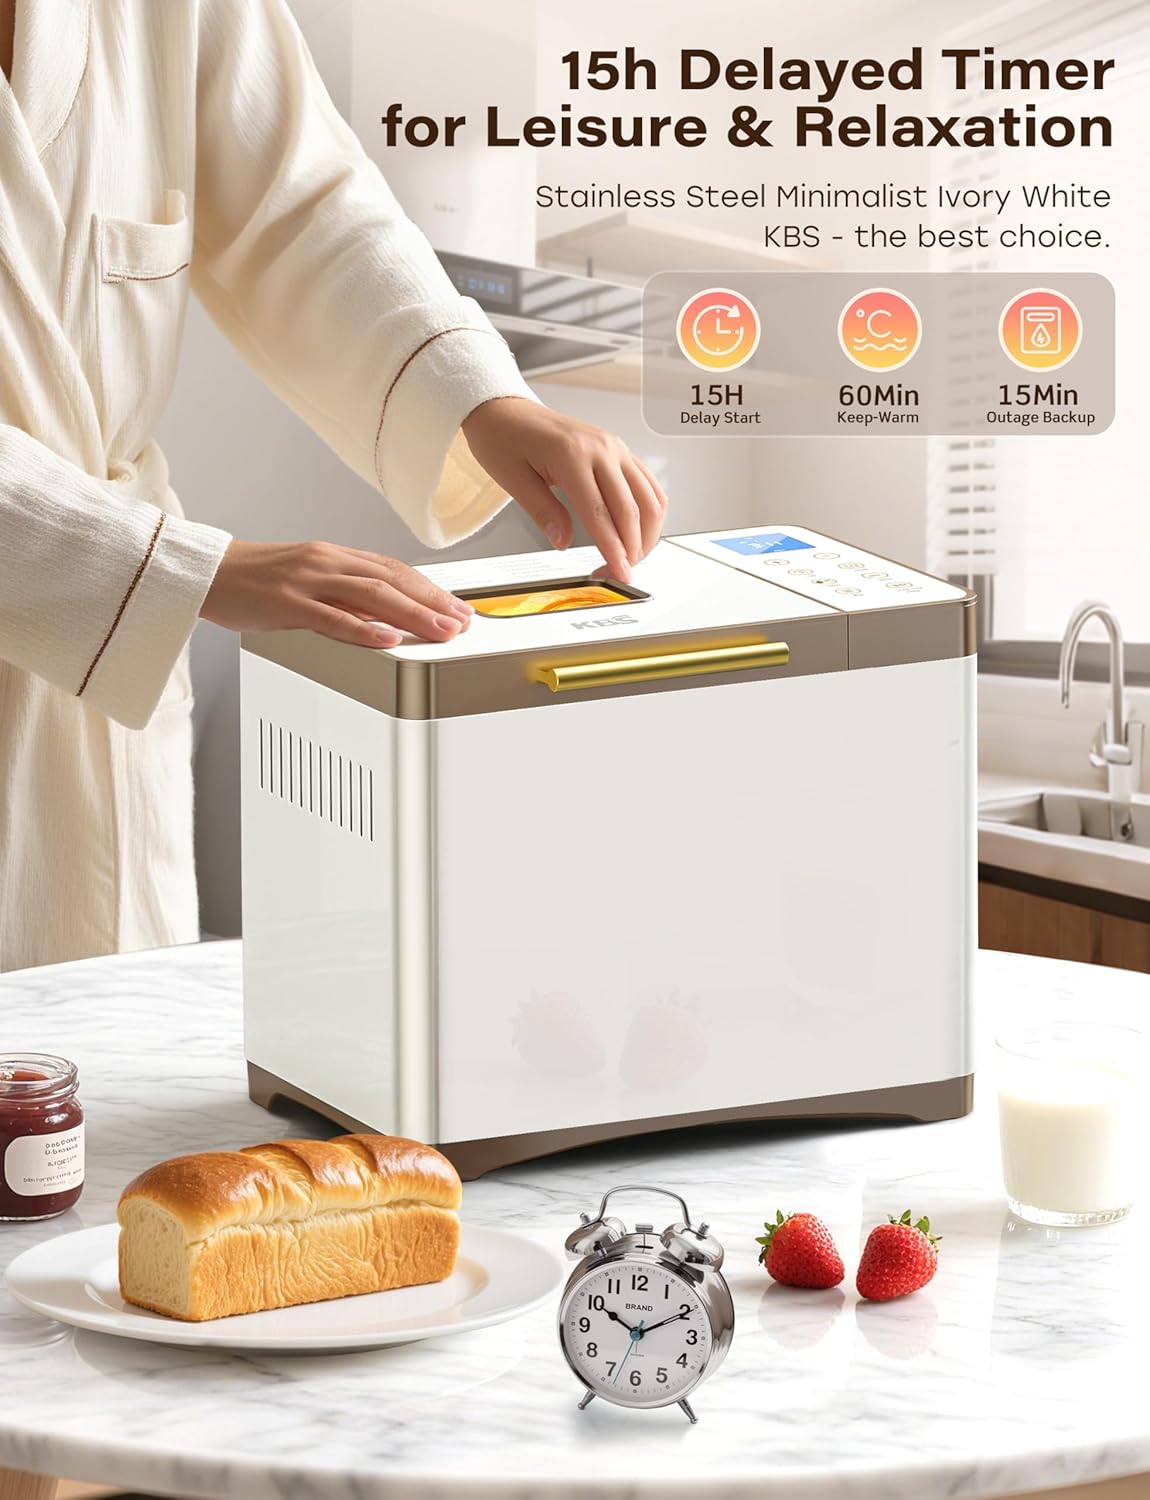
Image: Features for delayed start, keep warm, and power backup.
- Comience a hornear: Press the "START/STOP/PAUSE" button to begin the program. The bread maker will start kneading.
- Escucha: You can observe the kneading and rising process through the viewing window. The 360° hot air circulation ensures even baking.
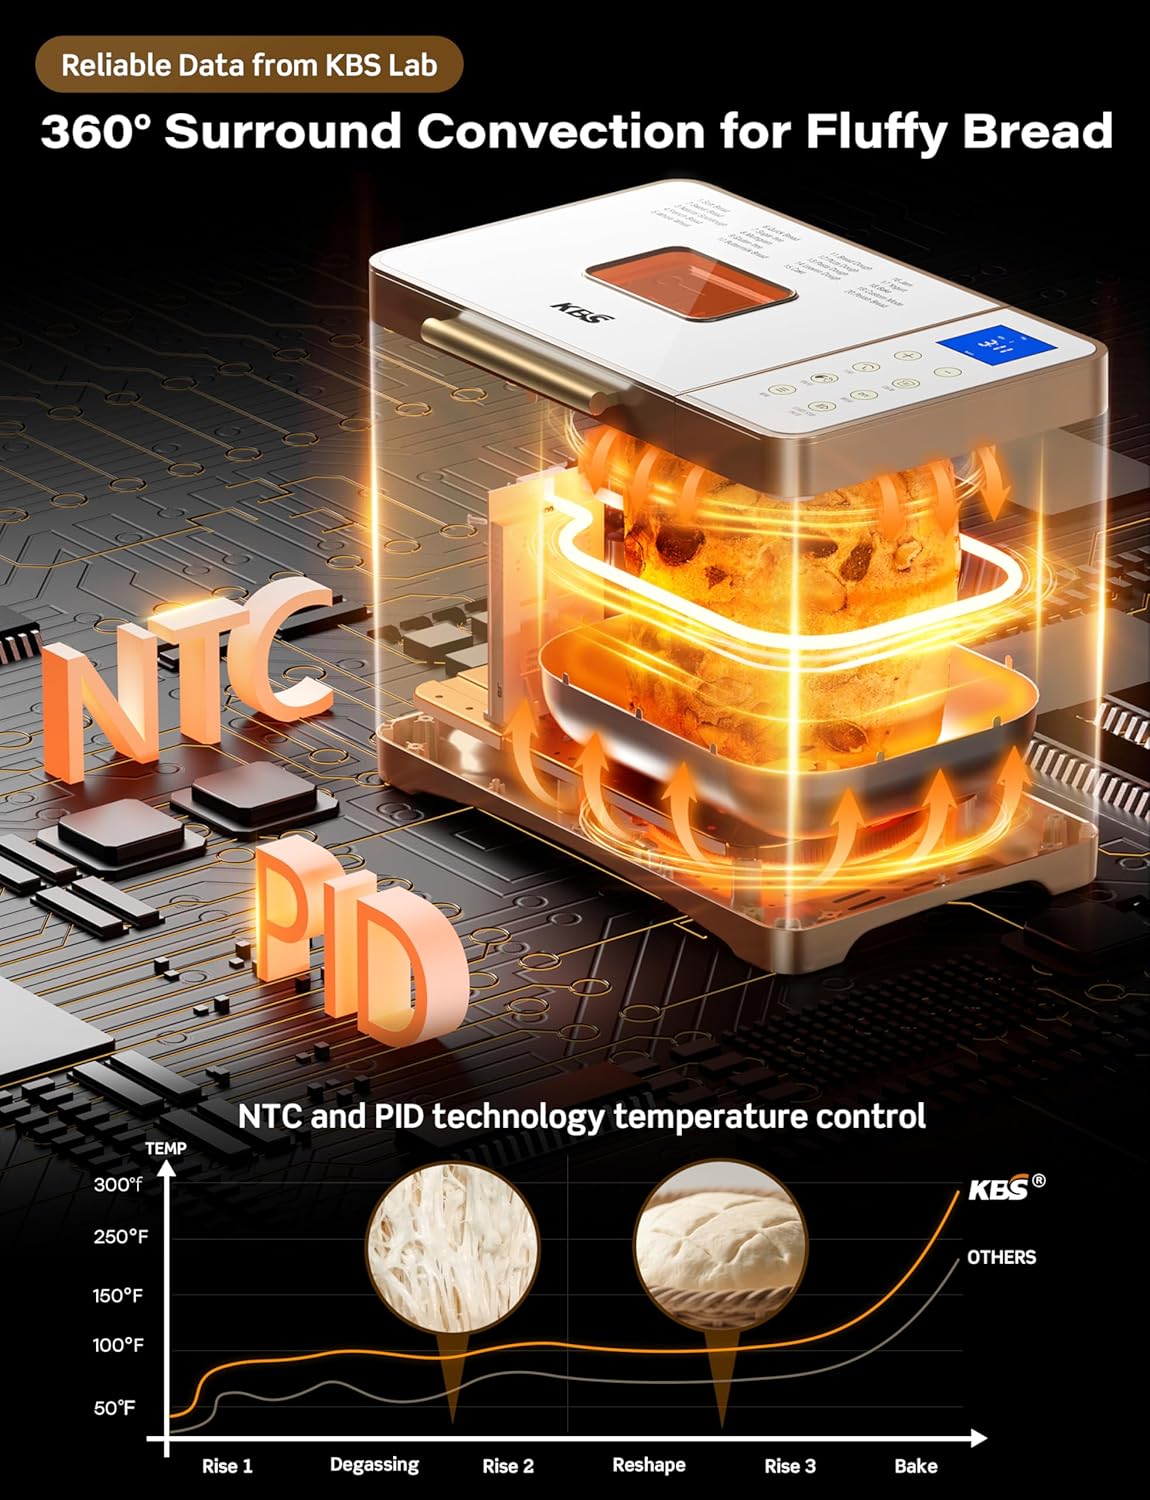
Image: Illustration of 360° surround convection and NTC/PID temperature control.
- Fin del programa: Once the program is complete, the bread maker will beep and automatically switch to the 60-minute "Keep Warm" function.
- Quitar el pan: Using the provided heat-resistant glove and hook, carefully remove the bread pan from the appliance. Invert the pan to release the bread onto a wire rack to cool. Remove the kneading paddle from the bread using the hook if it remains embedded.
Using Custom Mode (Menu 19):
The Custom Mode allows you to precisely control each stage of the bread-making process:
- Select Menu 19.
- Use the "+" and "-" buttons to adjust the duration for each of the 6 steps: Autolysing, Basic Rise, Degassing, Re-rise, Reshape, and Last Rise.
- Once settings are finalized, press "START/STOP/PAUSE" to save and begin. These settings will be remembered for future use of Custom Mode.
6. Mantenimiento y limpieza
La limpieza y el mantenimiento regulares prolongarán la vida útil de su panificadora y garantizarán un rendimiento óptimo.
Instrucciones de limpieza:
- Desenchufar: Siempre desenchufe el aparato y deje que se enfríe completamente antes de limpiarlo.
- Molde para pan y paleta amasadora:
- Remove the bread pan and kneading paddle. If the paddle is stuck, fill the pan with warm water and let it soak for 30 minutes before removing.
- Wash with warm, soapy water using a soft sponge or cloth. Do not use abrasive cleaners or metal scouring pads, as this can damage the nonstick ceramic coating.
- Rinse thoroughly and dry completely before reassembling or storing. The ceramic pan is dishwasher safe, but hand washing is recommended to preserve the nonstick coating.
- Exterior: Limpie el exterior de la panificadora con un paño suave y seco.amp Paño. No utilice limpiadores abrasivos.
- Tapa y ViewVentana de visualización: Limpie el interior de la tapa y el viewventana emergente con anuncioamp Paño. Para manchas difíciles, utilice un detergente suave.
- Cámara de cocción: Retire las migas o residuos de la cámara de cocción con un cepillo suave o un damp paño.
Almacenamiento:
Ensure all parts are clean and dry before storing. Store the bread maker in a cool, dry place, away from direct sunlight and out of reach of children.
7. Solución de problemas
If you encounter any issues with your bread maker, refer to the following common problems and solutions:
| Problema | Posible causa | Solución |
|---|---|---|
| El pan no sube | Expired yeast, incorrect water temperature, too much salt/sugar, old flour. | Check yeast expiration date. Use lukewarm water (105-115°F). Ensure correct ingredient measurements. Use fresh ingredients. |
| El pan es demasiado denso/pesado | Demasiada harina, poco líquido, amasado insuficiente. | Measure ingredients precisely. Adjust liquid amount slightly. Ensure paddle is correctly installed. |
| El pan se derrumba durante la cocción | Demasiado líquido, demasiada levadura, alta humedad. | Reduce liquid or yeast slightly. Consider using less liquid in humid conditions. |
| Color desigual de la corteza | Configuración incorrecta de la corteza, distribución desigual del calor. | Verify crust color setting. Ensure bread maker is not obstructed for proper air circulation. |
| Paleta de amasar atascada en el pan | Ocurrencia común. | Allow bread to cool slightly. Use the provided hook to carefully remove the paddle. |
| Bread maker not starting | No enchufado, tapa no cerrada, programa no seleccionado. | Check power connection. Ensure lid is fully closed. Select a program and press START/STOP/PAUSE. |
If the problem persists, please contact KBS customer support.
8. Especificaciones
- Modelo: MBF-014A
- Fuerza: 650 W
- Volumentage: 120 voltios
- Capacidad: Up to 2 Pounds (1LB, 1.5LB, 2LB options)
- Dimensiones del producto: 8" de profundidad x 13.4" de ancho x 11" de alto
- Peso del artículo: 12.87 libras
- Material: 100% Stainless Steel Body, Ceramic NonStick Pan, Ceramic Paddle
- Número de programas: 20
- Temporizador de retardo: Hasta 15 horas
- Función mantener caliente: 60 minutos
- Recuperación de interrupción de energía: 15 minutos
- Colores de la corteza: Claro, Medio, Oscuro
9. Garantía y soporte
KBS is committed to providing high-quality products and excellent customer service.
Apoyo técnico:
Our team of experienced engineers and professional customer service representatives is available to assist you. We aim to deliver customized solutions with rapid response within 12 hours.
For technical assistance or inquiries, please visit the official KBS website or contact our customer service team through the contact information provided on the product packaging or official websitio.
Conserve su comprobante de compra para reclamos de garantía.
Ask a question about this manual
Ask about setup, troubleshooting, compatibility, parts, safety, or missing instructions. Manuals+ will review the question and use this page’s manual context to help answer it.