1. Introducción
This manual provides essential information for the installation, operation, and maintenance of your new generic replacement keyboard. This keyboard is designed for specific iiyama laptop models, including NP50RZ, STYLE-15FH127-i5-UH7X, and IStNEi-15FH127-i5-UH7XB. It features a Japanese layout and does not include a backlight function.
Nota importante: To ensure you have purchased the correct product, please carefully verify your laptop's model number or the original product's part number before proceeding with installation. Compatibility is crucial for proper function.
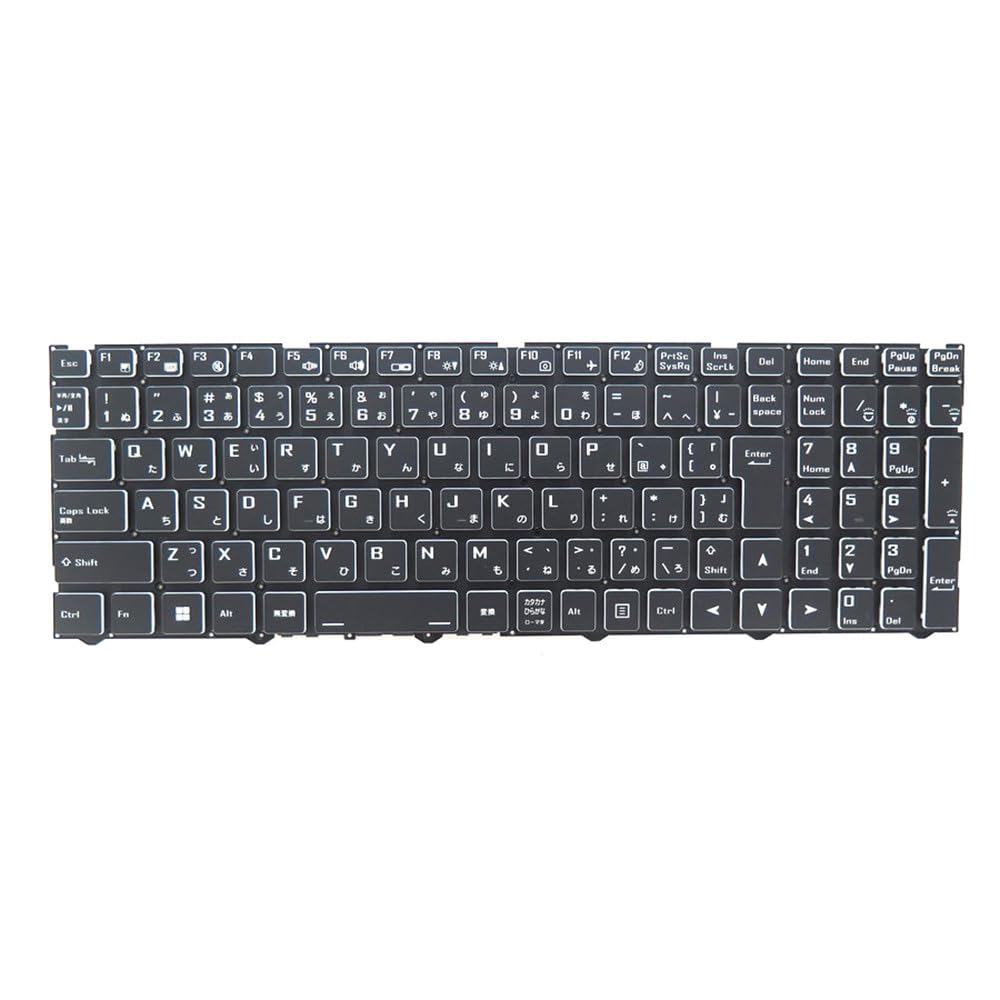
This image displays the replacement keyboard, showing its Japanese layout and overall design.
2. Configuración e instalación
Replacing a laptop keyboard requires careful handling and some technical proficiency. If you are unsure about any step, it is recommended to seek assistance from a qualified technician.
Precauciones de seguridad:
- Always power off your laptop and disconnect it from the power adapter before beginning any installation.
- Retire la batería de la computadora portátil si el usuario la puede extraer.
- Use appropriate tools to avoid damaging your laptop's casing o componentes internos.
- Trabajar en un entorno limpio y bien iluminado.
Pasos generales de instalación:
- Prepare la computadora portátil: Asegúrese de que la computadora portátil esté apagada y desconectada de todas las fuentes de energía.
- Quitar teclado antiguo: Carefully identify and release the clips or screws holding the old keyboard in place. Gently lift the old keyboard.
- Desconecte el cable plano: Locate the ribbon cable connecting the old keyboard to the motherboard. Carefully unlatch the connector and detach the cable.
- Conectar nuevo teclado: Align the ribbon cable of the new keyboard with the connector on the motherboard. Gently insert the cable and secure the latch. Ensure the connection is firm and properly seated.
- Posición del nuevo teclado: Carefully place the new keyboard into its designated slot, ensuring all clips or screw holes align.
- Teclado seguro: Fasten any screws or engage clips to secure the new keyboard in place.
- Reensamblar la computadora portátil: Reinstall the battery (if removed) and close the laptop casing.
- Funcionalidad de prueba: Encienda la computadora portátil y pruebe todas las teclas para garantizar su correcto funcionamiento.
If you have taken photos during the disassembly process, these can be helpful for reassembly or for troubleshooting if issues arise.
3. Instrucciones de funcionamiento
This replacement keyboard functions identically to the original Japanese layout keyboard it replaces. No special drivers are typically required, as the operating system will recognize it as a standard input device.
Funciones clave:
- Teclas estándar: All alphanumeric, symbol, and function keys operate as expected for a Japanese keyboard layout.
- Teclas de función (Fn): The 'Fn' key, usually located near the left Ctrl key, can be pressed in combination with other keys (e.g., F1-F12) to activate special laptop functions such as volume control, screen brightness adjustment, or external display switching. Refer to your laptop's specific user manual for detailed Fn key combinations.
- Sin retroiluminación: This specific keyboard model does not feature a backlight. Therefore, there are no controls for backlight illumination.
4. Mantenimiento
Proper maintenance can extend the lifespan of your keyboard and ensure consistent performance.
Limpieza:
- Polvo y escombros: Use a can of compressed air to blow away dust and crumbs from between the keys. Hold the can upright to prevent propellant discharge.
- Limpieza de superficies: Limpie suavemente las teclas y la superficie del teclado con un paño suave y sin pelusa.ampLimpie con agua o una solución limpiadora suave y no abrasiva. Evite la humedad excesiva.
- Manchas rebeldes: For more stubborn stains, a cotton swab lightly dampened with isopropyl alcohol can be used, but avoid direct application to the keyboard.
Cuidado general:
- Evite derramar líquidos sobre el teclado.
- No exponga el teclado a temperaturas extremas ni a la luz solar directa durante períodos prolongados.
- Avoid applying excessive force to the keys.
5. Solución de problemas
If you encounter issues with your replacement keyboard, try the following troubleshooting steps:
- El teclado no responde:
- Asegúrese de que la computadora portátil esté completamente encendida y que el sistema operativo se haya cargado.
- Reinicie su computadora portátil.
- Check the ribbon cable connection. Power off the laptop, disconnect the power, and carefully re-seat the keyboard's ribbon cable to ensure it is properly connected and latched.
- Teclas específicas que no funcionan:
- Check for any physical obstructions (e.g., crumbs, debris) under the non-functional keys. Use compressed air to clear them.
- If multiple keys are affected, re-check the ribbon cable connection as described above.
- Entrada de carácter incorrecto:
- Verify that your operating system's keyboard layout settings are configured for a Japanese (JP) keyboard.
- Keyboard Detected as Different Device:
- In Device Manager (Windows) or System Information (macOS/Linux), check the keyboard entry. If there are errors or an incorrect device is listed, try uninstalling the device driver and restarting the laptop to allow the system to reinstall it.
If these steps do not resolve the issue, consider contacting the seller for further assistance or consulting a professional repair service.
6. Especificaciones
The following are the technical specifications for this replacement keyboard:
| Marca | Genérico |
| Fabricante | Genérico |
| Número de modelo | KB 15FH127-i5-UH7X |
| Modelos de portátiles compatibles | iiyama NP50RZ, STYLE-15FH127-i5-UH7X, IStNEi-15FH127-i5-UH7XB |
| Dimensiones del producto | 43 x 18 x 7 cm |
| Peso del artículo | 300 gramos |
| Disposición del teclado | Japonés (JP) |
| Iluminar desde el fondo | No |
| ASIN | B0G5HCNCMJ |
| Primera fecha disponible | 2025/12/7 |
7. Garantía y soporte
As this is a generic replacement part, warranty terms and support services are typically provided by the seller from whom the product was purchased. Please refer to your purchase documentation or contact the seller directly for information regarding:
- Warranty period and coverage.
- Return and exchange policies.
- Technical support for installation or operational issues.
Conserve siempre su comprobante de compra para reclamos de garantía o consultas de soporte.


