Important Reminders Before You Begin
- The gazebo comes in 2 boxes. If anything is missing, contact us for assistance.
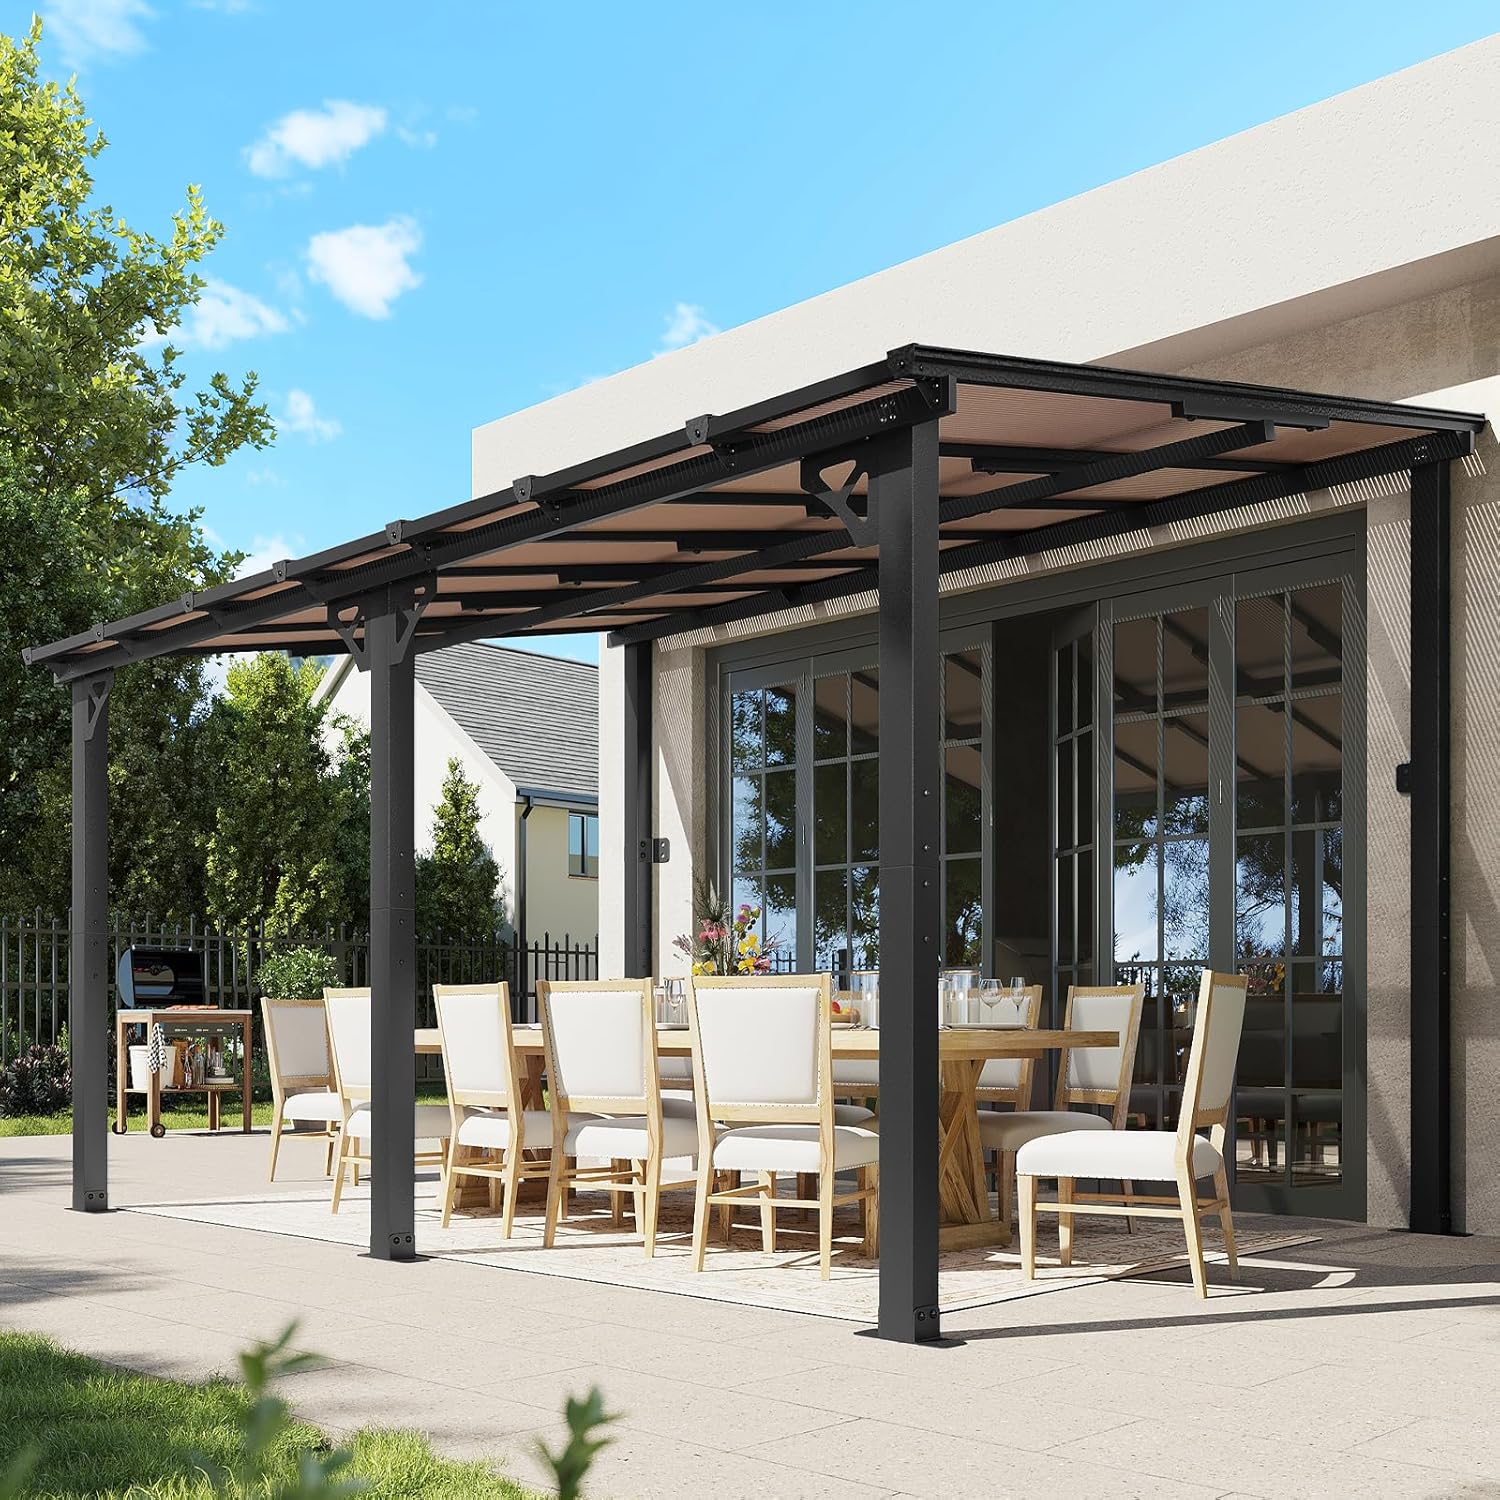
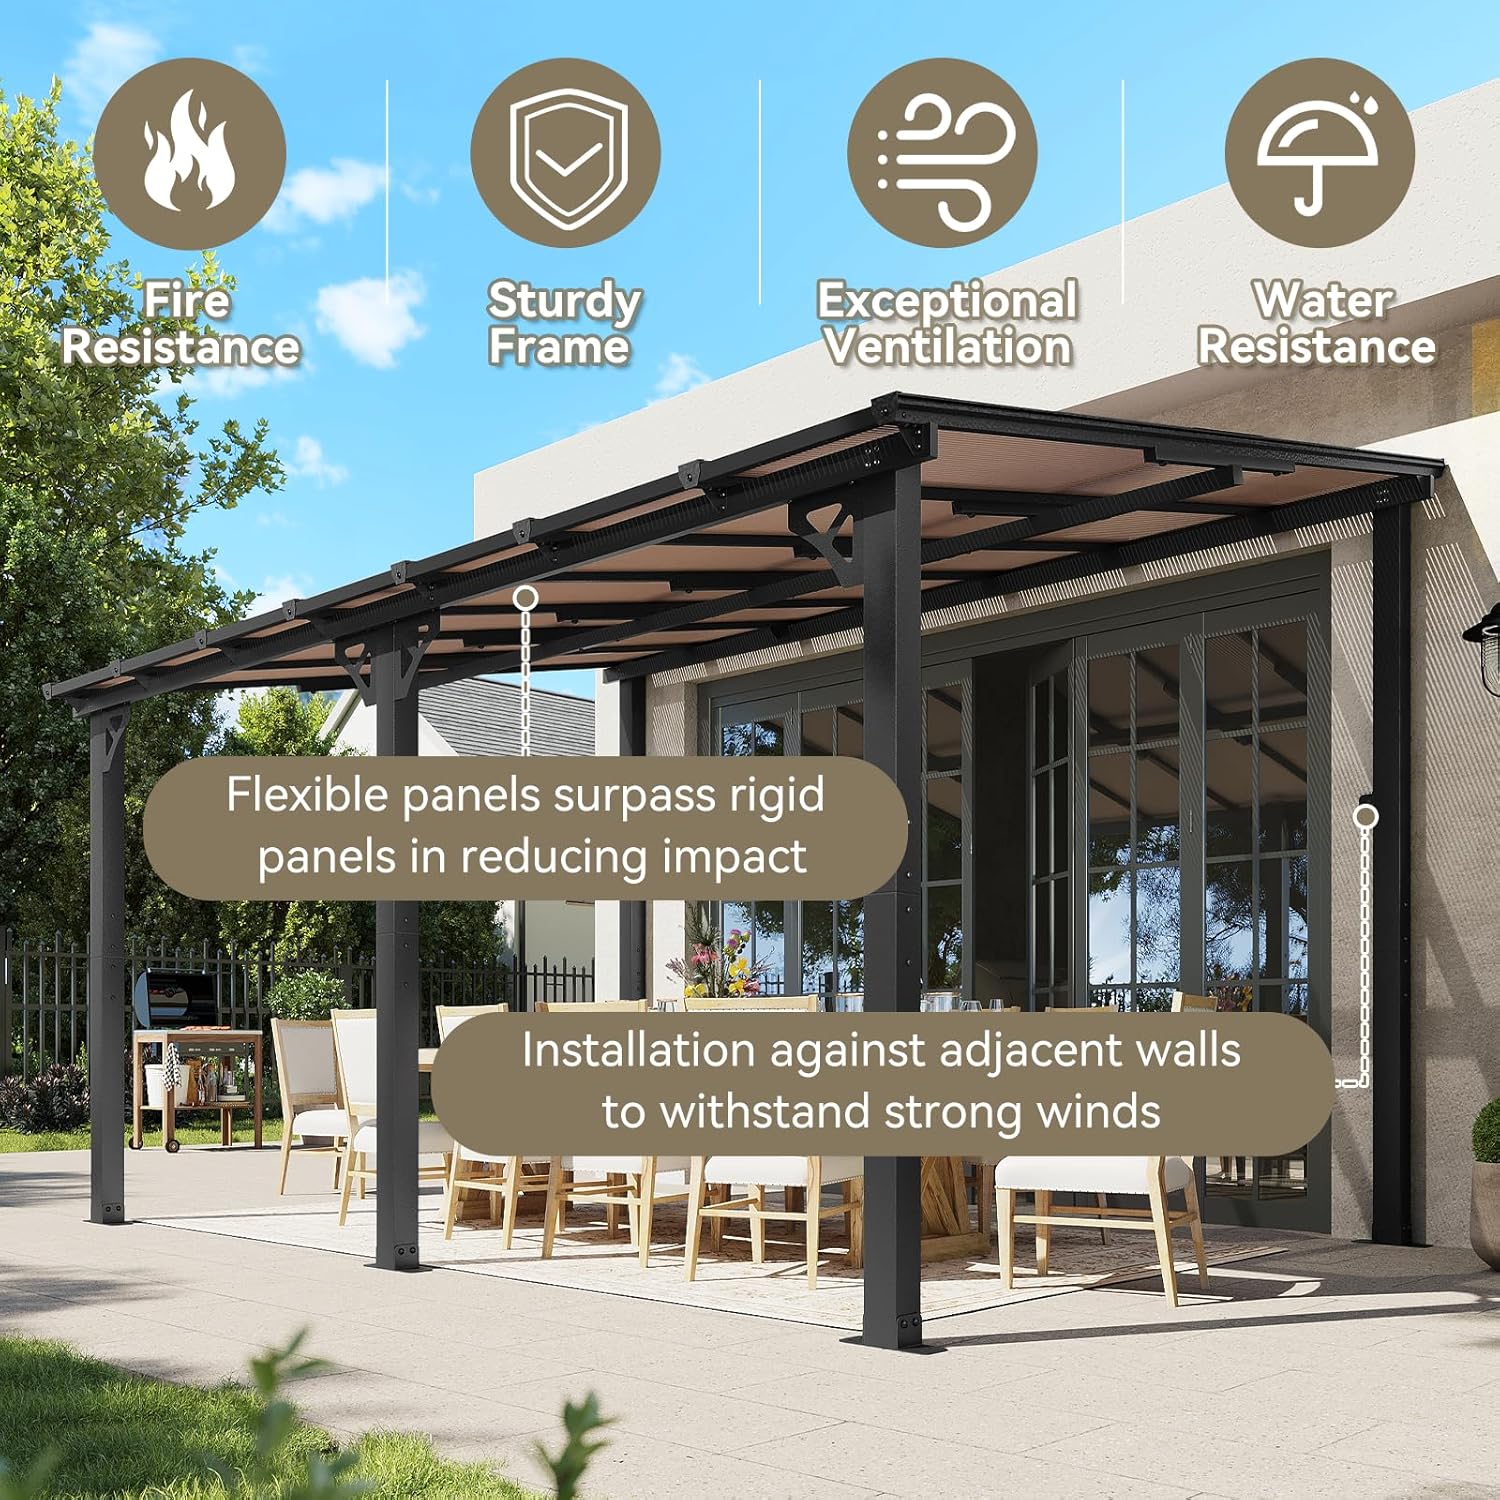
- Install the gazebo against a wall for maximum stability.
- When installing, align screws within a section with the corresponding holes before tightening them all.
Configuración y montaje
1. Pillar Installation
Begin by assembling the pillars. Ensure all parts are complete and undamaged before starting. Refrain from tightening screws fully until all components are aligned to allow for adjustments.
Video: Step-by-step guide for pillar assembly, demonstrating how to connect components and insert screws without immediate tightening.
Ensure that the screw holes on both sides are facing the same direction for proper alignment.
2. Beam Installation
Proceed with the beam installation. Similar to the pillars, insert all screws before tightening to facilitate alignment. Once all screws are in place, tighten them securely.
Video: Demonstrates the assembly of the main beams, emphasizing the importance of pre-inserting all screws before final tightening.
3. Beam-to-Column Connection
Connect the assembled beams to the columns. Again, refrain from tightening screws initially to ensure all holes align correctly. Once aligned, tighten all screws.
For easier installation, flip the assembly upside down when connecting the beams to the columns.
Video: Illustrates the process of connecting the beams to the columns, highlighting the technique of leaving screws loose until all are in place.
4. Ridge Beam Assembly
Assemble the ridge beam components. Ensure the two triangular pieces are facing the same direction for correct installation. Tighten all four nuts securely.
Connect the slightly narrower side of the component to the pipe.
Video: Shows the assembly of the ridge beam, including proper orientation of triangular components and tightening of nuts.
5. Instalación del panel del techo
When installing the roof panels, note that Part G has a water leakage hole. This hole should be installed facing upwards to ensure proper drainage.
Remove any protective stickers from the panels during installation.
Video: Guides through the roof panel installation, emphasizing the correct orientation for drainage holes and removal of protective films.
6. Front Beam Installation
Install the front beam to complete the main structure. Ensure all connections are secure.
Video: Final steps of the main structure assembly, focusing on the front beam installation.
7. Montaje en pared
The gazebo must be wall-mounted using expansion bolts for stability. Drill holes into the wall and secure the brackets firmly. This step is crucial for the gazebo's load-bearing capacity and resistance to weather conditions.
Video: Detailed instructions for securely mounting the gazebo to a wall using expansion bolts.

Operación de su gazebo
The Aoxun Lean-to Gazebo Pergola is designed for versatile outdoor use, providing shade and weather protection. Its polycarbonate top reflects 99% of UV rays, offering excellent sun protection. The sloped roof and gap drainage system ensure efficient water runoff, making it suitable for various weather conditions.

The structure is built with carbon steel frames and a triangular metal design for durability and stability. It is designed to withstand a maximum wind resistant grade of 7 (31-38 mph) and a maximum snow loading depth of 4 inches when properly installed with ground nails and expansion bolts.
Mantenimiento
- Limpieza regular: Clean the polycarbonate roof panels and metal frame periodically with mild soap and water. Avoid abrasive cleaners or tools that could scratch the surfaces.
- Compruebe los sujetadores: Annually inspect all screws and bolts to ensure they remain tight and secure. Re-tighten any loose fasteners to maintain structural integrity.
- Sistema de drenaje: Ensure the gap drainage system is clear of debris (leaves, dirt) to allow for proper water runoff. Clogged drainage can lead to water accumulation.
- Remoción de nieve: While the gazebo can tolerate up to 4 inches of snow, it is recommended to remove heavy snow accumulation promptly to prevent excessive stress on the structure.
- Protección contra el viento: In areas prone to high winds, consider additional anchoring or temporary disassembly during severe weather conditions to prevent damage.
Solución de problemas
- Issue: Water accumulation on the roof.
Solución: Check the drainage gaps for any blockages and clear them. Ensure the roof panels are correctly installed with the leakage hole facing upwards as per instructions.
- Issue: Gazebo feels unstable or wobbly.
Solución: Verify that all wall-mounting expansion bolts and other fasteners are securely tightened. Ensure the gazebo is installed on a flat, level surface. If necessary, re-anchor the structure.
- Problema: Dificultad para alinear los orificios de los tornillos durante el montaje.
Solución: Do not fully tighten any screws until all components for a section are loosely assembled. This allows for minor adjustments to align holes. Once all screws are in place, tighten them gradually and evenly.
Presupuesto
| Característica | Detalle |
|---|---|
| Dimensiones del producto | 3.66L x 3.05W x 2.51H Meters (14' x 10' x 8.2') |
| Peso del artículo | 35 kilogramos |
| Material del marco | Aluminio |
| Material superior | Policarbonato |
| Color | Negro |
| Grado máximo de resistencia al viento | 7 (31-38 mph) |
| Maximum Snow Loading Depth | 4 pulgadas |
| Protección UV | 99% resistente a los rayos UV |
| Nivel de resistencia al agua | Impermeable |
| Requiere ensamblaje | Yes (2-3 persons, 2-3 hours recommended) |

Garantía y soporte
For any missing parts, assembly assistance, or warranty inquiries, please contact Aoxun customer support. Refer to your purchase documentation for specific warranty terms and contact details.
Fabricante: Aoxun
Política de devoluciones: 30-day refund/replacement policy (check with retailer for full details).