Introducción
This manual provides essential instructions for the setup, operation, maintenance, and troubleshooting of your iRobot Roomba 550/551 AeroVac Technology Vacuum Cleaning Robot. Please read this guide thoroughly before using your Roomba to ensure optimal performance and longevity.
Información importante de seguridad
Antes de utilizar su Roomba, asegúrese de:view all safety warnings and instructions provided in the original packaging. Always ensure the robot is turned off and unplugged from its power source before performing any maintenance or cleaning procedures. Keep hands, hair, and clothing away from moving parts. Do not operate the Roomba near open flames or on wet surfaces.
Contenido del paquete
Verifique que su paquete contenga los siguientes elementos:
- iRobot Roomba 550/551 Robot
- Estación de carga Home Base
- cargador de la energía
- AeroVac Bin (pre-installed or separate)
- Side Brush (pre-installed or separate)
- Main Brushes (pre-installed)
- Virtual Wall Lighthouses (quantity may vary by package)
- Batería (puede estar preinstalada)
Configuración
1. Carga de la batería
Before first use, fully charge your Roomba's battery. This typically takes up to 3 hours. You can charge the Roomba in two ways:
- Using the Home Base: Place the Home Base on a hard, level surface against a wall. Ensure there are no obstacles for at least 3 feet (1 meter) in front of the Home Base and 1 foot (0.3 meters) on either side. Plug the power charger into the Home Base and then into a wall outlet. Place Roomba onto the Home Base, ensuring the metal charging contacts align. The power indicator on the Home Base will illuminate.
- Directly with the Power Charger: Plug the power charger directly into the charging port on the side of the Roomba and then into a wall outlet.

Image: The iRobot Roomba Home Base charging station. The robot docks here to recharge its battery automatically.
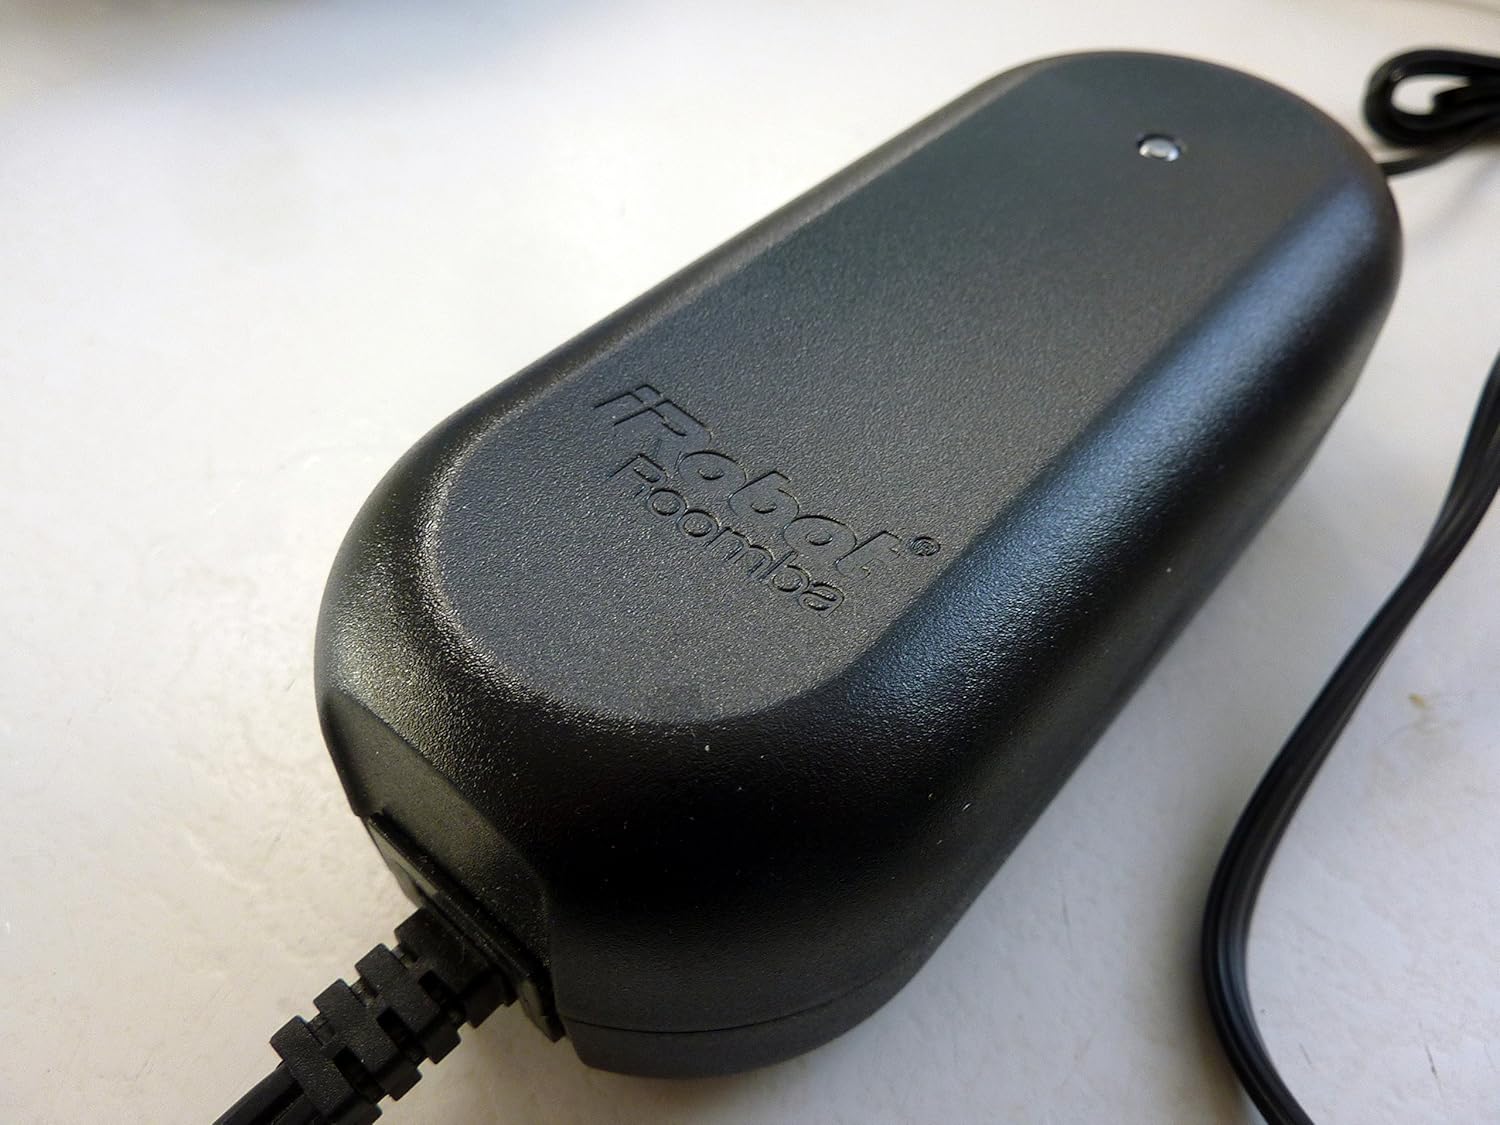
Image: The power charger for the iRobot Roomba, used to supply power to the Home Base or directly to the robot.
2. Preparación del área de limpieza
For optimal cleaning performance, prepare your home environment:
- Remove clutter, loose cables, small rugs, and delicate items from the floor.
- Lift curtains or bedspreads that reach the floor.
- Use Virtual Walls (if included) to block off areas you don't want Roomba to enter.
Operating Your Roomba
Panel de control sobreview

Imagen: Arriba view of the iRobot Roomba 550/551, highlighting the control panel with buttons for CLEAN, SPOT, DOCK, SCHEDULE, CLOCK, DAY, HOUR, and MINUTE.
The main control panel on top of your Roomba features several buttons for operation:
- LIMPIO: Press to start a cleaning cycle. Press again to pause. Press and hold to end the cleaning cycle and return Roomba to its Home Base.
- LUGAR: Initiates a localized cleaning cycle, spiraling outwards about 3 feet (1 meter) and then spiraling back in to thoroughly clean a specific area.
- MUELLE: Sends Roomba back to its Home Base for charging.
- CRONOGRAMA: Used to set or modify cleaning schedules.
- RELOJ: Se utiliza para configurar la hora actual.
- DAY, HOUR, MINUTE: Used in conjunction with SCHEDULE and CLOCK buttons to set specific times and days.
- DIRT DETECT: An indicator light that illuminates when Roomba detects a concentrated area of dirt and performs a more thorough cleaning in that spot.
Iniciar un ciclo de limpieza
Presione el LIMPIO button once. Roomba will begin its cleaning cycle, automatically adjusting to different floor types and navigating around obstacles.
Programación de horarios de limpieza
To program Roomba to clean automatically at specific times:
- Ensure the current time is set using the RELOJ, HORA, y MINUTO botones.
- Presione el CRONOGRAMA botón.
- Utilice el DÍA, HORA, y MINUTO buttons to set your desired cleaning time for each day.
- Prensa LIMPIO para guardar el horario.
Mantenimiento
Regular maintenance is crucial for your Roomba's performance. Perform these steps regularly, especially if you have pets.
1. Vaciado del depósito de polvo
Empty the dust bin after each cleaning cycle or when the "Bin Full" indicator illuminates. Press the bin release button and slide out the AeroVac Bin. Open the bin door and discard debris. Tap the bin to dislodge any trapped dirt.

Image: The underside of the iRobot Roomba, displaying the main brushes and the removable AeroVac dustbin compartment.
2. Limpieza de los pinceles
The main brushes and side brush should be cleaned weekly, or more often if you have pets with long hair.
- Pinceles principales: Open the brush guard by lifting the yellow tabs. Remove the main brushes. Use the included cleaning tool (if available) or your fingers to remove hair and debris wrapped around the brushes and their yellow end caps. Reinstall the brushes, ensuring the square and hexagonal ends align correctly.
- Cepillo lateral: Use a coin or small screwdriver to unscrew the side brush. Remove any hair or debris from the brush and its post. Reattach the side brush and tighten the screw.

Imagen: Un primer plano view of the iRobot Roomba's three-armed side brush, designed to sweep debris from edges and corners.
3. Cleaning the Front Caster Wheel
Pull firmly on the front caster wheel to remove it. Clear any hair or debris from the wheel, axle, and housing. Reinsert the wheel, ensuring it clicks into place.
4. Limpieza de sensores y contactos de carga
Wipe the four cliff sensors (located on the bottom of the robot), the wall-following sensor (on the right side), and the charging contacts on both the Roomba and the Home Base with a clean, dry cloth.
Solución de problemas
If your Roomba encounters an issue, it may play an audible tone and speak a message. Refer to the following common issues:
- Roomba no carga: Ensure the power charger is securely plugged into both the Home Base/Roomba and the wall outlet. Clean the charging contacts on both the Roomba and Home Base.
- Roomba not starting or stopping unexpectedly: Check if the battery is fully charged. Ensure no debris is jamming the brushes or wheels. Press the LIMPIO botón firmemente.
- Roomba se queda atascado: Clear the cleaning area of obstacles, loose cables, and thick rugs. Clean the cliff sensors.
- Rendimiento de limpieza deficiente: Empty the dust bin. Clean the main brushes, side brush, and filter. Replace the filter if it is heavily soiled.
- "Where's the Roomba?" (Roomba not returning to Home Base): Ensure the Home Base is placed in an open area with good signal. Clean the charging contacts.
For persistent issues, try performing a soft reset by holding down the LIMPIO Botón durante 10 segundos hasta que las luces indicadoras se apaguen.
Presupuesto
| Característica | Detalle |
|---|---|
| Marca | iRobot |
| Número de modelo | 550 |
| Característica especial | Bagless, Cordless, Pet Hair Optimized |
| Componentes incluidos | Brush (Main brushes, Side brush) |
| Tipo de filtro | Cartucho |
| Fuente de poder | Funciona con pilas |
| Factor de forma | Robótico |
| Código Postal | 885155000248 |
| Dimensiones del producto | 16 x 16 x 7 pulgadas |
| Peso del artículo | 13.4 libras |
| Recomendación de superficie | Carpet, Hard Floor (Wood, Tile, Linoleum, Rugs) |
| Tipo de controlador | Control de botones |
Garantía y soporte
For information regarding your product's warranty, please refer to the warranty card included with your original purchase or visit the official iRobot website. For technical support, replacement parts, or further assistance, please contact iRobot customer service directly through their official websitio o canales de soporte.
iRobot oficial Websitio: www.irobot.com