Producto terminadoview
The Clover Wrap 'n Fuse Piping with Nancy Zieman is designed to simplify the creation of custom piping for various sewing and crafting projects. This innovative product features a cord with fusible web, allowing users to easily wrap it with their chosen fabric and fuse it in place with an iron. It eliminates the need to search for specific colors, offering versatility for bags, fashion items, and home decor.
This package contains 6 yards (5.5 meters) of 3/16 inch (4mm) diameter piping.
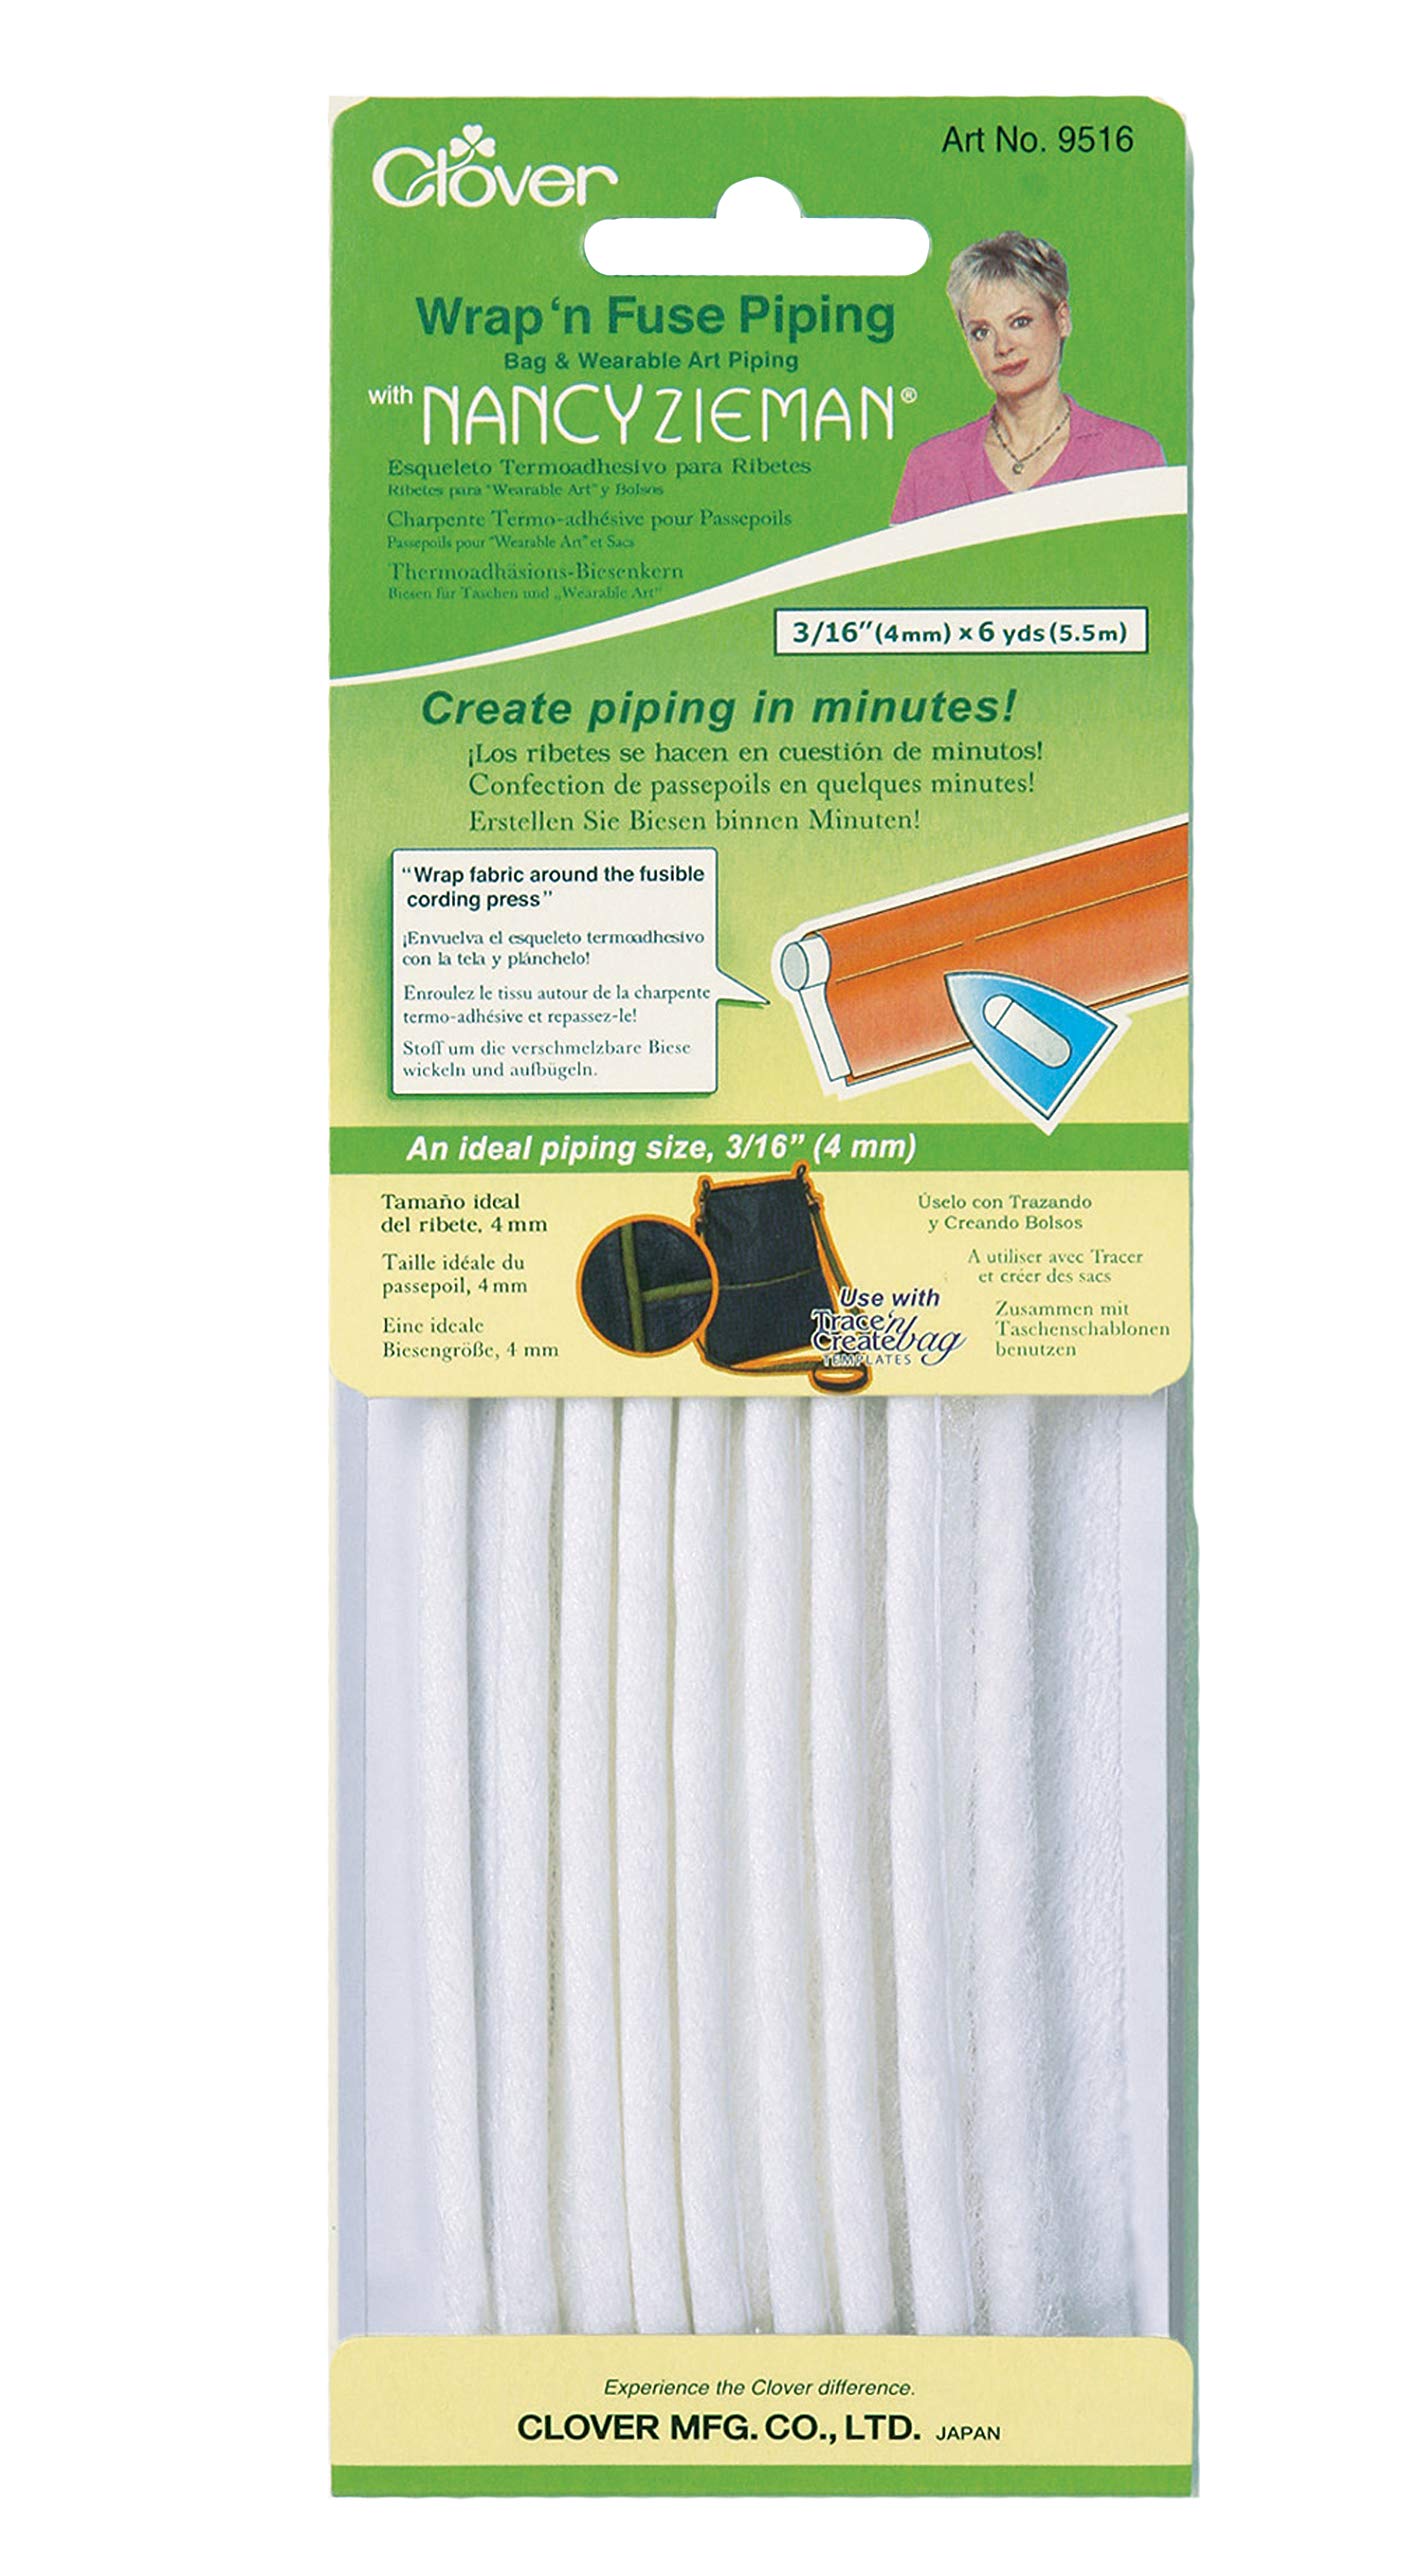
Image: Clover Wrap 'n Fuse Piping kit packaging, showing the product in its retail packaging.
Instrucciones de funcionamiento
1. Creating Custom Piping
- Preparar la tela: Cut your desired fabric into strips suitable for wrapping around the fusible cord.
- Wrap the Cord: Place the fusible cord onto the fabric strip. Wrap the fabric around the cord, ensuring the fusible web side is against the fabric.
- Fuse with Heat: Using a hot iron, press along the wrapped fabric to fuse it to the cord. Apply sufficient heat and pressure to ensure a secure bond. This creates a clean, finished edge ready for your project.
2. Coiling Technique for Craft Projects
The Wrap 'n Fuse Piping can also be used to create coiled items like coasters or decorative elements.
- Prepare el cordón: After wrapping and fusing the fabric to the cord as described above, fold the end of the fabric-wrapped cord inward and press it to create a neat starting point. Set the cord about a quarter inch back from the fold.
- Trim Seam Allowance: Trim about half of the seam allowance from the fused fabric edge.
- Asegurar el final: Perform a running stitch along the trimmed edge and draw it up to create a finished, gathered end. This ensures a smooth start for coiling.
- Coil the Cord: Begin coiling the prepared cord tightly, starting from the gathered end. Keep the seam allowance tucked neatly as you coil.
- Secure Coils (Lashing):
- Once coiled to your desired size, use pins to temporarily hold the coils in place.
- Using a needle and yarn (or embroidery floss), begin lashing the coils together. Start by going through the center of the coiled piece.
- For the first quadrant, ensure you catch the very center coil to secure it firmly.
- Stitch up two coils from the center, then back through the center. Wrap these two coils at least twice.
- Continue this process, stitching up two coils, then back through the previous coil, wrapping each section at least twice. This creates a strong, decorative lashing pattern.
- Once complete, bury the end of your yarn by stitching it through the fabric and trimming it close.
3. Creating a Quilted Pillow
For larger projects like a quilted pillow, you can create a sheet of corded fabric:
- Prepare Base Fabric: Obtain a piece of muslin or other suitable backing fabric.
- Attach First Cord: Place a length of your fabric-wrapped piping onto the muslin. Stitch through the piping and muslin, ensuring a tight, secure stitch.
- Add Subsequent Cords: Pick up your next piece of cord, lay it parallel to the first, and stitch it through the piping and muslin. Repeat this process, building up a whole sheet of corded fabric.
- Finish the Pillow: Once your sheet is complete, you can cut it to your desired shape and size to create a unique pillow.
4. Decorative Embellishments
Smaller pieces of leftover piping can be coiled and used as decorative pins or buttons. Apply a small bead of fabric glue to the edge as you coil to secure it. The back can be covered with a yo-yo or a piece of felt. These can be further embellished with beads for a unique accessory.
Video: Demonstration of using Clover Wrap 'n Fuse Piping. This video illustrates the process of wrapping fabric around the fusible cord, fusing it with an iron, and then using the prepared cord for coiling techniques to create items like coasters and decorative elements. It also shows how to lash coiled pieces together and create larger fabric sheets for projects like pillows.
Presupuesto
- Marca: Trébol
- Número de modelo: 9516
- Color: White (cord)
- Material: Fabric (cord with fusible web)
- Longitud: 6 yardas (5.5 metros)
- Diámetro: 3/16 de pulgada (4 mm)
- Peso del artículo: 0.8 onzas
- Código postal: 051221350764
- Fabricante: Trébol
- Fecha de primera disponibilidad: 16 de junio de 2010
Mantenimiento y cuidado
Once the fabric is fused to the cord, the resulting piping or coiled item can typically be cared for according to the care instructions of the fabric used. For best results and longevity of the fused bond, hand washing or gentle machine washing with cold water is recommended. Air dry flat. Avoid harsh chemicals or high heat drying, which may compromise the fusible bond.
Solución de problemas
- Fabric not fusing properly: Ensure your iron is set to the correct temperature for your fabric type and that you are applying sufficient pressure and heat for the recommended duration. Some fabrics may require slightly more heat or longer pressing times.
- Piping appears lumpy or uneven: Ensure the fabric is wrapped smoothly and evenly around the cord before fusing. When coiling, maintain consistent tension and tuck the seam allowance carefully.
- Lashing stitches are visible or loose: Use a needle appropriate for your yarn/floss and fabric. Ensure stitches are pulled taut but not so tight as to distort the coiled shape. For a less visible finish, choose a lashing material that matches your fabric color.
Garantía y soporte
Para obtener información específica sobre la garantía o asistencia del producto, consulte el sitio web oficial del fabricante. website or contact Clover customer service directly. Details may be available on the product packaging or through authorized retailers.


