Introducción
This manual provides detailed instructions for the installation, operation, and maintenance of your Globe Electric 9248601 4-inch Recessed Spot Light Kit. Please read all instructions carefully before beginning installation and retain this manual for future reference. This kit is designed for indoor use in basements, kitchens, stairways, and entryways.
Información de seguridad
ADVERTENCIA: Riesgo de descarga eléctrica. Desconecte la alimentación en la caja de fusibles o el disyuntor antes de realizar cualquier instalación o mantenimiento.
- Asegúrese de que todas las conexiones eléctricas cumplan con los códigos y ordenanzas locales, así como con el Código Eléctrico Nacional (NEC).
- Si no está familiarizado con el cableado eléctrico, consulte a un electricista calificado.
- Do not install this fixture in wet locations. It is rated for indoor use only.
- Utilice únicamente el tipo de bombilla y el agua especificados.tage: one PAR20 50W max halogen bulb (sold separately).
- No exceda el máximo de agua.tage.
- Ensure the fixture is securely mounted before connecting power.
- Mantenga los materiales inflamables lejos de la luminaria.
Contenido del paquete
Verifique que todos los componentes estén presentes y sin daños antes de continuar con la instalación.
- Recessed Housing/Can
- Brushed Nickel Trim
- Patented Clip System
- Caja eléctrica
- Manual de instrucciones

Figura 1: Encimaview of the Globe Electric 9248601 Recessed Spot Light Kit, showing the housing, electrical box, and brushed nickel trim with the light source.
Presupuesto
| Característica | Detalle |
|---|---|
| Número de modelo | 9248601 |
| Marca | GLOBE Eléctrico |
| Tamaño | 4 pulgadas |
| Color/acabado | Níquel cepillado |
| Material | Nickel, Alloy Steel |
| Formulario de lámpara | Empotrado |
| Tipo de instalación | Montaje empotrado |
| Fuente de poder | Eléctrico con cable |
| Quétage | 50 vatios (máximo) |
| Requisito de bombilla | 1x PAR20 50W max halogen bulb (sold separately) |
| Regulable | Yes (with compatible dimmer switch and bulb) |
| Uso en interiores y exteriores | Interior |
| Dimensiones del producto | 5 x 10.55 x 5.31 pulgadas |
| Peso del artículo | 1.68 libras |
| Código Postal | 842235924863 |
Configuración e instalación
Herramientas necesarias: Screwdriver, Wire Strippers, Pliers, Drywall Saw (or appropriate cutting tool for ceiling material), Measuring Tape, Safety Glasses.
- Apagar la energía: Before starting, ensure the power to the installation area is completely disconnected at the circuit breaker or fuse box.
- Preparar Apertura: Using a drywall saw or appropriate tool, cut a circular opening in the ceiling. The recommended hole size for this 4-inch fixture is approximately 4.25 to 4.5 inches in diameter. Ensure there are no obstructions (joists, pipes, wires) in the ceiling space.
- Conectar el cableado: Open the electrical box cover on the recessed housing. Connect the household electrical wires to the fixture's wires:
- Conectar el negro (hot) wire from the ceiling to the negro wire of the fixture.
- Conectar el blanco (neutral) wire from the ceiling to the blanco wire of the fixture.
- Conectar el cobre desnudo or verde (ground) wire from the ceiling to the verde ground screw or wire of the fixture.
- Insertar carcasa: Carefully push the recessed housing into the prepared ceiling opening. The patented clips will automatically engage and secure the housing firmly in place against the ceiling surface.
- Instalar bombilla: Insert one PAR20 50W max halogen bulb (sold separately) into the socket within the housing. Do not overtighten.
- Adjuntar moldura: Align the brushed nickel trim with the housing. The trim typically attaches with spring clips or torsion springs. Gently push the trim upwards until it sits flush with the ceiling.
- Restaurar energía: Once installation is complete and all connections are secure, restore power at the circuit breaker or fuse box. Test the light fixture.
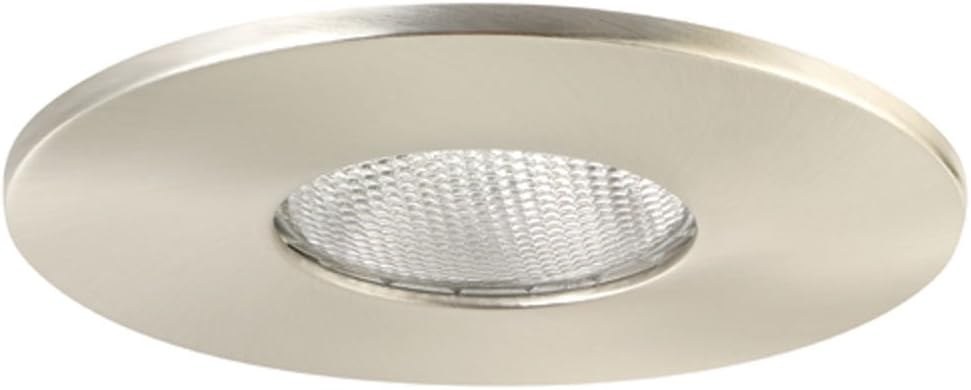
Figura 2: De cerca view of the brushed nickel trim and light source, illustrating the finished appearance after installation.
Instrucciones de funcionamiento
The Globe Electric 9248601 Recessed Spot Light Kit operates via a standard wall switch. If a compatible dimmer switch and dimmable PAR20 bulb are installed, the light can be dimmed to adjust brightness levels. Ensure the bulb used is rated for dimming if this feature is desired.
Mantenimiento
- Limpieza: Always disconnect power before cleaning. Wipe the fixture with a soft, dry cloth. Do not use abrasive cleaners or solvents, as they may damage the finish.
- Reemplazo de bombilla: Disconnect power before replacing the bulb. Allow the bulb to cool completely before touching. Unscrew the old bulb and replace it with a new PAR20 50W max halogen bulb.
- Inspección: Inspeccione periódicamente la luminaria para detectar cualquier daño o conexión suelta. Si detecta algún problema, desconecte la alimentación y consulte a un electricista cualificado.
Solución de problemas
| Problema | Posible causa | Solución |
|---|---|---|
| La luz no se enciende. | No llega energía al artefacto, cableado suelto, bombilla defectuosa, disyuntor disparado. | Check power supply, ensure circuit breaker is on. Verify all wire connections are secure. Replace bulb. |
| La luz parpadea. | Loose bulb, incorrect bulb type, unstable power supply, faulty dimmer switch. | Apriete la bombilla. Asegúrese de que el tipo de bombilla y el agua sean correctos.tage. Consult electrician for power supply issues. Replace dimmer switch if applicable. |
| La luz es demasiado tenue o demasiado brillante. | Bombilla de agua incorrectatage, dimmer setting (if applicable). | Asegúrese de que la bombilla esté encendida.tage matches requirements. Adjust dimmer switch. |
Si los pasos de solución de problemas no resuelven el problema, consulte a un electricista calificado o comuníquese con atención al cliente.
Garantía y soporte
This Globe Electric 9248601 Recessed Spot Light Kit comes with a Garantía limitada del producto por 5 año. This warranty covers defects in materials and workmanship under normal use. For warranty claims or technical support, please contact Globe Electric customer service. Keep your proof of purchase for warranty validation.
For further assistance, visit the official Globe Electric websitio o consulte la información de contacto proporcionada con la documentación de compra.


