Introducción
This manual provides essential instructions for the safe and efficient operation, installation, and maintenance of your Sharp R-25AM microwave oven. Please read this manual thoroughly before using the appliance and retain it for future reference. Proper use will ensure optimal performance and extend the lifespan of your microwave oven.
Instrucciones de seguridad importantes
Al utilizar aparatos eléctricos, se deben seguir precauciones básicas de seguridad, incluidas las siguientes:
- Lea todas las instrucciones antes de utilizar el aparato.
- No intente operar este horno con la puerta abierta ya que esto puede resultar en una exposición dañina a la energía de microondas.
- No coloque ningún objeto entre la cara frontal del horno y la puerta ni permita que se acumulen suciedad o residuos de limpiador en las superficies de sellado.
- No utilice el horno si está dañado. Es fundamental que la puerta del horno cierre correctamente y que no presente daños en la puerta, las bisagras ni las juntas.
- Sólo personal de servicio calificado debe ajustar o reparar este aparato.
- Asegúrese de que el aparato esté correctamente conectado a tierra.
- No caliente líquidos u otros alimentos en recipientes sellados, ya que pueden explotar.
- Utilice siempre utensilios de cocina aptos para microondas.
Producto terminadoview
Familiarize yourself with the components of your Sharp R-25AM microwave oven.
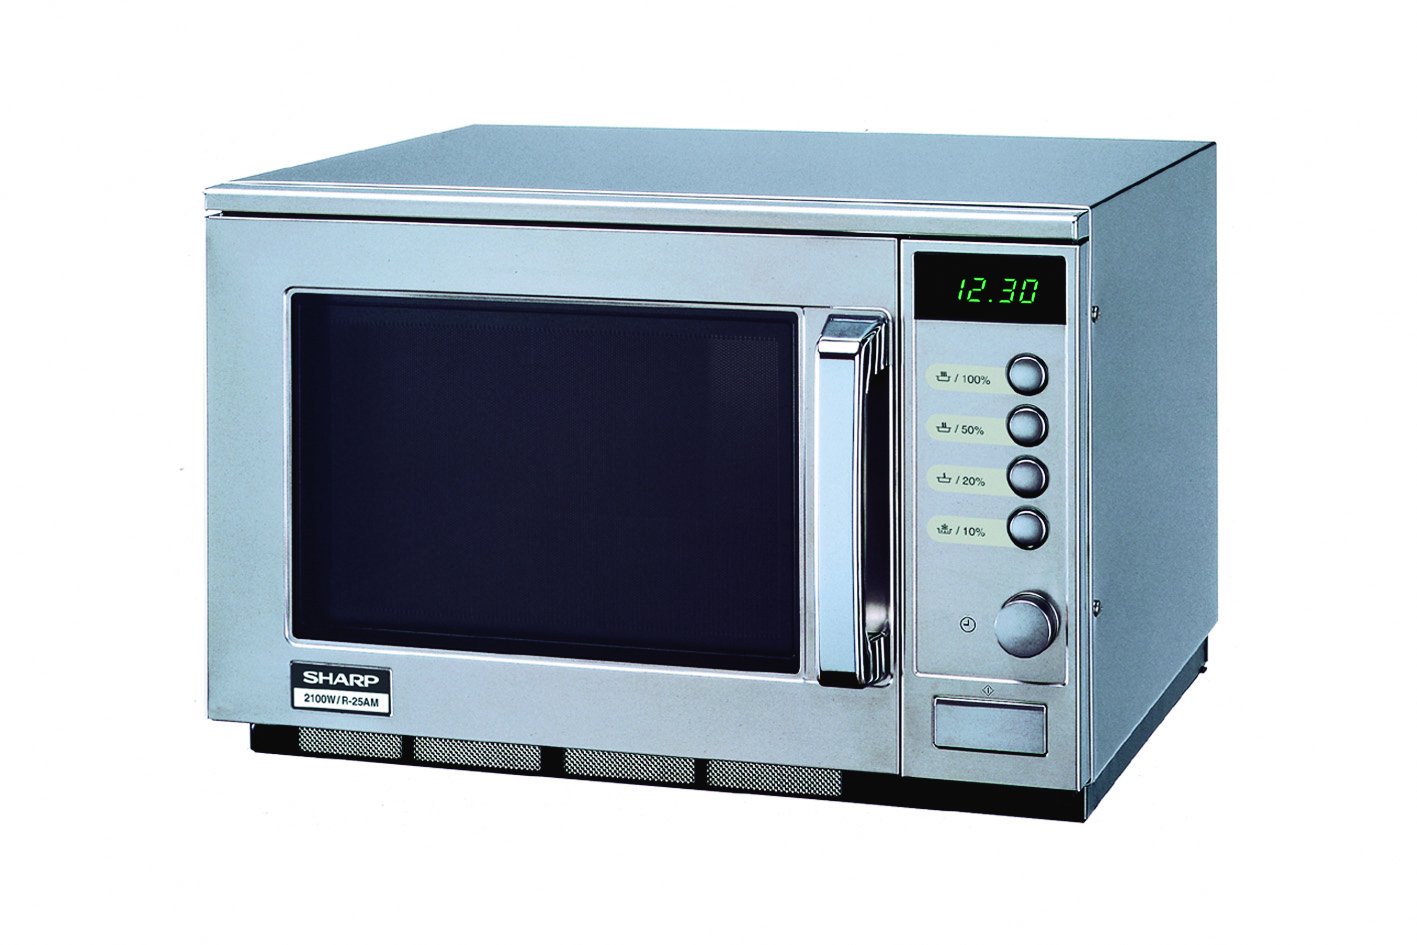
This image displays the front of the Sharp R-25AM microwave oven. It features a stainless steel finish, a dark glass door with a chrome handle, and a control panel on the right. The control panel includes a digital time display (showing '12.30'), four power level buttons (100%, 50%, 20%, 10%), and a rotary dial for setting time or weight. The model number '2100W/R-25AM' is visible on the lower left of the unit.
- Cavidad del horno: El espacio interior donde se colocan los alimentos para cocinar.
- Plato giratorio de vidrio: Gira los alimentos para una cocción uniforme.
- Montaje de puerta: Incluye la puerta, el pestillo y viewventana de ing.
- Panel de control: Contains the digital display, power level buttons, and rotary dial for setting cooking time and functions.
- Manija de la puerta: Se utiliza para abrir y cerrar la puerta del horno.
Configuración e instalación
- Desembalaje: Remove all packaging materials from inside and outside the oven. Check for any damage. Do not remove the waveguide cover.
- Colocación:
- Coloque el horno sobre una superficie plana y estable que sea lo suficientemente fuerte como para sostener el horno y los alimentos que se van a cocinar.
- Ensure adequate ventilation. Leave a minimum of 10 cm (4 inches) clearance at the rear, 20 cm (8 inches) at the top, and 5 cm (2 inches) on both sides.
- No bloquee ninguna abertura de ventilación.
- Mantenga el horno alejado de fuentes de calor y campos magnéticos fuertes.
- Conexión eléctrica:
- Plug the power cord into a properly grounded electrical outlet (230V, 50Hz, 16A).
- No utilice cables de extensión ni adaptadores.
Instrucciones de funcionamiento
Ajuste del reloj
- Ensure the oven is plugged in. The display will show '0:00' or the current time if previously set.
- Presione el Reloj button (often indicated by a clock icon next to the rotary dial).
- Turn the rotary dial to set the hour. Press the Reloj botón de nuevo.
- Turn the rotary dial to set the minutes. Press the Reloj Presione el botón una vez más para confirmar.
Cocinar en microondas
- Lugar Comida: Put food in a microwave-safe container on the glass turntable. Close the oven door securely.
- Seleccionar nivel de potencia: Press one of the power level buttons (100%, 50%, 20%, 10%) to choose the desired cooking intensity. For example, press '100%' for full power (2100W).
- Establecer tiempo de cocción: Turn the rotary dial to set the desired cooking time. The display will show the time counting down.
- Empezar a cocinar: The oven will start automatically after setting the time. Some models may require pressing a separate 'Start' button.
- Fin de la cocción: El horno emitirá un pitido al finalizar la cocción. Abra la puerta y retire la comida con cuidado.
Antihielo
La función de descongelación le permite descongelar alimentos congelados de manera eficiente.
- Coloque los alimentos congelados en el plato giratorio.
- Presione el Descongelar button (if available, or use a lower power setting like 20% or 50%).
- Turn the rotary dial to set the defrost time or weight, depending on the model's features.
- The oven will begin defrosting. It may be necessary to turn the food over halfway through the defrosting process for even thawing.
Mantenimiento y limpieza
Regular cleaning and maintenance will ensure your microwave oven operates effectively and safely.
- Limpieza del interior:
- Después de cada uso, limpie el interior con un paño húmedo.amp Paño para quitar salpicaduras de comida.
- For stubborn stains, place a bowl of water with lemon juice inside and microwave for 2-3 minutes. The steam will loosen the grime, making it easier to wipe clean.
- No utilice limpiadores abrasivos ni estropajos.
- Limpieza del exterior:
- Limpie las superficies exteriores con un paño suave, damp paño.
- Para superficies de acero inoxidable, utilice un limpiador de acero inoxidable especializado para mantener su acabado.
- Limpieza del plato giratorio: El plato giratorio de vidrio y el aro giratorio se pueden quitar y lavar con agua tibia y jabón o en el lavavajillas. Asegúrese de que estén completamente secos antes de volver a colocarlos en el horno.
- Sellos de puerta: Limpie periódicamente las juntas de la puerta y las piezas adyacentes con adamp Paño para asegurar un sellado adecuado y evitar fugas de microondas.
Solución de problemas
Antes de ponerse en contacto con el servicio de atención al cliente, consulte los siguientes problemas y soluciones comunes:
| Problema | Posible causa | Solución |
|---|---|---|
| El horno no arranca. | El cable de alimentación no está enchufado; la puerta no está cerrada correctamente; se ha quemado un fusible o se ha disparado el disyuntor. | Ensure plug is firmly in outlet; close door securely; check household fuse or reset circuit breaker. |
| La comida no se calienta. | Door not closed properly; incorrect cooking time or power level set. | Ensure door is closed; verify cooking time and power level settings. |
| La luz no funciona. | Es necesario reemplazar la bombilla. | Comuníquese con personal de servicio calificado para reemplazar la bombilla. |
| El plato giratorio no gira. | Turntable not properly placed; debris under turntable. | Ensure turntable and roller ring are correctly positioned; clean any debris. |
Presupuesto
Key technical specifications for the Sharp R-25AM microwave oven:
- Modelo: R-25AM
- Marca: Afilado
- Capacidad: 20 litros
- Potencia de salida: 2100 vatios
- Volumentage: 230 voltios
- Frecuencia: 50 Hz
- Tipo de instalación: Encimera
- Material: Acero inoxidable
- Dimensiones del producto (L x An x Al): 470 x 510 x 335 mm (aprox. 18.5 x 20.1 x 13.2 pulgadas)
- Peso: 33.12 kg (aproximadamente 73 libras)
- Tipo de control: Botón, dial giratorio
Garantía y soporte
For warranty information, please refer to the warranty card included with your purchase or visit the official Sharp website. For technical support or service inquiries, please contact Sharp customer service directly. Keep your purchase receipt as proof of purchase for warranty claims.
Nota: La disponibilidad de piezas de repuesto actualmente no está disponible según la información del producto.


