Introducción
This manual provides essential information for the safe and efficient installation, operation, and maintenance of your BRILLIANT Luca 4-Flame Spot Tube Light. Please read these instructions carefully before installation and retain them for future reference.
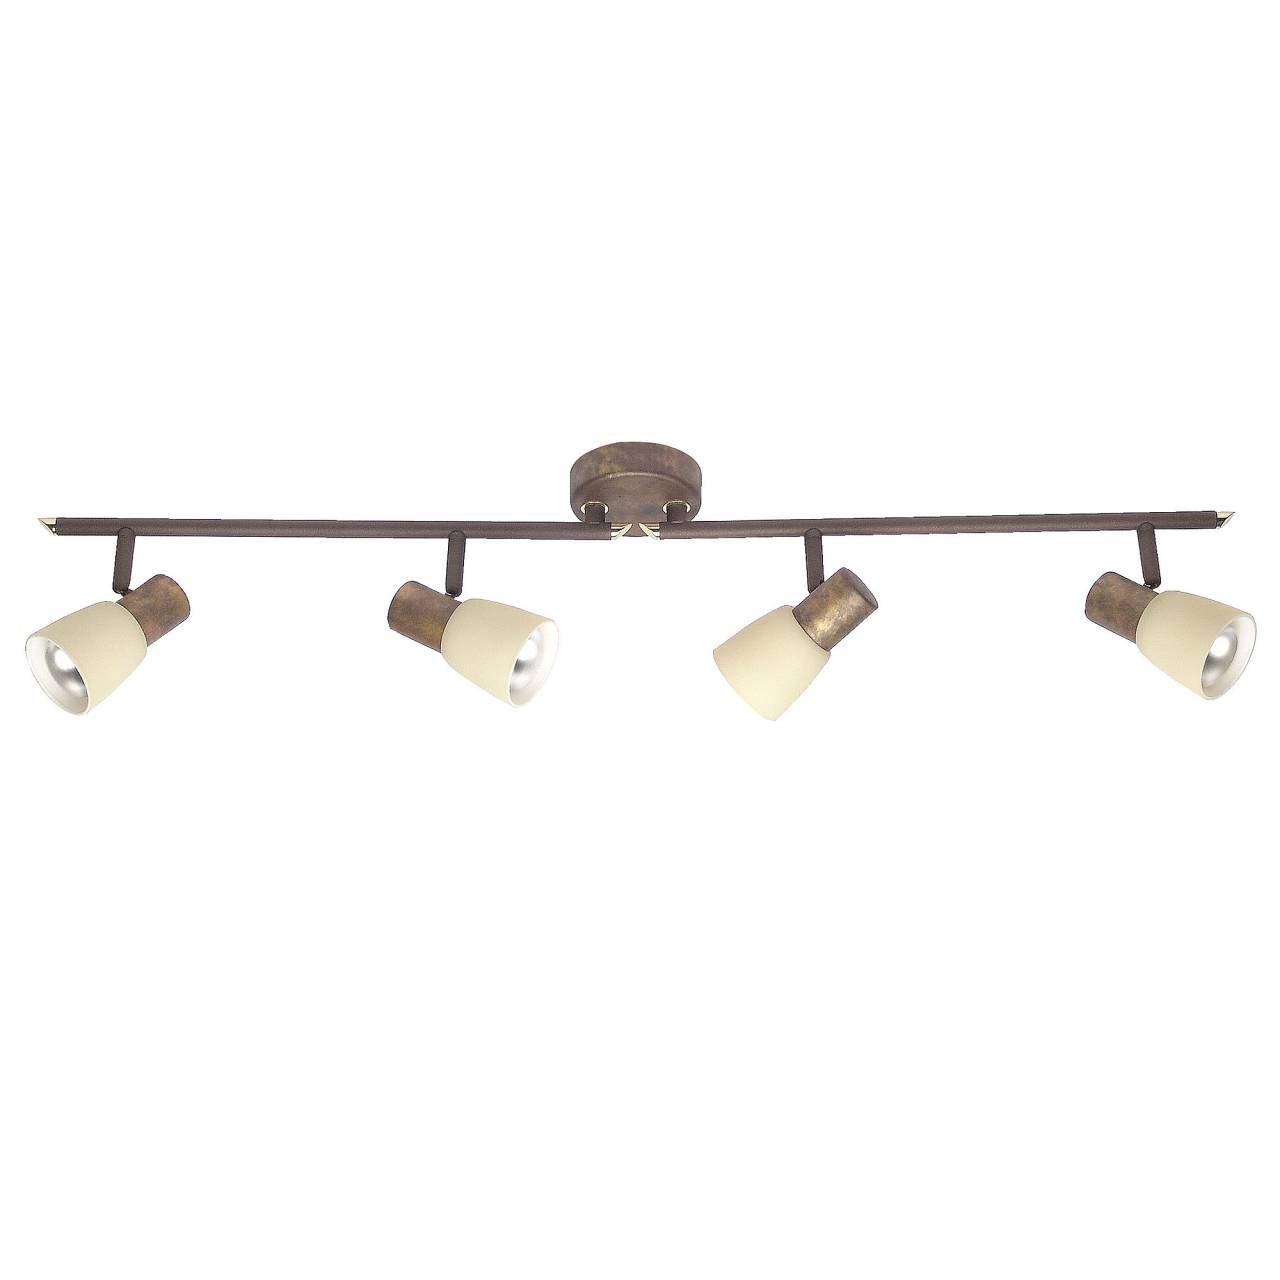
Image 1: The BRILLIANT Luca 4-Flame Spot Tube Light. This image displays the complete light fixture, featuring a long, brown metal bar with four individual spot heads. Each spot head is adjustable and includes a beige glass shade, designed to direct light. The central mounting plate is also visible.
Instrucciones de seguridad
- Desconecte siempre la alimentación desde el fusible principal o el disyuntor antes de realizar la instalación, el mantenimiento o el reemplazo de bombillas.
- La instalación debe ser realizada por un electricista calificado o una persona competente.
- Asegúrese de que la superficie de montaje pueda soportar el peso del accesorio.
- No exceda el máximo de agua.tage especificado para las bombillas (40W por bombilla).
- Este producto está diseñado exclusivamente para uso en interiores (clasificación IP20). No lo exponga a la humedad ni a temperaturas extremas.
- Allow bulbs to cool before touching or replacing them.
- Mantenga los materiales de embalaje fuera del alcance de los niños.
Contenido del paquete
Verifique que todos los componentes estén presentes antes de comenzar la instalación:
- 1x BRILLIANT Luca 4-Flame Spot Tube Light fixture
- Mounting material (screws, wall plugs, etc.)
- Manual de instrucciones
Note: Light bulbs (E14, R50 reflector type, max 40W) are not included and must be purchased separately. LED bulbs are compatible.
Presupuesto
| Marca | Brillante |
| Número de modelo | 35832/56 |
| Dimensiones (L x An x Al) | 85 x 23.2 x 23.2 cm |
| Peso | 1.22 kilogramos |
| Material | Metal, vidrio |
| Color | Brown (fixture), Beige (shade) |
| Número de bombillas | 4 |
| Tipo de casquillo para bombilla | E14 |
| Wat máximotage por bombilla | 40 vatios |
| Volumentage | 240 voltios |
| Clasificación IP | IP20 (solo para uso en interiores) |
| Características especiales | Dimmable (with appropriate bulbs and external dimmer), Adjustable Spot Heads |
| Tipo de instalación | Montaje en el techo |
Configuración e instalación
Importante: Before starting installation, ensure the power supply is switched off at the main circuit breaker to prevent electric shock.
- Prepare la superficie de montaje: Choose a suitable location on your ceiling or wall. Ensure the surface is clean, dry, and structurally sound to support the light fixture.
- Puntos de perforación de marcado: Hold the mounting bracket of the fixture against the desired installation spot. Use a pencil to mark the positions for drilling holes.
- Perforar agujeros: Drill holes at the marked positions using an appropriate drill bit for your ceiling/wall material. Insert the provided wall plugs into the drilled holes.
- Soporte de montaje seguro: Attach the mounting bracket to the ceiling/wall using the provided screws. Ensure it is firmly secured.
- Conexión eléctrica: Connect the household electrical wires to the terminal block on the fixture. Follow standard wiring color codes (e.g., Live to Live, Neutral to Neutral, Earth to Earth). Ensure all connections are secure.
- Fije el accesorio al soporte: Carefully align the light fixture with the secured mounting bracket and attach it using the remaining screws or fastening mechanism.
- Instalar bombillas: Insert four E14 R50 reflector bulbs (not included) into the lamp holders. Do not exceed 40 Watts per bulb. LED bulbs are recommended for energy efficiency.
- Restaurar energía: Una vez completada la instalación y todas las conexiones estén seguras, restablezca la energía en el disyuntor principal.
Consulte a un electricista calificado si no está seguro acerca de alguna parte del proceso de instalación.
Instrucciones de funcionamiento
- Encendido / apagado: Opere la luz utilizando su interruptor de pared estándar.
- Ajuste de los cabezales de foco: The individual spot heads are pivotable and the arms are rotatable. Gently adjust each spot head and arm to direct the light to your desired area.
- Función de atenuación: If you are using dimmable E14 bulbs and have an external dimmer switch installed, you can adjust the light intensity by operating the dimmer. Ensure your bulbs are compatible with your dimmer type.
Mantenimiento
- Limpieza: Disconnect power before cleaning. Wipe the fixture with a soft, dry cloth. Do not use abrasive cleaners or solvents, as these can damage the finish.
- Reemplazo de bombilla:
- Ensure the light is switched off and has cooled down completely.
- Carefully unscrew the old E14 bulb from its socket.
- Screw in a new E14 R50 reflector bulb, ensuring it is no more than 40 Watts.
- Restablezca la energía y pruebe la luz.
- Controles periódicos: Periodically check all connections and mounting screws to ensure they remain tight and secure.
Solución de problemas
| Problema | Posible causa | Solución |
|---|---|---|
| La luz no se enciende. |
|
|
| La luz parpadea. |
|
|
| Dimming does not work. |
|
|
Si los problemas persisten, comuníquese con el servicio de atención al cliente o con un electricista calificado.
Garantía y soporte
Information regarding warranty and spare parts availability is not provided in the product details. For support, please refer to the retailer or manufacturer's official websitio.
Fabricante: Brillante


