1. Introducción
Thank you for choosing the Marathon CL030033WD Atomic Self-Setting Wall Clock. This clock is designed for accuracy and convenience, automatically synchronizing with the atomic time signal to ensure precise timekeeping. It also features a clear digital display, multiple time zones, and temperature readings. This manual provides detailed instructions for setting up, operating, and maintaining your new clock.

Imagen 1.1: Frente view of the Marathon CL030033WD Atomic Self-Setting Wall Clock, displaying time, date, day, and temperature.
2. Características del producto
- Sincronización del tiempo atómico: Automatically sets and adjusts time via the WWVB radio signal for precise accuracy.
- Pantalla grande y fácil de leer: Clear digital display for time, date, day of the week, and indoor temperature.
- Zonas horarias múltiples: Supports 8 selectable time zones.
- Self-Setting: Simply insert batteries for automatic setup.
- Montaje versátil: Includes a built-in table stand and wall-mount option.
- Diseño elegante: Features a brushed steel effect frame with a wood tone finish.
- Pantalla de temperatura: Shows indoor temperature in both Celsius and Fahrenheit.

Image 2.1: The Marathon Atomic Wall Clock in a room setting, highlighting its large, easy-to-read display, multiple modes (time, date, temperature), and 8 time zone capability.

Image 2.2: Close-up of the clock face with icons representing its self-setting function, versatile mounting options, and sleek design.

Imagen 2.3: Detallada view of the clock's dynamic display, showing the date, day of the week, and temperature in both Celsius and Fahrenheit.
3. Contenido del paquete
Verifique el contenido del paquete para asegurarse de que todos los artículos estén presentes:
- Marathon CL030033WD Atomic Self-Setting Wall Clock
- 2 pilas AA
- Manual de usuario (este documento)
4. Configuración
4.1 Instalación de la batería
- Localice la tapa del compartimiento de la batería en la parte posterior del reloj.
- Retire la cubierta.
- Insert the two AA batteries, ensuring the correct polarity (+ and -).
- Vuelva a colocar la tapa del compartimiento de la batería.
4.2 Initial Power-Up and Atomic Signal Reception
Upon battery installation, the clock will automatically power on and begin searching for the WWVB atomic time signal. This process may take several minutes to several hours, depending on your location and environmental conditions. During this time, the signal reception indicator (often a wave icon) will flash.
- For optimal signal reception, place the clock near a window, away from electronic devices that may cause interference.
- The clock is designed to receive signals primarily in North America. Signal strength may vary in other regions.
- Once the signal is successfully received, the time and date will automatically set, and the signal indicator will become solid.
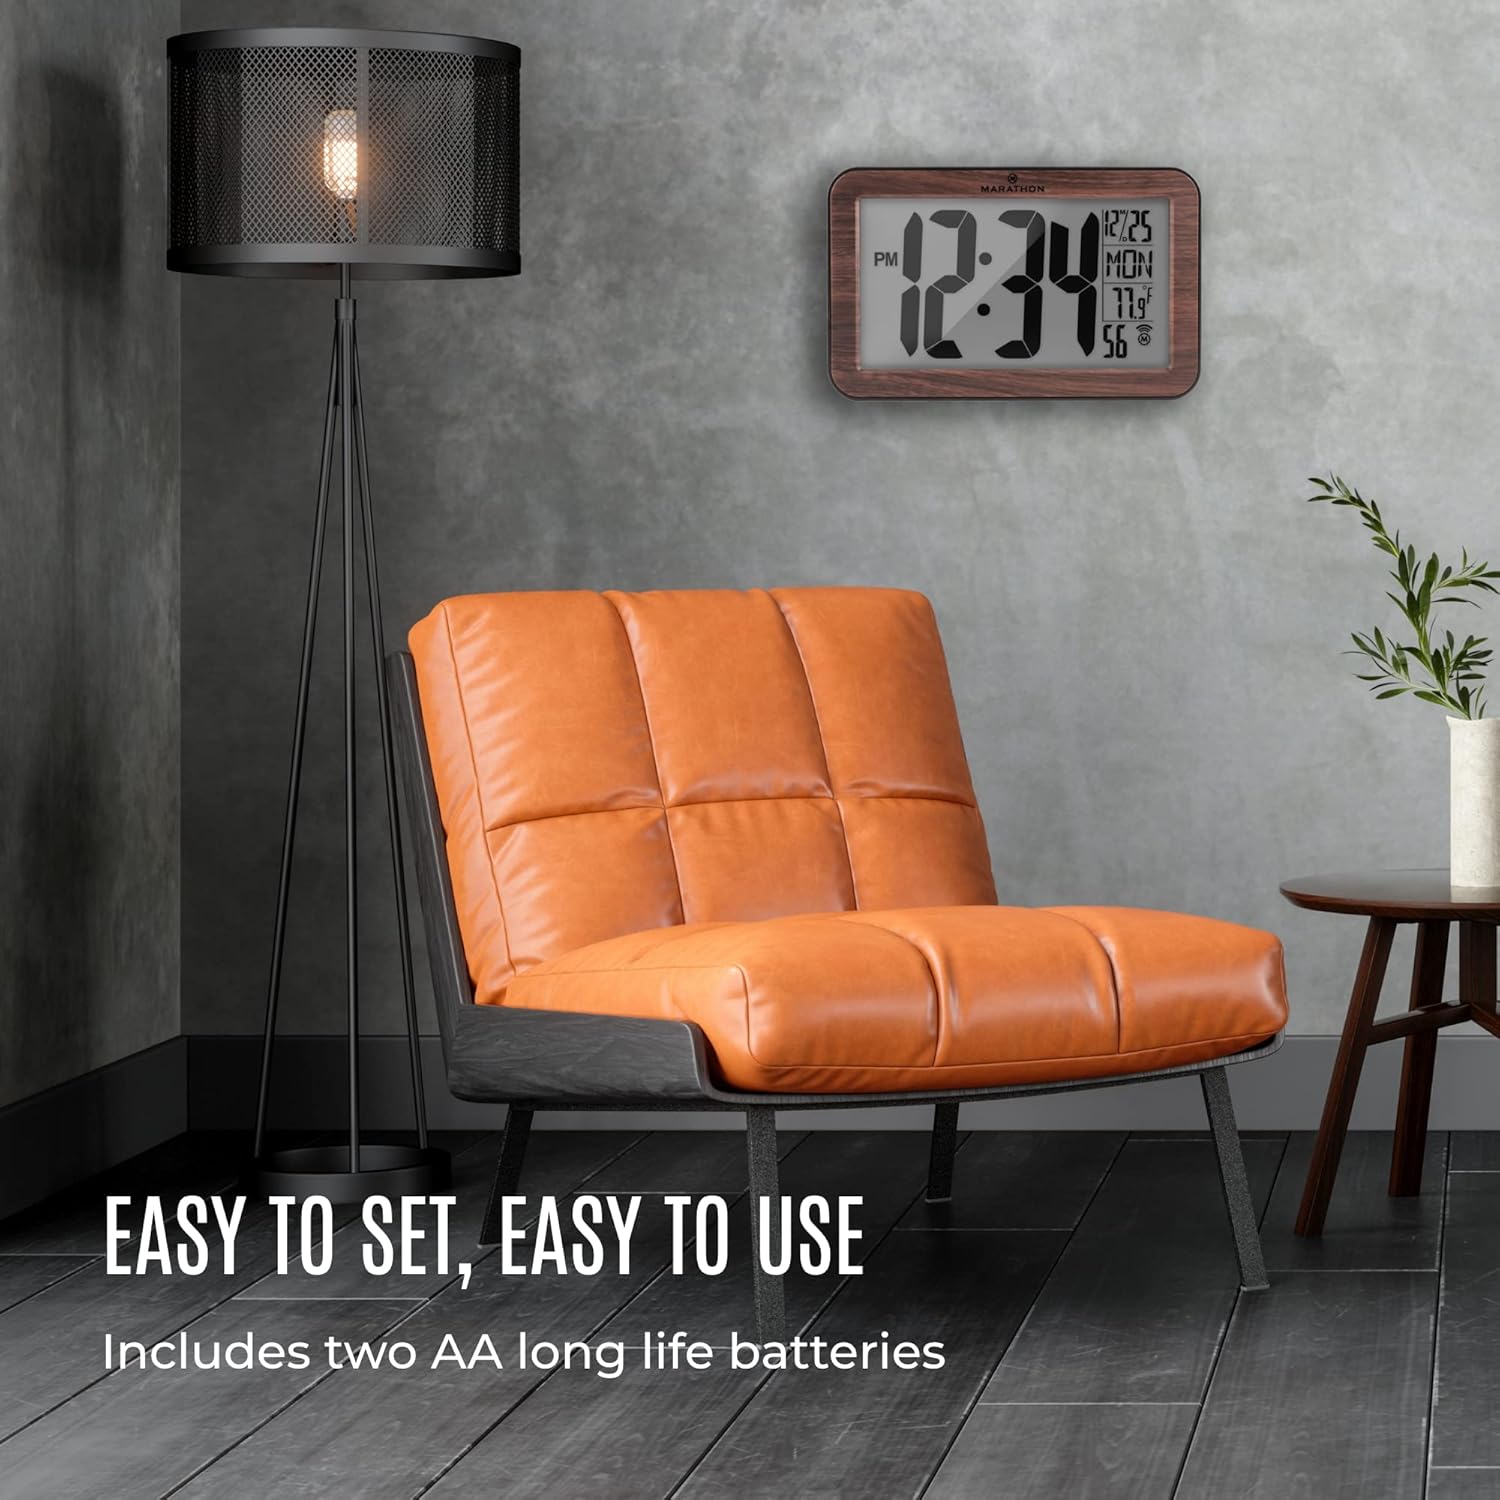
Image 4.1: The Marathon Atomic Wall Clock displayed in a living room, illustrating its ease of setup and use, including battery installation.
5. Instrucciones de funcionamiento
The clock's display provides the following information:
- Tiempo: Large digits indicate the current time (12-hour format with AM/PM indicator).
- Fecha: Mes y día.
- Día de la semana: Abbreviated day name.
- Temperatura: Temperatura interior en Celsius o Fahrenheit.
- Indicador de señal atómica: Shows the status of atomic signal reception.
5.1 Funciones de los botones
The clock typically has buttons on the back for various settings. Common buttons include:
- CONJUNTO: Enters or confirms setting modes.
- MODO: Toggles between display modes or setting options.
- WAVE / RCC: Manually initiates atomic signal search.
- ZONA HORARIA: Selects the desired time zone.
- +/C/F: Adjusts values during setting or switches temperature unit (Celsius/Fahrenheit).
6. Configuración de zona horaria
To set your local time zone:
- Presione el ZONA HORARIA button. The current time zone will begin to flash.
- Presione el + or - button (if available, or MODO/COLOCAR) to cycle through the available time zones (e.g., PST, MST, CST, EST, AST, NST, HST, AKST).
- Once your desired time zone is displayed, press the COLOCAR button to confirm. The clock will then adjust to the correct time for that zone after receiving the atomic signal.
7. Ajuste manual de la hora
If the atomic signal is consistently unavailable or if you prefer to set the time manually:
- Mantenga pulsado el COLOCAR button for approximately 3-5 seconds until the hour digits begin to flash.
- Utilice el + or - botón para ajustar la hora.
- Prensa COLOCAR again to move to the minute digits, then adjust with + or -.
- Continuar presionando COLOCAR para recorrer las configuraciones de año, mes y día, ajustando cada una con + or -.
- Después de configurar todos los parámetros deseados, presione COLOCAR one last time to exit the manual setting mode.
Nota: If the atomic signal is enabled, the clock may attempt to override manual settings once a strong signal is received. To prevent this, you may need to disable the atomic synchronization feature if available (refer to specific button functions on your clock).
8. Mantenimiento
8.1 Reemplazo de batería
When the display dims or the clock stops functioning, it is time to replace the batteries. Follow the battery installation steps in Section 4.1. Always use fresh AA alkaline batteries.
8.2 Limpieza
To clean the clock, use a soft, dry cloth. Do not use abrasive cleaners or chemical solvents, as these may damage the clock's finish or display.
9. Solución de problemas
| Problema | Posible causa | Solución |
|---|---|---|
| Clock not setting time automatically | Weak or no atomic signal reception. | Relocate the clock near a window, away from electronic interference. Manually initiate signal search using the WAVE/RCC button. Ensure you are within the WWVB signal range (North America). |
| Hora incorrecta mostrada | Incorrect time zone selected; temporary signal loss. | Verify the time zone setting (Section 6). Allow time for the clock to re-synchronize with the atomic signal. If persistent, try manual time setting (Section 7). |
| La pantalla está oscura o en blanco | Baterías bajas o agotadas. | Replace batteries with fresh AA alkaline batteries (Section 8.1). |
| La lectura de temperatura es inexacta | Reloj expuesto a la luz solar directa o fuente de calor. | Mueva el reloj a un lugar con temperatura ambiente estable. |
10. Especificaciones
| Característica | Detalle |
|---|---|
| Número de modelo | CL030033WD |
| Marca | Maratón |
| Tipo de pantalla | Digital (Analog style digits) |
| Característica especial | Atomic Time Synchronization, Temperature Display |
| Fuente de poder | 2 pilas AA (incluidas) |
| Material | Madera (Marco) |
| Dimensiones (LxAnxAl) | 22.9 x 14 x 2.5 centímetros (aprox. 9 x 5.7 x 1 pulgadas) |
| Peso del artículo | 531 gramos (aprox. 1.17 libras) |
| Tipo de montaje | Montaje en pared, soporte de mesa |

Image 10.1: The Marathon Atomic Wall Clock illustrating its physical dimensions, including overall width (9 inches / 23 cm), height (5.7 inches / 14.5 cm), and digit height (4 inches / 10 cm).
11. Garantía y soporte
Marathon products are manufactured to high-quality standards. For specific warranty information, please refer to the warranty card included with your product or visit the official Marathon website. For technical support or inquiries, please contact Marathon customer service through their official channels.


