1. Introducción
Thank you for choosing the Arregui Activa Electronic Surface-Mounted Safe. This manual provides essential information for the correct installation, operation, and maintenance of your safe. Please read these instructions carefully before using the product to ensure optimal performance and security.
The Arregui Activa safe is designed to provide secure storage for your valuables, featuring an electronic locking system and a robust construction for surface mounting.
2. Configuración
2.1 Desembalaje
- Retire con cuidado la caja fuerte de su embalaje.
- Check that all components are present: safe unit, emergency keys, instruction manual, and mounting hardware.
- Conserve el embalaje para futuro transporte o almacenamiento.
2.2 Instalación de la batería
- Localice el compartimiento de la batería, generalmente en el interior de la puerta de la caja fuerte.
- Abra la tapa de la batería.
- Insert four (4) AA 1.5V alkaline batteries, ensuring correct polarity (+/-).
- Close the battery cover securely. The safe will emit a beep, indicating successful battery installation.
2.3 Montaje de la caja fuerte
The Arregui Activa safe is designed for surface mounting to a wall or floor. Choose a secure and discreet location.
- Position the safe in the desired location and mark the drilling points through the pre-drilled holes in the back or bottom of the safe.
- Drill holes in the wall or floor using an appropriate drill bit for the mounting surface.
- Insert the provided wall anchors (if applicable) into the drilled holes.
- Align the safe with the holes and secure it using the provided screws or bolts. Tighten all fasteners firmly.
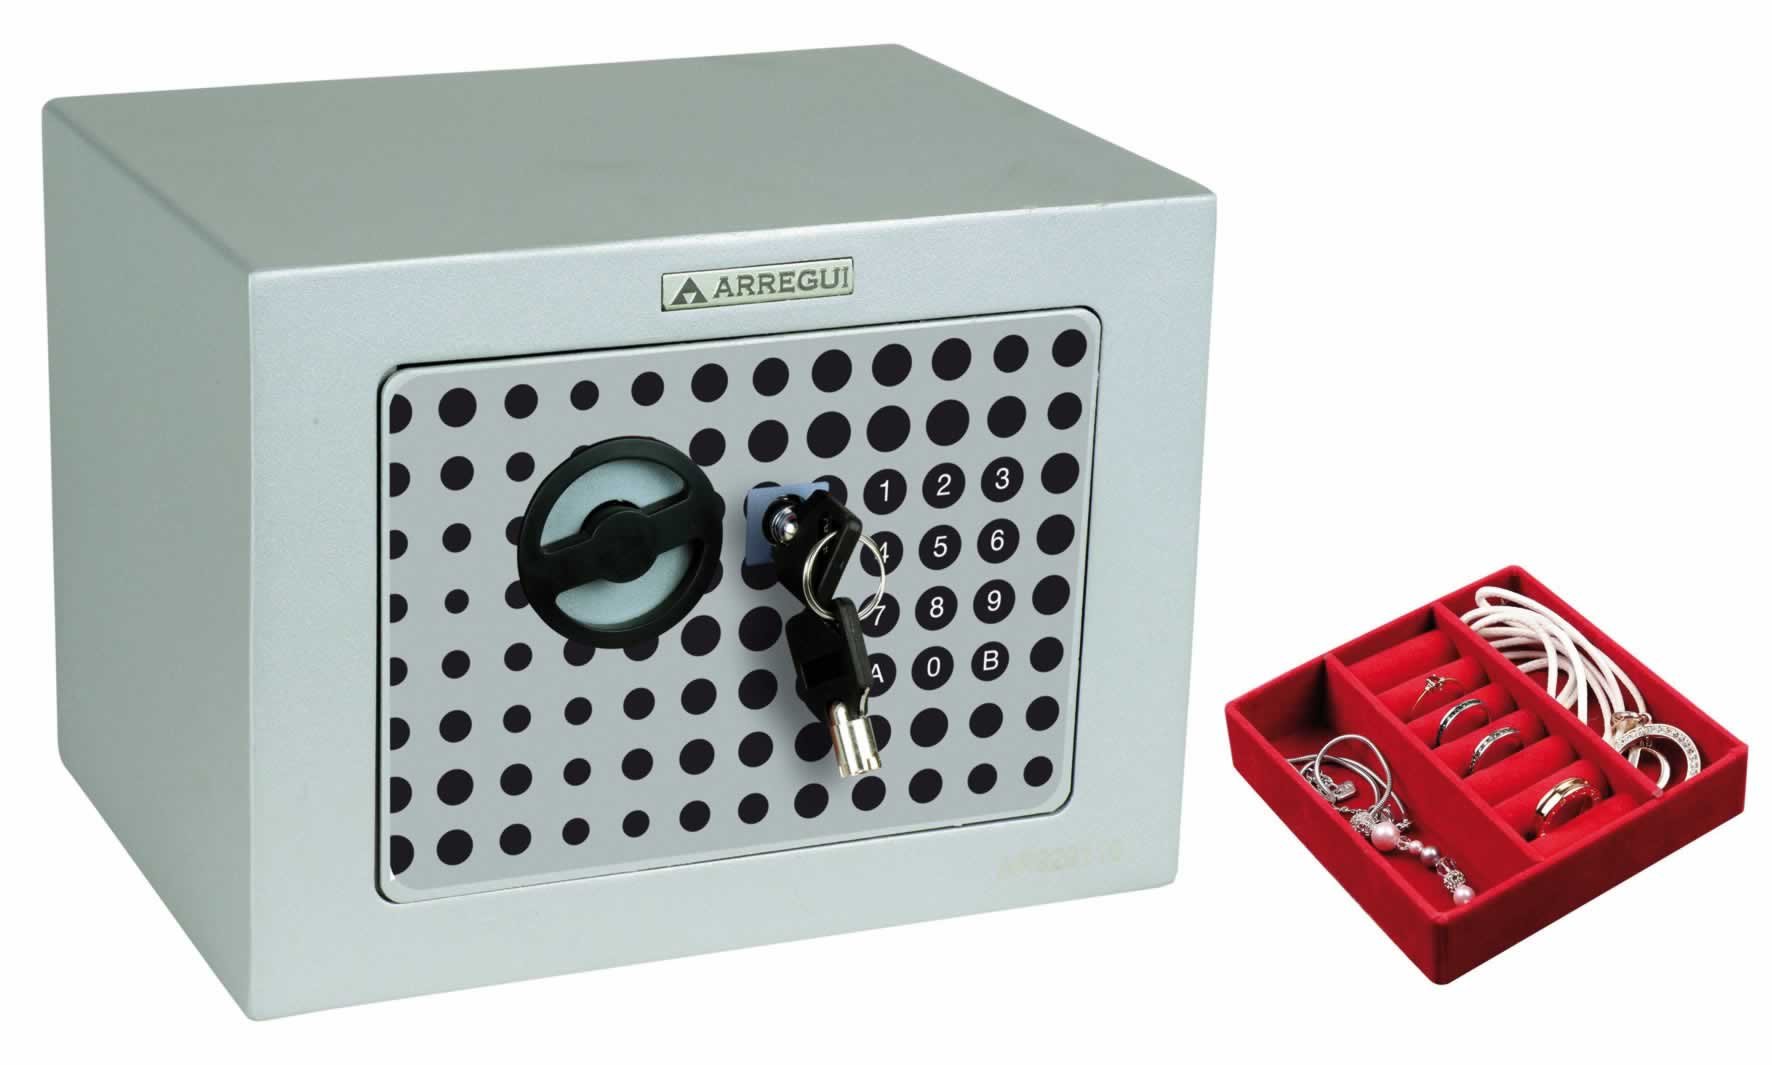
Image 1: Arregui Activa Electronic Safe, illustrating its compact design suitable for surface mounting.
3. Instrucciones de funcionamiento
3.1 Configuración del código inicial
En el primer uso, deberá configurar su código de acceso personal.
- With the safe door open, press the red reset button located on the inside of the door (usually near the hinge). The yellow indicator light on the keypad will illuminate.
- Introduzca un nuevo código personal (3-8 dígitos) en el teclado.
- Confirm the code by pressing the 'A' or '#' button. The safe will beep, and the yellow light will turn off, indicating the code has been successfully set.
- Pruebe el nuevo código con la puerta abierta antes de cerrarla.
3.2 Apertura de la caja fuerte
- Introduzca su código personal en el teclado.
- Press the 'A' or '#' button. The green indicator light will illuminate, and you will hear a click.
- Within 5 seconds, turn the knob or handle clockwise to open the door.
3.3 Cierre de la caja fuerte
- Cierre firmemente la puerta de la caja fuerte.
- Turn the knob or handle counter-clockwise to engage the locking bolts. The safe is now secured.
3.4 Cambio del código de usuario
- Abra la caja fuerte utilizando su código actual.
- Press the red reset button on the inside of the door. The yellow indicator light will illuminate.
- Enter your new personal code (3-8 digits).
- Confirm the new code by pressing the 'A' or '#' button. The safe will beep, and the yellow light will turn off.
- Pruebe el nuevo código con la puerta abierta antes de cerrarla.
3.5 Emergency Opening (with Key)
In case of battery failure or forgotten code, you can use the emergency key.
- Localice la cerradura de emergencia, normalmente oculta detrás de una pequeña cubierta en el panel del teclado.
- Retire la cubierta.
- Inserte la llave de emergencia y gírela en el sentido de las agujas del reloj mientras gira simultáneamente la manija para abrir la caja fuerte.
- Once open, replace the batteries if necessary and reset your code. Keep emergency keys in a secure location away from the safe.
4. Mantenimiento
4.1 Reemplazo de batería
When the batteries are low, the red indicator light will flash or the safe will emit a warning sound when you attempt to open it. Replace all four batteries promptly to ensure continued operation.
- Follow the steps in section 2.2 for battery installation.
- Utilice siempre pilas alcalinas nuevas de alta calidad. No mezcle pilas nuevas y usadas ni pilas de diferentes tipos.
4.2 Limpieza
- Limpie el exterior de la caja fuerte con un paño suave.amp paño.
- No utilice limpiadores abrasivos ni disolventes, ya que pueden dañar el acabado o los componentes electrónicos.
5. Solución de problemas
| Problema | Posible causa | Solución |
|---|---|---|
| La caja fuerte no se abre con código. | Código incorrecto ingresado; Baterías bajas; Mal funcionamiento del teclado. | Re-enter code carefully; Replace batteries (Section 4.1); Use emergency key (Section 3.5). |
| El teclado no responde. | Baterías agotadas; Conexión de batería suelta. | Replace batteries (Section 4.1); Ensure batteries are correctly inserted. |
| Red light flashes or beeps continuously. | Advertencia de batería baja. | Replace batteries immediately (Section 4.1). |
| La puerta no cierra correctamente. | Obstrucción; Desalineación. | Check for items blocking the door or bolts; Ensure safe is mounted level. |
6. Especificaciones
| Número de modelo: | 1832D80 |
| Dimensiones externas (Al x An x Pr): | 230 x 170 x 170 mm |
| Mecanismo de bloqueo: | Electronic keypad with emergency key override |
| Fuente de energía: | 4 pilas AA de 1.5 V |
| Tipo de montaje: | Surface-mounted (wall or floor) |
7. Información de garantía
Arregui products are manufactured to high-quality standards and are guaranteed against manufacturing defects for a period specified by local consumer protection laws from the date of purchase. This warranty does not cover damage caused by improper installation, misuse, unauthorized modifications, or normal wear and tear. Please retain your proof of purchase for warranty claims.
8. Soporte
For technical assistance, spare parts, or warranty inquiries, please contact your retailer or the Arregui customer service department. Refer to the contact information provided with your purchase documentation or visit the official Arregui websitio para detalles de soporte.
Websitio: www.arregui.es


