1. Introducción
The OBI 135W 3200 RPM Rotary Tool is a versatile power tool designed for a wide range of precision applications. Its compact size and variable speed control make it ideal for tasks such as drilling, grinding, polishing, sanding, cutting, and carving on various materials. This manual provides essential information for the safe and effective operation, maintenance, and troubleshooting of your rotary tool.
2. Instrucciones de seguridad
Always adhere to basic safety precautions when using electrical tools to reduce the risk of fire, electric shock, and personal injury.
- Equipo de protección individual (EPI): Use siempre gafas de seguridad, protección auditiva y guantes adecuados. Se recomienda usar mascarilla antipolvo para operaciones con polvo.
- Área de trabajo: Keep your work area clean, well-lit, and free from clutter. Do not operate the tool in explosive atmospheres, such as in the presence of flammable liquids, gases, or dust.
- Seguridad eléctrica: Ensure the power cord is in good condition and avoid using the tool in wet or damp conditions. Never pull the cord to disconnect from the outlet.
- Manejo de herramientas: Always unplug the tool from the power source before changing accessories, making adjustments, or performing maintenance. Secure the workpiece firmly.
- Niños y transeúntes: Mantenga a los niños y transeúntes alejados mientras opera la herramienta.
- Ventilación: Do not block the ventilation openings on the tool.
3. Contenido del paquete
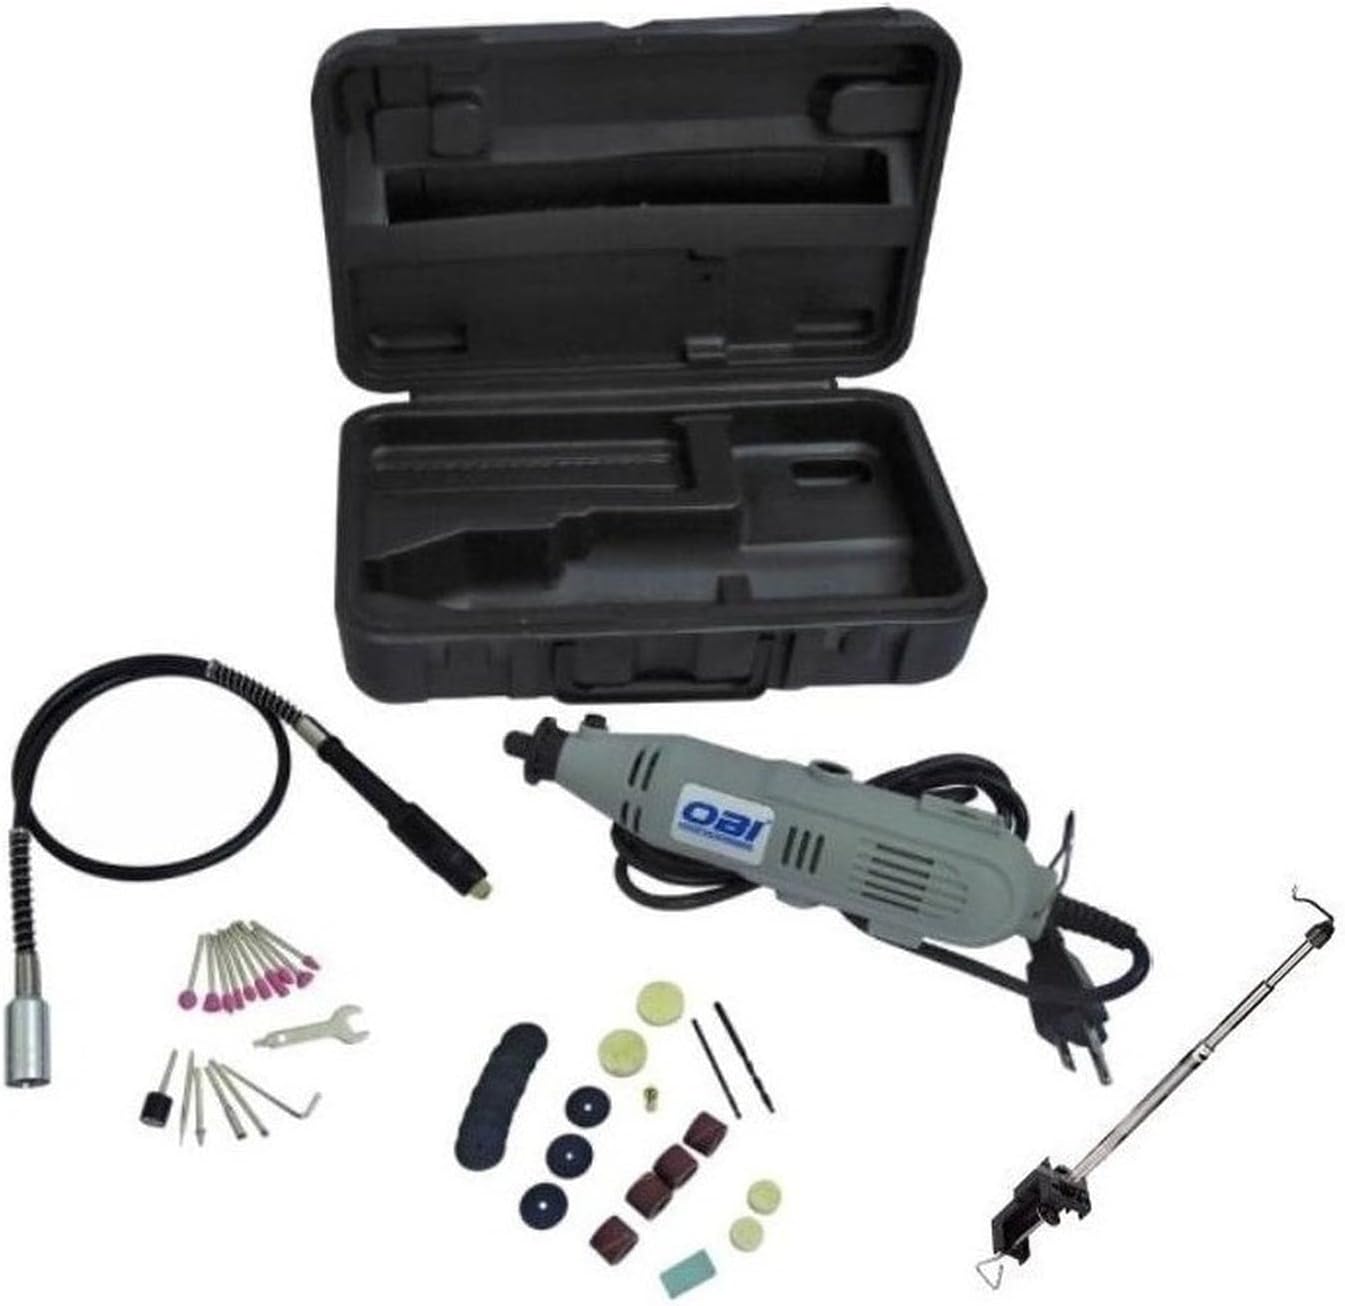
Carefully unpack your OBI Rotary Tool and verify that all items are present and undamaged. If any items are missing or damaged, contact your retailer.
- OBI 135W 3200 RPM Rotary Tool
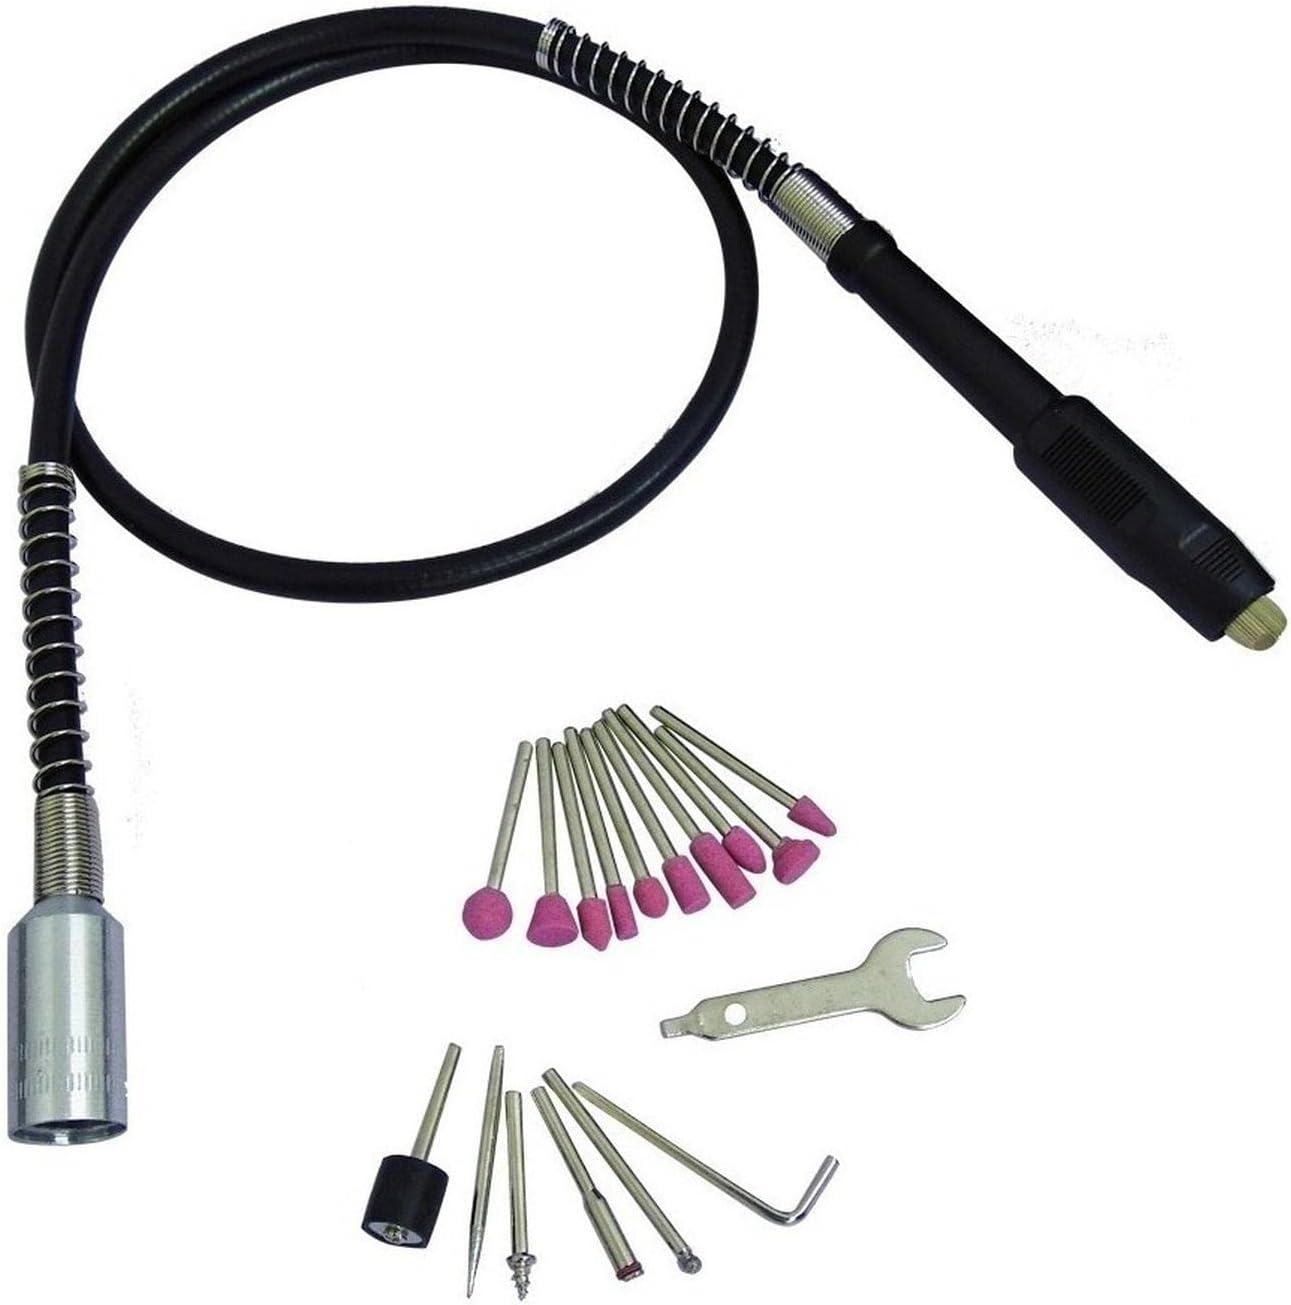
- Accesorio de eje flexible
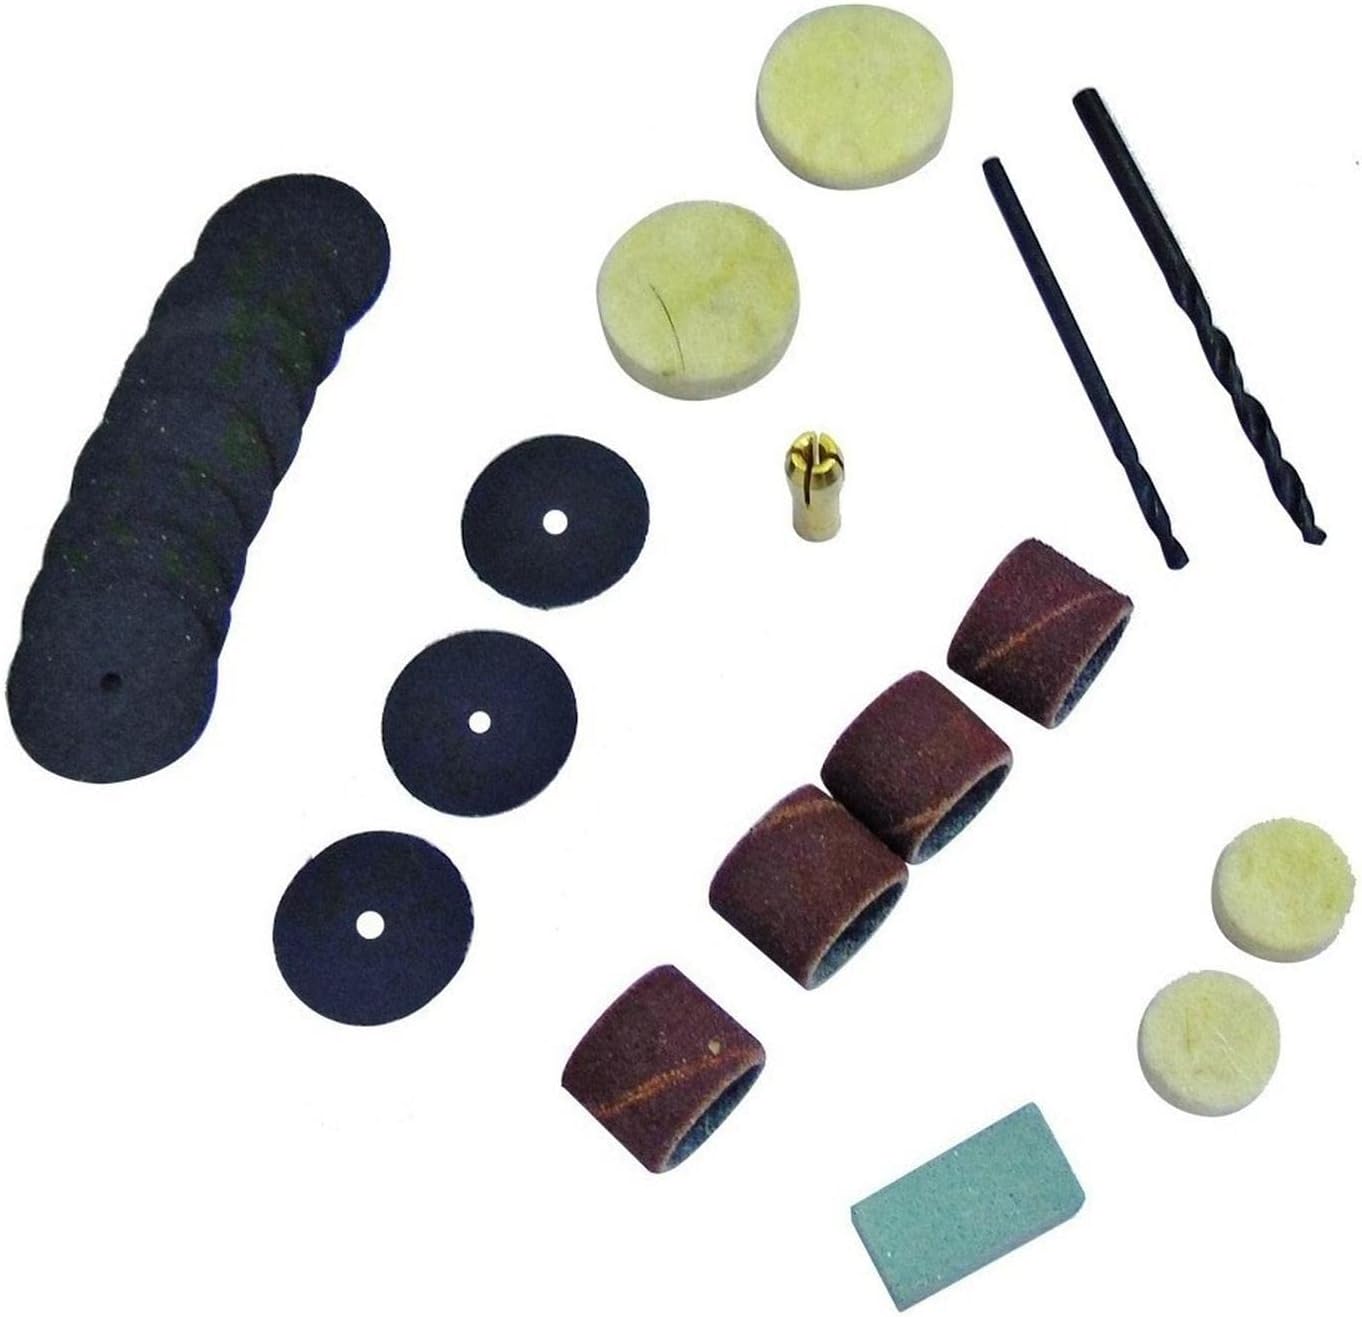
- Accessory Kit (approx. 40 pieces, including various grinding stones, sanding bands, cutting discs, drills, collets, and a wrench)
- Estuche de almacenamiento

4. Producto terminadoview
Familiarize yourself with the components of your rotary tool before operation.

Componentes clave:
- Interruptor de alimentación: Control de encendido y apagado de la herramienta.
- Marcación de velocidad variable: Adjusts the rotational speed of the tool.
- Tuerca de pinza: Asegura los accesorios en su lugar.
- Botón de bloqueo del eje: Se utiliza para bloquear el husillo para facilitar el cambio de accesorios.
- Ranuras de ventilación: Asegure un flujo de aire adecuado para evitar el sobrecalentamiento.
- Flexible Shaft Connection Point: Where the flexible shaft is attached for precision work.
5. Configuración
Una configuración adecuada garantiza un funcionamiento seguro y eficiente.
5.1 Colocación de accesorios
- Desenchufe la herramienta de la fuente de alimentación.
- Mantenga presionado el botón de bloqueo del eje.
- Desatornille la tuerca de la pinza.
- Inserte completamente el vástago del accesorio deseado en el portaherramientas.
- Tighten the collet nut securely with the provided wrench. Do not overtighten.
5.2 Fijación del eje flexible
- Desenchufe la herramienta de la fuente de alimentación.
- Desatornille y retire la tuerca del portapinza y el portapinza de la herramienta principal.
- Insert the inner drive shaft of the flexible shaft into the tool's spindle.
- Thread the flexible shaft's coupling nut onto the tool's housing until secure.
- Insert the desired accessory into the collet at the end of the flexible shaft and tighten with the flexible shaft's wrench.
6. Operación
Follow these steps for safe and effective use of your rotary tool.
- Seleccionar accesorio: Choose the appropriate accessory for your task and install it securely.
- Ajustar velocidad: Plug the tool into a power outlet. Turn the variable speed dial to the desired RPM. Start with a lower speed for delicate work or when learning, and increase as needed. The maximum speed is 3200 RPM.
- Encendido: Coloque el interruptor de encendido en la posición “ON”.
- Comenzar a trabajar: Apply light, consistent pressure. Let the tool do the work. Avoid excessive force, which can cause the tool to stall or damage the accessory/workpiece.
- Apagado: When finished, flip the power switch to the 'OFF' position and unplug the tool.
Tips for Specific Applications:
- Perforación: Use appropriate drill bits. Start with a pilot hole if necessary.
- Lijado/pulido: Move the tool continuously to avoid creating grooves or burning the material.
- Pulido: Use polishing accessories with appropriate polishing compound.
- Corte: Use cutting discs for thin materials. Ensure the workpiece is stable.
7. Mantenimiento
Regular maintenance will prolong the life of your tool and ensure optimal performance.
- Limpieza: Después de cada uso, desenchufe la herramienta y limpie el exterior con un paño suave.amp cloth. Use a brush or compressed air to clear dust from the ventilation slots.
- Inspección de accesorios: Regularly inspect accessories for wear or damage. Replace worn or damaged accessories immediately.
- Inspección del cable: Revise el cable de alimentación para detectar cortes, desgaste o daños. No utilice la herramienta si el cable está dañado.
- Almacenamiento: Store the tool and its accessories in the provided case, in a dry, secure location out of reach of children.
8. Solución de problemas
If you encounter issues with your rotary tool, refer to the following common problems and solutions.
| Problema | Posible causa | Solución |
|---|---|---|
| La herramienta no arranca. | No hay fuente de alimentación; Interruptor de encendido apagado; Cable dañado. | Check power outlet; Ensure switch is ON; Inspect and replace damaged cord. |
| Vibración excesiva. | Accessory not properly seated or bent; Worn accessory. | Re-seat accessory; Replace accessory. |
| La herramienta se sobrecalienta. | Blocked ventilation slots; Excessive load. | Clean ventilation slots; Reduce pressure on the tool; Allow tool to cool. |
| Accessory slips in collet. | Collet nut not tight enough; Incorrect collet size. | Tighten collet nut securely; Ensure correct collet size for accessory shank. |
Si el problema persiste después de intentar estas soluciones, comuníquese con el servicio de atención al cliente.
9. Especificaciones
| Característica | Especificación |
|---|---|
| Marca | OBI |
| Modelo | 135W 3200 RPM Rotary Tool |
| Entrada de potencia | 135 vatios |
| Velocidad máxima de rotación | 3200 RPM |
| Tamaño máximo de mandril | 3.2 milímetros |
| Característica especial | Velocidad variable |
| Peso del producto | 1.39 kilogramos |
| Dimensiones del paquete | 30 x 17.6 x 8.8 cm |
| Fuente de poder | Eléctrico con cable |
| Componentes incluidos | Drill Accessory (referring to the accessory kit) |
10. Garantía y soporte
For specific warranty details and customer support, please refer to the documentation included with your purchase or contact OBI customer service directly. Warranty terms may vary based on region and retailer. Keep your purchase receipt as proof of purchase.


