1. Introducción
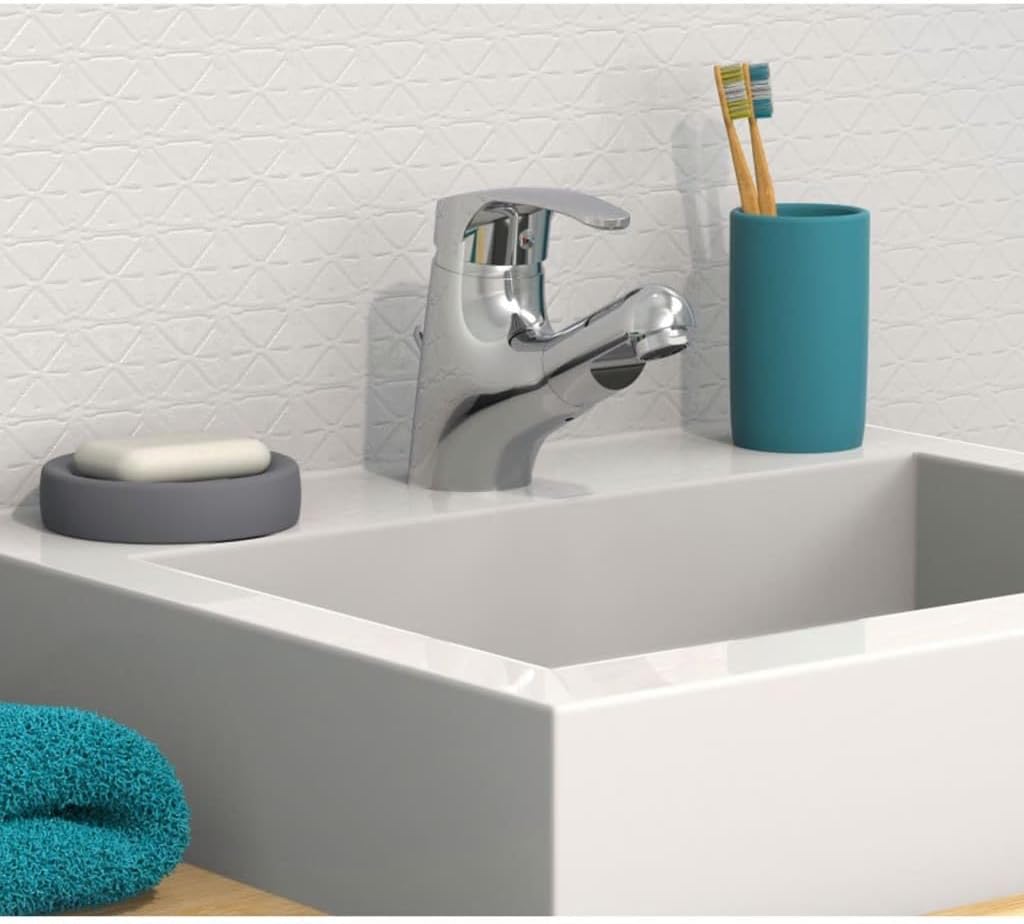
This manual provides detailed instructions for the installation, operation, and maintenance of your EISL Washbasin Faucet Vico, model NI075TCO. Please read this manual thoroughly before installation and use to ensure proper function and longevity of the product. Retain this manual for future reference.
2. Información de seguridad
- Cierre siempre el suministro principal de agua antes de comenzar cualquier trabajo de instalación, mantenimiento o reparación en el grifo.
- Ensure all connections are secure and properly sealed to prevent leaks.
- Do not use abrasive cleaners, scouring pads, or harsh chemicals on the faucet's chrome finish, as this can cause damage.
- If you are unsure about any step in the installation or repair process, consult a qualified plumber.
3. Contenido del paquete
Verifique que todos los componentes estén presentes antes de comenzar la instalación:
- EISL Washbasin Faucet Vico (Model NI075TCO)
- Herrajes de montaje (tuercas, arandelas, juntas)
- Flexible hot and cold water connection hoses
- 1 1/4 inch eccentric fitting (pop-up waste)
- Manual de instrucciones
4. Especificaciones
| Característica | Especificación |
|---|---|
| Número de modelo | NI075TCO |
| Fabricante | Eisl Sanitär |
| Peso del artículo | 1.49 kilogramos |
| Dimensiones del producto | 14.4 x 5.6 x 18.4 cm |
| Material | Latón |
| Finalizar | Cromo |
| Método de instalación | Orificio único, montaje en cubierta |
| Número de manijas | 1 (Palanca única) |
| Caudal | 12.2 litros por minuto |
| Longitud de la manguera | 40 centímetros |
| Altura del caño | 75 milímetros |
| Características especiales | Pull-out spray |
5. Configuración e instalación
Follow these steps for proper installation of your EISL Washbasin Grifo:
- Prepare el área de instalación: Ensure the main water supply is turned off. Clear the area around the washbasin agujero.
- Monte el grifo: Insert the faucet body into the single hole on your washbasin. From underneath the basin, secure the faucet using the provided mounting hardware (gasket, washer, and nut). Tighten securely but do not overtighten.
- Conectar mangueras de agua: Attach the flexible hot and cold water hoses to the corresponding inlets on the faucet body. Connect the other ends of the hoses to your hot and cold water supply lines. Ensure connections are hand-tight, then use a wrench for a final quarter turn.
- Install Eccentric Fitting: Assemble the 1 1/4 inch eccentric fitting (pop-up waste) according to its separate instructions and install it into the drain hole of your washbasin. Connect the operating rod from the faucet to the eccentric fitting.
- Compruebe si hay fugas: Slowly turn on the main water supply and check all connections for leaks. If any leaks are detected, tighten the connections further.

6. Instrucciones de funcionamiento
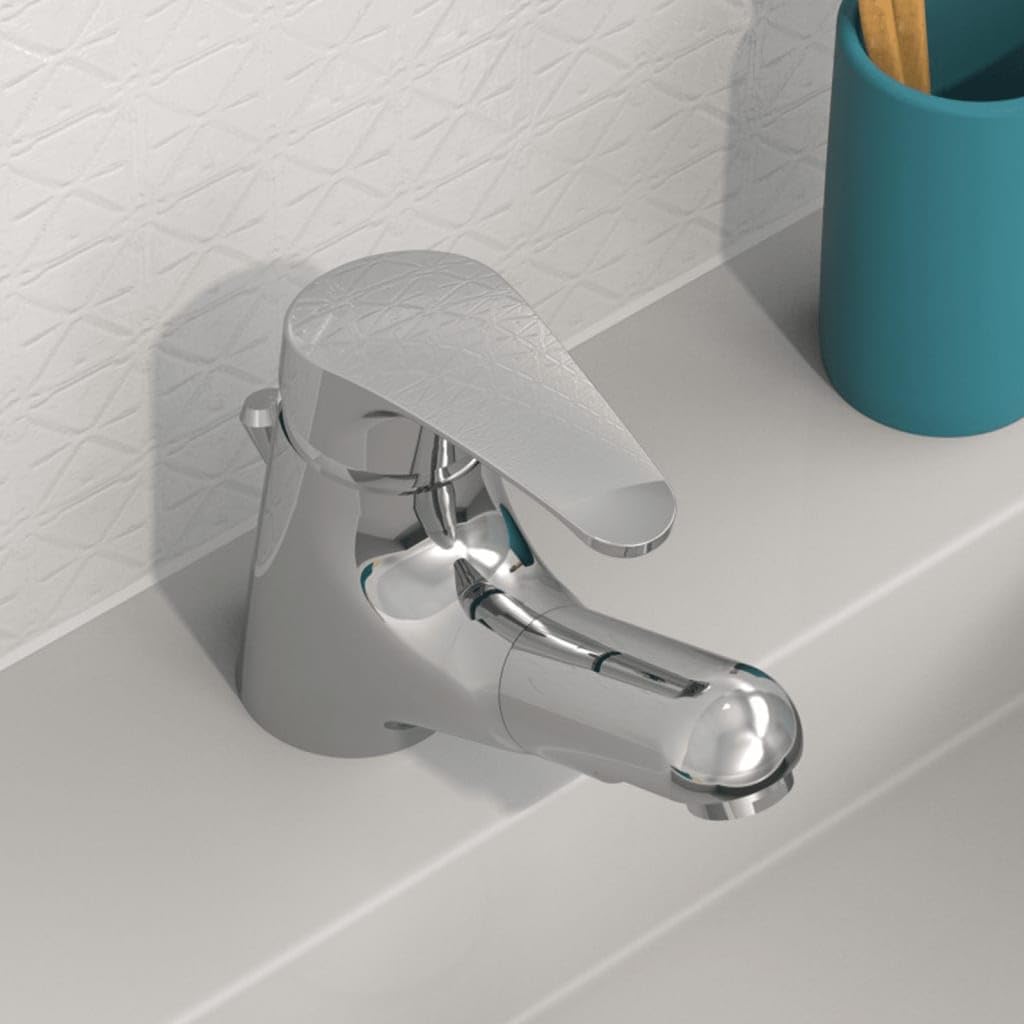
The EISL Vico faucet features a single lever for controlling water flow and temperature, and a pull-out spray for extended reach.
- Flujo y temperatura del agua: Lift the single lever handle to increase water flow. Move the lever to the left for hot water and to the right for cold water. The further you move the lever, the higher the temperature or colder the water will be.
- Pull-out Spray: Gently pull the spout head to extend the integrated spray hose. This allows for greater flexibility in directing water. Push the spout head back into the faucet body when finished.
- Eccentric Fitting (Pop-up Waste): The drain stopper is operated by a small lever located on the back or side of the faucet body. Push down the lever to close the drain and pull up to open it.

7. Mantenimiento
Regular maintenance will help preserve the appearance and functionality of your faucet.
- Limpieza: Clean the faucet regularly with a soft cloth and mild soap or a non-abrasive cleaner specifically designed for chrome finishes. Rinse thoroughly with water and dry with a soft cloth to prevent water spots. Do not use abrasive cleaners, acids, or solvents.
- Limpieza del aireador: If water flow decreases, the aerator at the end of the spout may be clogged. Unscrew the aerator, clean any debris, and rinse it under running water before reattaching.
- Reemplazo del cartucho: The faucet is equipped with a low-noise, replaceable ceramic cartridge. If you experience persistent drips or difficulty controlling water temperature/flow, the cartridge may need replacement. Contact a qualified plumber or EISL customer support for assistance.
8. Solución de problemas
Consulte la siguiente tabla para conocer los problemas más comunes y sus soluciones:
| Problema | Posible causa | Solución |
|---|---|---|
| Bajo caudal de agua | Aireador obstruido; válvula de cierre parcialmente cerrada; manguera de suministro doblada. | Clean aerator; ensure shut-off valves are fully open; check supply hoses for kinks. |
| Water leaks from spout | Cartucho desgastado. | Replace the ceramic cartridge. |
| Fugas de agua de la base del grifo | Tuerca de montaje suelta; junta dañada. | Tighten mounting nut; inspect and replace gasket if damaged. |
| Difficulty controlling temperature | Worn cartridge; incorrect hot/cold supply connection. | Replace the ceramic cartridge; verify hot and cold supply lines are connected correctly. |
9. Garantía y soporte
For warranty information, technical support, or to order replacement parts, please contact EISL Sanitär GmbH directly or refer to the retailer from whom you purchased the product. Keep your proof of purchase for warranty claims.