1. Introducción
The CONTEC CMS50M Fingertip Pulse Oximeter is a portable, non-invasive device designed for spot-checking of arterial hemoglobin oxygen saturation (SpO2) and pulse rate (PR) through the finger. It is suitable for use in home environments and for sporting and aviation activities. This device is not intended for continuous monitoring or as a medical device for diagnosis or treatment.
It features a small volume, light weight, and is convenient for carrying. The device displays pulse rate value and a bar graph for easy reading.

Figura 1: Frente view of the CONTEC CMS50M Fingertip Pulse Oximeter showing the display with SpO2 and PR readings.
2. Contenido del paquete
Al abrir el paquete, verifique que todos los artículos estén presentes y en buen estado:
- Main unit (CONTEC CMS50M Fingertip Pulse Oximeter)
- Acollador
- Manual de usuario
Note: Batteries are not included in the package and must be purchased separately.

Figure 2: The CONTEC CMS50M Pulse Oximeter shown with its included lanyard.
3. Configuración
3.1 Instalación de la batería
The device requires two AAA batteries (not included). Follow these steps to install them:
- Localice la tapa del compartimiento de la batería en la parte posterior del dispositivo.
- Deslice la cubierta en la dirección indicada por la flecha.
- Insert two AAA batteries, ensuring the polarity (+ and -) matches the diagrams inside the compartment. Note that one positive terminal may align with a spring, which is an uncommon but correct orientation for this device.
- Replace the battery compartment cover by sliding it back until it clicks into place.
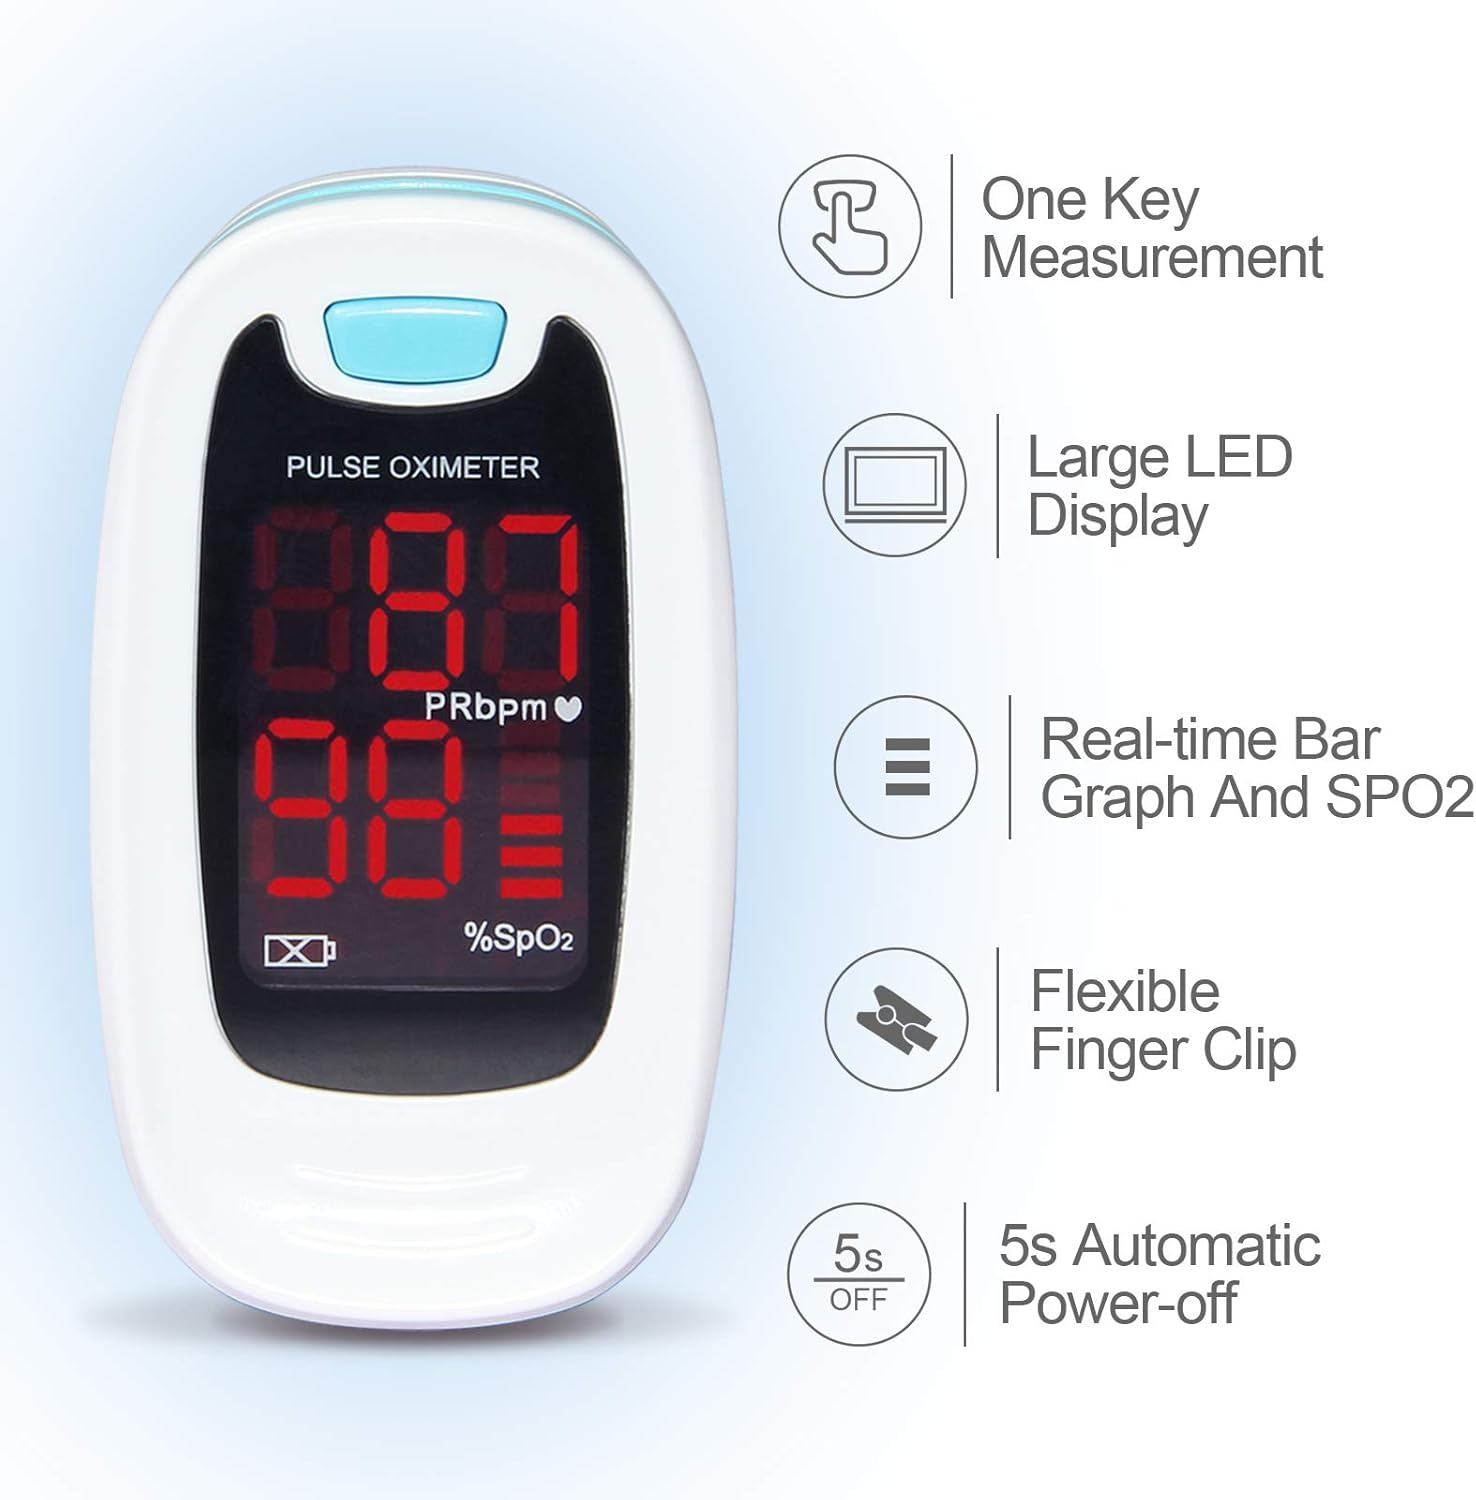
Figura 3: Posterior view of the pulse oximeter showing the battery compartment. Ensure correct battery polarity during installation.
3.2 Colocación del cordón
To attach the lanyard:
- Thread the thin loop end of the lanyard through the lanyard hole on the device.
- Pass the larger end of the lanyard through the small loop you just created and pull it tight to secure.
- The lanyard features a quick-release buckle for easy detachment if not needed.
4. Instrucciones de funcionamiento
4.1 Realización de una medición
- Abre la clamp del oxímetro.
- Insert one of your fingers (preferably the index or middle finger) into the rubber opening of the oximeter with the nail surface upward. Ensure the finger is fully inserted and rests on the sensor.
- Suelte el clamp.
- Press the power button on the front panel once to turn on the oximeter.
- Keep your hand still during the measurement. Do not shake your finger.
- The SpO2 and Pulse Rate values will appear on the display within a few seconds.

Figure 4: Proper finger placement in the pulse oximeter for accurate readings.
4.2 Comprender la pantalla
The bright LED display shows the following information:
- SpO2 (%): Blood Oxygen Saturation Level.
- PRbpm: Frecuencia del pulso (pulsaciones por minuto).
- Gráfico de barras: Indicates pulse intensity.
- Indicador de batería: Muestra la vida útil restante de la batería.
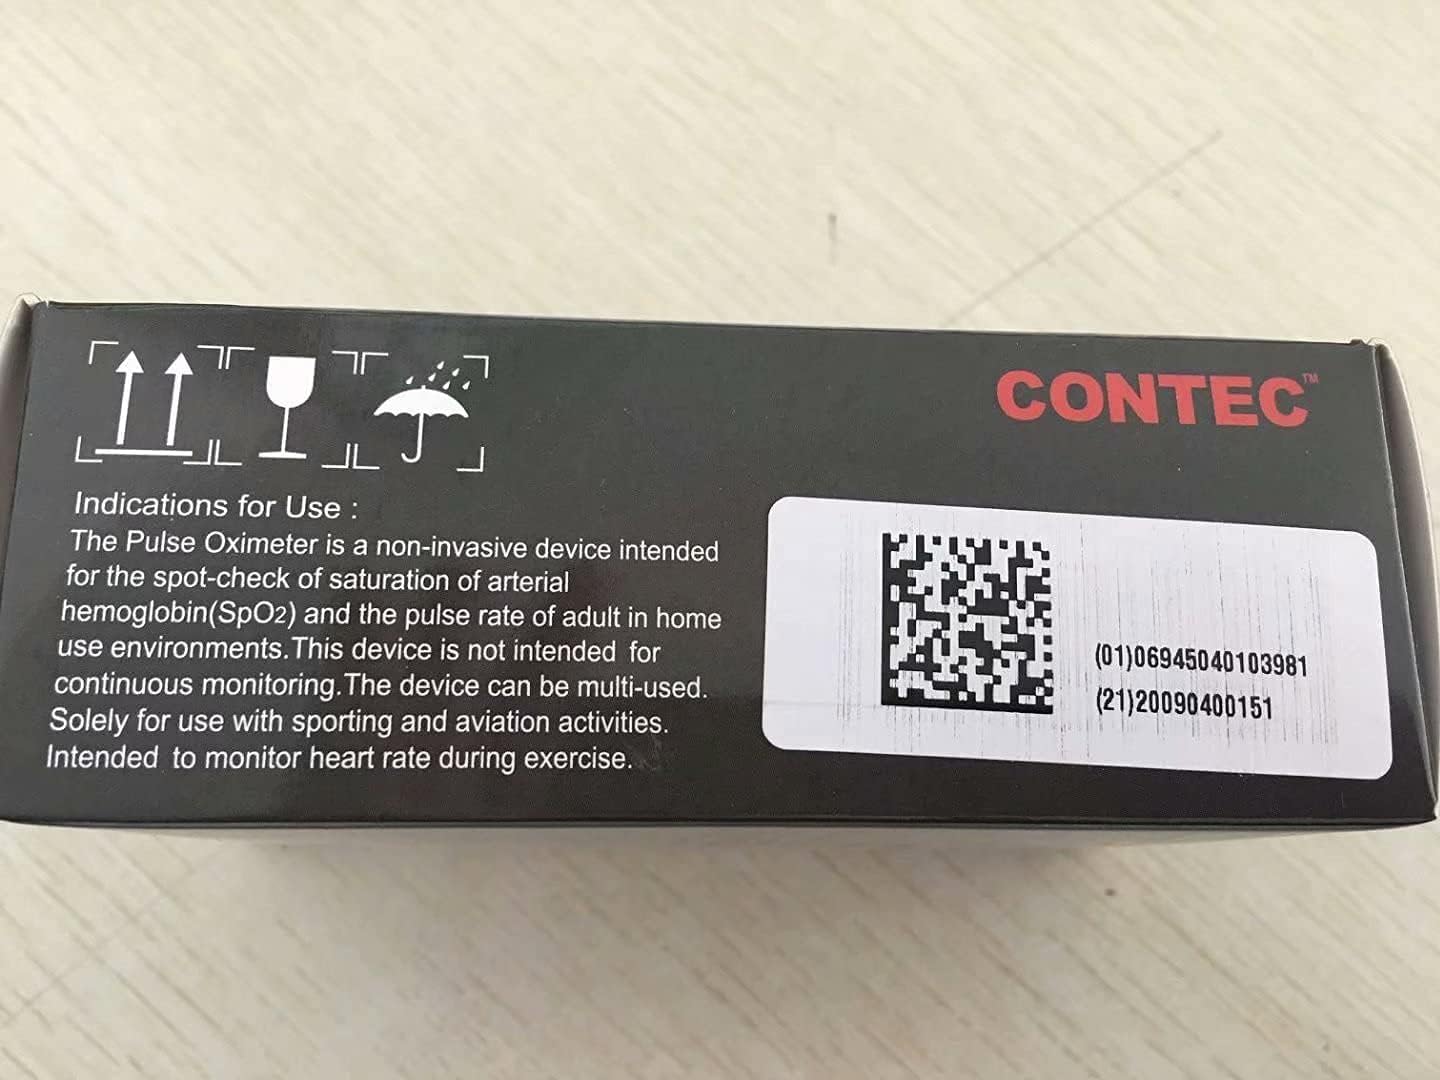
Figura 5: detallada view of the pulse oximeter display, highlighting SpO2, PRbpm, and the pulse intensity bar graph.
4.3 Apagado automático
The device will automatically power off after approximately 5 seconds of inactivity or when the finger is removed from the sensor.
5. Mantenimiento
5.1 Limpieza del dispositivo
To ensure longevity and hygiene, clean the oximeter regularly:
- Limpie la superficie del dispositivo con un paño suave.ampenriquecido con alcohol medicinal (etanol al 75%) o alcohol isopropílico.
- Clean the inside of the finger clip with the same method.
- Deje que el dispositivo se seque al aire completamente antes de usarlo.
- No sumerja el dispositivo en agua ni en ninguna solución de limpieza.
5.2 Reemplazo y almacenamiento de la batería
When the low battery indicator appears on the display, replace the batteries promptly. If the device will not be used for an extended period, remove the batteries to prevent leakage and damage.
Guarde el oxímetro en un lugar fresco y seco, alejado de la luz solar directa y de temperaturas extremas.
6. Solución de problemas
| Problema | Posible causa | Solución |
|---|---|---|
| Sin pantalla después del encendido | Las baterías están agotadas o instaladas incorrectamente. | Reemplace las baterías o vuelva a instalarlas con la polaridad correcta. |
| Display unstable or inaccurate readings | Finger not properly inserted; finger shaking; ambient light interference; cold fingers. | Re-insert finger correctly and keep still. Avoid strong light. Warm hands if cold. |
| Se muestra el mensaje "Dedo fuera" | Dedo no detectado o eliminado. | Ensure finger is fully inserted into the sensor. |
7. Especificaciones
- Modelo: CMS50M
- Marca: CONTEC
- Measuring Range (SpO2): 35% ~ 100%
- Dimensiones del producto: 2.24 x 1.34 x 1.22 pulgadas
- Peso: 1.76 onzas (sin pilas)
- Fuente de alimentación: 2 pilas AAA (no incluidas)
- Entorno operativo: Temperature: +10°C ~ +40°C, Relative humidity: ≤75%, Atmospheric Pressure: 700 hPa ~ 1060 hPa

Figure 6: Dimensions of the CONTEC CMS50M Pulse Oximeter.
8. Important Information and Disclaimers
This product is intended for sports and aviation use only and is not a medical device. It is not intended for continuous monitoring. Solely for use with sporting and aviation activities. Intended to monitor heart rate during exercise.
Las declaraciones sobre los suplementos dietéticos no han sido evaluadas por la FDA y no pretenden diagnosticar, tratar, curar o prevenir ninguna enfermedad o condición de salud.
9. Garantía y soporte
For warranty information and customer support, please refer to the official CONTEC webSitio web o contacte directamente al vendedor. Conserve el recibo de compra para reclamaciones de garantía.
Manufacturer: CONTEC
Fecha de primera disponibilidad: 27 de mayo de 2017


