Introducción
This user manual provides comprehensive instructions for the assembly, operation, and maintenance of your Amazon Basics Single Computer Monitor Stand. This desk-mounted arm is designed to enhance your workspace ergonomics and free up valuable desk space by securely holding a single computer monitor.
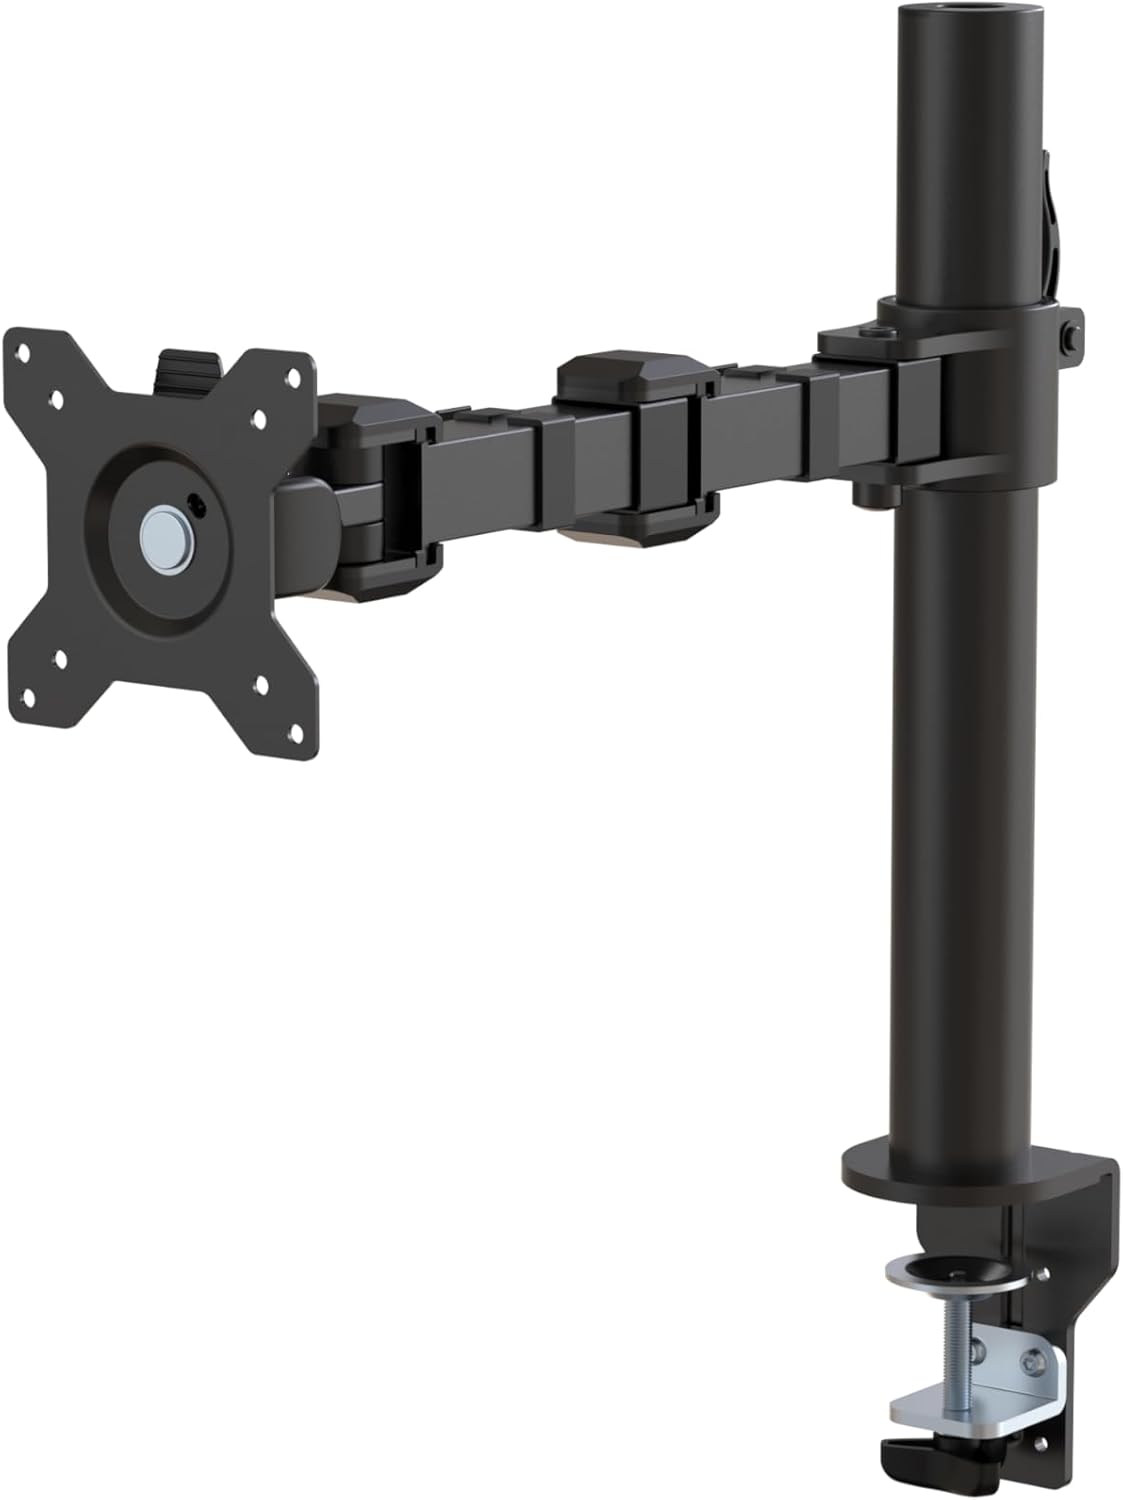
Figura 1: Sobreview of the Amazon Basics Single Computer Monitor Stand.
Información importante de seguridad
- Lea atentamente todas las instrucciones antes del montaje y uso.
- No exceda la capacidad máxima de peso de 22 libras (10 kg).
- Ensure your desk surface is stable and can support the combined weight of the monitor arm and your monitor.
- Verify that the desk thickness is between 0.8 to 3.9 inches (2 cm to 10 cm) for proper clamp instalación.
- Utilice únicamente el hardware proporcionado. Si alguna pieza falta o está dañada, contacte con atención al cliente.
- Mantenga alejados a los niños y las mascotas durante el montaje.
- Revise periódicamente todos los tornillos y conexiones para asegurarse de que permanezcan ajustados y seguros.
Contenido del paquete
Verifique que todos los componentes estén presentes antes de comenzar el ensamblaje:
- Monitor Arm Assembly (Pre-assembled arm and VESA plate)
- Escritorio Clamp Base
- Poste de montaje
- Hardware Kit (Screws for VESA mounting, Allen keys)
- Clips de gestión de cables
- Manual de usuario
Instrucciones de instalación
Paso 1: Coloque el organizador de escritorioamp Base
Coloque el escritorio clamp base on your desk edge. Ensure the desk thickness is compatible (0.8 to 3.9 inches). Tighten the clamp screw securely until the base is firmly attached to the desk. Do not overtighten.

Figura 2: Fijación segura del soporte de escritorioamp base to your desk.
Step 2: Install Mounting Pole
Insert the mounting pole into the hole on the desk clamp base. Secure it by tightening the set screw on the side of the clamp base using the provided Allen key.
Paso 3: Conecte el brazo del monitor al poste
Slide the monitor arm assembly onto the mounting pole. Adjust the height to your desired position and tighten the height adjustment screw on the arm collar to secure it.
Paso 4: Conecte la placa VESA al monitor
The monitor arm features a detachable VESA plate. Remove the VESA plate from the arm by lifting it up. Align the VESA plate with the mounting holes on the back of your monitor (compatible with 100x100mm and 75x75mm VESA patterns). Use the appropriate screws from the hardware kit to secure the plate to your monitor. Ensure the screws are tightened firmly but do not overtighten.

Figure 3: The detachable VESA plate for easy monitor attachment.
Paso 5: Monte el monitor en el brazo
Carefully slide the monitor (with the attached VESA plate) onto the monitor arm. Ensure it clicks securely into place. You may need to adjust the tension screws on the arm joints to support the monitor's weight and allow for smooth movement.

Figure 4: Monitor securely mounted on the arm, viewed desde el frente.

Figure 5: Top-down perspective of the monitor mounted, showcasing desk space optimization.
Paso 6: Gestión de cables
Utilize the integrated cable management system to route your monitor cables (power, video, etc.) along the arm and down the pole. This helps maintain a tidy workspace and prevents cable clutter.
Instrucciones de funcionamiento
The monitor arm offers a full range of motion to customize your viewExperiencia:
- Ajuste de altura: The horizontal arm can be adjusted from 7.9 to 14.2 inches high along the pole. Loosen the height adjustment screw on the arm collar, slide the arm to the desired height, and re-tighten.
- Inclinación: Adjust the screen tilt from -15 to +85 degrees to reduce glare and optimize viewángulos de ing.
- Girar: Swivel the monitor left or right up to 180 degrees at various joints for collaborative viewing or screen sharing.
- Rotación: Rotate the monitor 360 degrees to switch between landscape and portrait modes without removing the monitor.

Figure 6: Visual representation of the flexible screen adjustment capabilities: Tilt (-85/+15 degrees), Swivel (±180 degrees), and Rotation (360 degrees).
Posicionamiento ergonómico
Proper monitor positioning is crucial for ergonomic comfort and reducing strain. Adjust the monitor arm so that the top of your monitor screen is at or slightly below eye level when you are sitting upright. Your eyes should be approximately an arm's length away from the screen. Ensure your wrists are straight and your forearms are parallel to the floor when typing.

Figure 7: Comparison of correct and incorrect sitting postures, highlighting the importance of proper monitor height.
Mantenimiento
- Limpieza: Limpie el brazo del monitor con un paño suave.amp paño. Evite limpiadores abrasivos o disolventes que puedan dañar el acabado.
- Comprobación de estanqueidad: Revise periódicamente todos los tornillos y conexiones, especialmente los del escritorio.amp and VESA plate screws, to ensure they are tight and secure. Re-tighten if necessary.
- Lubricación: No se requiere lubricación para las partes móviles.
Solución de problemas
| Problema | Posible causa | Solución |
|---|---|---|
| El brazo del monitor se hunde o no mantiene la posición. | Tension screws are too loose. | Tighten the tension screws on the arm joints using the provided Allen key until the arm holds the monitor's weight. |
| El monitor se tambalea en el brazo. | Los tornillos de la placa VESA están sueltos o el escritorio está atascado.amp is not secure. | Ensure the VESA plate screws attaching the monitor are tight. Re-tighten the desk clamp tornillo. |
| No se puede ajustar la altura del monitor. | El tornillo de ajuste de altura está demasiado apretado. | Loosen the height adjustment screw on the arm collar, adjust height, then re-tighten. |
Presupuesto
| Característica | Detalle |
|---|---|
| Número de modelo | DLB111-US290 |
| Dimensiones del producto | 20 x 18.13 x 4.5 pulgadas |
| Peso del artículo | 5.59 libras |
| Material | Acero aleado |
| Color | Negro |
| Tipo de montaje | Mesa de Clamp Montar |
| Tamaño de pantalla compatible | 13 a 30 pulgadas |
| Capacidad máxima de peso | 22 libras (10 kg) |
| Compatibilidad del grosor del escritorio | 0.8 a 3.9 pulgadas |
| Compatibilidad VESA | 75 x 75 mm, 100 x 100 mm |
| Rango de ajuste de altura | 7.9 to 14.2 inches (horizontal arm) |
| Ángulo de inclinación | -15 a + 85 grados |
| Rotación | 360 grados |
Garantía y soporte
This product is backed by an Amazon Basics limited 1-year warranty.
For detailed warranty information or technical support, please refer to the official documentation or contact Amazon Basics customer service.
- Manual de usuario (PDF): Descargar Manual de Usuario
- Garantía (PDF): Descargar información de garantía


