1. Introducción
The Luceco Solar LED Projector is a powerful and efficient outdoor lighting solution designed for various applications such as paths, gardens, carports, and awnings. It operates entirely on solar energy, eliminating the need for external wiring and reducing energy costs. Equipped with an integrated PIR motion detector, it enhances security by illuminating areas upon detecting movement. This manual provides detailed instructions for installation, operation, maintenance, and troubleshooting to ensure optimal performance and longevity of your solar projector.

Figure 1: The Luceco Solar LED Projector, showcasing its solar panel and LED light array.

Figure 2: The projector's modern design and neutral white light (4000K) for clear and precise illumination.
2. Información de seguridad
Please read all safety instructions carefully before installing or operating the product. Failure to follow these instructions may result in electric shock, fire, or serious injury.
- Asegúrese de que el producto esté instalado en un lugar que reciba luz solar directa para una carga óptima.
- No intente desmontar, reparar ni modificar el producto. Esto anulará la garantía y podría causar daños o lesiones.
- Mantenga el producto alejado de materiales inflamables y fuentes de calor extremo.
- The product is IP65 rated for outdoor use and resistance to weather conditions. However, avoid submerging it in water.
- Limpie el panel solar regularmente para garantizar una carga eficiente. Use un paño suave y seco.amp paño.
- Deseche el producto y su batería de forma responsable de acuerdo con las regulaciones locales.
3. Contenido del paquete
Verifique que todos los componentes estén presentes en el paquete:
- 1 x Luceco Solar LED Projector
- 1 x soporte de montaje mural
- Herrajes de montaje (tornillos, tacos)
4. Configuración e instalación
The Luceco Solar LED Projector is designed for easy installation with no wiring required. Follow these steps for optimal placement and mounting:
4.1 Elección de una ubicación de instalación
- Select a location that receives maximum direct sunlight throughout the day to ensure the solar panel charges effectively.
- Avoid areas shaded by trees, buildings, or other obstructions.
- Consider the desired illumination area and the PIR motion sensor's detection range (1-6 meters, 120°) when choosing the height and angle.
4.2 Montaje del proyector
- Position the wall mount bracket against the desired surface (exterior wall, fence, etc.).
- Marque los puntos de perforación a través de los agujeros en el soporte.
- Drill holes at the marked points using an appropriate drill bit (e.g., 8mm for supplied wall plugs).
- Inserte los tacos de pared en los agujeros perforados.
- Align the bracket with the holes and secure it using the provided screws.
- Attach the solar LED projector to the mounted bracket, ensuring it is securely fastened.
- Adjust the angle of the solar panel and the light head to optimize sunlight exposure and illumination coverage.
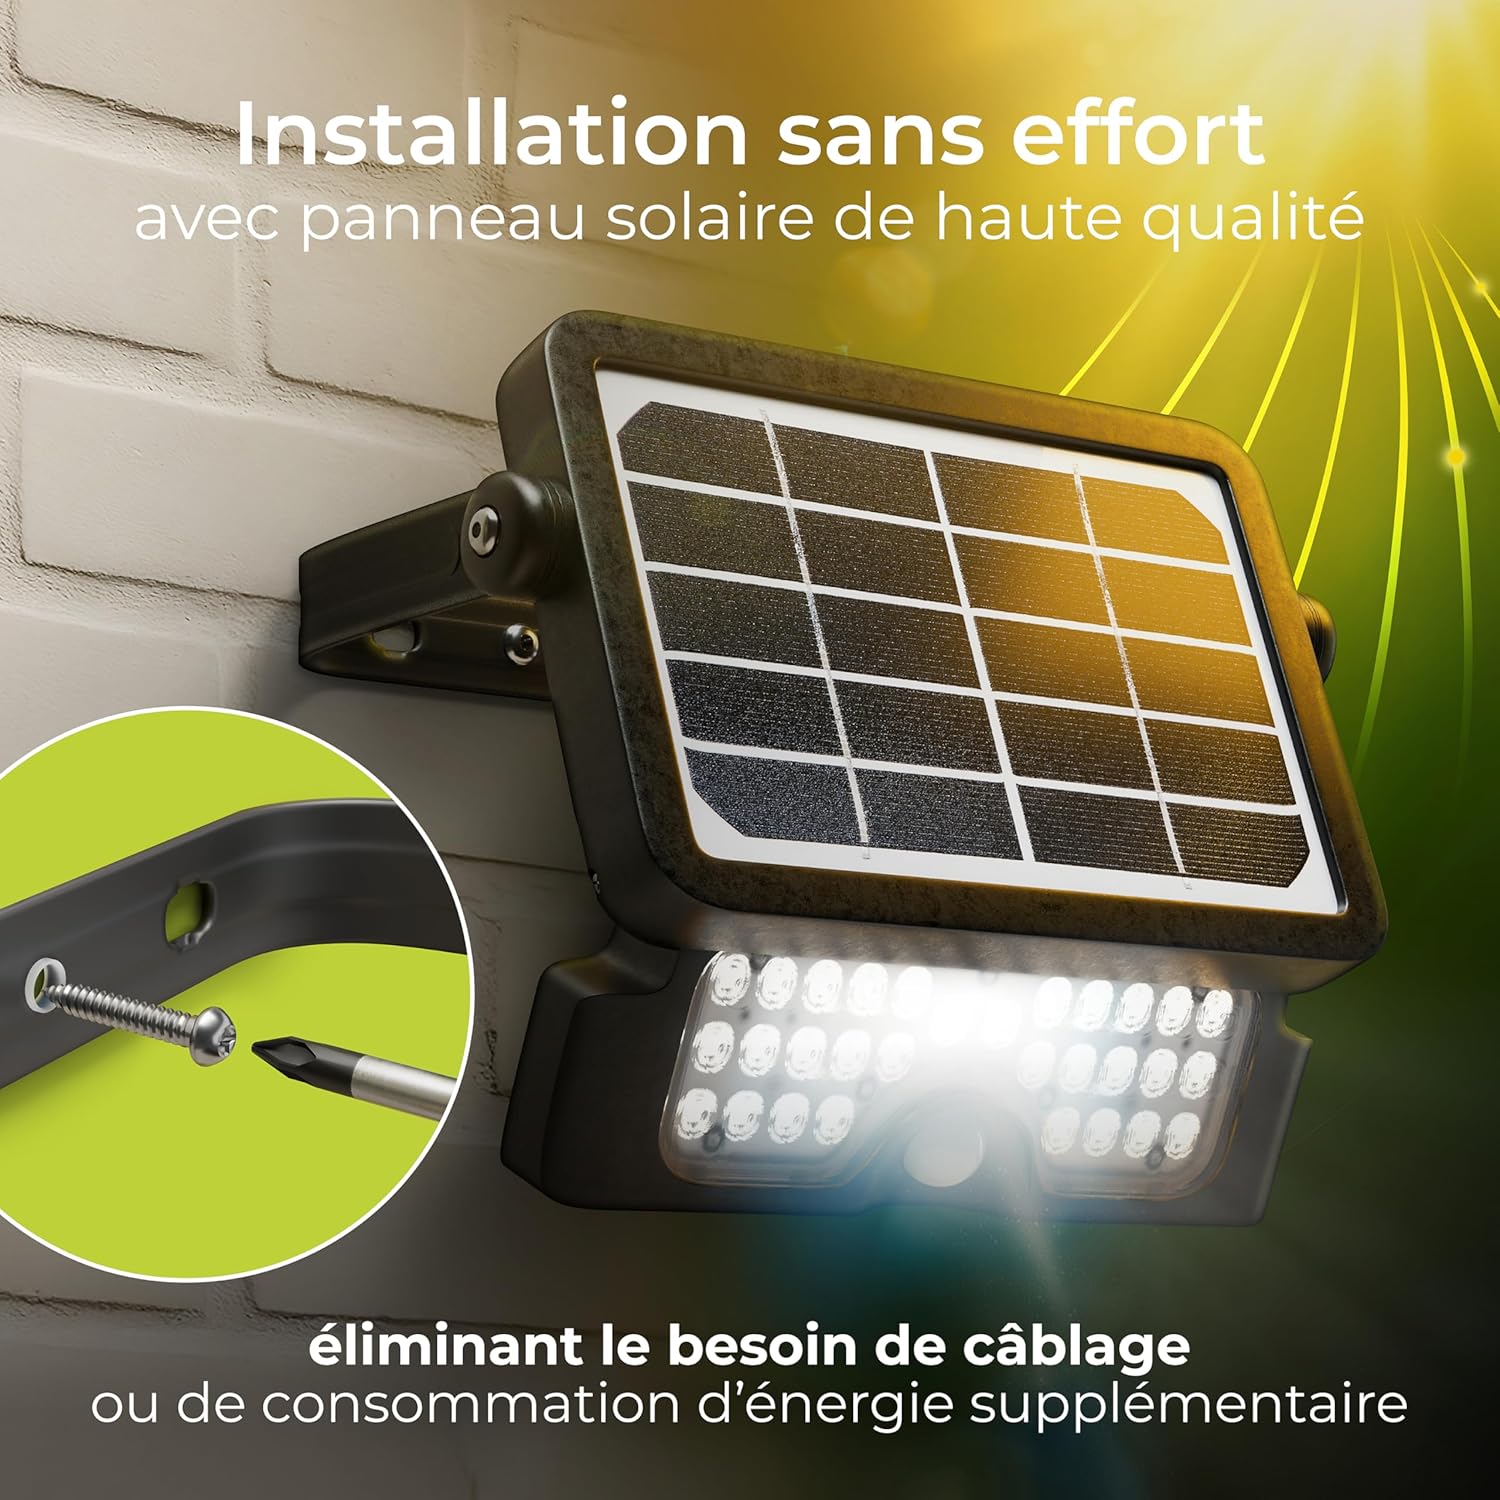
Figure 3: The simple installation process, requiring minimal tools and no complex wiring.

Figure 4: The robust and reliable design, featuring IP65 weather resistance for year-round outdoor use.
5. Instrucciones de funcionamiento
The Luceco Solar LED Projector features intelligent operation modes and a PIR motion sensor for enhanced functionality.
5.1 Carga inicial
Before first use, allow the solar projector to charge in direct sunlight for at least 6-8 hours to ensure the internal lithium-ion battery is sufficiently charged.
Modos de funcionamiento de 5.2
The projector offers three adjustable motion modes to suit different security and lighting needs. These modes are typically selected via a switch or button on the unit (refer to the specific product for exact control location):
- Twilight Mode: The light automatically turns on at dusk and remains on at a low brightness level. When motion is detected, it switches to full brightness for a set duration, then returns to low brightness.
- Modo de seguridad: The light remains off until motion is detected. It then illuminates at full brightness for a set duration (e.g., 20-30 seconds) and turns off completely when no motion is detected.
- Modo de presencia: Similar to Security Mode, but may offer variations in brightness or duration. (Specific details may vary by model, consult product packaging for precise settings).

Figure 5: The projector offers long-duration lighting with two distinct modes, optimizing battery life.
5.3 Sensor de movimiento PIR
The integrated Passive Infrared (PIR) motion sensor detects heat signatures of moving objects within its detection range (1-6 meters) and angle (120°). When motion is detected, the light activates according to the selected operating mode. Ensure the sensor is not obstructed and is positioned to cover the desired detection area.

Figure 6: The integrated PIR motion sensor detects movement up to 6 meters, instantly activating the light.

Figure 7: The projector providing effective illumination when installed on an exterior wall.
6. Mantenimiento
Regular maintenance helps ensure the longevity and optimal performance of your Luceco Solar LED Projector.
- Limpieza del panel solar: Limpie periódicamente el panel solar con un paño suave y seco.amp Paño para eliminar el polvo, la suciedad y los residuos. Un panel limpio garantiza la máxima absorción de la luz solar y una carga eficiente.
- Cleaning the Light Head: Gently clean the LED light head and motion sensor lens with a soft, dry cloth to maintain clear illumination and sensor sensitivity.
- Cuidado de la batería: The integrated lithium-ion battery is designed for long life. Avoid prolonged periods of storage in a completely discharged state. If storing for an extended time, ensure the battery is fully charged.
- Inspección: Occasionally check the mounting hardware to ensure it remains secure.

Figure 8: The projector's weather-resistant design ensures durability even in challenging outdoor conditions.
7. Solución de problemas
If you encounter issues with your solar LED projector, refer to the following table for common problems and solutions:
| Problema | Posible causa | Solución |
|---|---|---|
| La luz no se enciende por la noche. | Carga solar insuficiente. | Asegúrese de que el panel solar reciba luz solar directa de 6 a 8 horas diarias. Limpie el panel solar. |
| La luz parpadea o es tenue. | Carga de batería baja. | Allow more charging time in direct sunlight. |
| El sensor de movimiento no detecta. | Sensor obstruido o sucio. | Clean the sensor lens. Ensure no obstructions are blocking the sensor's view. |
| La luz permanece encendida continuamente. | Incorrect mode selected or constant motion. | Check the selected operating mode. Ensure there is no continuous motion in the detection area. |
8. Especificaciones
Technical specifications for the Luceco Solar LED Projector:
| Característica | Especificación |
|---|---|
| Marca | Luceco |
| Número de modelo | LEXSF6B40-01 |
| Dimensiones (L x An x Al) | 1.33 x 8.56 x 5.88 cm (Product); 8.6L x 1.3W x 5.9H cm (Fixture) |
| Peso | 620 gramos |
| Fuente de poder | Alimentado por energía solar |
| Quétage | 5 vatios |
| Flujo luminoso | 550 lúmenes |
| Temperatura de color | 4000 Kelvin (blanco neutro) |
| Índice de reproducción cromática (IRC) | 80 |
| Tipo de batería | 2 x 3.7V, 1500 mAh Lithium-ion (included) |
| Clasificación IP | IP65 (impermeable) |
| Cambiar estilo | Detector de movimiento |
| Esperanza de vida promedio | 30,000 horas |
| Material | Aluminio fundido a presión |
| Tipo de acabado | Pintado |
| Características especiales | Waterproof, PIR Motion Sensor |
9. Garantía y soporte
Information regarding specific warranty terms and software updates for this product is not available in this manual. For warranty claims, technical support, or inquiries about spare parts, please contact Luceco customer service directly or refer to the product packaging for contact details. It is recommended to retain your proof of purchase for any warranty-related matters.


